DIY Tile Toilets: A Step-by-Step Guide
Content
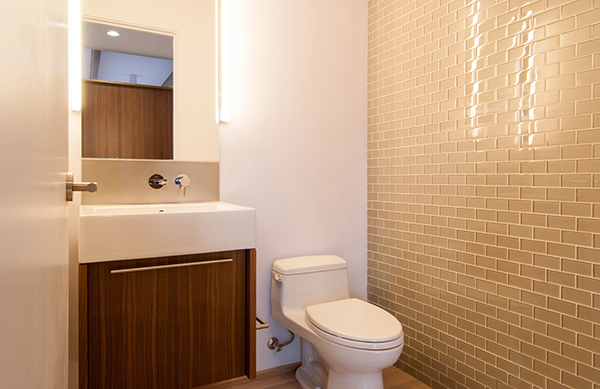
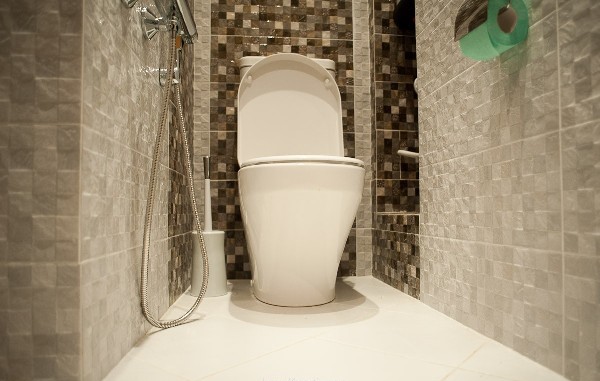
The bathroom in any apartment is a pretty visited place, so it should also look great. Tile decoration of the toilet requires maximum practicality, because even a small discrepancy with the chosen stylistic direction in the apartment will instantly catch your eye. Properly selected and laid tiles in the toilet is the most competent and popular solution, which guarantees high-quality repairs. A toilet tiled with ceramic tiles will look beautiful, but it is important to carry out the work correctly. In this case, there is a significant difference when working in the bathroom and toilet. That is why, before starting work, you should carefully study the list of necessary operations for laying tiles.
Preparatory work
As in the bathroom, tiled work, first of all, requires preparatory work: you need to prepare the walls and floor. First of all, you should start from the floor, because in the bathroom, including the bathroom, there are plumbing pipes. This means that the toilet is subject to high humidity. Therefore, first of all, you should think about waterproofing. With it, you should start all the work. Also, one should not forget about the walls. If you are repairing an old foundation, the walls are usually covered with oil paints. It is not recommended to glue tiles on it. All whitewash and old paint will have to be removed.
If you start a simultaneous repair in the toilet and the bathroom, then the work can be combined. To remove paint, whitewash, and possibly tiles in the toilet and bathroom, you will need a small hatchet, putty knife and water. All dusty and dirty work in both the toilet and the bathroom is performed first. Only after the completion of such work can you begin to finish. All the working surfaces of the toilet and the bathroom, which will be finished with ceramic tiles, must first be anointed with soil and dried.
Tile selection
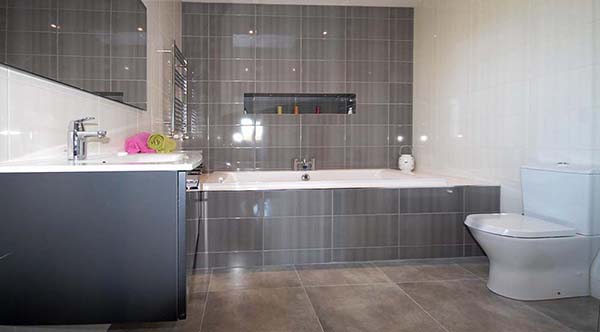
There is no particular difference when choosing tiles between the toilet and the bathroom. If before that you had a bathroom finish, then it is advisable to leave all the scales and the color of the tiles in the bathroom. That is, the choice of ceramic tiles for the toilet will be the same as in the bathroom. Material should be purchased in advance and with a small margin so that the interior and design of the toilet does not suffer from a lack of material. There may be various situations - the tiles of the acquired design in the store just end and the like. It is desirable that the interior and design of the bathroom and toilet are the same, this will solve several problems at once.

Tools and materials
Repairing the toilet will require the following tools:
- Flexible level.
- Capacity for solution.
- Two-meter wooden lath.
- Capacity for tile glue.
- Tile cutter or ordinary diamond glass cutter.
- Cords.
- Roulette.
- Shovel or ordinary spatula.
- A special mixer or you can use the nozzle for a drill.
- Building level.
- Hatchet or a small hammer to apply notches.
- Crosses so that the seams of the tiles are the same in width and even.
- Clean rag.
This list, which is necessary to carry out repairs in the bathroom, can be supplemented. But the presence of these tools will allow you to make a beautiful design of the room, and tile laying will be of high quality and comfortable.
Tile material and colors
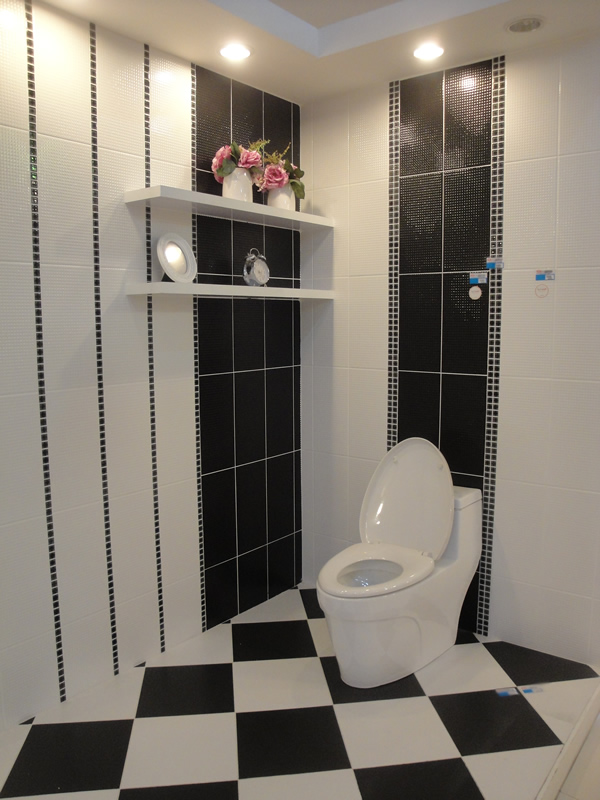
Depending on what design and what interior you want to receive, the invoice and color of a tile is chosen. Most often, glass and ceramic tiles and mosaics are found in stores. "Ceramics" is the most common, as it is characterized by moisture resistance and price. The advantage of the mosaic is a beautiful design, a variety of paintings and patterns. The advantage of glass tiles is resistance to household chemicals and visual appeal.
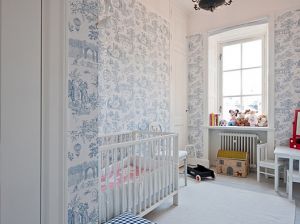
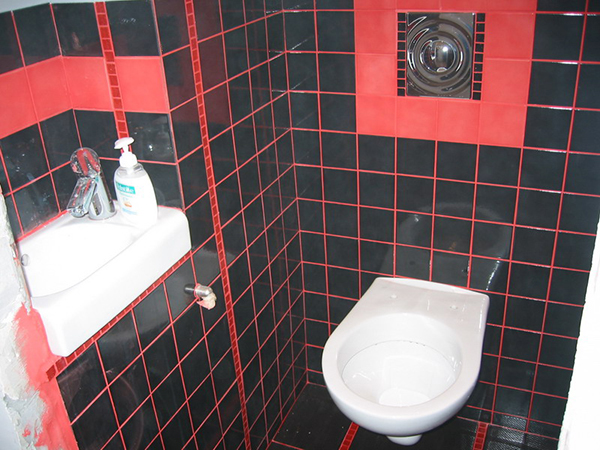
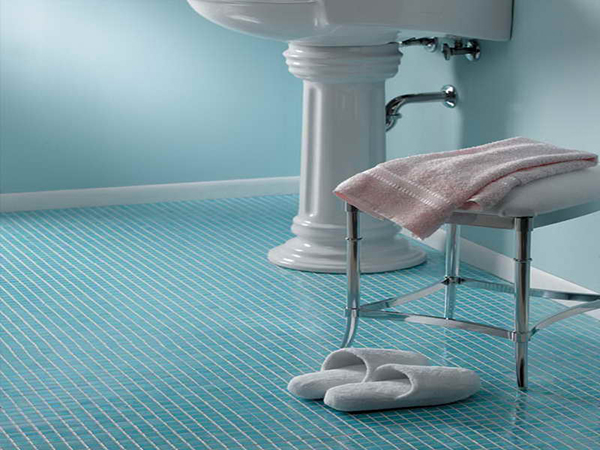
The light color of the tile is perfect if the interior has limited space. The light color of the tile will make the interior more spacious. The color of the floor may be black, which will give depth and visually increase the volume of the room. As a tile used on the floor, you should choose a tile with a non-smooth rough surface, so that there is no slipping when walking.
Laying tiles on the floor
Repair begins with laying the floor. The interior of the toilet technically has four walls. During tile laying, they are not interconnected. In the work on the bathroom, in order to get a beautiful design, it will take a lot of tile trimmings. Another important factor is the small area of the bathroom, which will affect the repair - the speed of work will be small.
If it is assumed that the interior will remain with the toilet already installed, then it will be necessary to make cutouts in the mosaic tiles in order to smoothly bypass the toilet.
- Mark the middle of the room to get the center line of the seam.
- Then we begin to glue the whole tile from the door, going to the opposite wall. As a result, pruning will evenly diverge on the sides, hiding behind the toilet. In this case, the tile will have an aesthetic color and design, almost no clipping.
- During operation, you should use the construction level to constantly monitor the horizontal elevation.
- If the interior of the toilet has an uneven floor with differences, then before laying the tiles you will need to perform a screed. If the differences are small, then self-leveling mixtures are sufficient.
- The gap between the tiles to make a beautiful color and design of the toilet should be about 2 mm. This can be adjusted using special plastic crosses.
- After laying the tiles on the floor, you need to give a couple of days so that it dries, and you can continue to work.
Laying tiles on the walls
- To get a beautiful design of the toilet and a uniform color of the picture, we start laying strictly from the door and from the side walls. There is a condition, we will look at the tile, being facing the door. As a result, all trim will be directed to the front wall.
- We begin the repair of walls by putting a whole tile on the floor, since the floor is already level and you can lay it on the walls directly from it. We start gluing the first row to the opposite wall, leaving the door. In the process, you should not forget to use the level, checking the vertical as well as the horizontal level along the top edge of the tile.
- Here, the design is also done using crosses.
- Rising row by row, we reach the ceiling slope of the door. It is important to reduce the seam of the tile with the side walls. On the wall, select the end of the tile, and on the door we attach the rail exactly horizontally, which will be the bottom of the tile above the door. If you get a clipping that goes to the door frame, then glue the next whole tile. We trim only after the whole tile has dried. Glue the trimmed tile along the slope of the installed rail.
- The end wall can be finished from the central seam, diverging to the sides, but you can use another option - go to the riser, starting from a free angle. Given that the riser will be closed by something, the pruning will hide. As a result, the design will be more beautiful, and more economical.
- After laying the tiles on the walls, you need to wait a few days for it to dry.