Panel toilet repair: quick transformation without extra expenses (52 photos)
Content
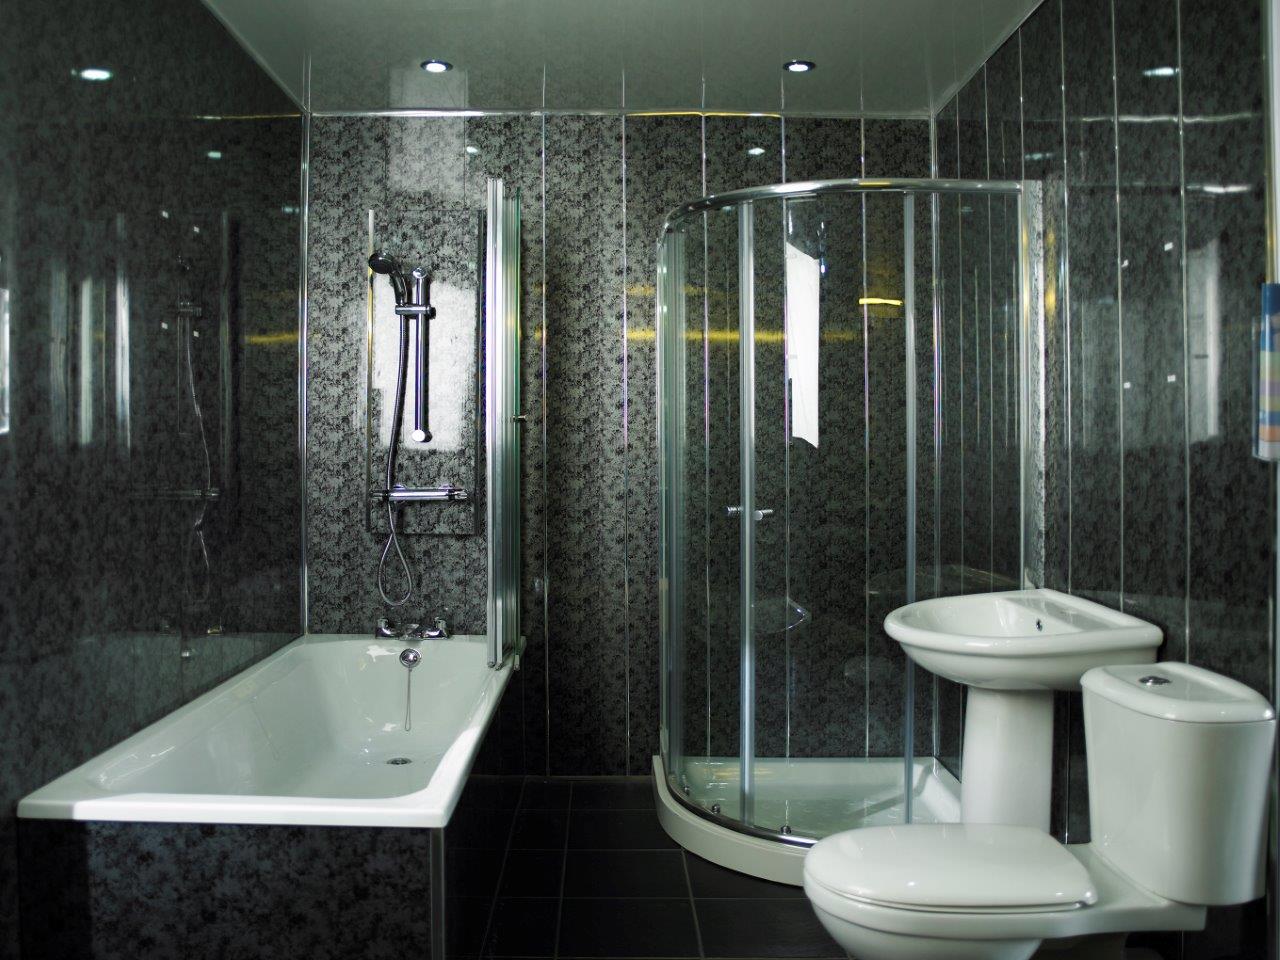
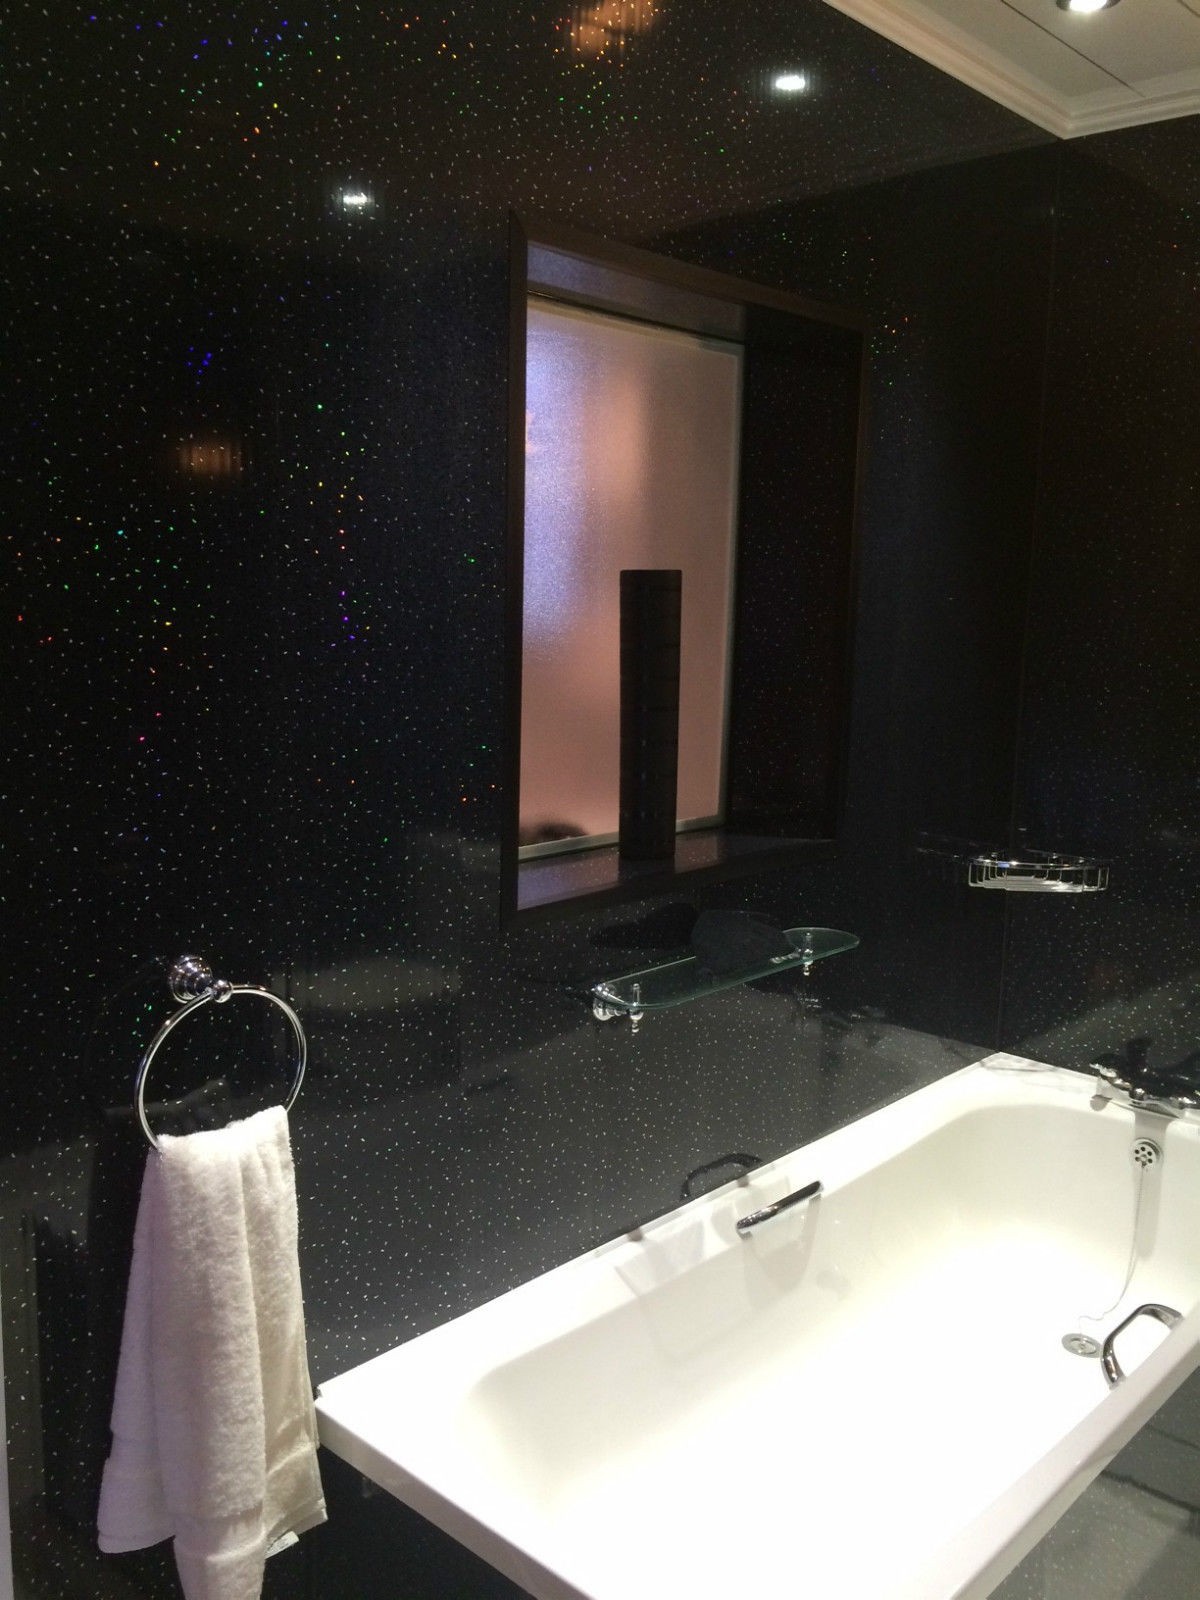
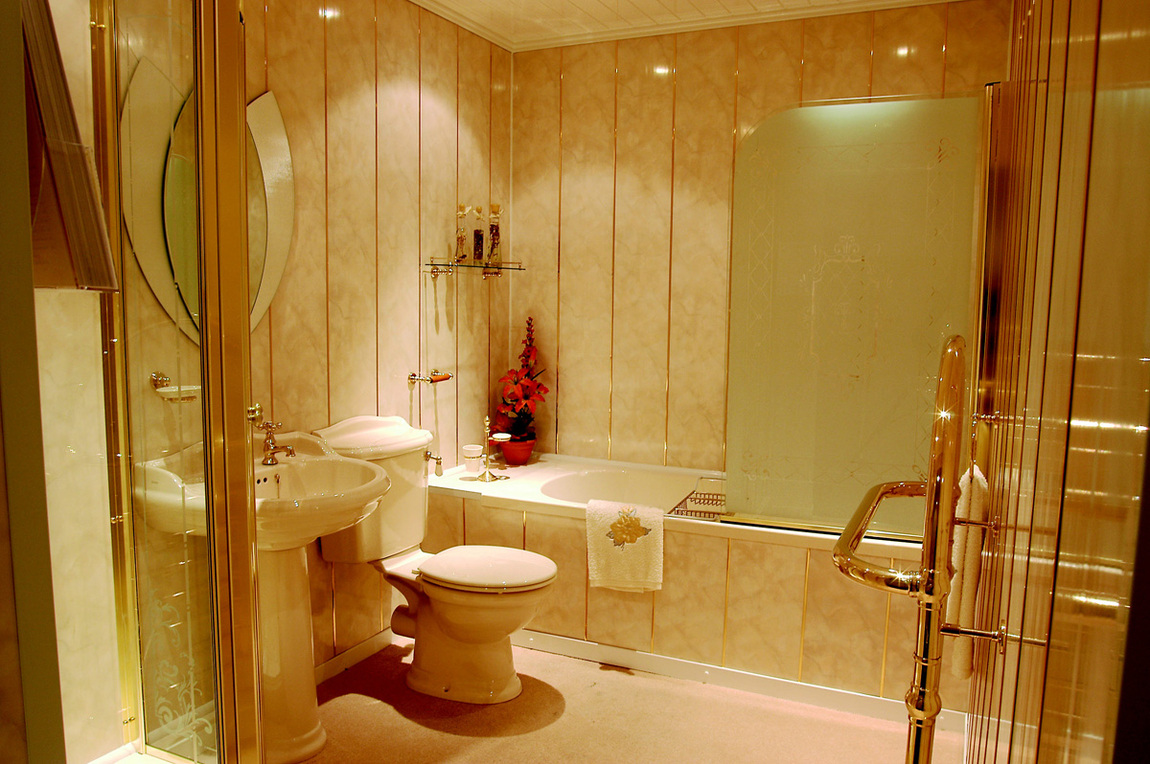
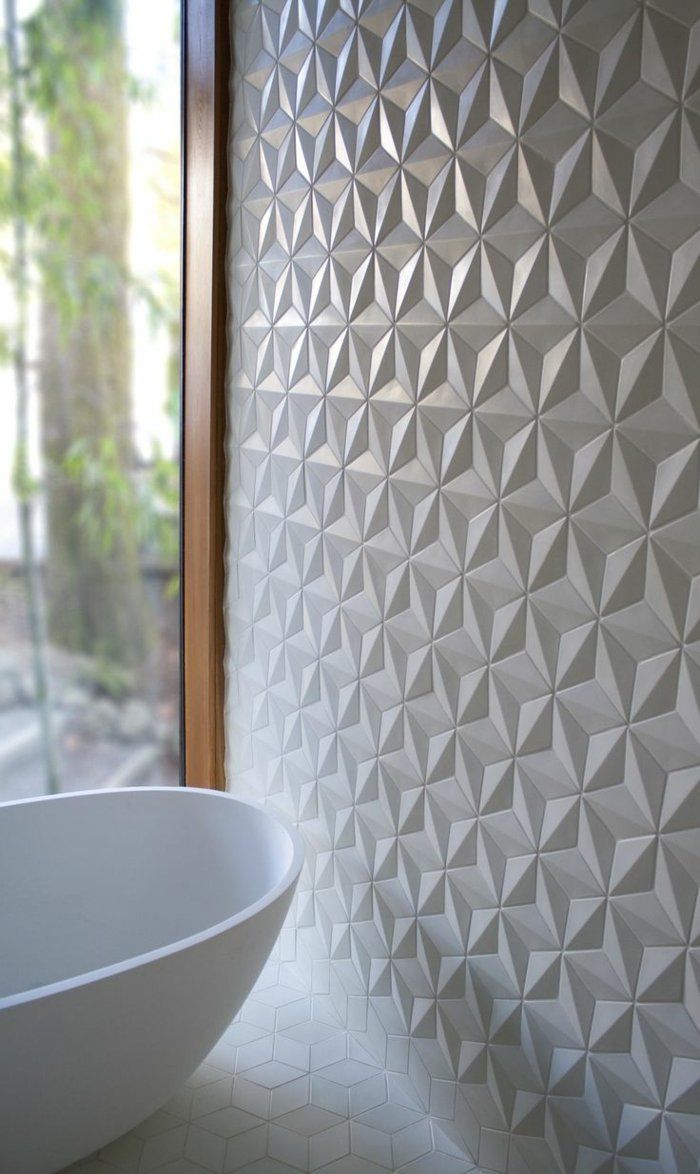
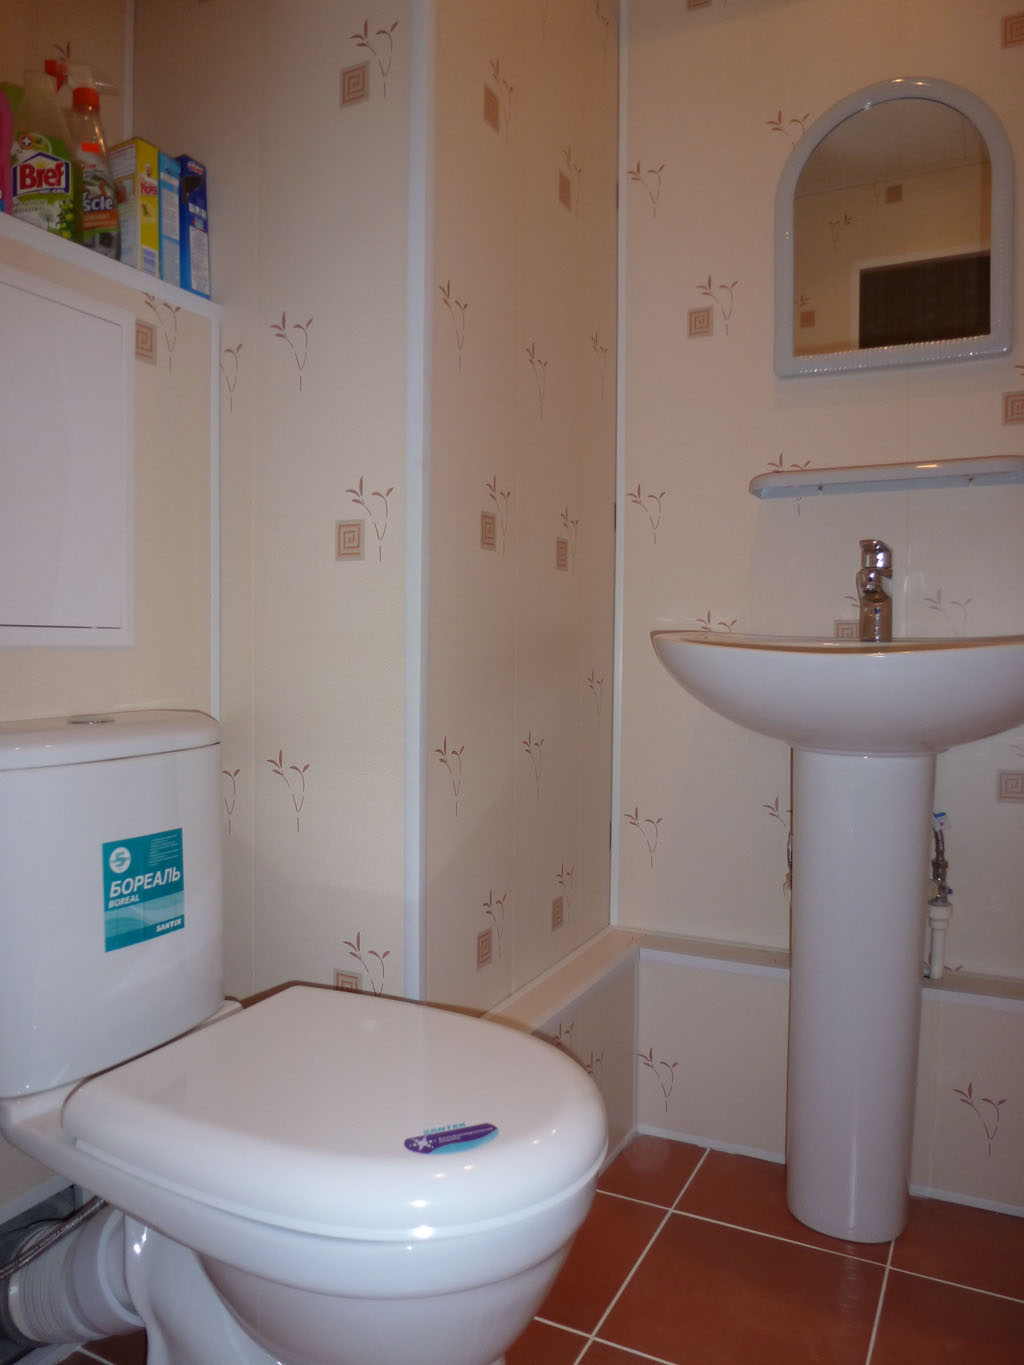
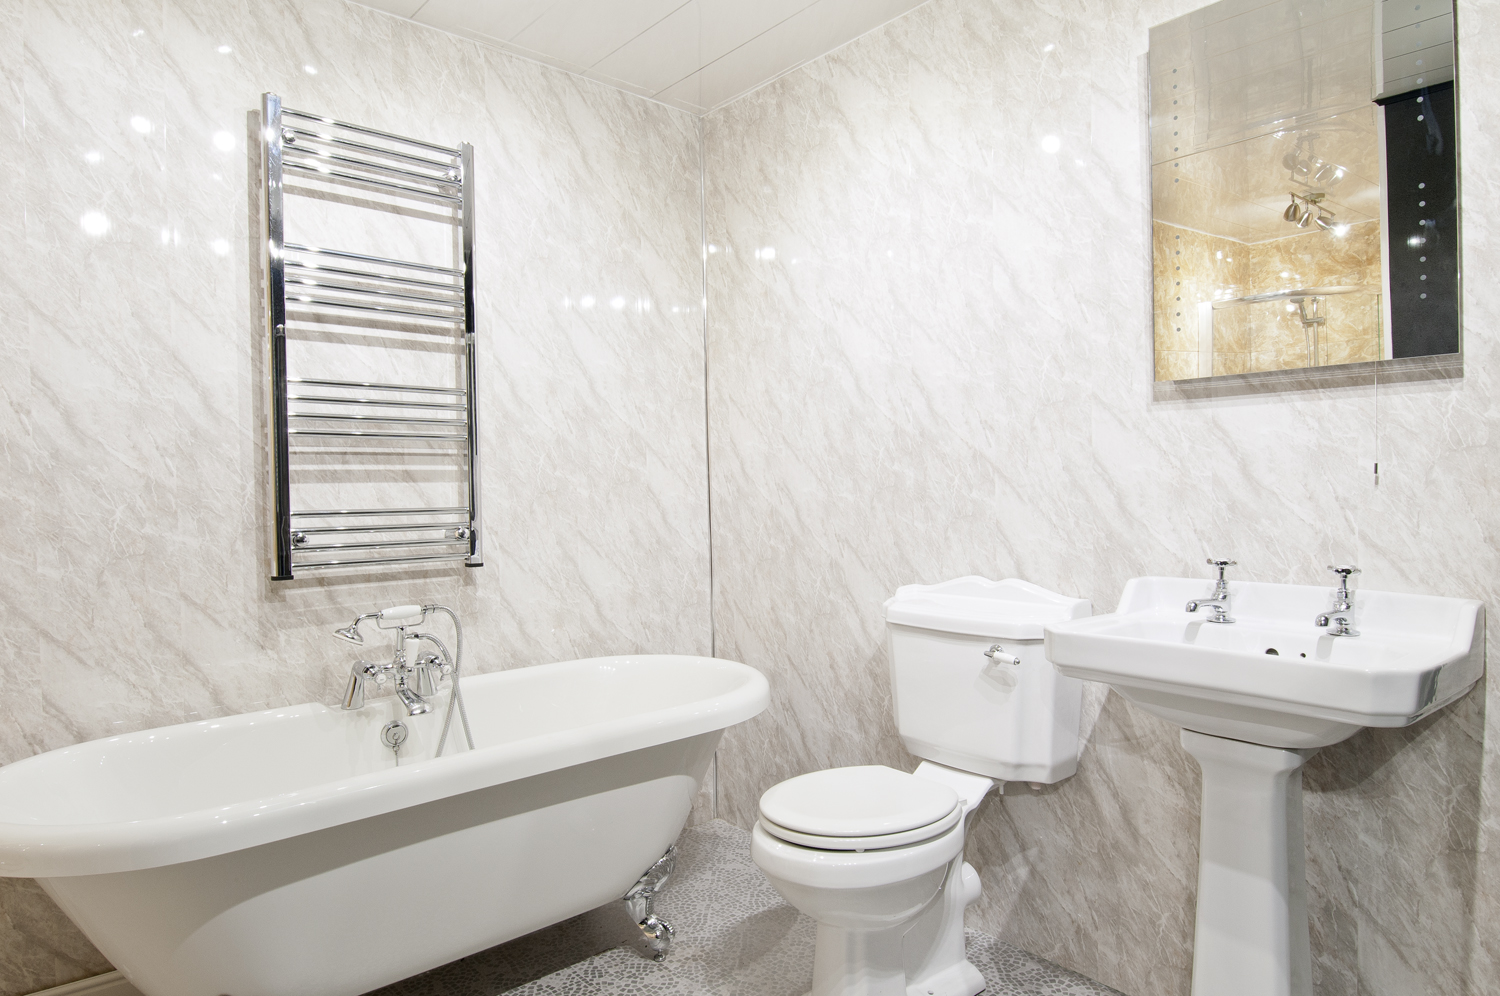
The key to the popularity of plastic panels is aesthetic performance, a wide range of textures and colors, low maintenance, high wear resistance and loyal prices. This material is optimal for areas in which strict sanitary requirements must be observed. Practical panels for a PVC toilet (this is the most common option) can also be used to decorate balconies, hallways, loggias.
Panel repair of the toilet is also chosen because the material is held in an affordable price segment, and it is also easy to install it yourself.

How to choose plastic panels for the toilet?
The source material should have additives that are responsible for the elasticity of the finished product. Such models can be slightly bent, poor-quality goods, on the contrary, will crumble, lose their shape even with weak mechanical stress. When studying the assortment, it is necessary to squeeze the edge of the panel between two fingers: stiffeners should not react, the formation of dents on the surface is unacceptable.
If you slightly bend the mounting strip located along the edge, the plastic should not break - the quality material will return to its original form. Signs that should be alert when choosing: sharp chemical smell, bulging stiffeners.
Products are classified by width. For covering a small toilet it is not advisable to purchase wide panels - there will be a lot of waste. If the choice fell on a model with a picture, you need to choose variations that do not require fitting to the ornament. It is necessary to take into account the likely specific conditions - masking communications, for example. Specialists recommend purchasing material 15% more - this is insurance for the wrong cut, breakage and trimming.


Do-it-yourself finishing of the toilet with PVC panels: preparatory manipulations, tools
To determine the required amount of cladding, you need to correctly measure the toilet in the apartment. You will have to take care of the hardware profiles that are needed to complete the corners, design the docking areas near the floor and ceiling, create an inspection door, cabinet, if necessary. The design of moldings is primarily influenced by the conceived design of the toilet finish with plastic panels. Profiles are connecting, starting, ceiling, end, external and internal.
The panels are installed on the crate - wooden slats 20x50 mm or metal profile. The step between the vertical or horizontal guides of the frame is usually 50-60 cm. The crate is fixed on the base with dowels, they must enter the wall 5-6 cm. For starting installation of PVC panels on the frame, screws 15-20 mm in size are used.
The options for finishing the toilet with panels include the possibility of using liquid nails or other adhesive compositions for tiles if the walls are initially perfectly smooth (that is, without a crate). Rarely, toilet repair in Khrushchev develops according to this scenario, but in panel houses there are chances.


If it is planned to use wood for the frame, it is necessary to pre-treat it with compounds that prevent decay, protect against damage by microorganisms. Walls and ceilings can also be primed initially to strengthen future cladding and protect surfaces from insects and mold.
Tool List:
- a screwdriver, a perforator, drill bits of different sizes for concrete and wood;
- jigsaw, hammer, tape measure;
- construction stapler and level;
- markers for marking;
- scissors for metal (if such a frame is selected).
Spatulas, brushes will be needed to work with the primer, a construction hair dryer can also be useful here.


Do-it-yourself toilet repair with plastic panels: expert advice
Before you make repairs in the toilet using plastic wall panels, you should clean all surfaces of exfoliated paint, old wallpaper. While the wood will dry out after impregnation with protective compounds, you can manage to process the ceiling and walls with a primer in two layers. If the repair will be accompanied by a replacement of the toilet, it is better to dismantle it in advance.
Next, the base is marked up to estimate the size and number of rails that will be needed for the crate. If the panels are mounted vertically, the bars will be horizontal and vice versa.
The installation of the guides always starts from even areas, then the frame is built where it is necessary to mask communications, draw corners. To level the beam, use the building level, to eliminate distortions, additional linings are used.
Before mounting the panels, it is necessary to adjust the dimensions and the pattern, especially if there is a middle border, border, or connected ornament. The most difficult thing is to join the panels decorated with single fragments scattered across different products: here you will have to carefully plan their placement relative to each other.

Starting profiles are among the mandatory elements of installation - without them, the cladding will not gain the required neat appearance. If the standard white corner profiles do not fit the finish, you can do without them - the panels can be joined by the fit-trim method (this is an option for internal corners).
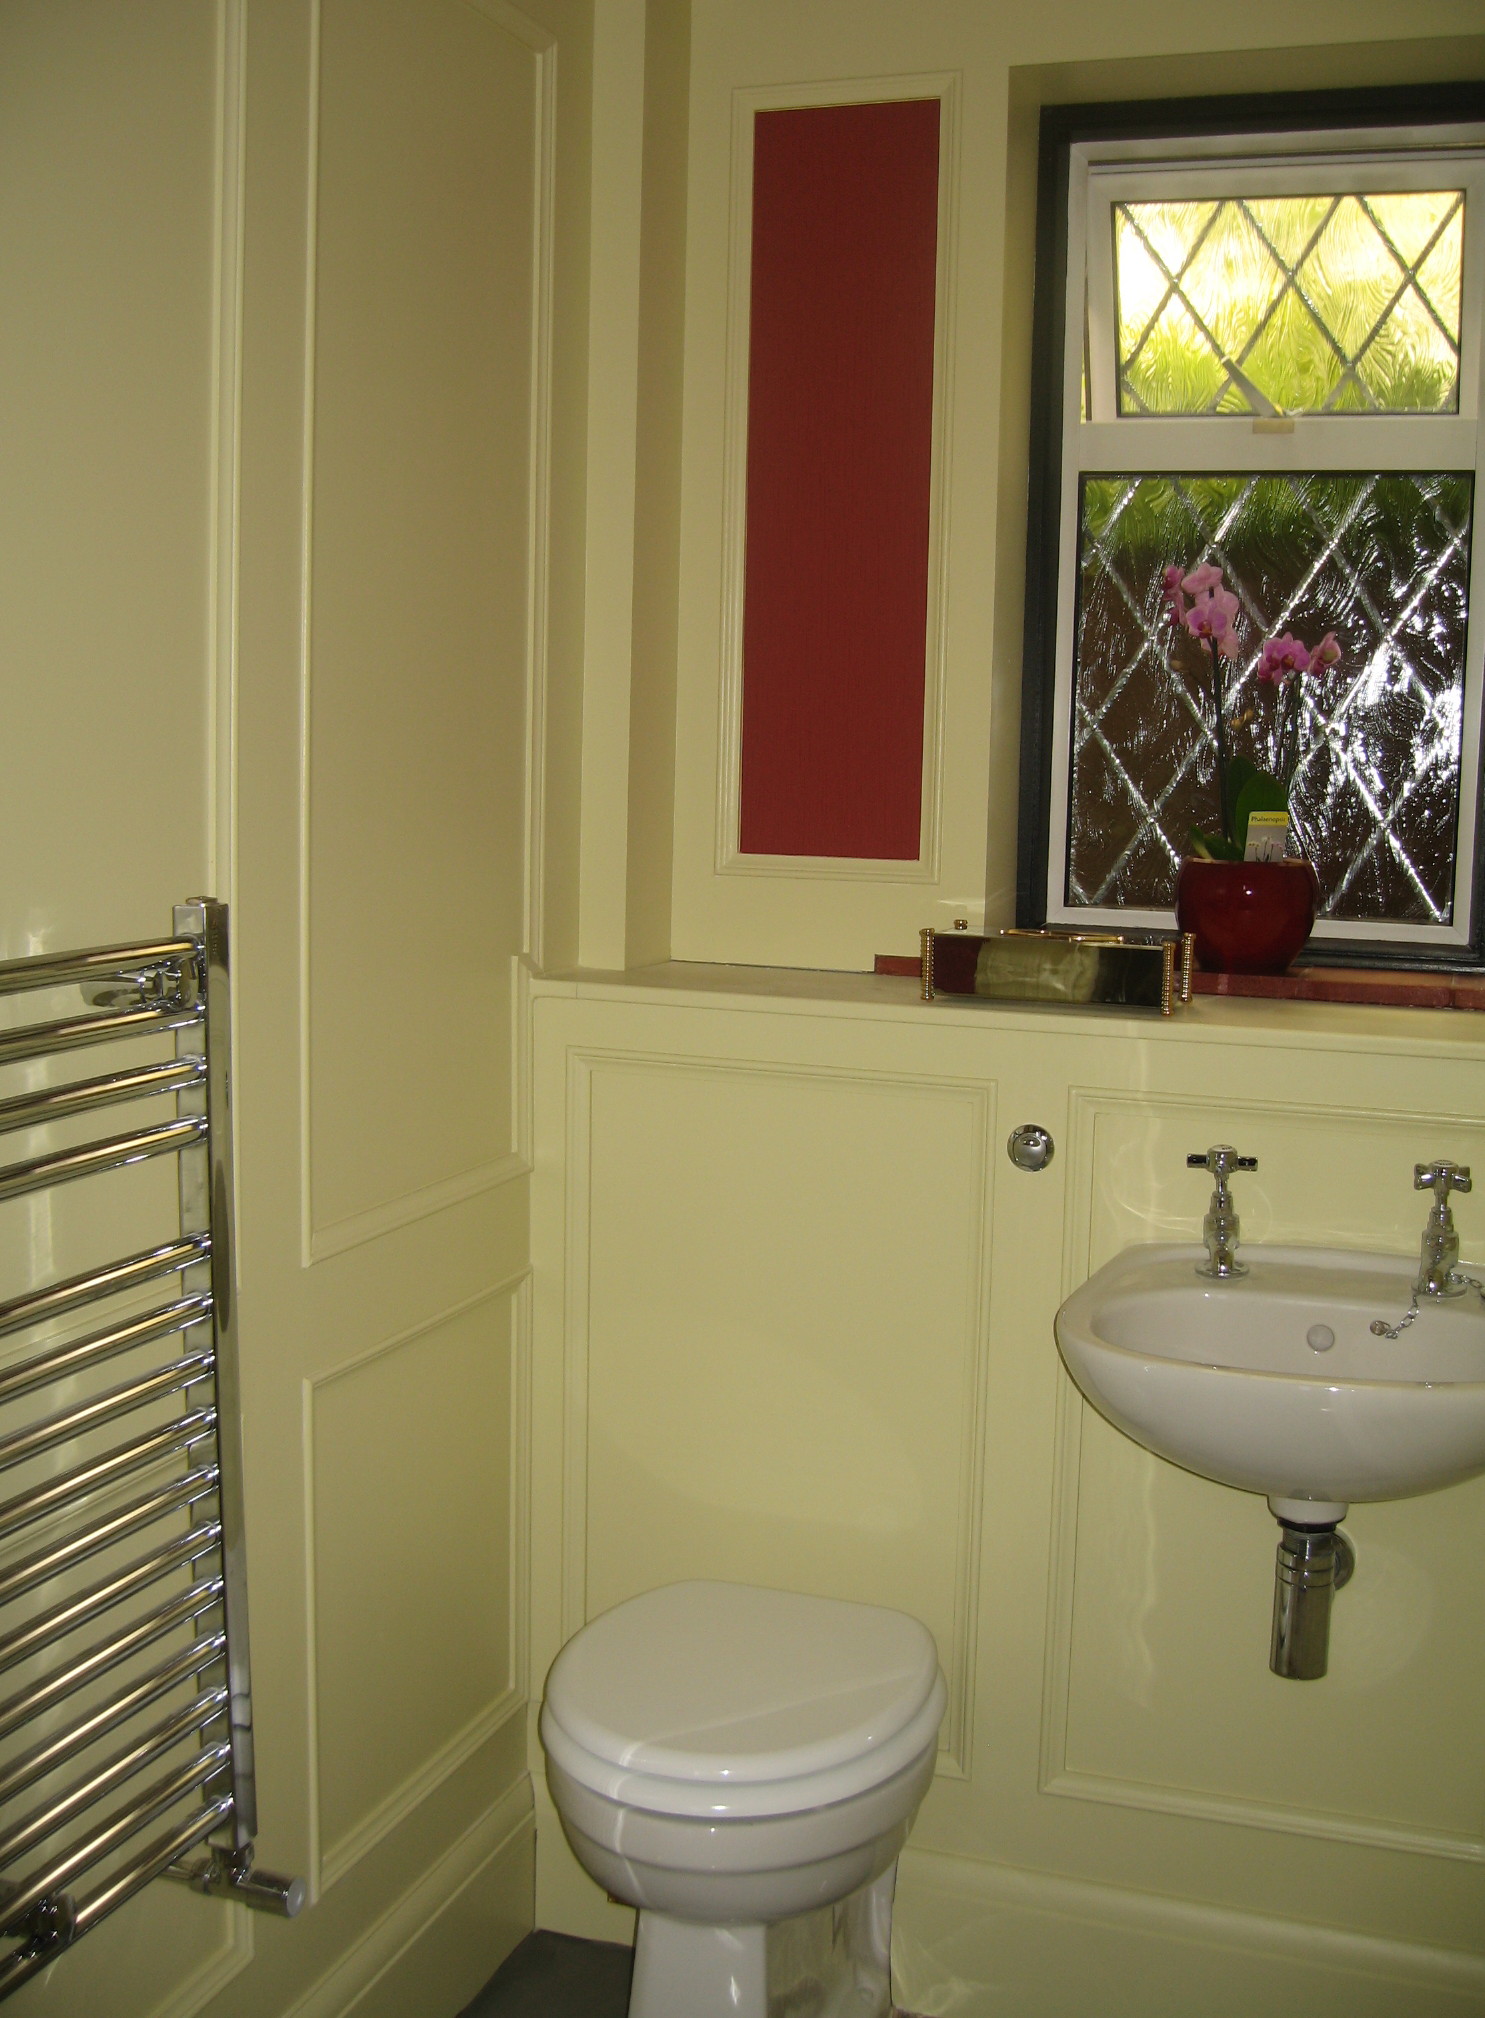
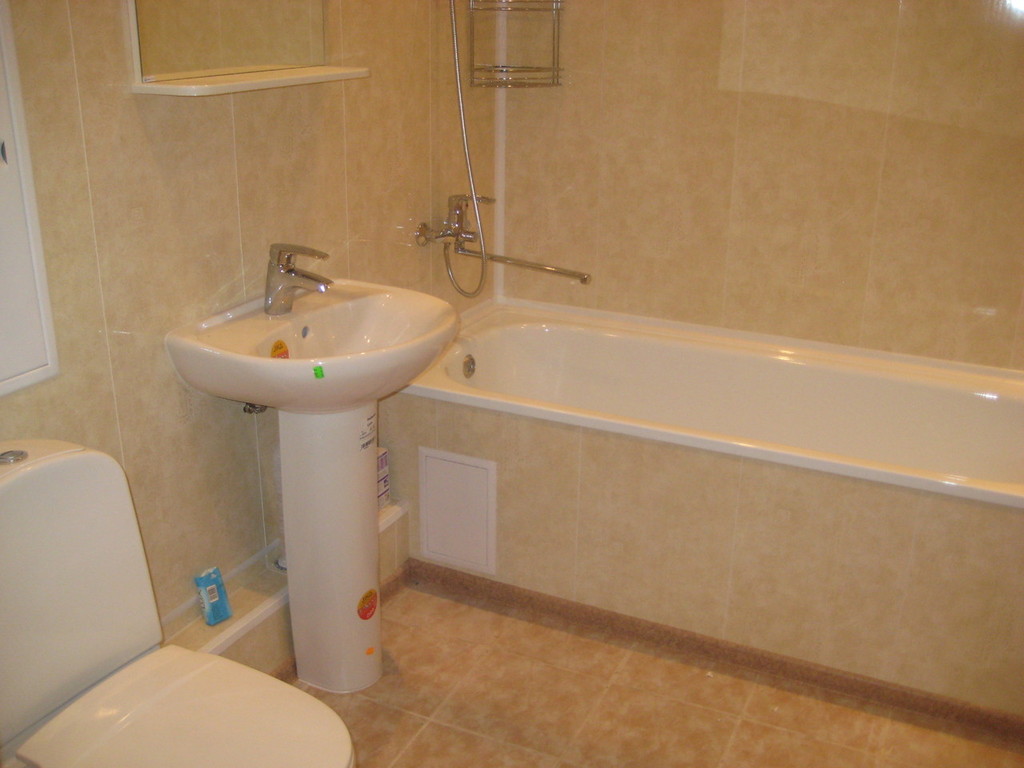
In the event that the walls are really even, liquid nails are applied to the surface in strips between 1-1.5 cm thick. To distribute another option - tile adhesive - a notched trowel is used. Often there are water meters on the side wall, for their safe decoration, you can introduce sliding panels or make an impromptu window with a door.
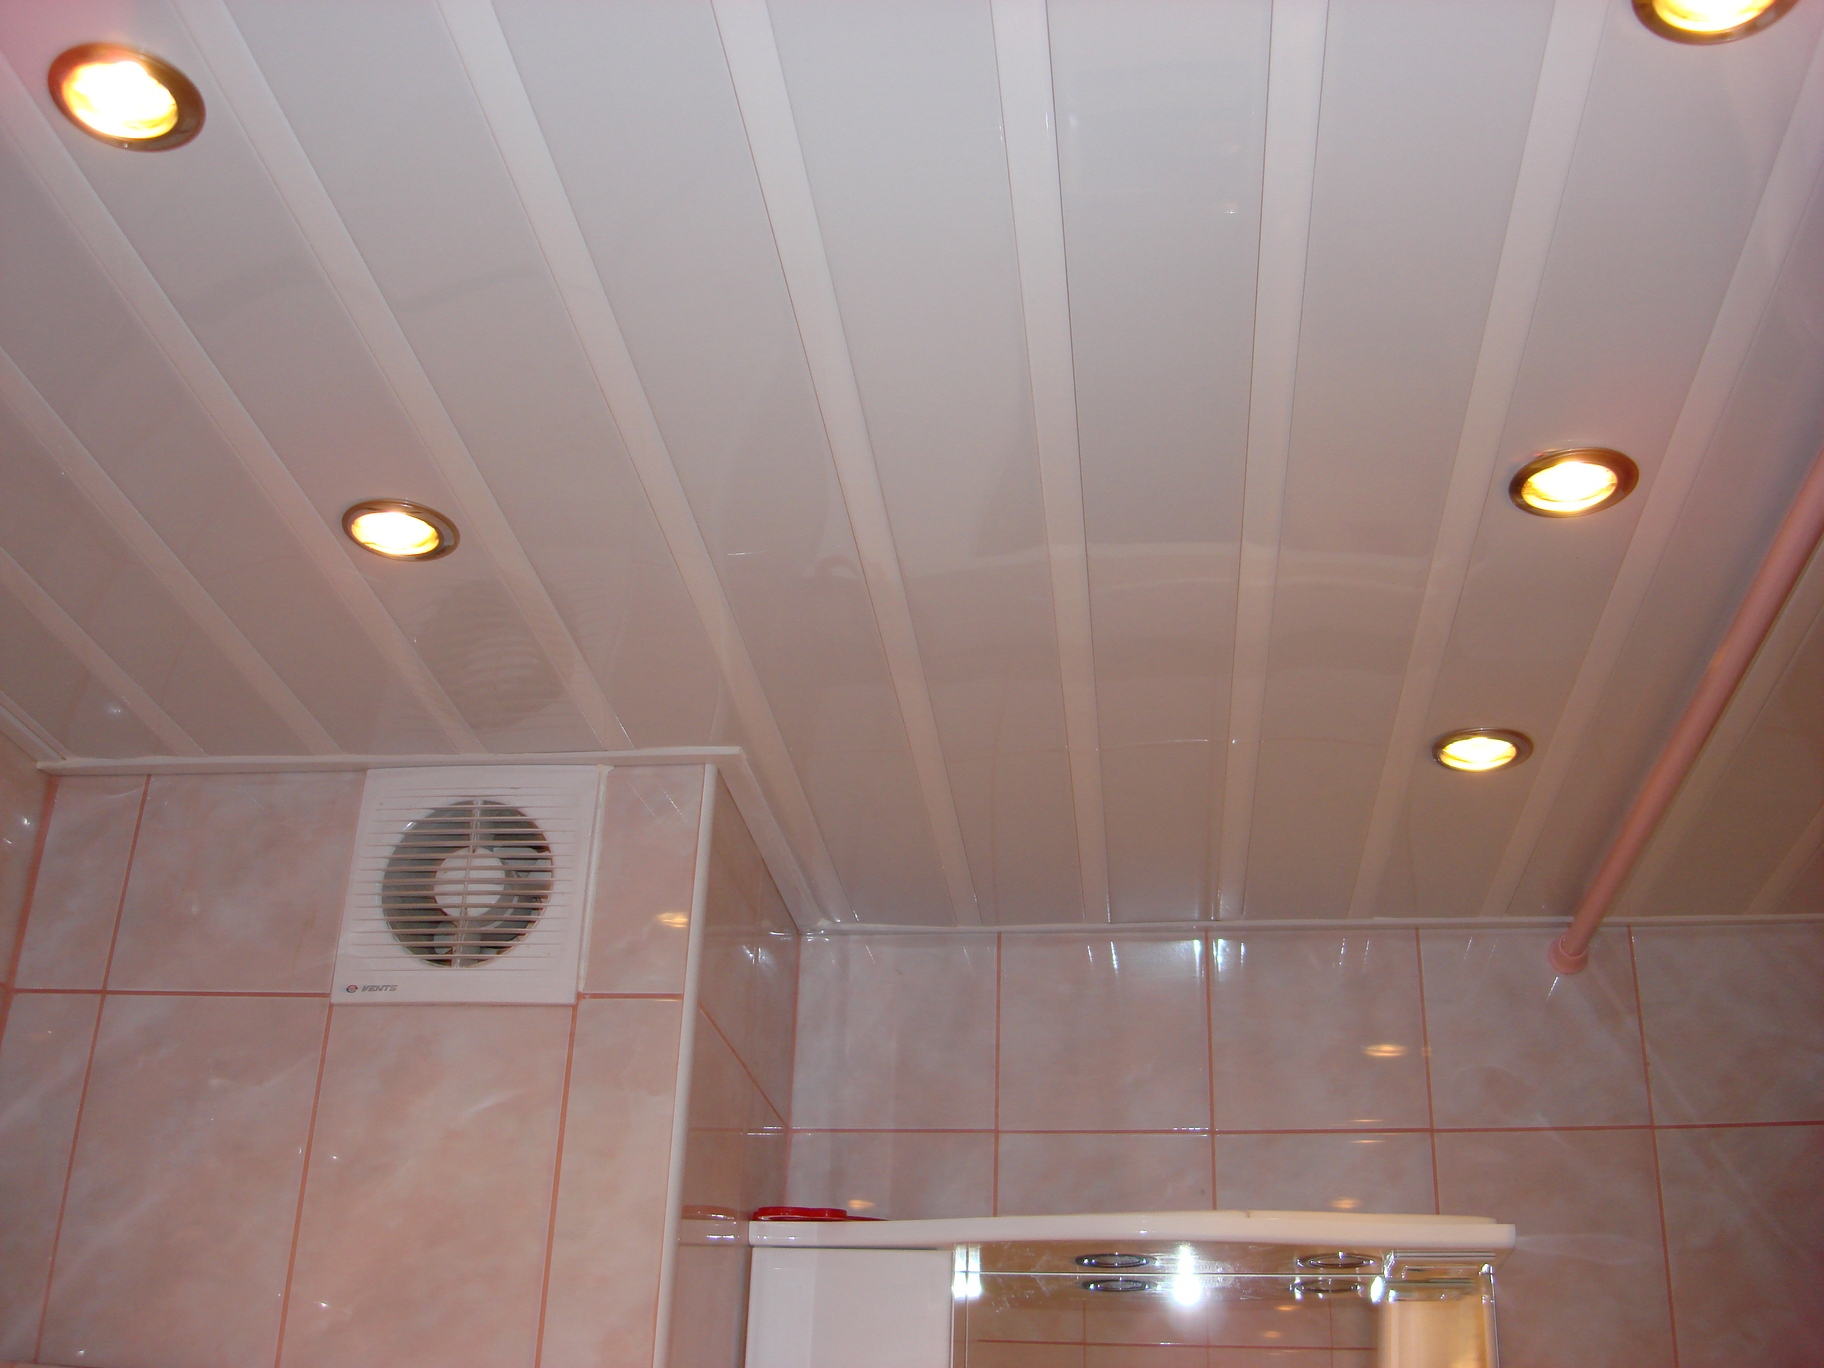
The principles of wall and ceiling cladding are almost identical, but several subtleties must be taken into account. Firstly, it is often necessary to sheathe vertical and horizontal boxes, behind which the communication nodes are hidden. In the case of the ceiling, there is a need for insertion of spotlights.
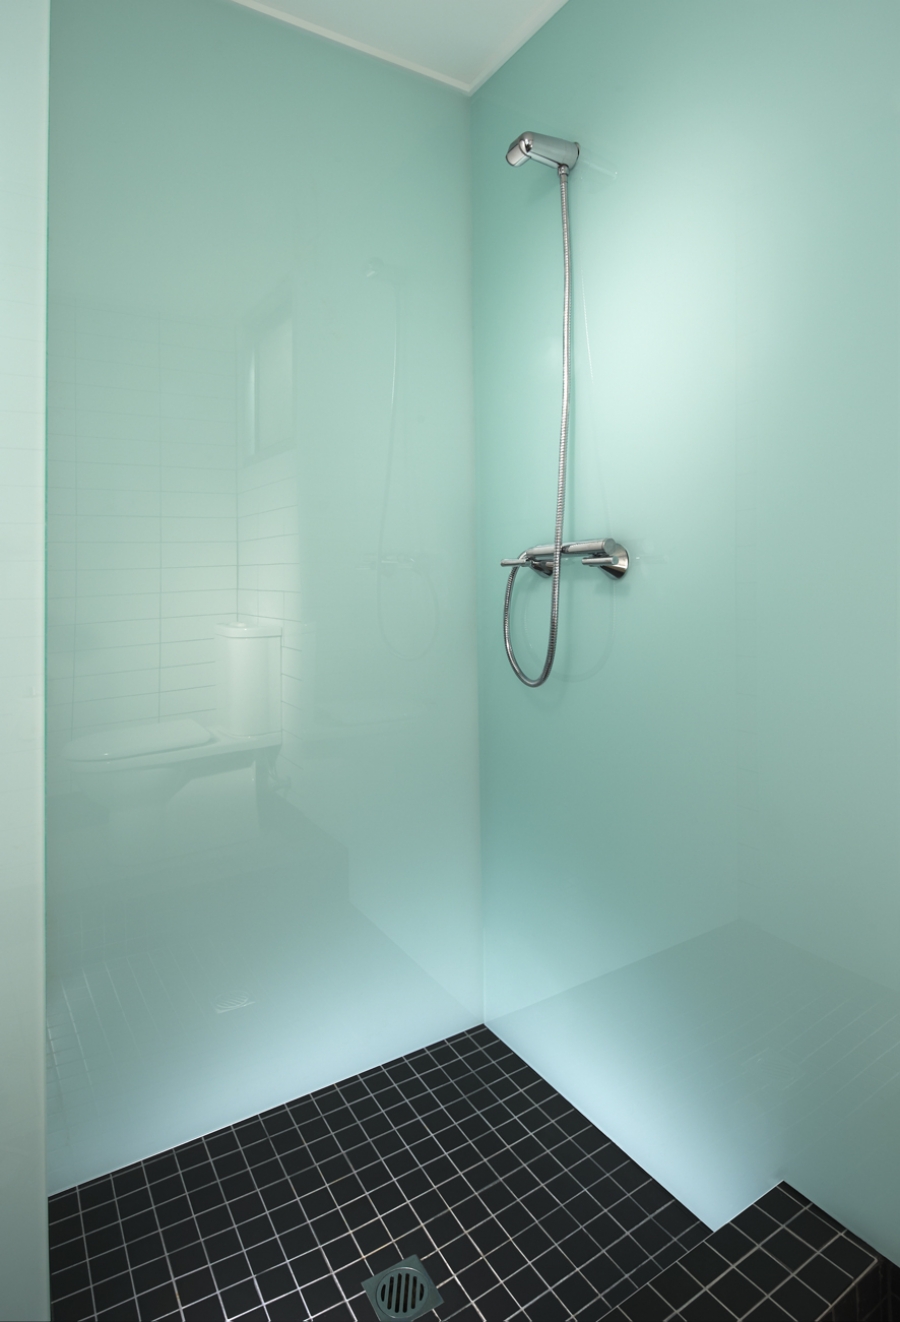
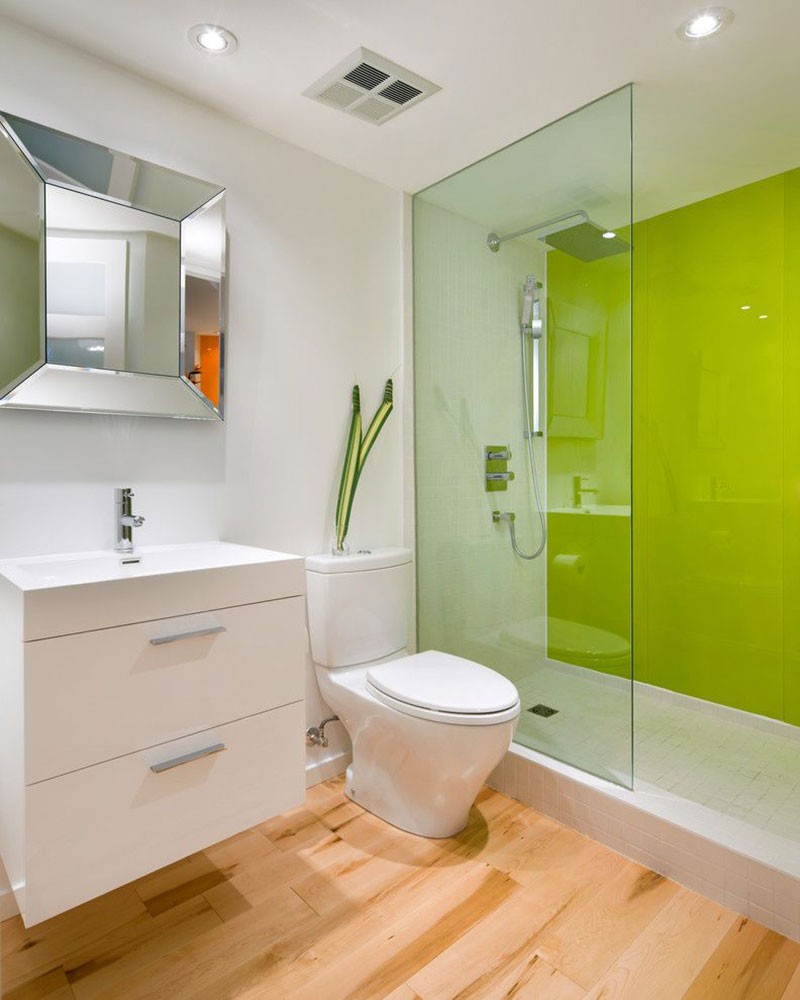
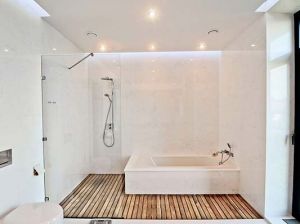
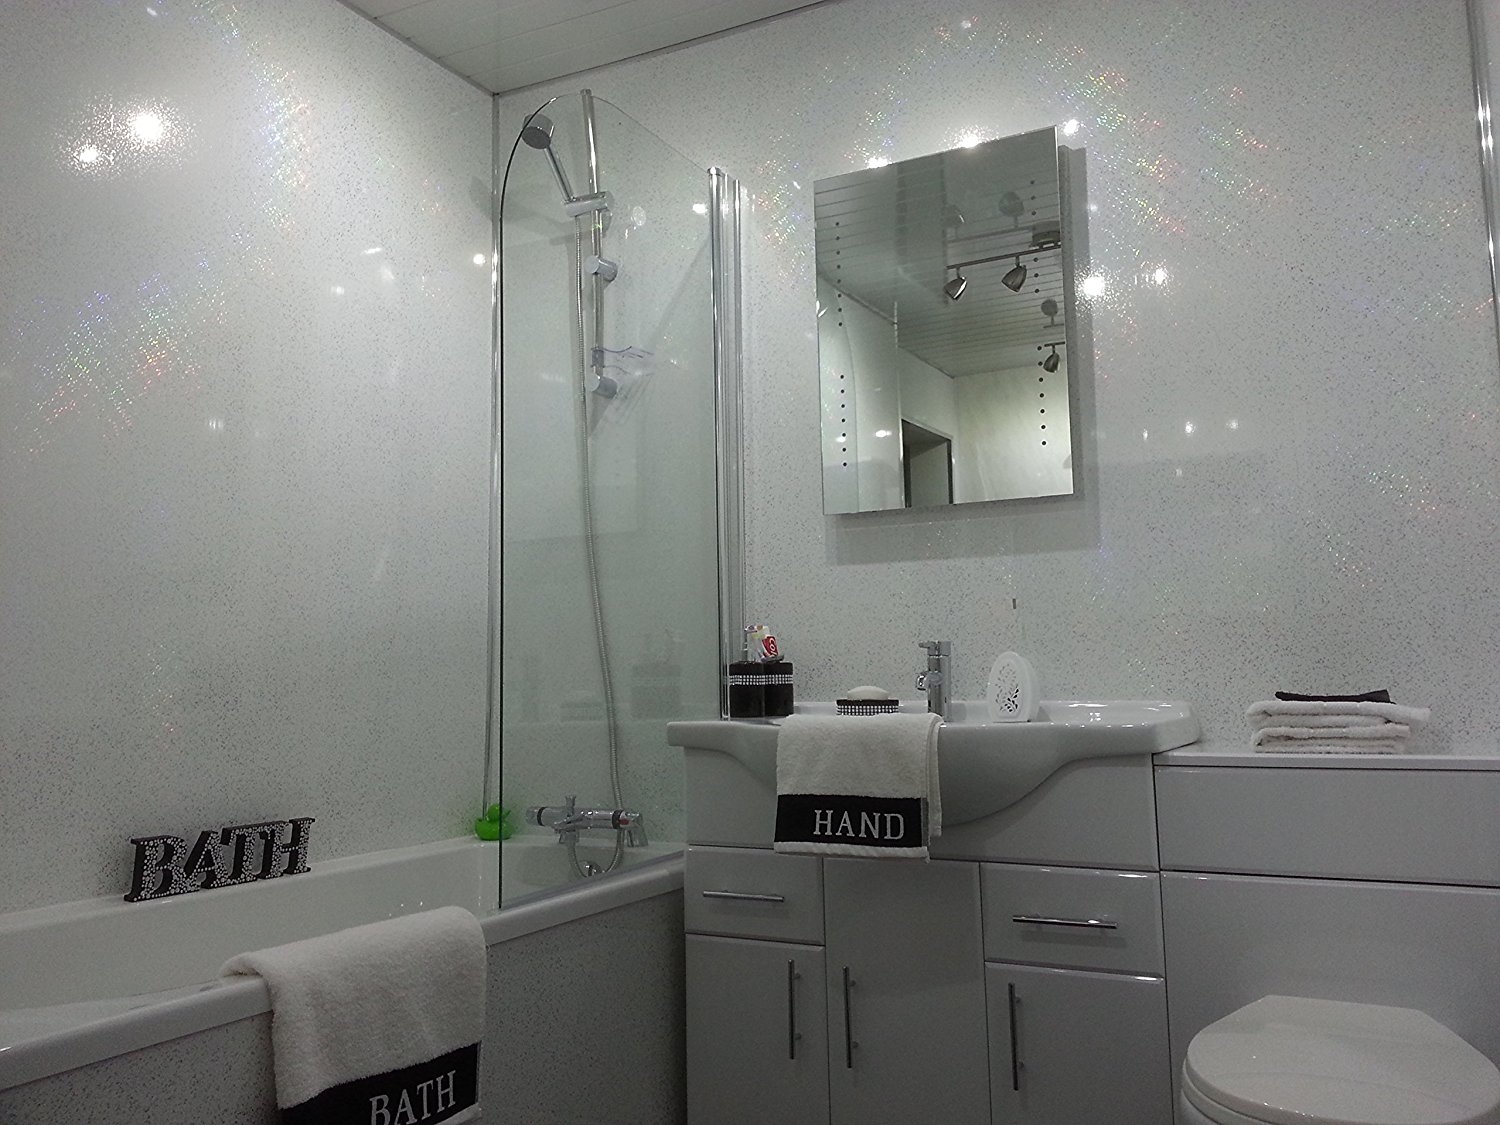
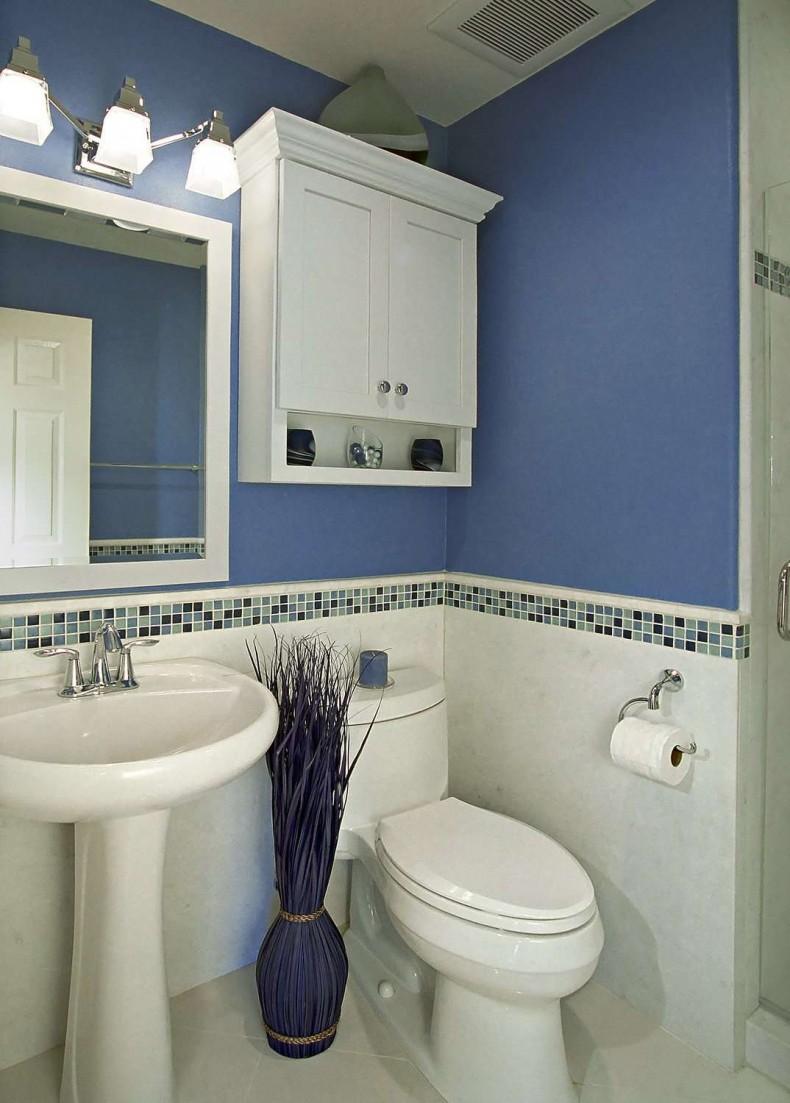
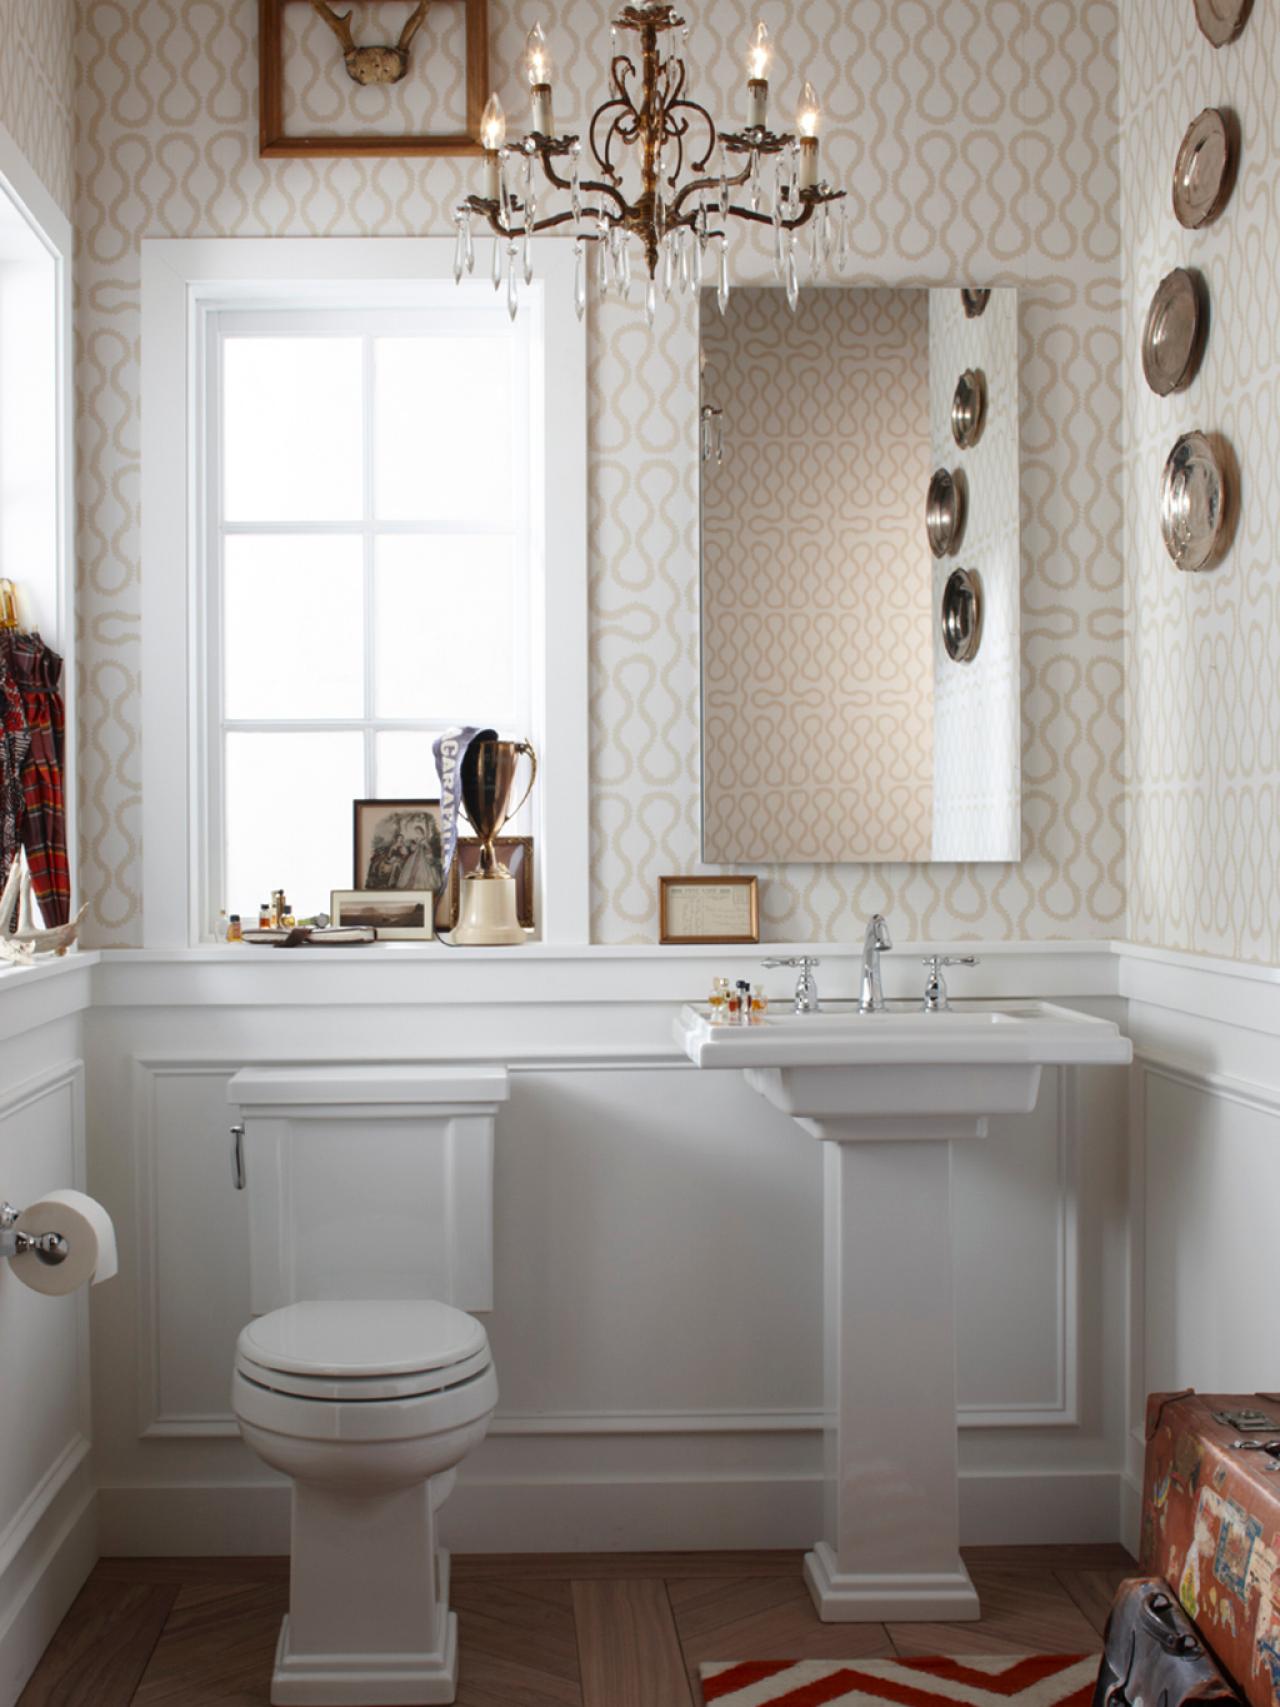
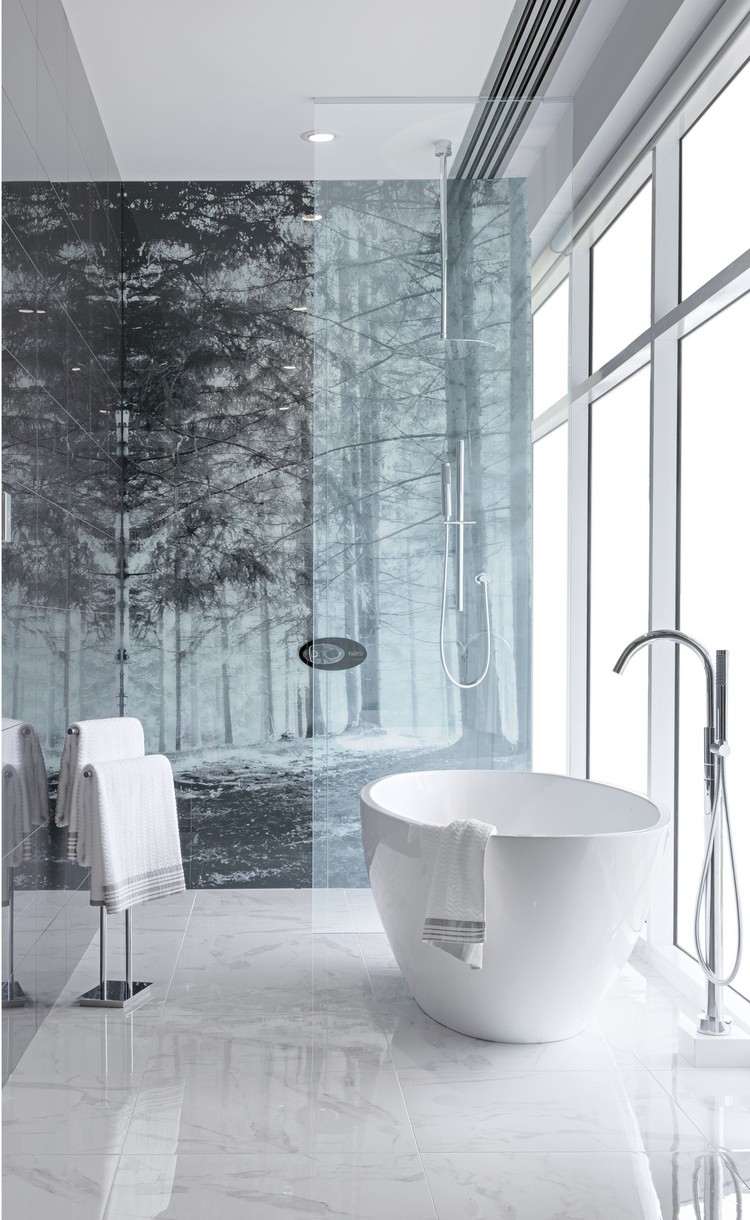
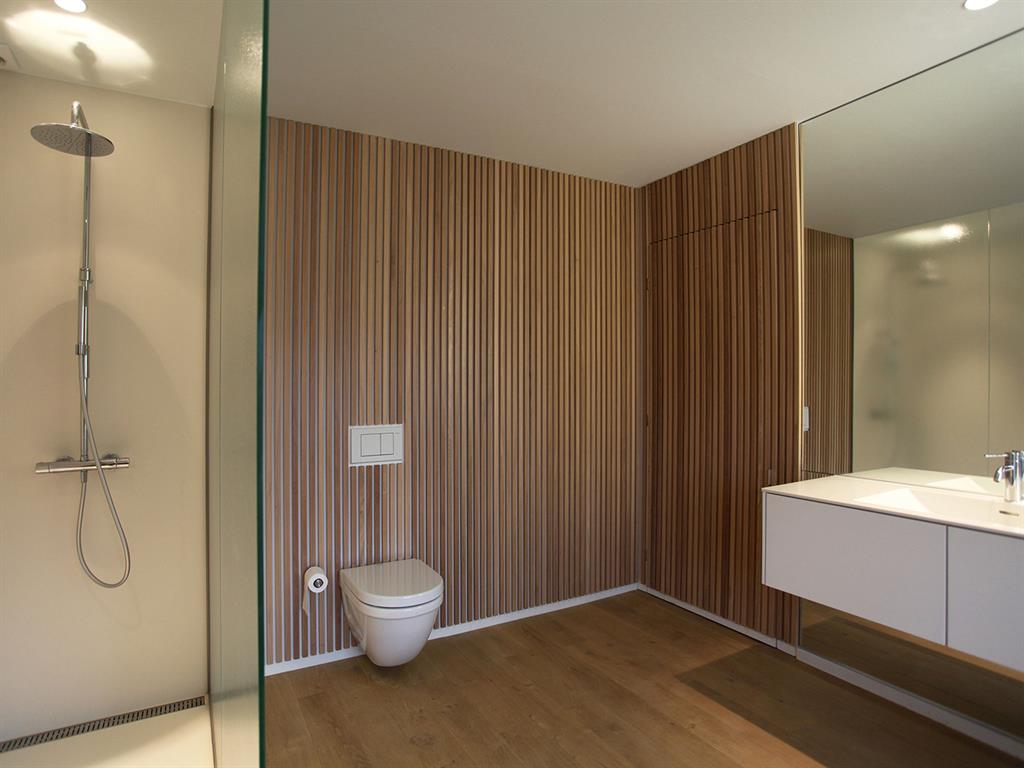
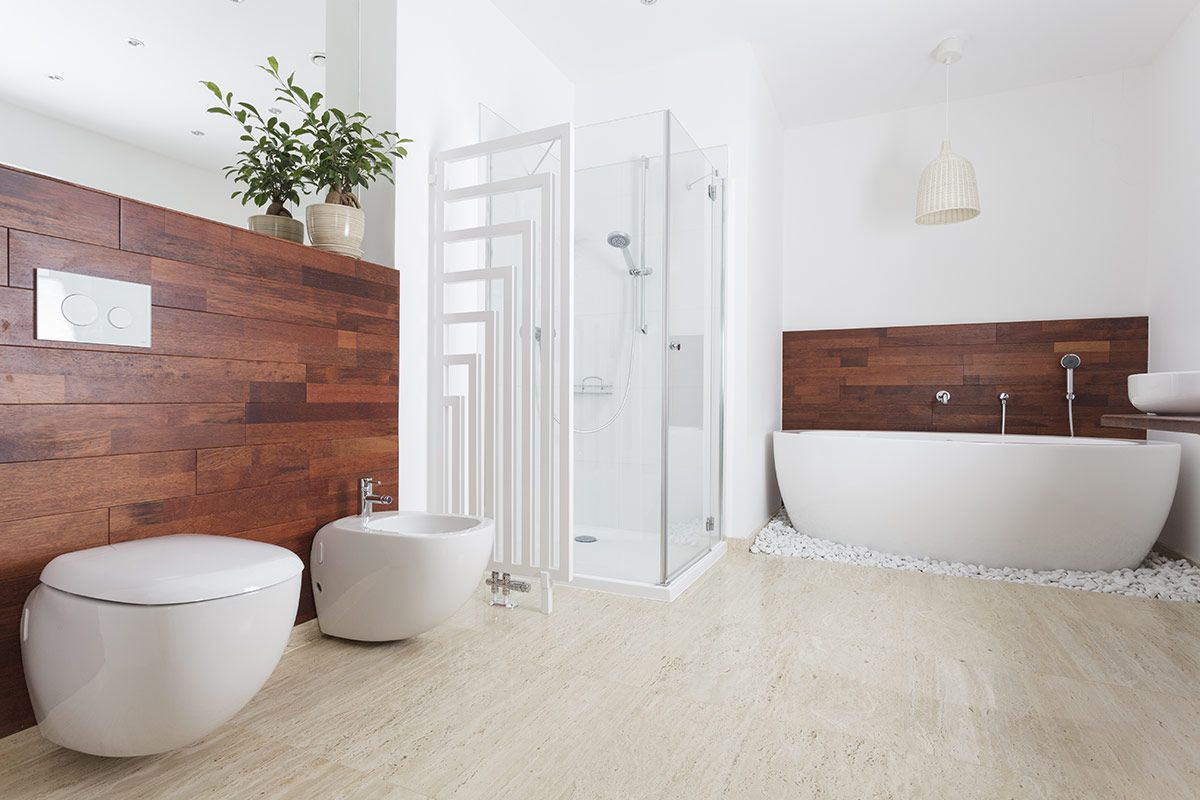
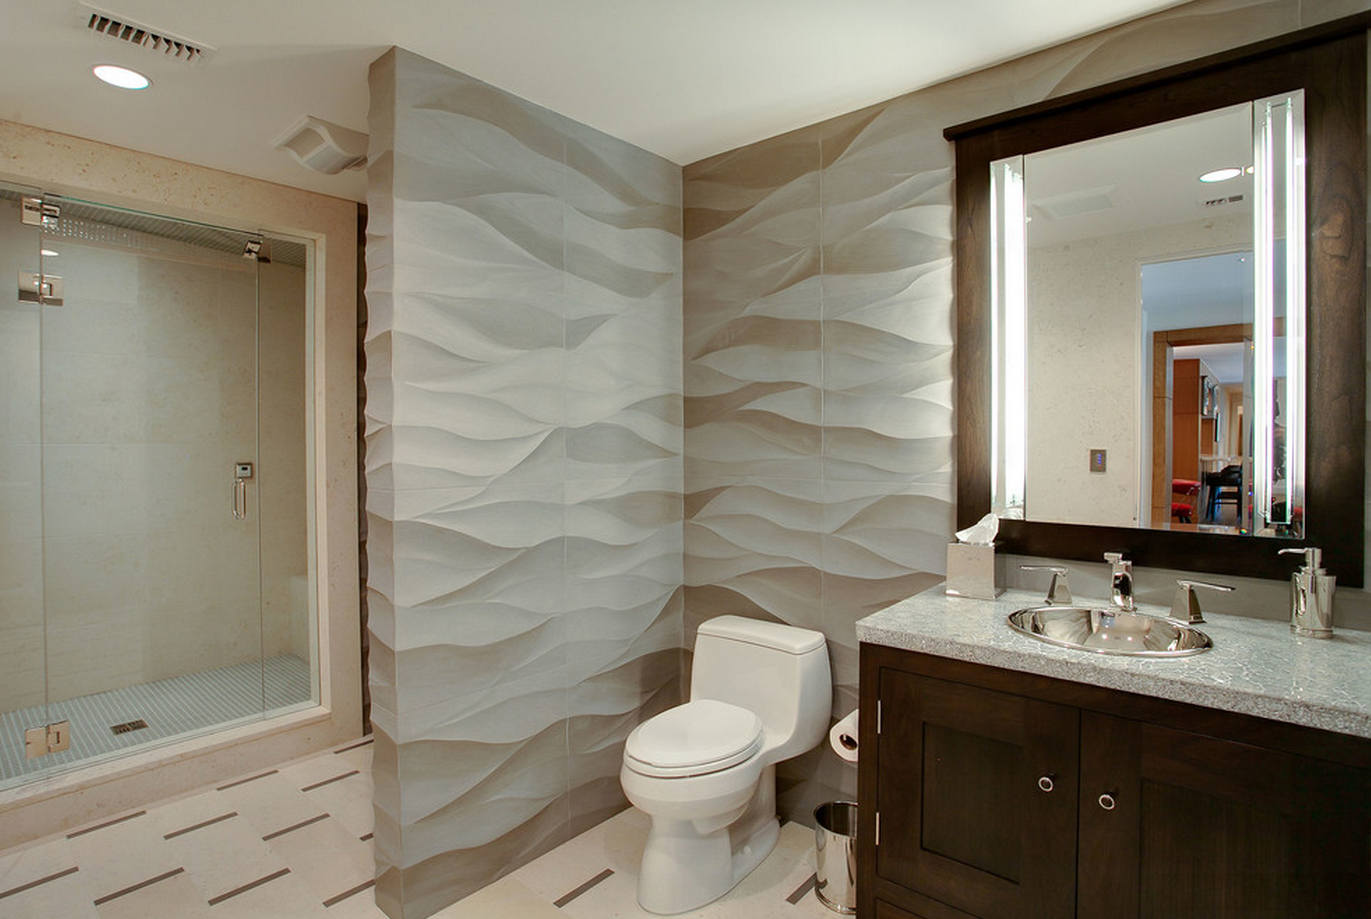
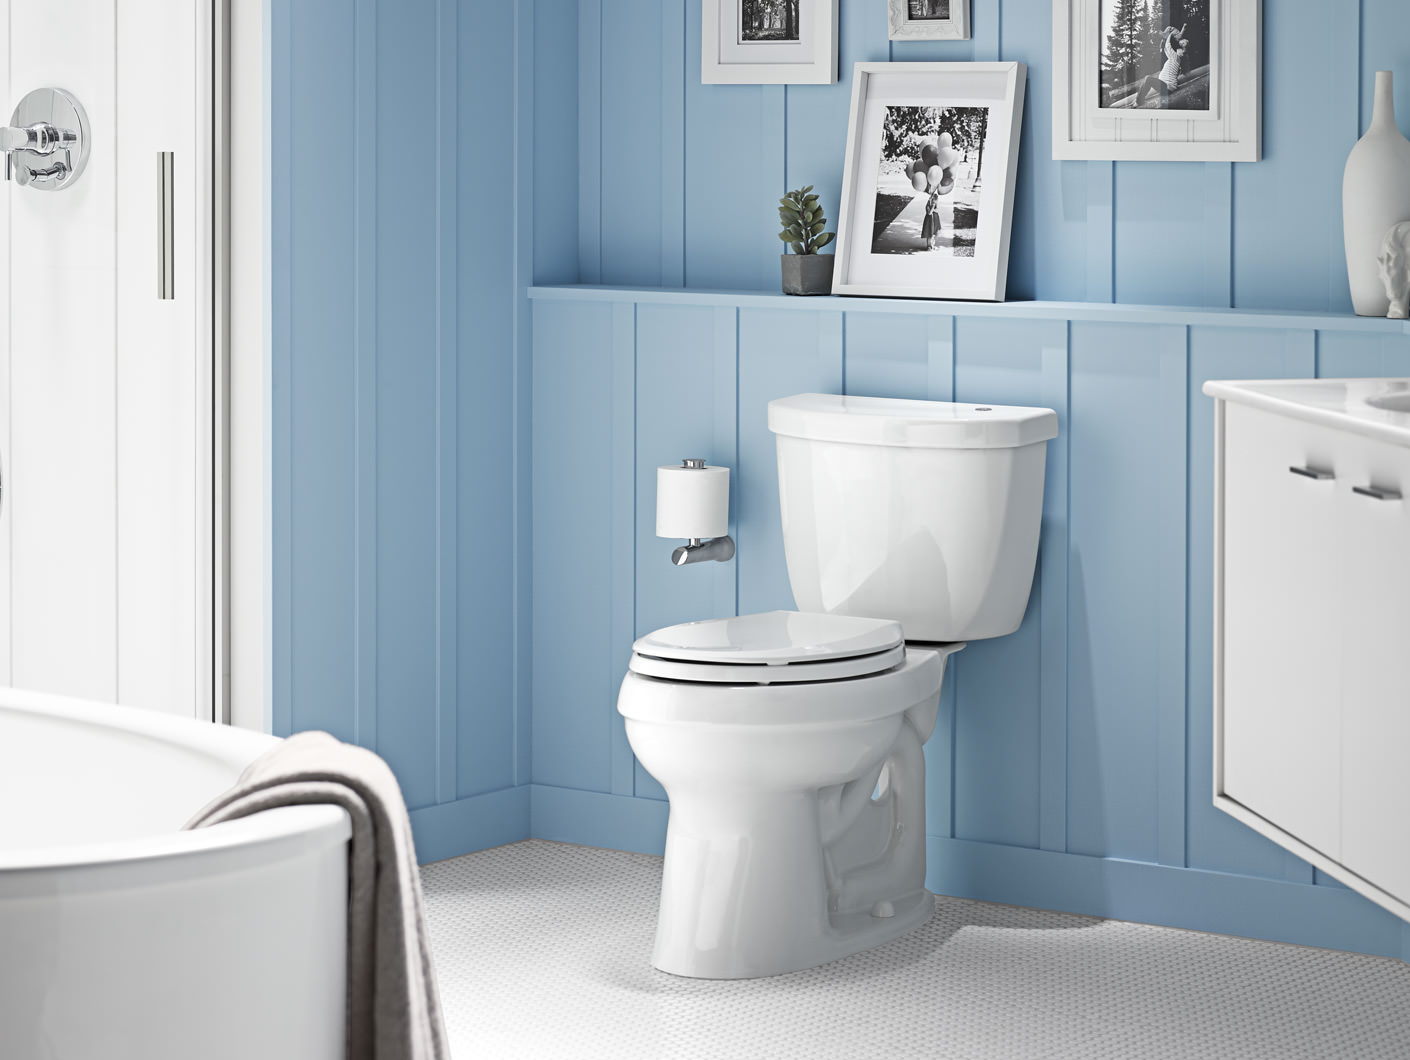
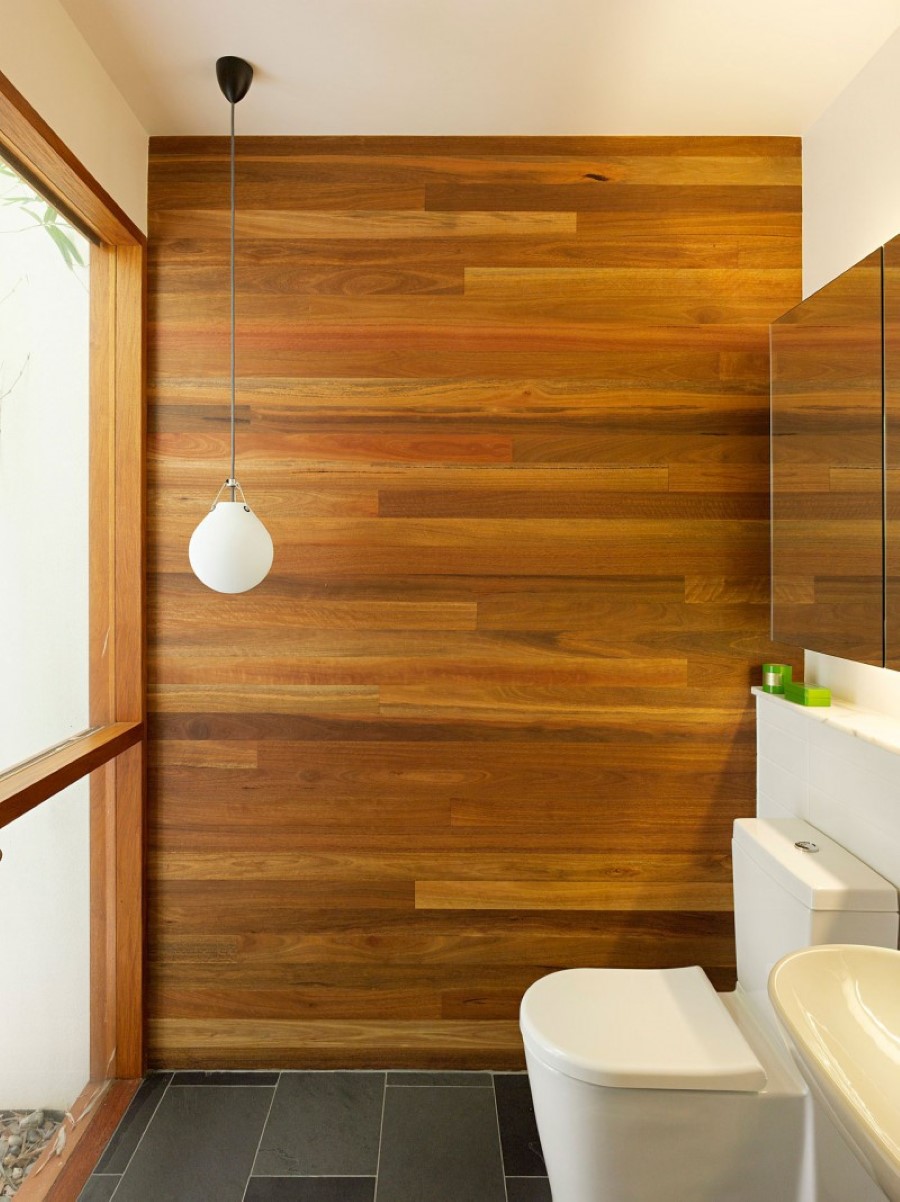
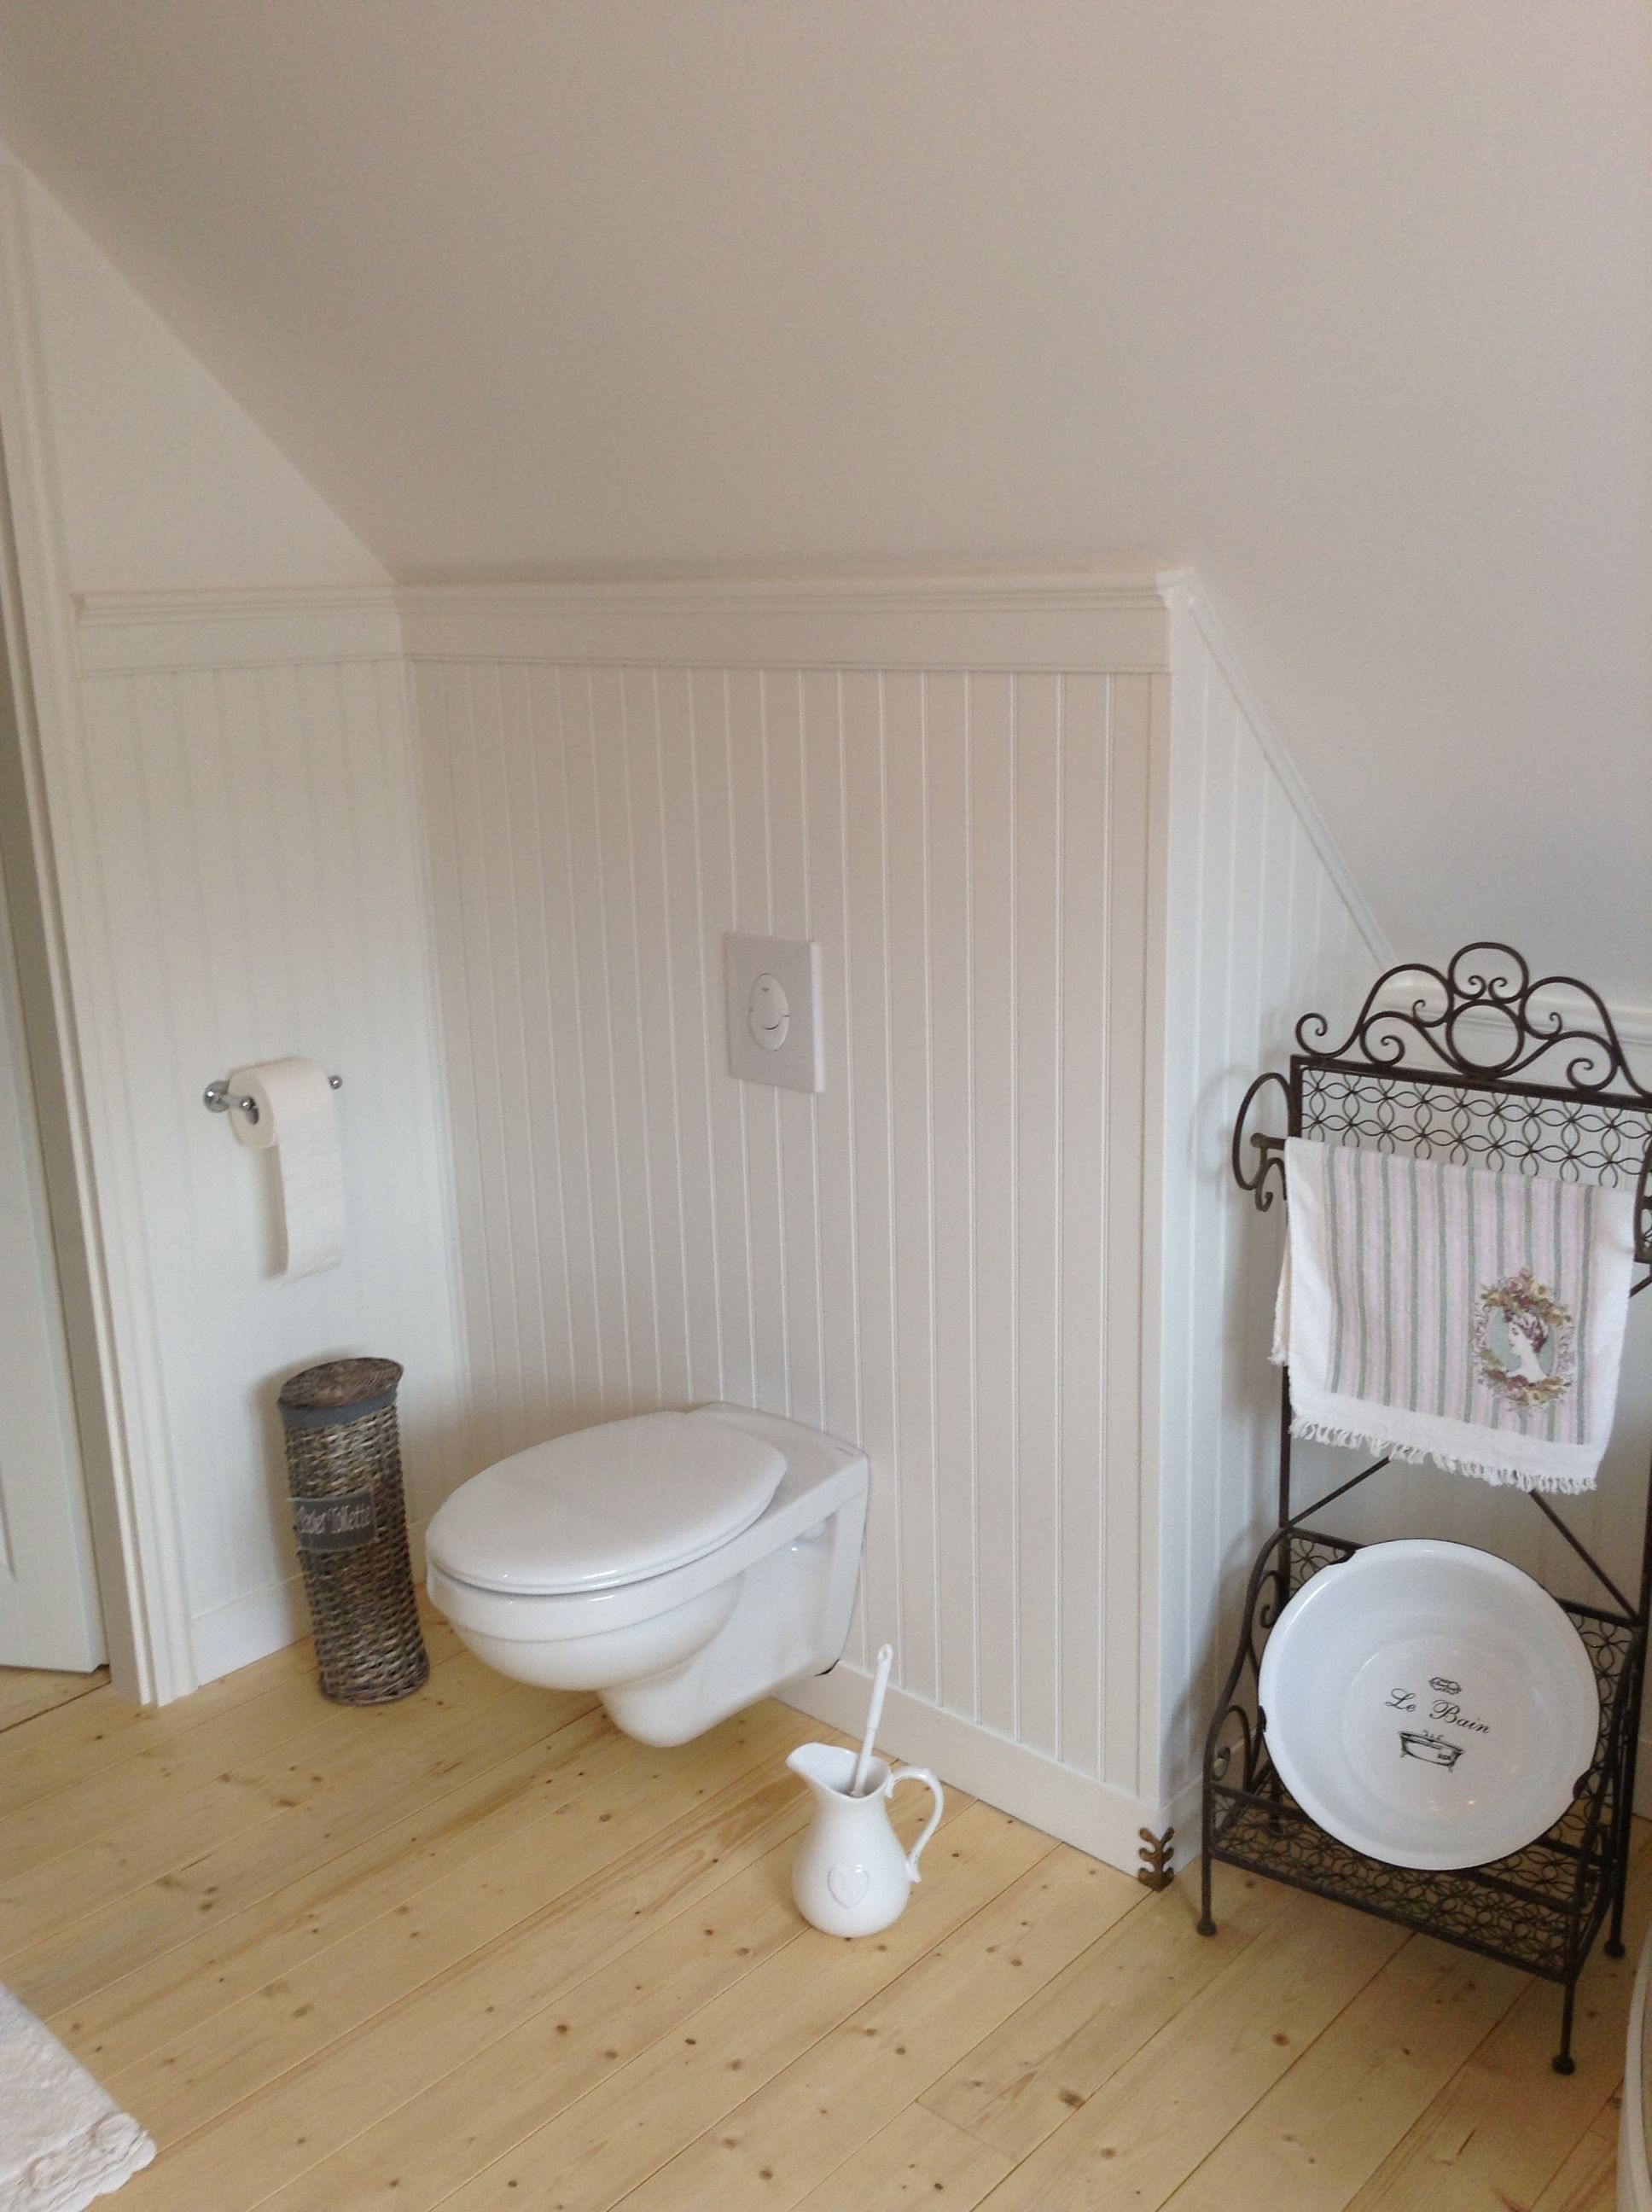
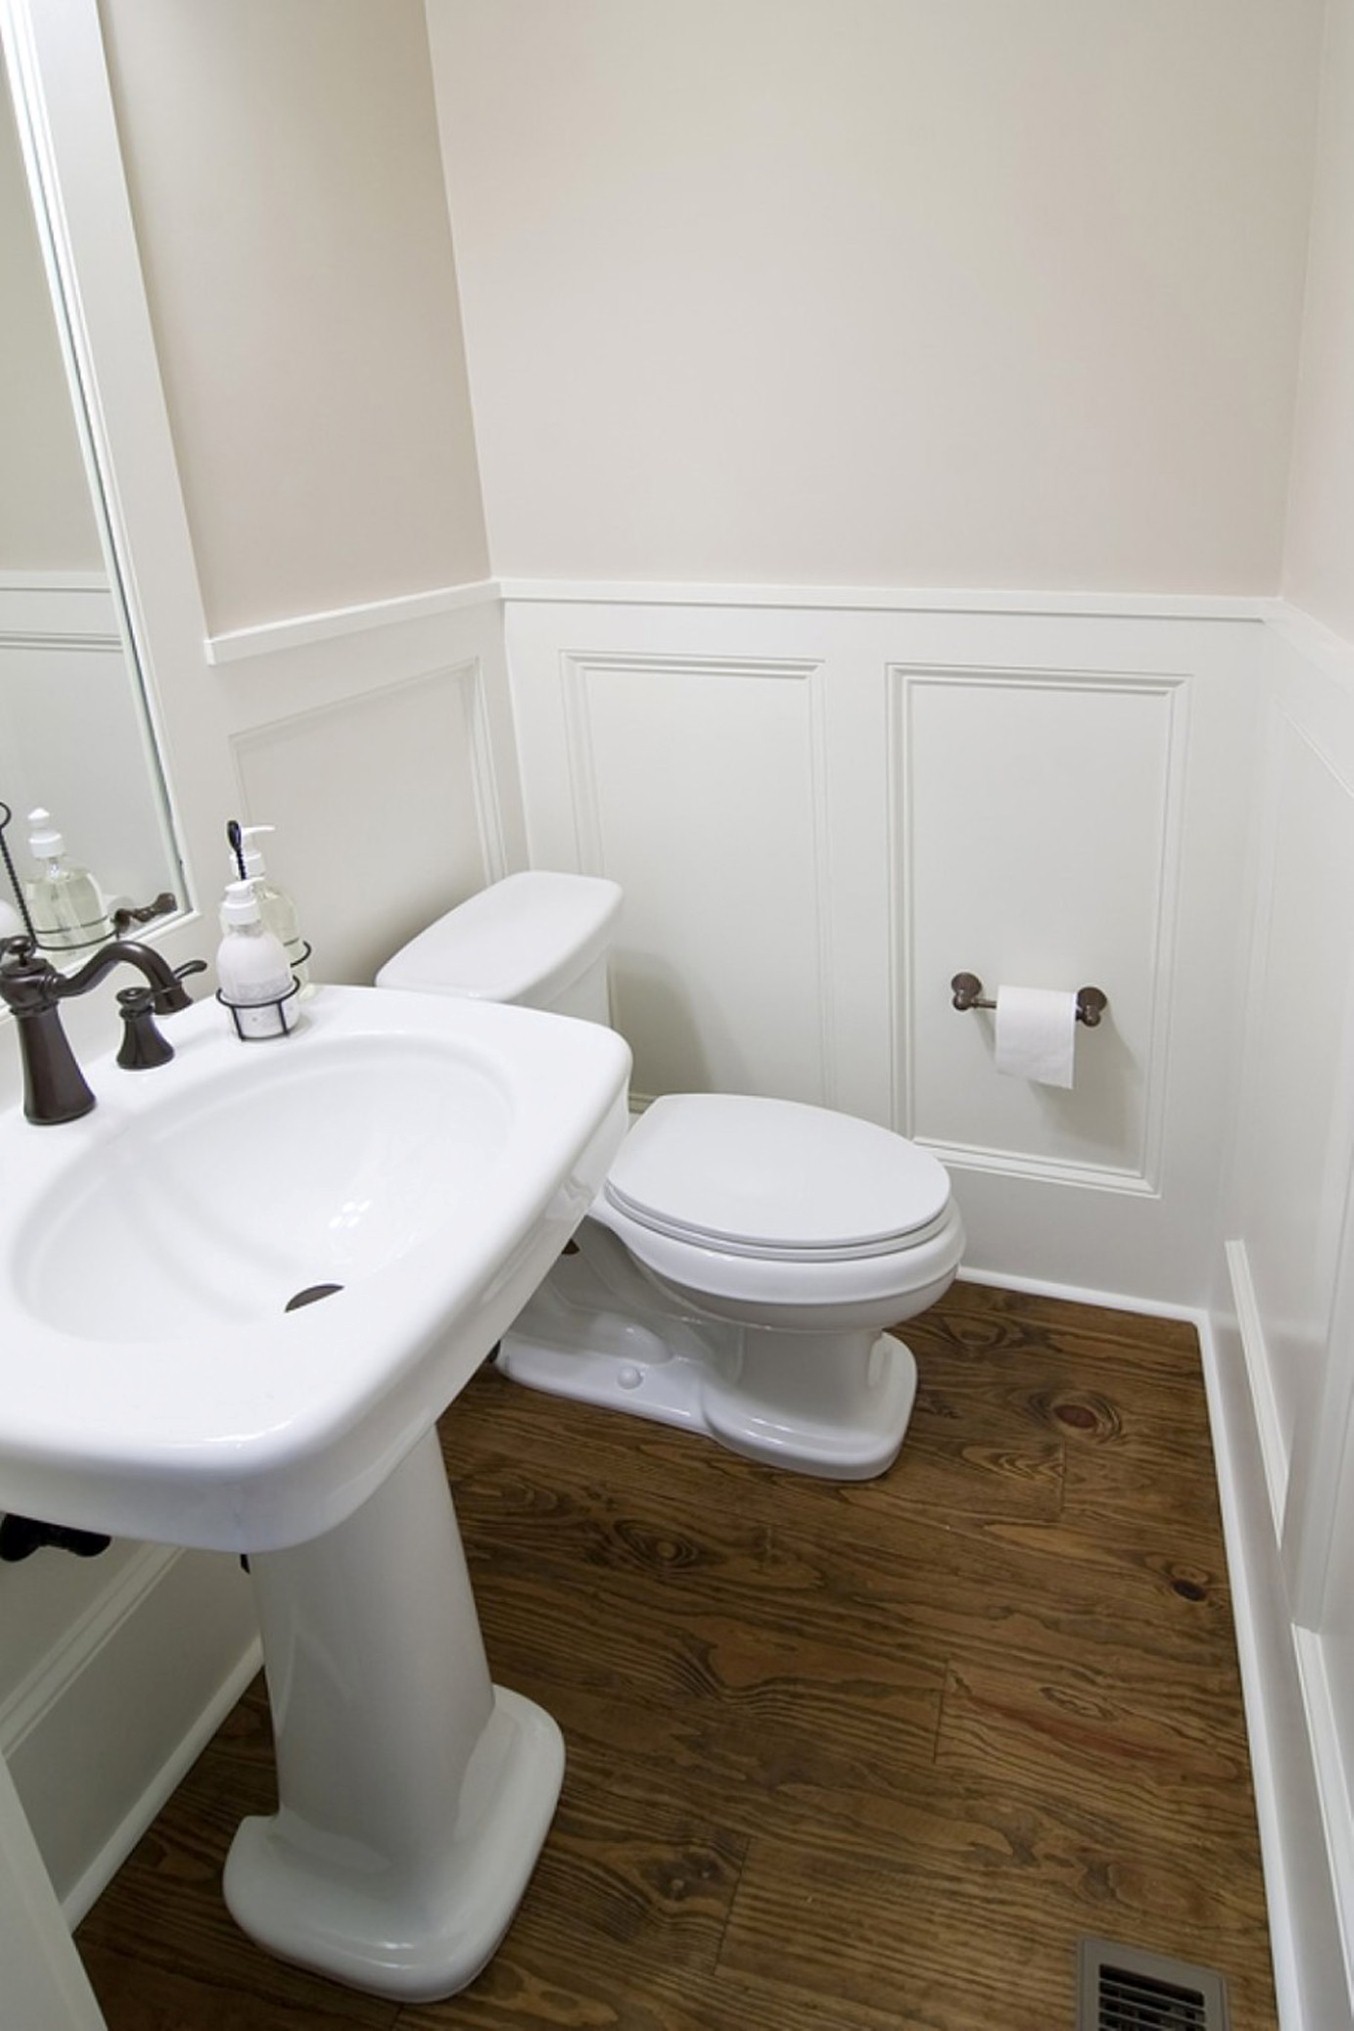
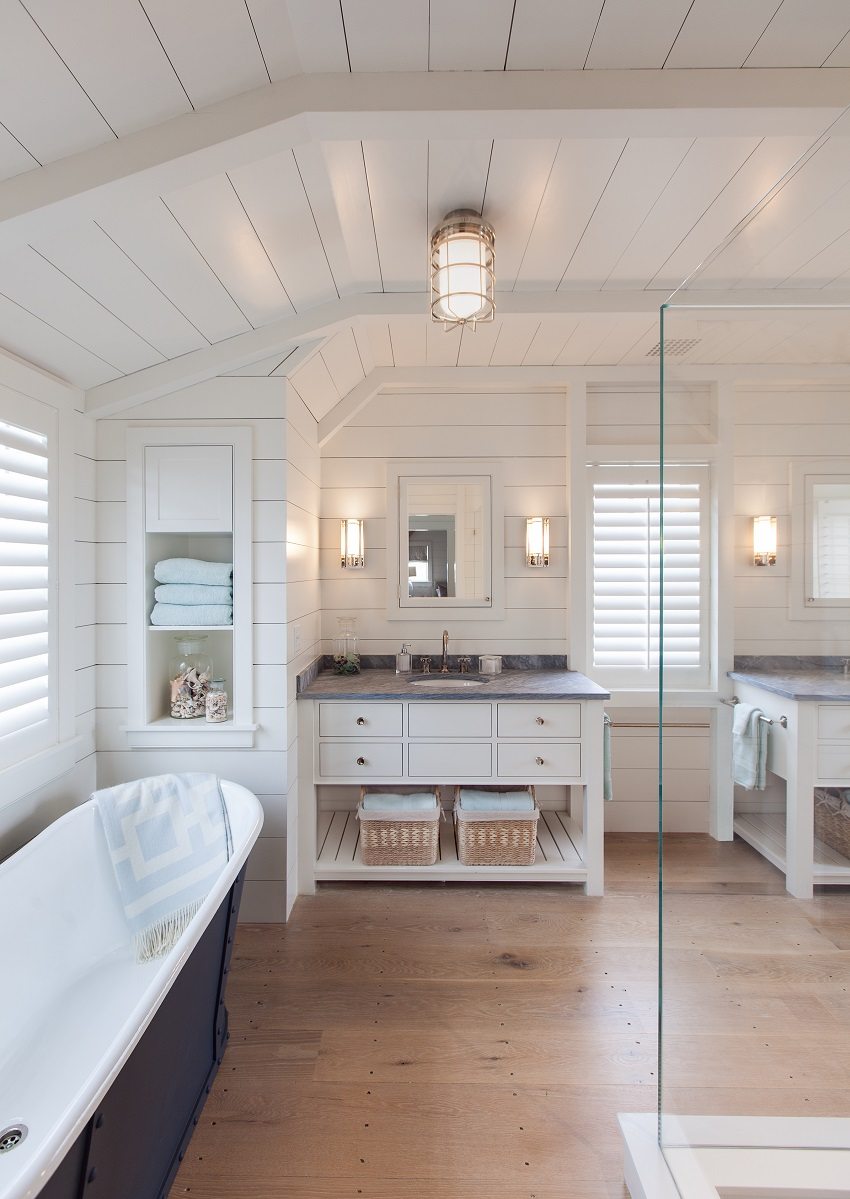
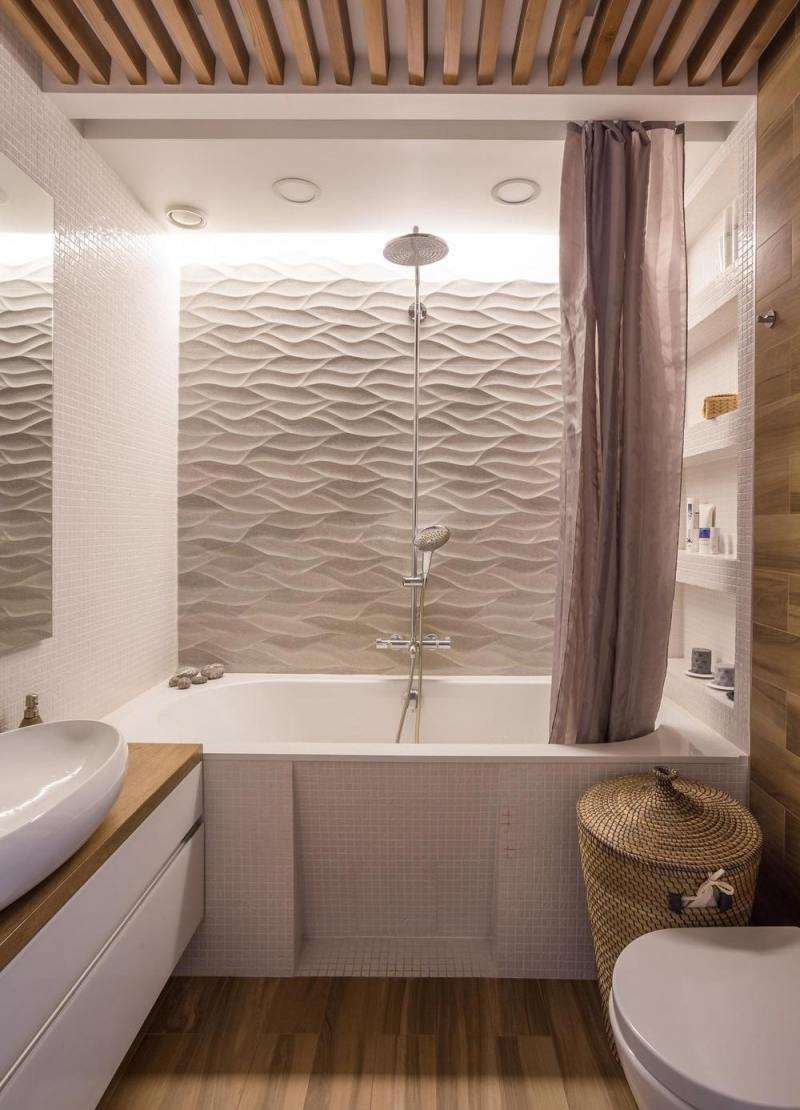
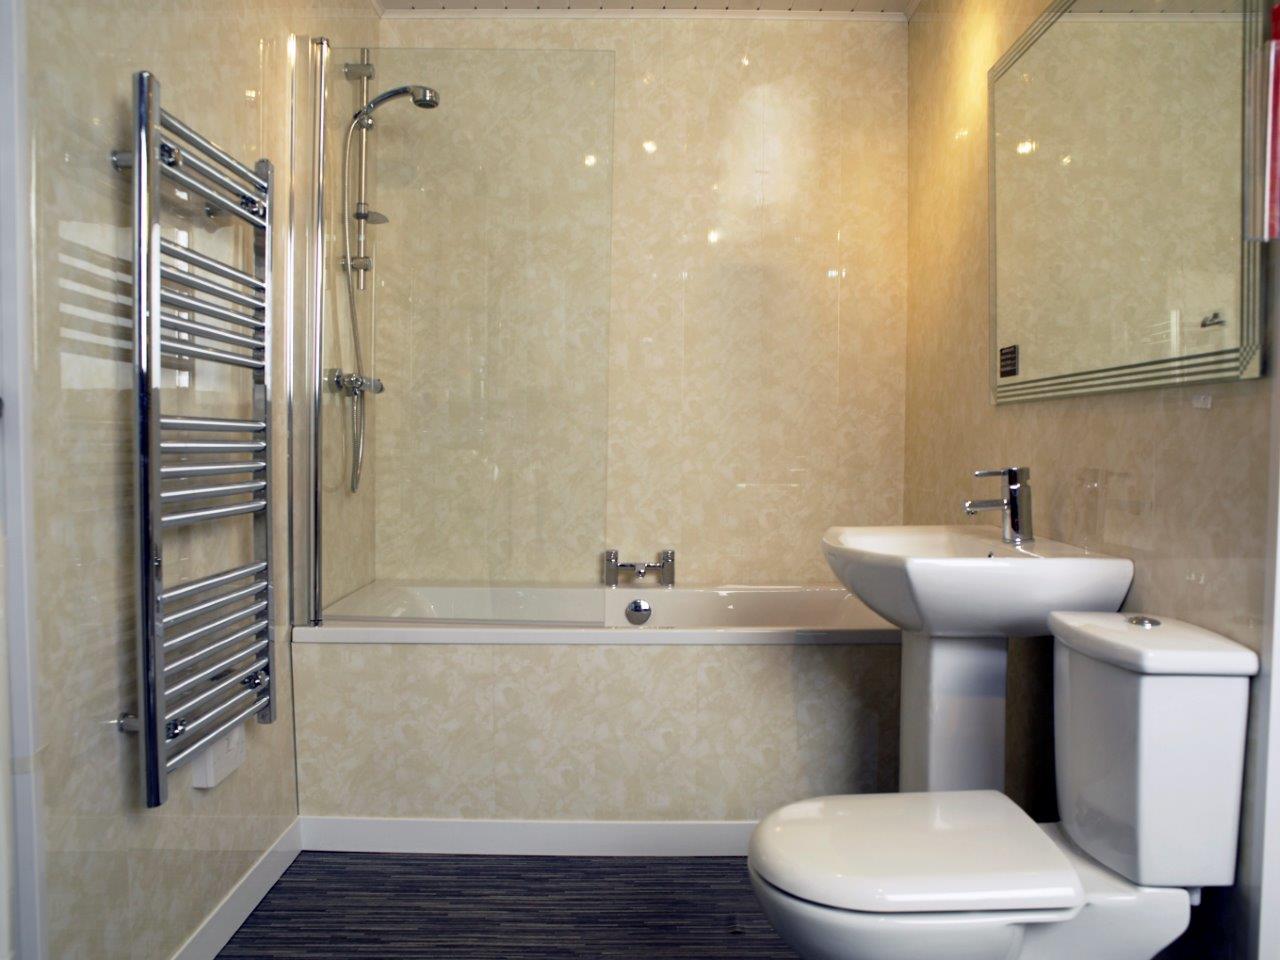
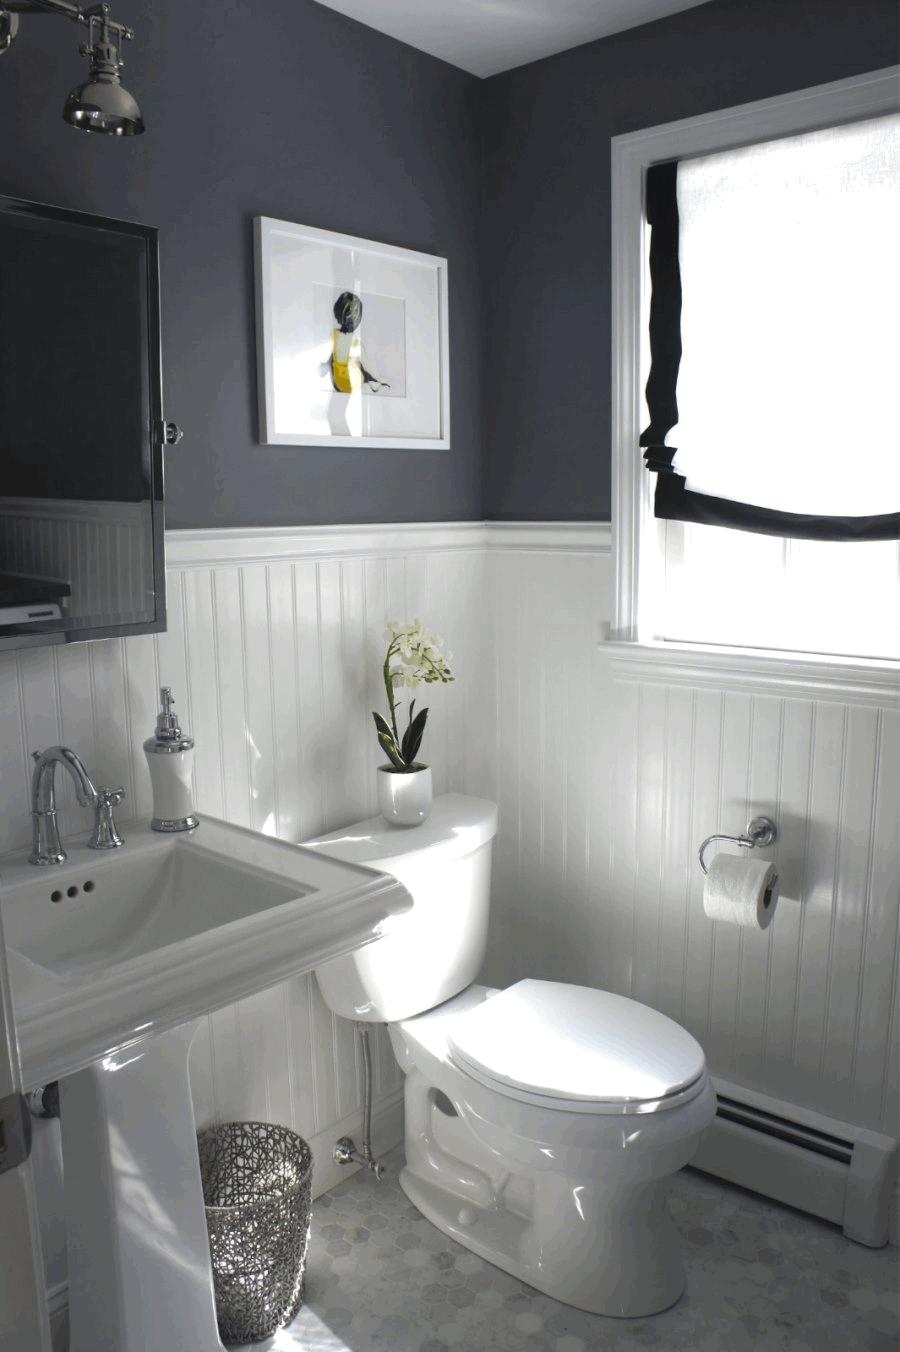
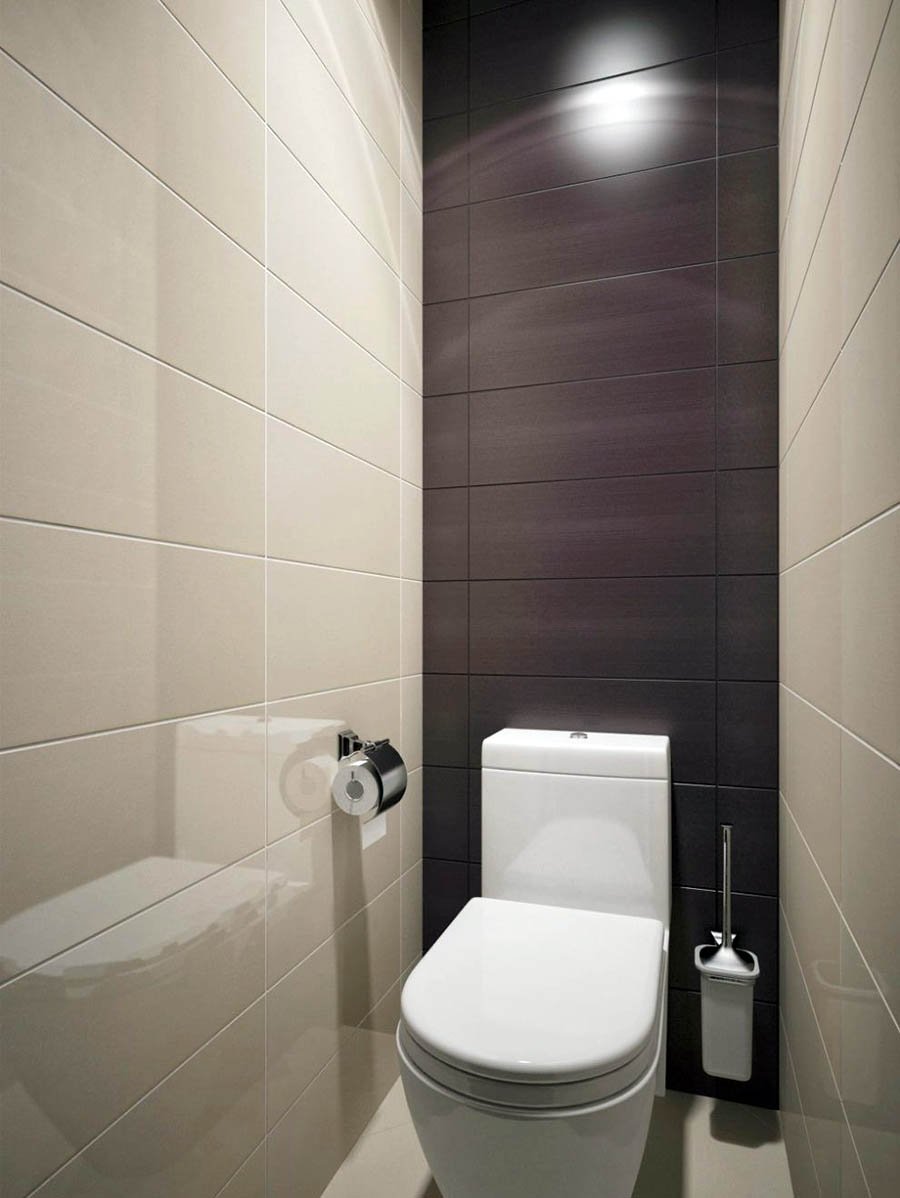
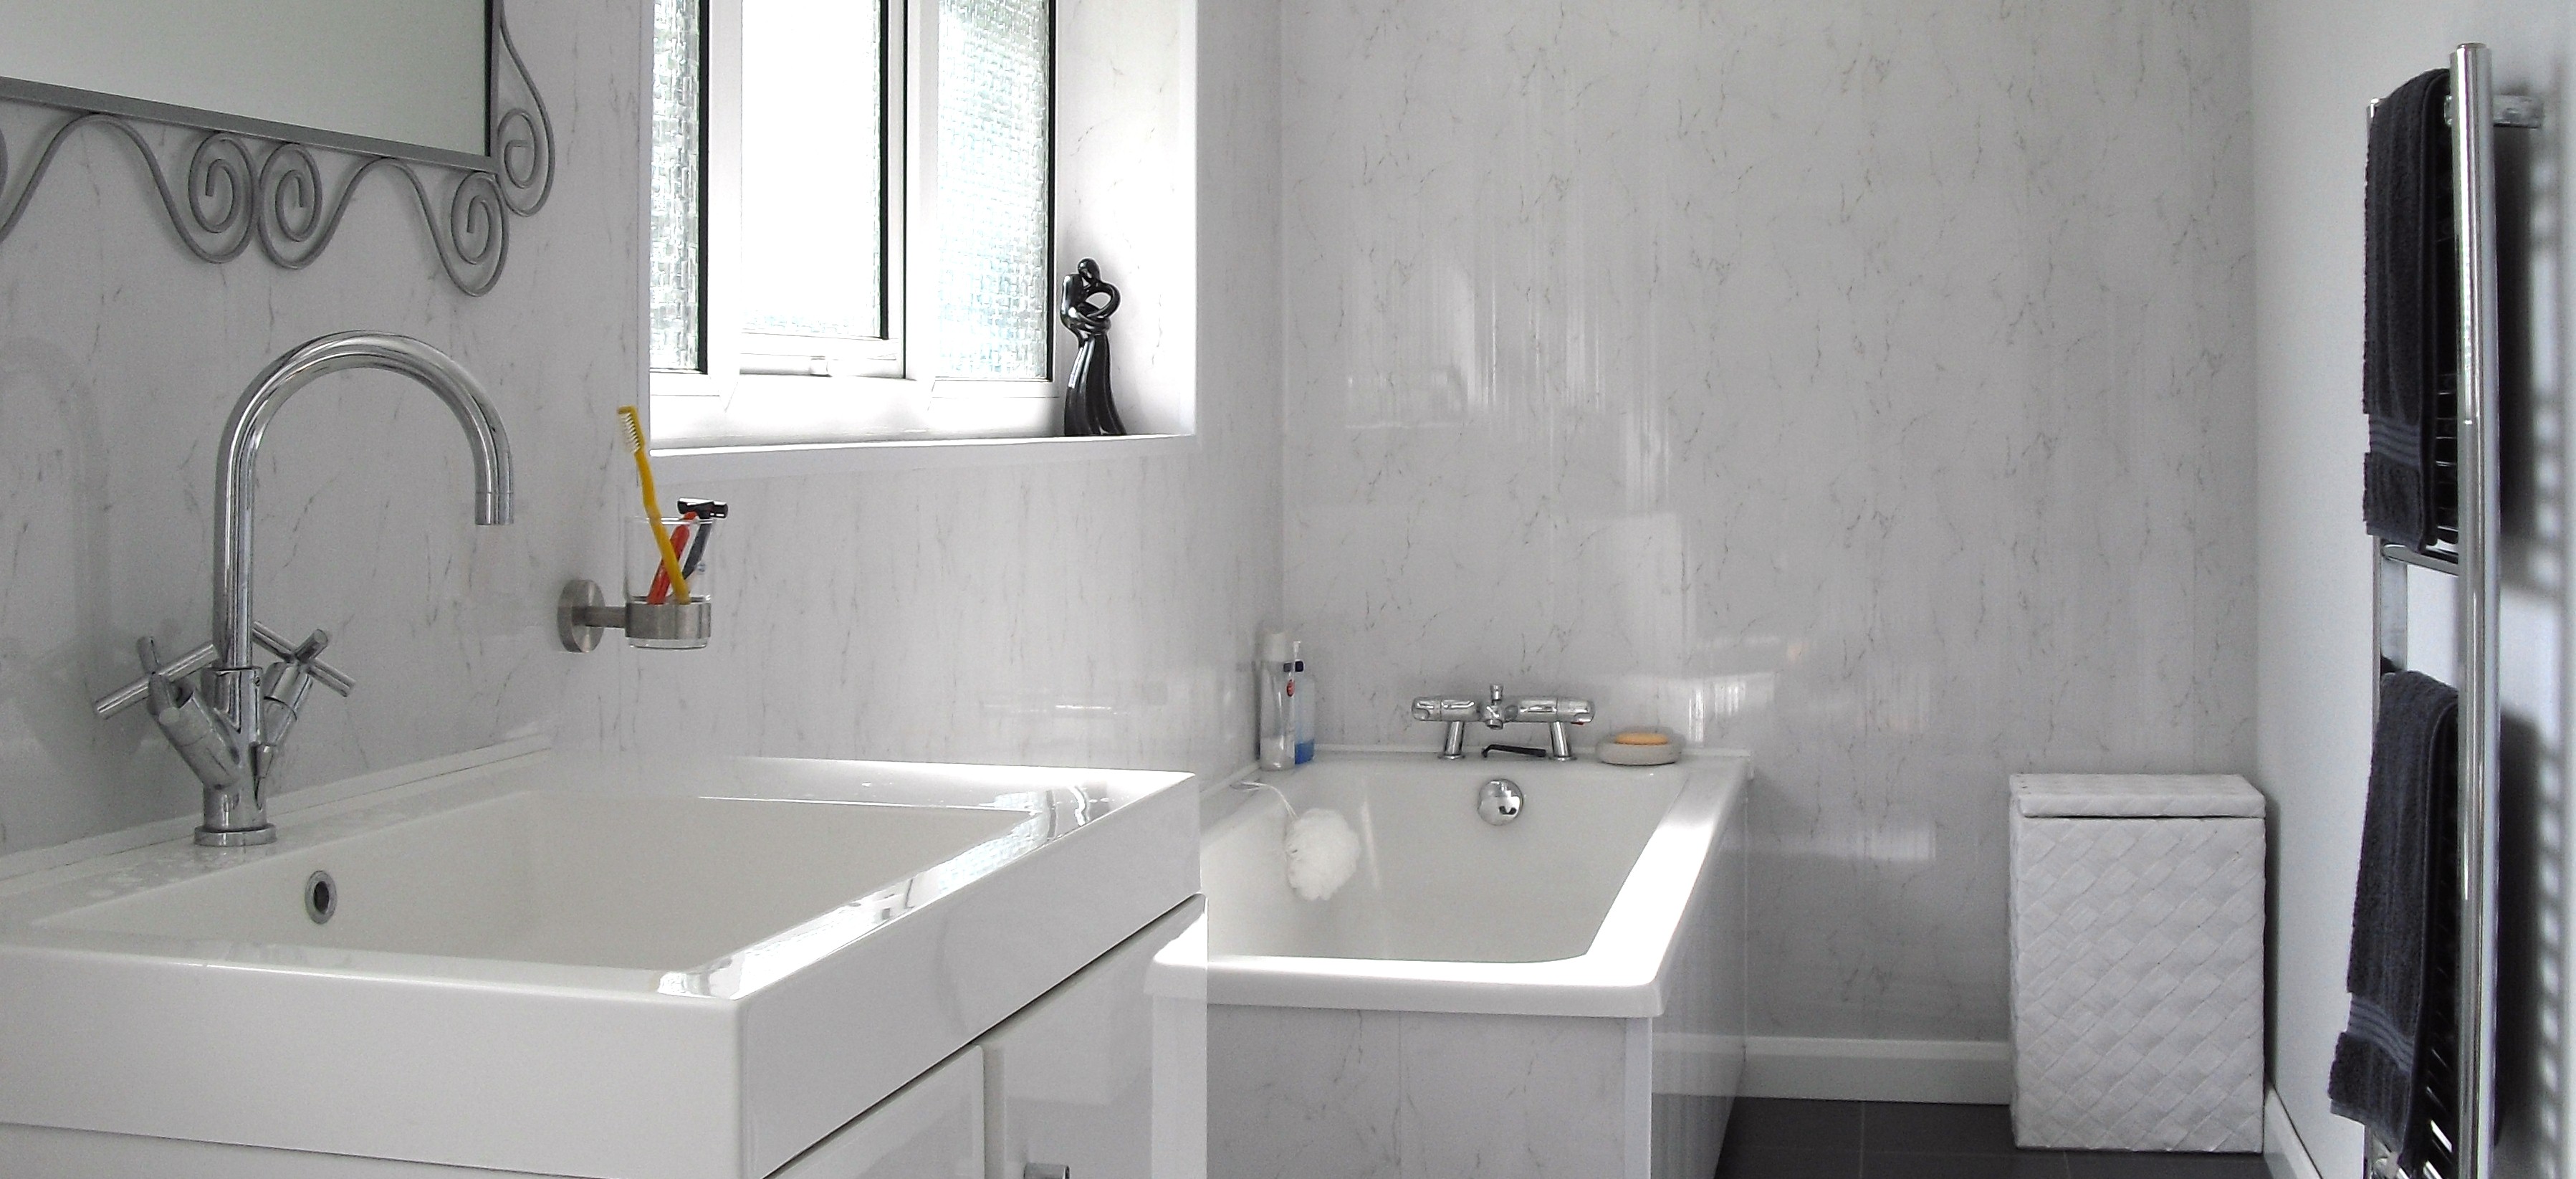
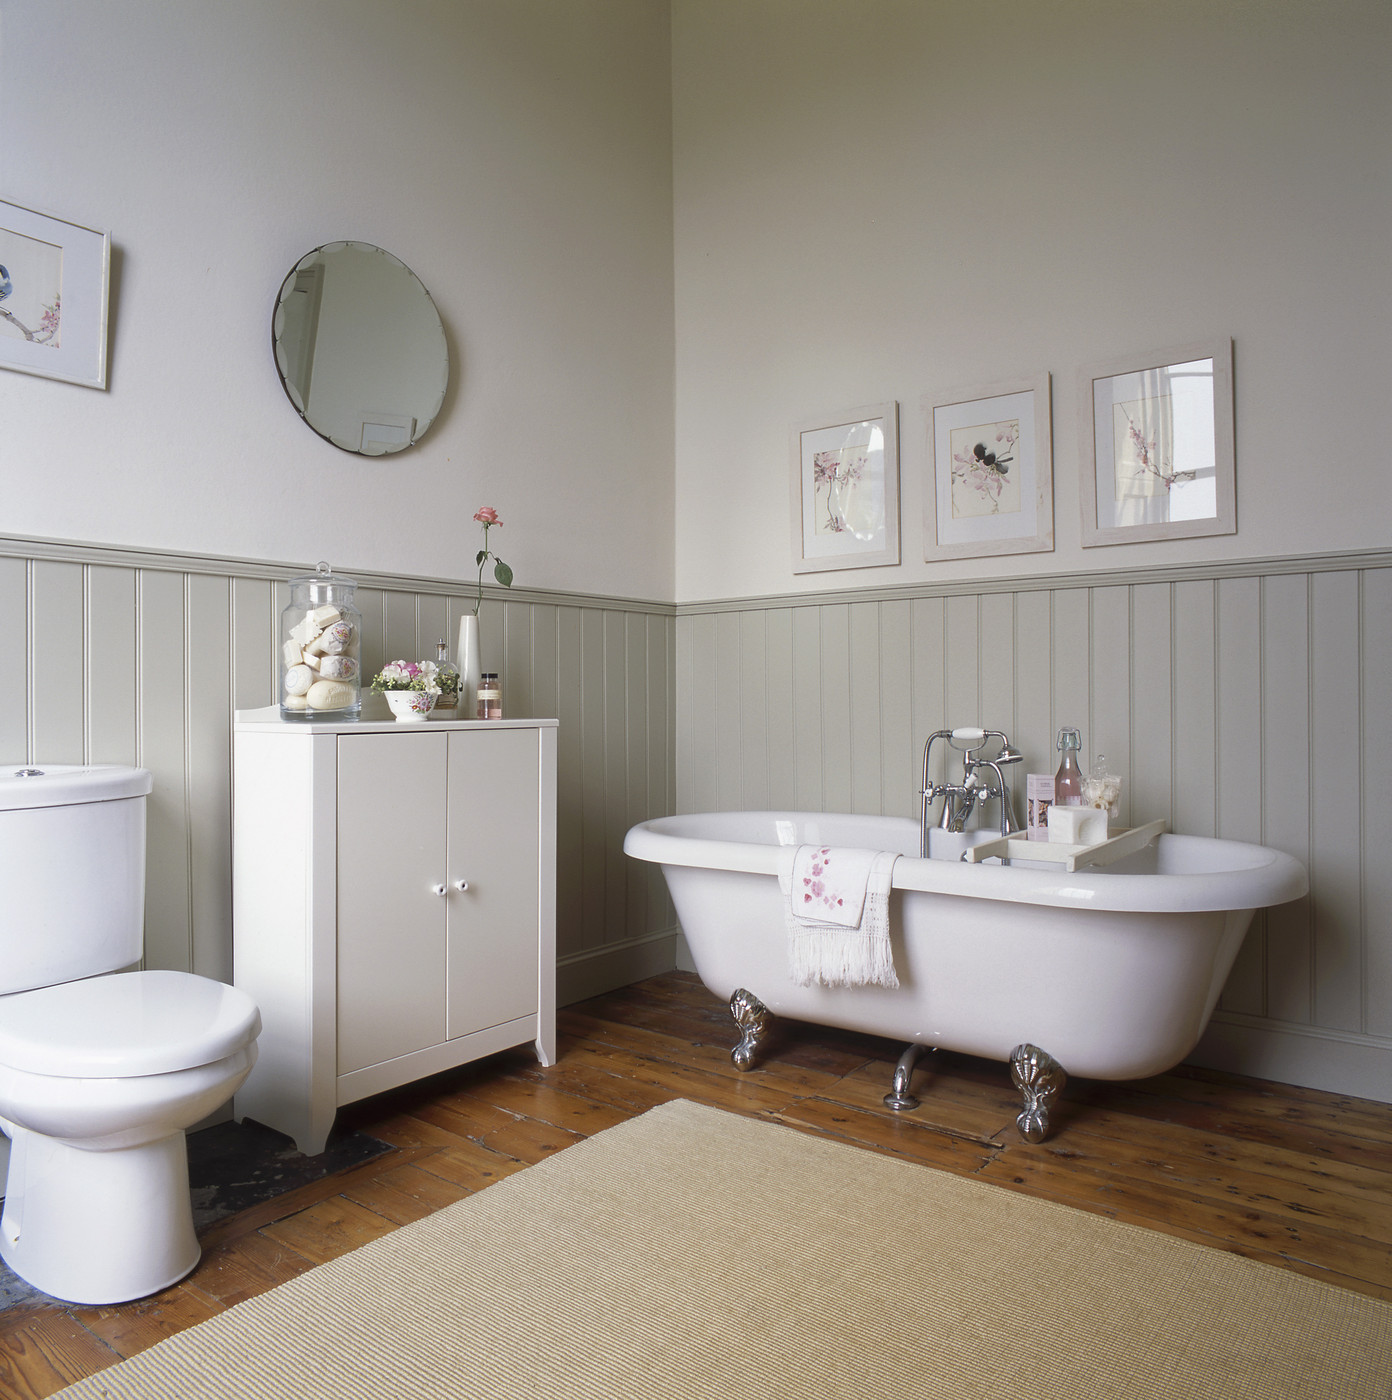
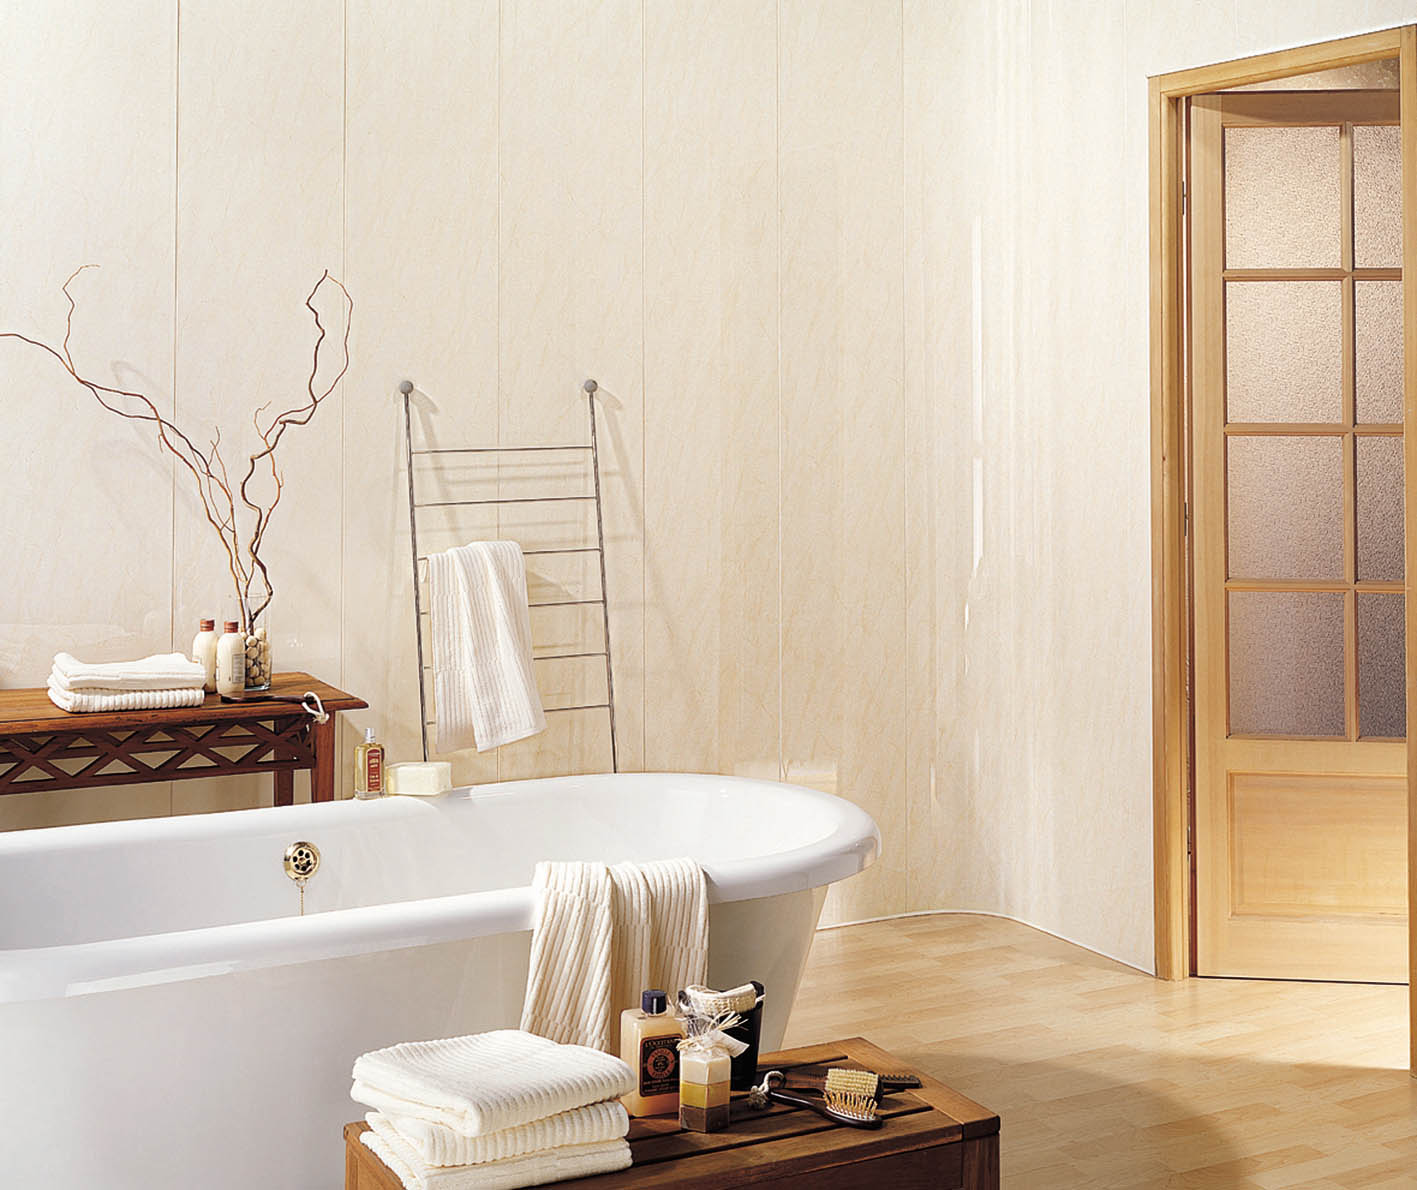
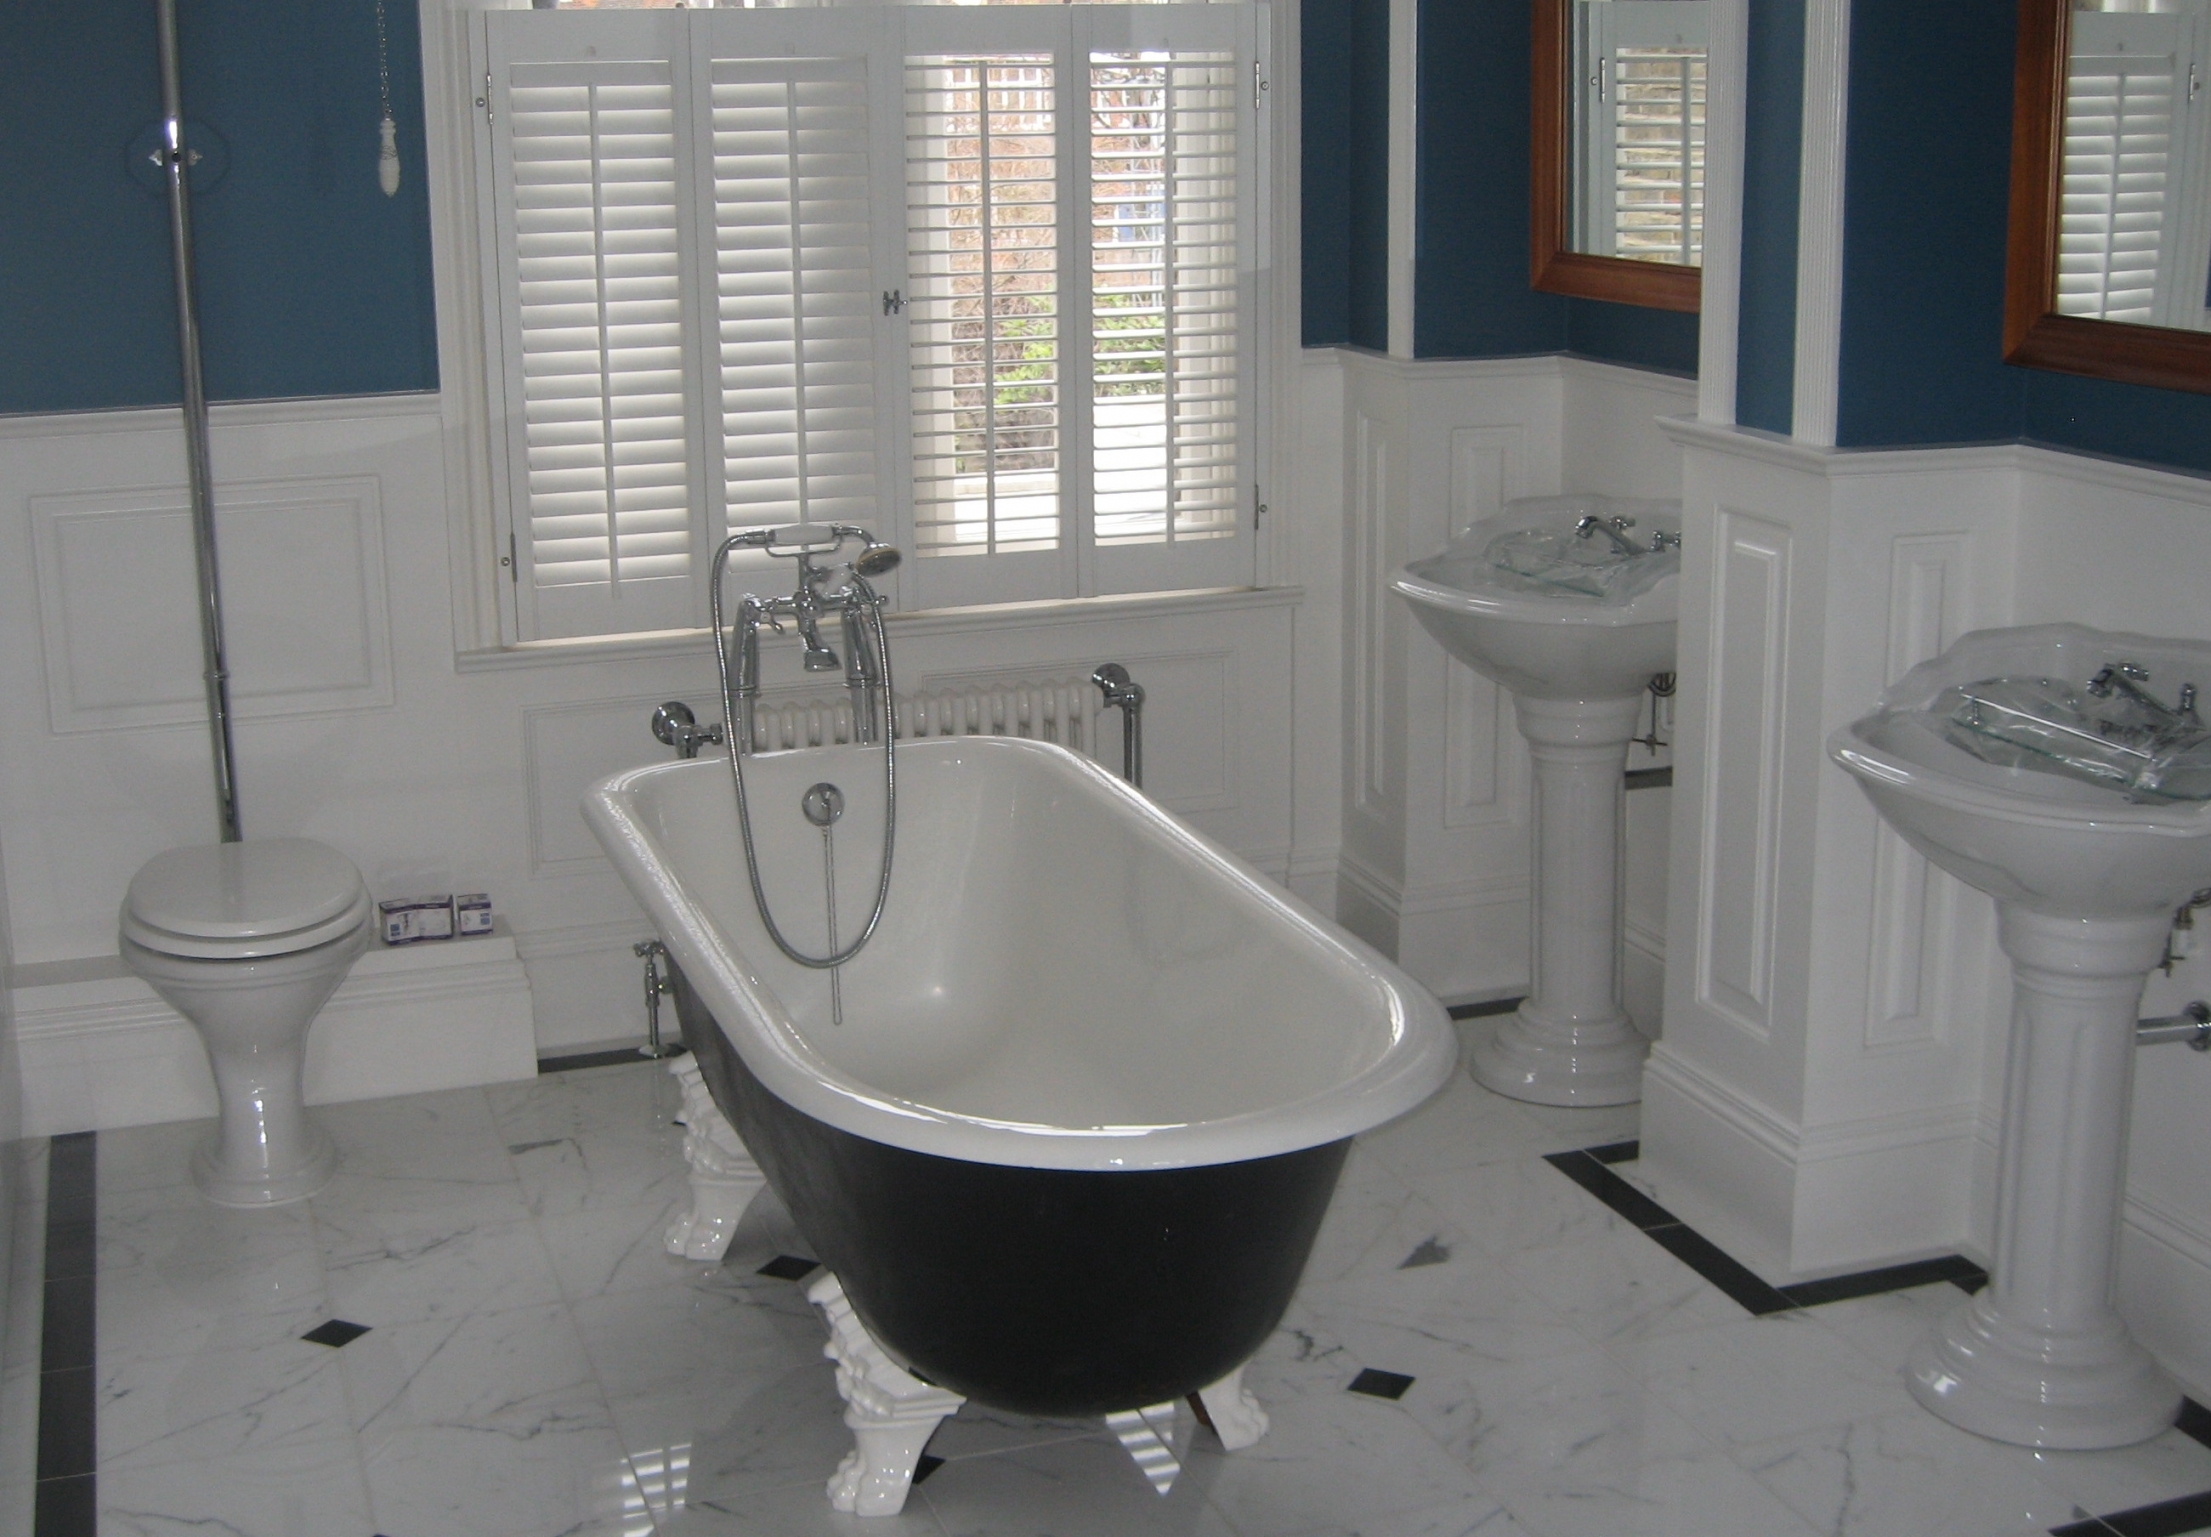
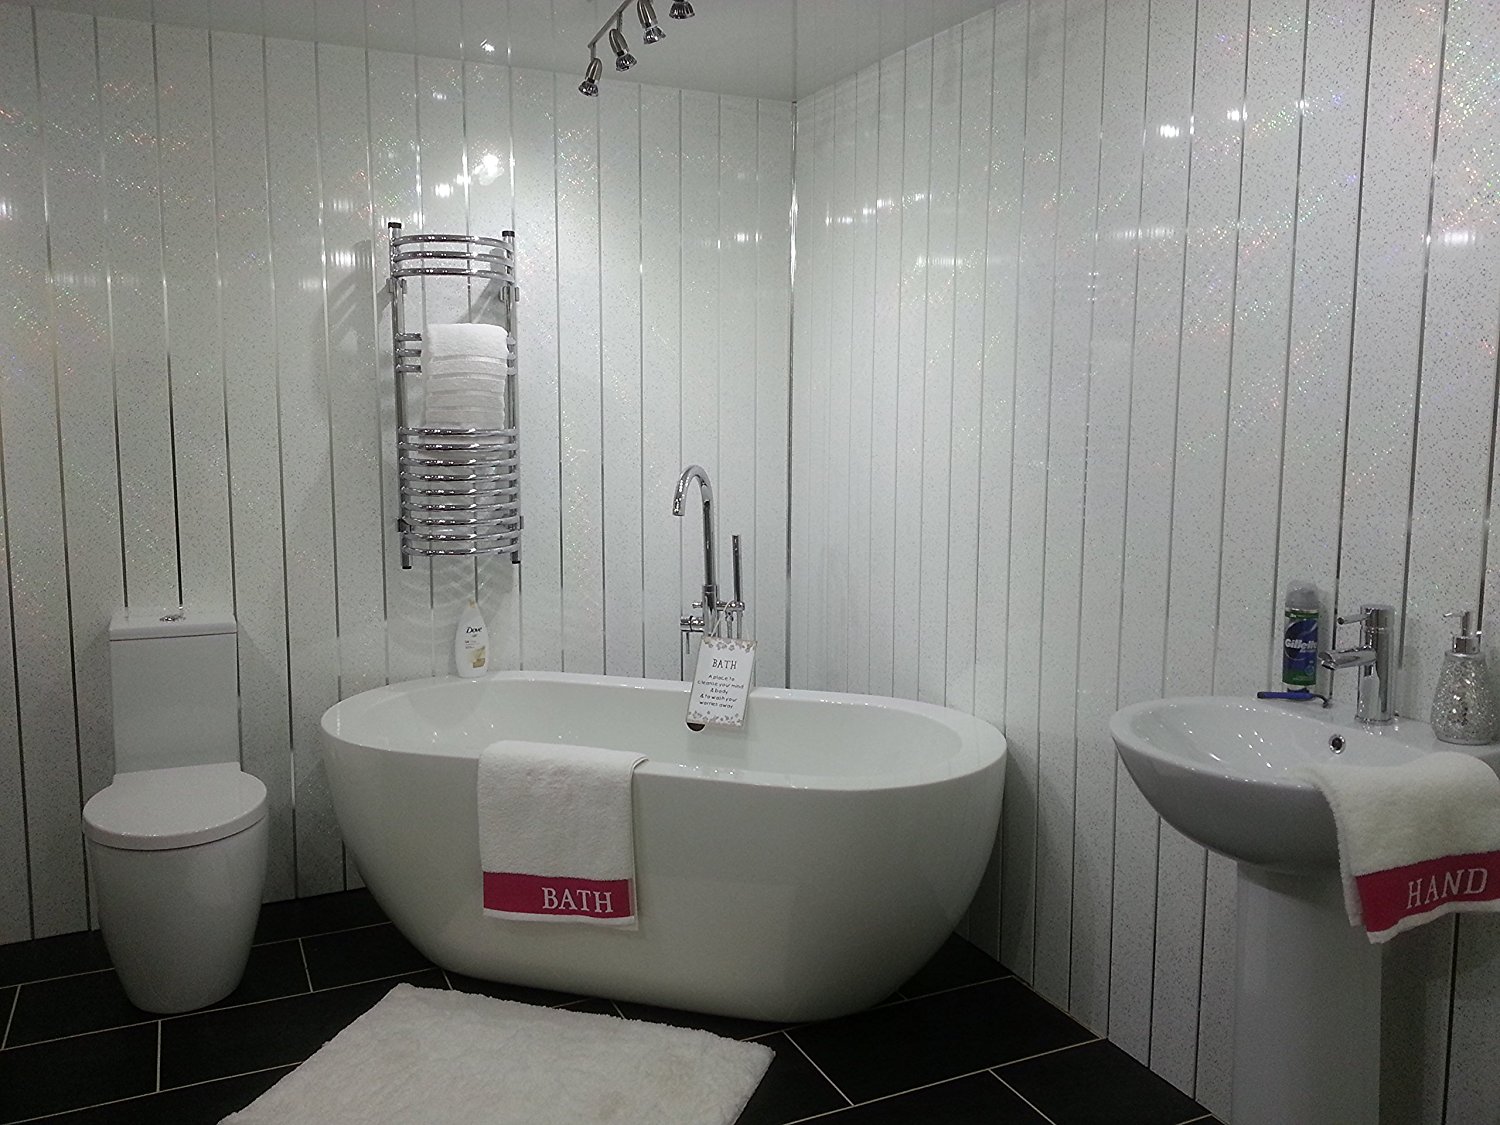
Repairing the toilet with panels is a budgetary way of lining the bathroom, which is demanding on the hygiene and moisture resistance of the applied cladding materials. To create a harmonious design of this compact room, it is better to resort to plastic panels that have a calm light monophonic color or made in a natural natural color palette.