Decoupage in the bathroom (16 photos): beautiful design options
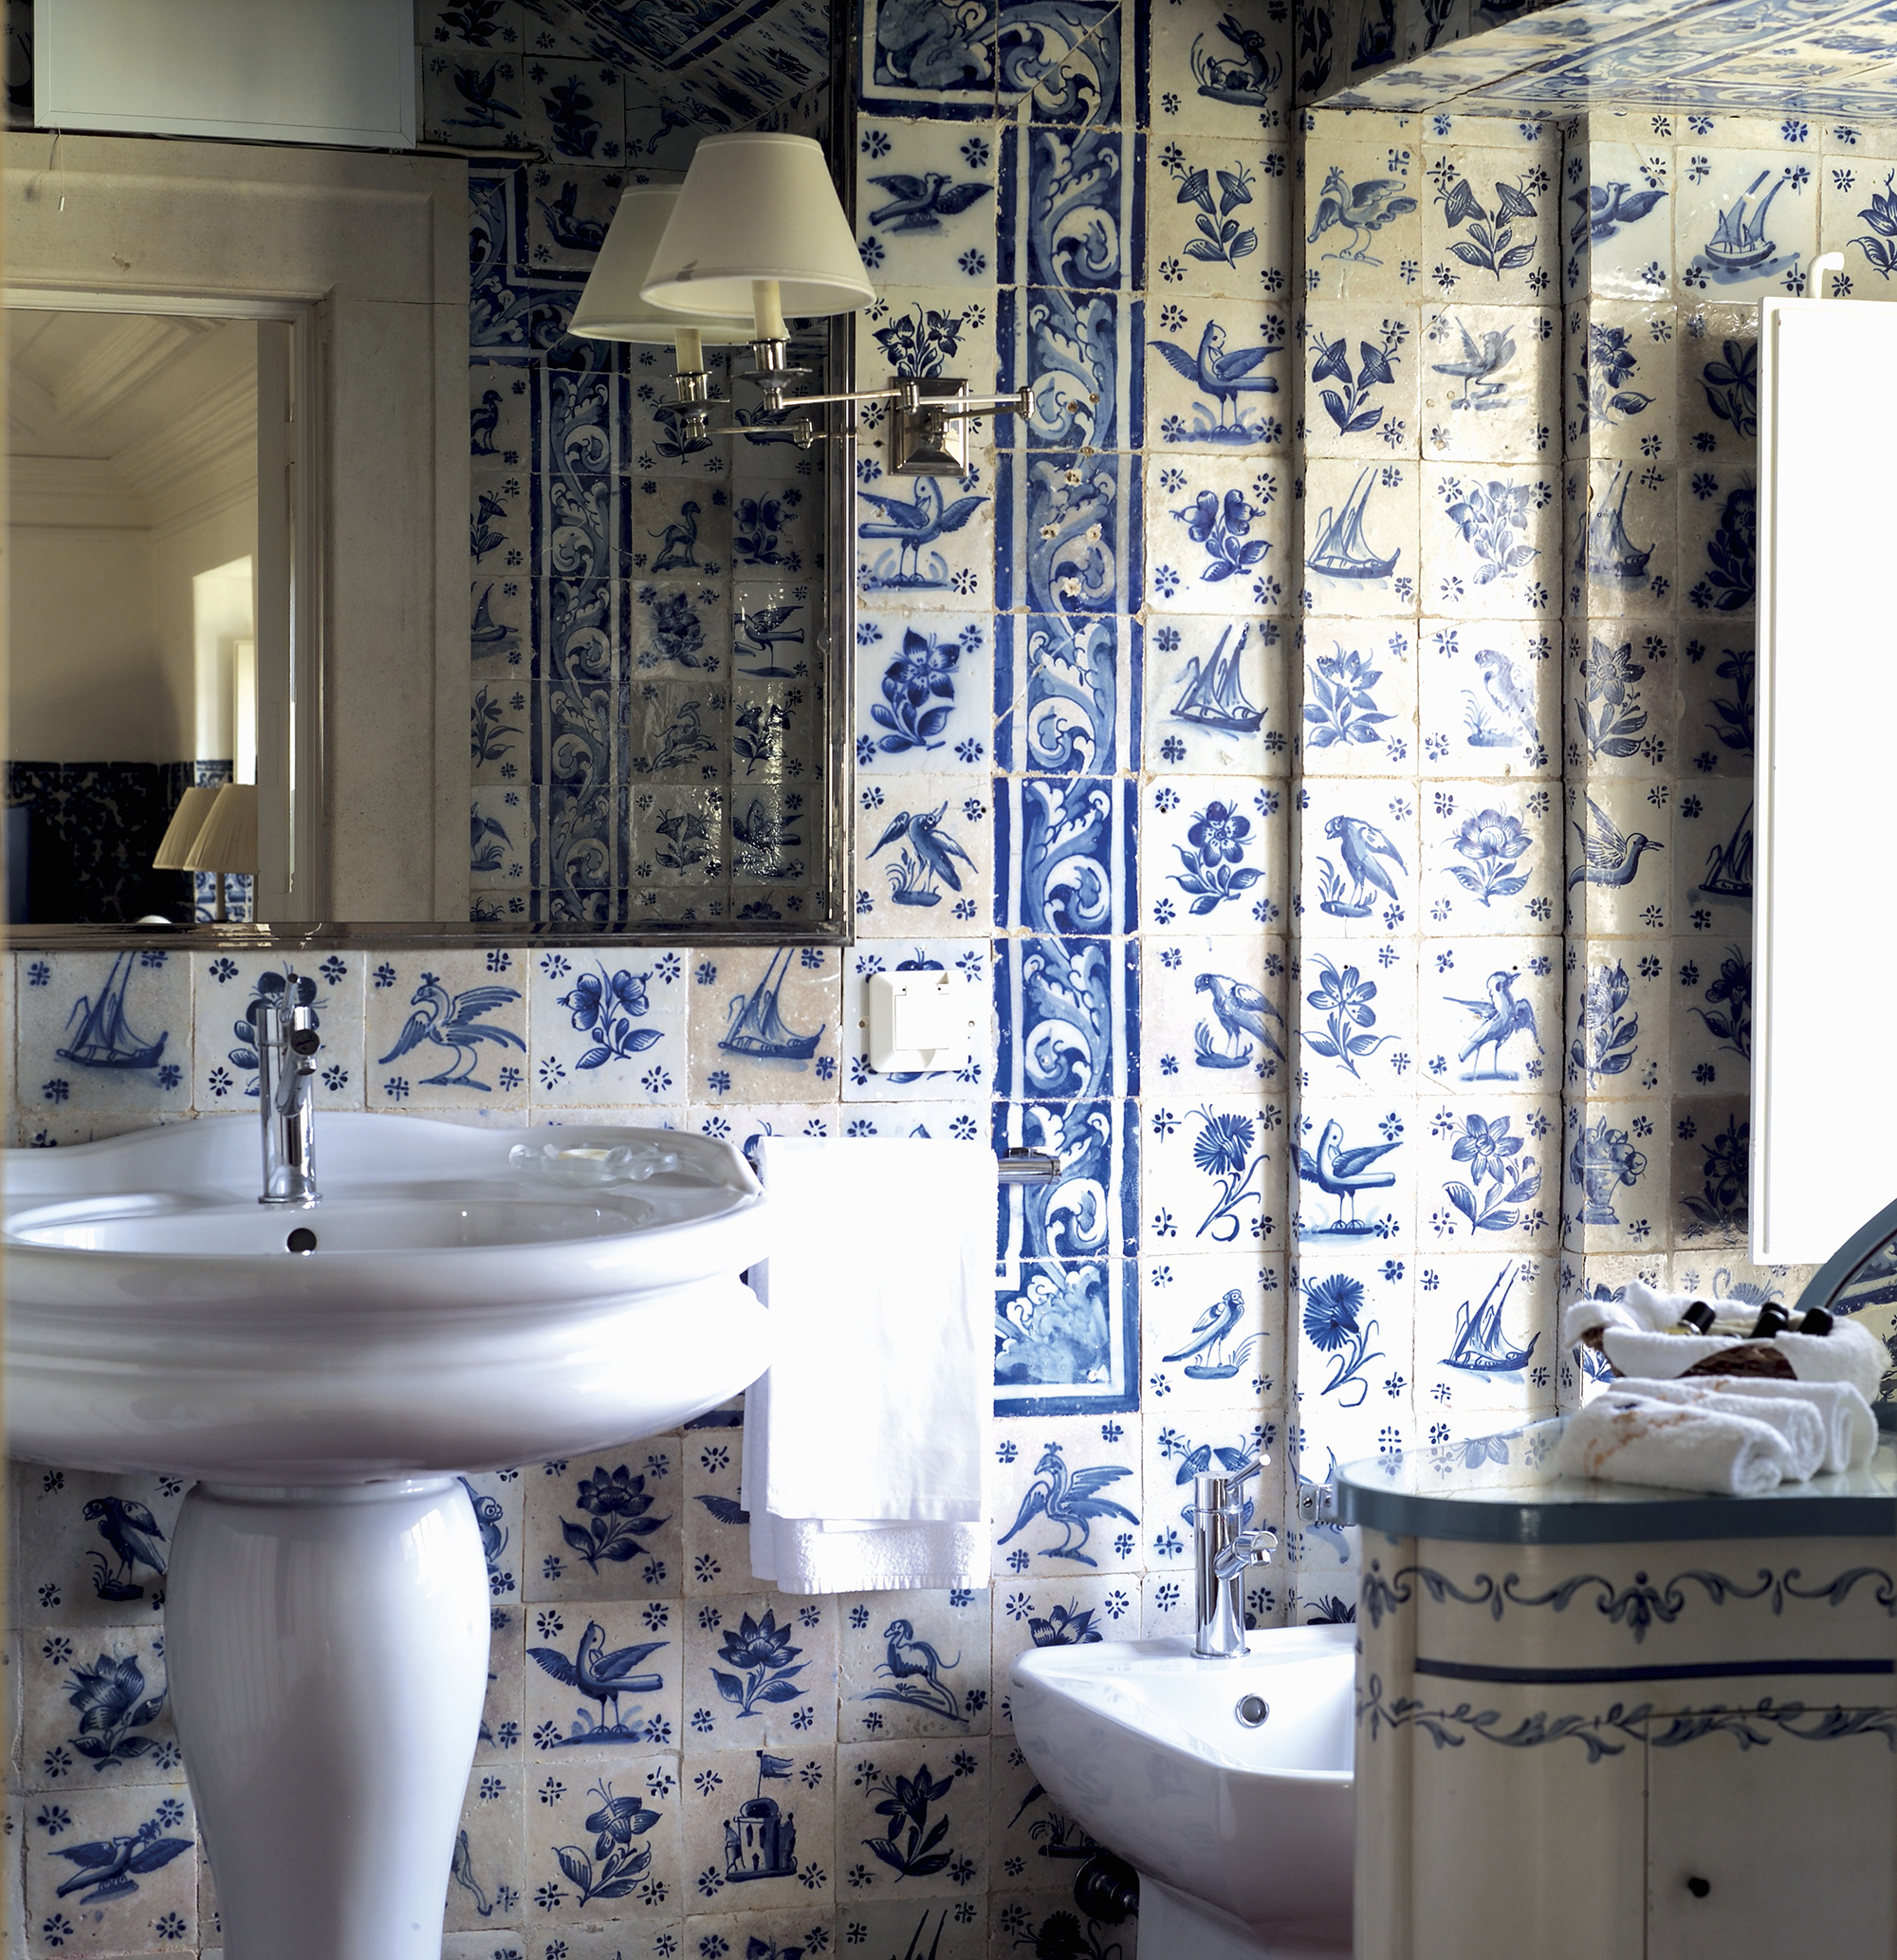
Decoupage is a decorative interior decoration technique, with its help you can decorate any objects in the room. The technique is simple, used by professional designers and amateurs. It looks like an applique. Fragments of paper or fabric with glue are applied to different surfaces, including: glass, tile, wood, ceramics. Decorations in this technique look spectacular on the surface of the tiles, on the outside of the sink, bathroom door.
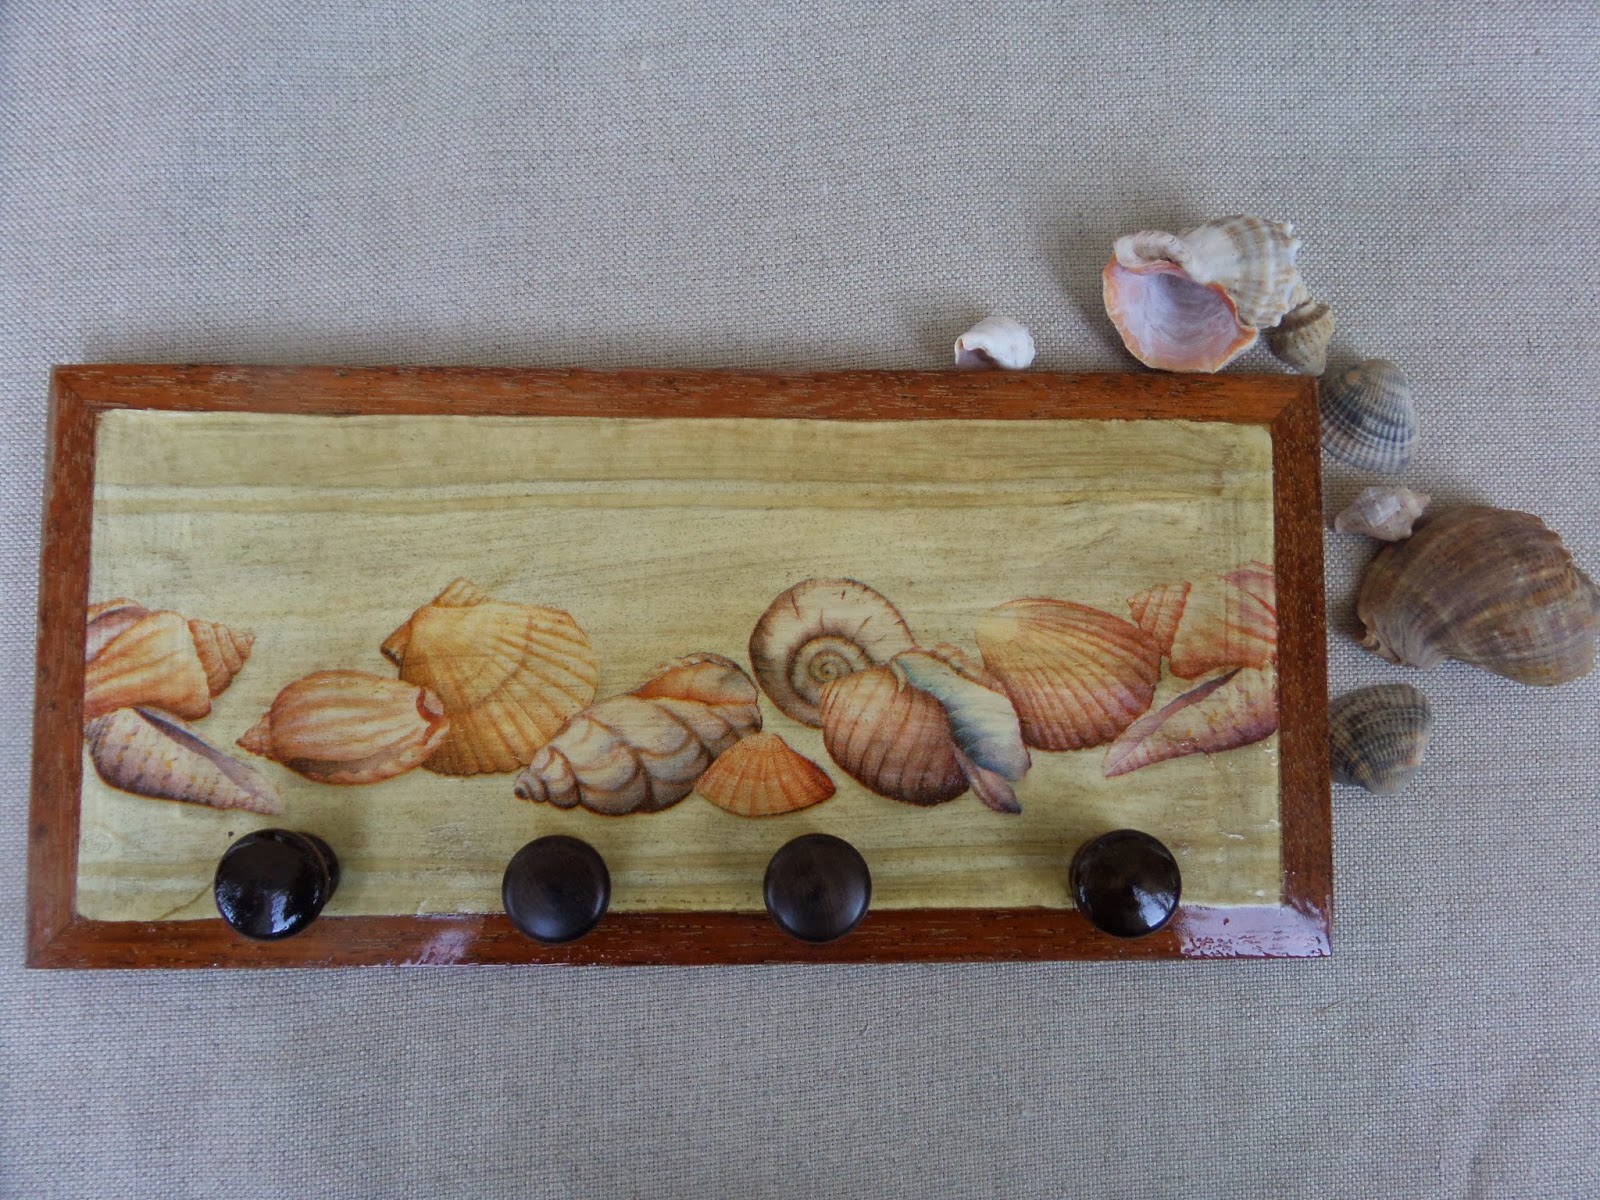
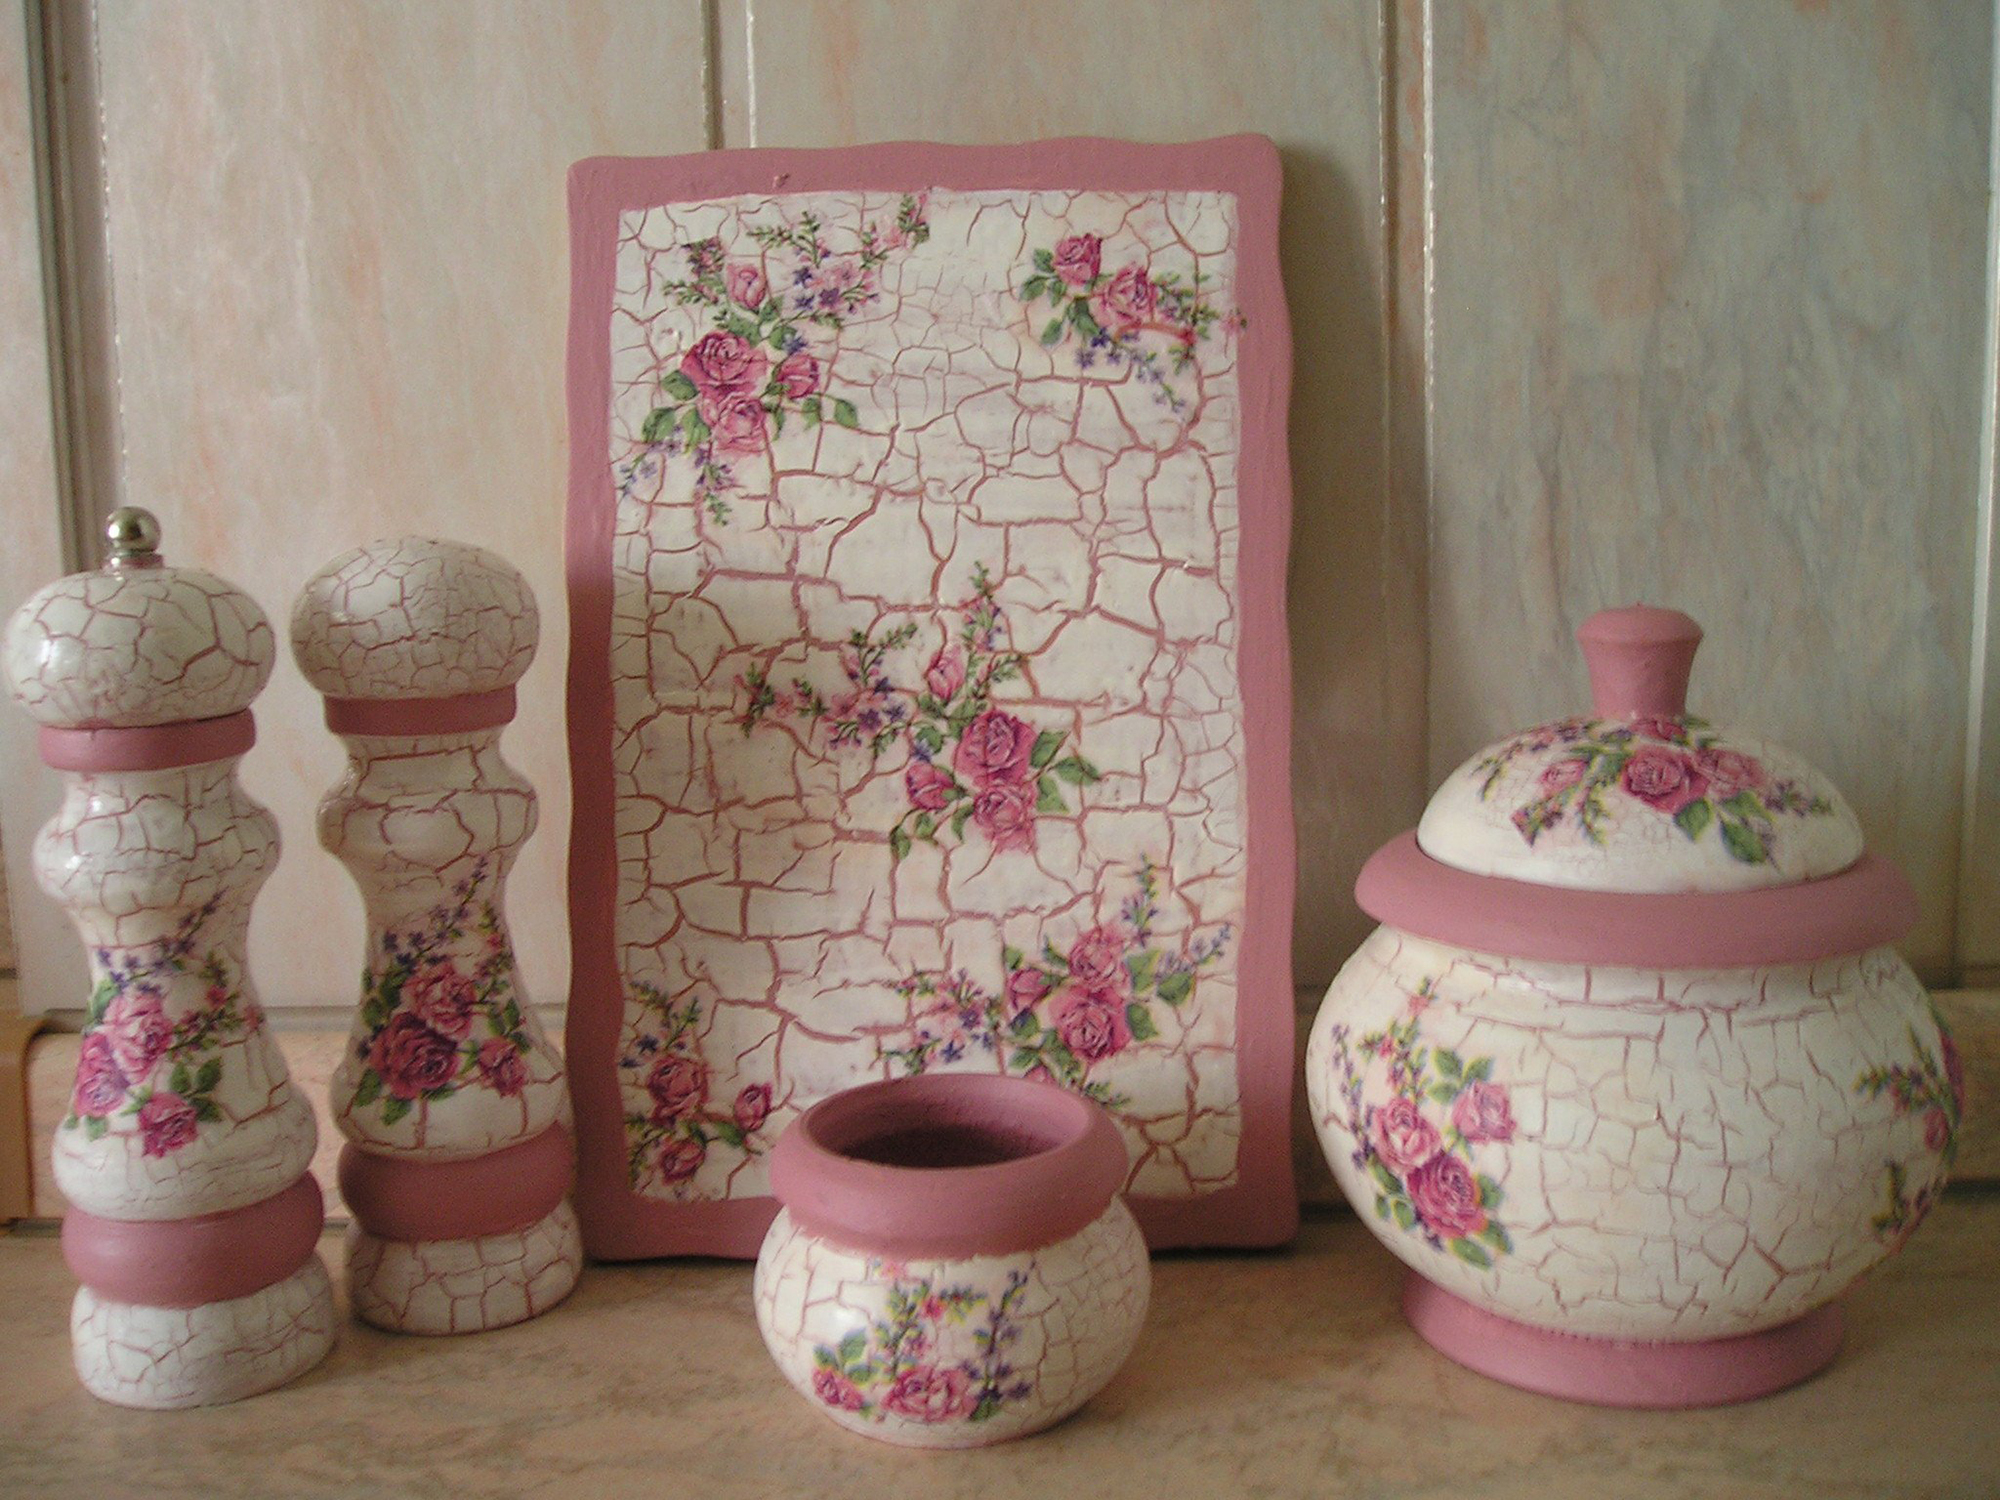
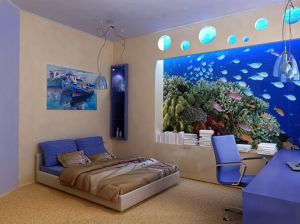
Decoupage allows you to update different objects in the room with the help of drawings cut out of paper or fabric. The most popular image motifs are floral, marine, landscape. The bathroom looks great fish, dolphins, crabs, starfish and other inhabitants of the deep sea. Plumbing devices are decorated with mosaic, gzhel, abstract motifs.
Benefits include:
- the ability to create a unique interior in the bathroom;
- lack of high costs;
- there is no need to attract specialists from the side, you can do it yourself;
- the ability to update any item, decorating it with a picture.
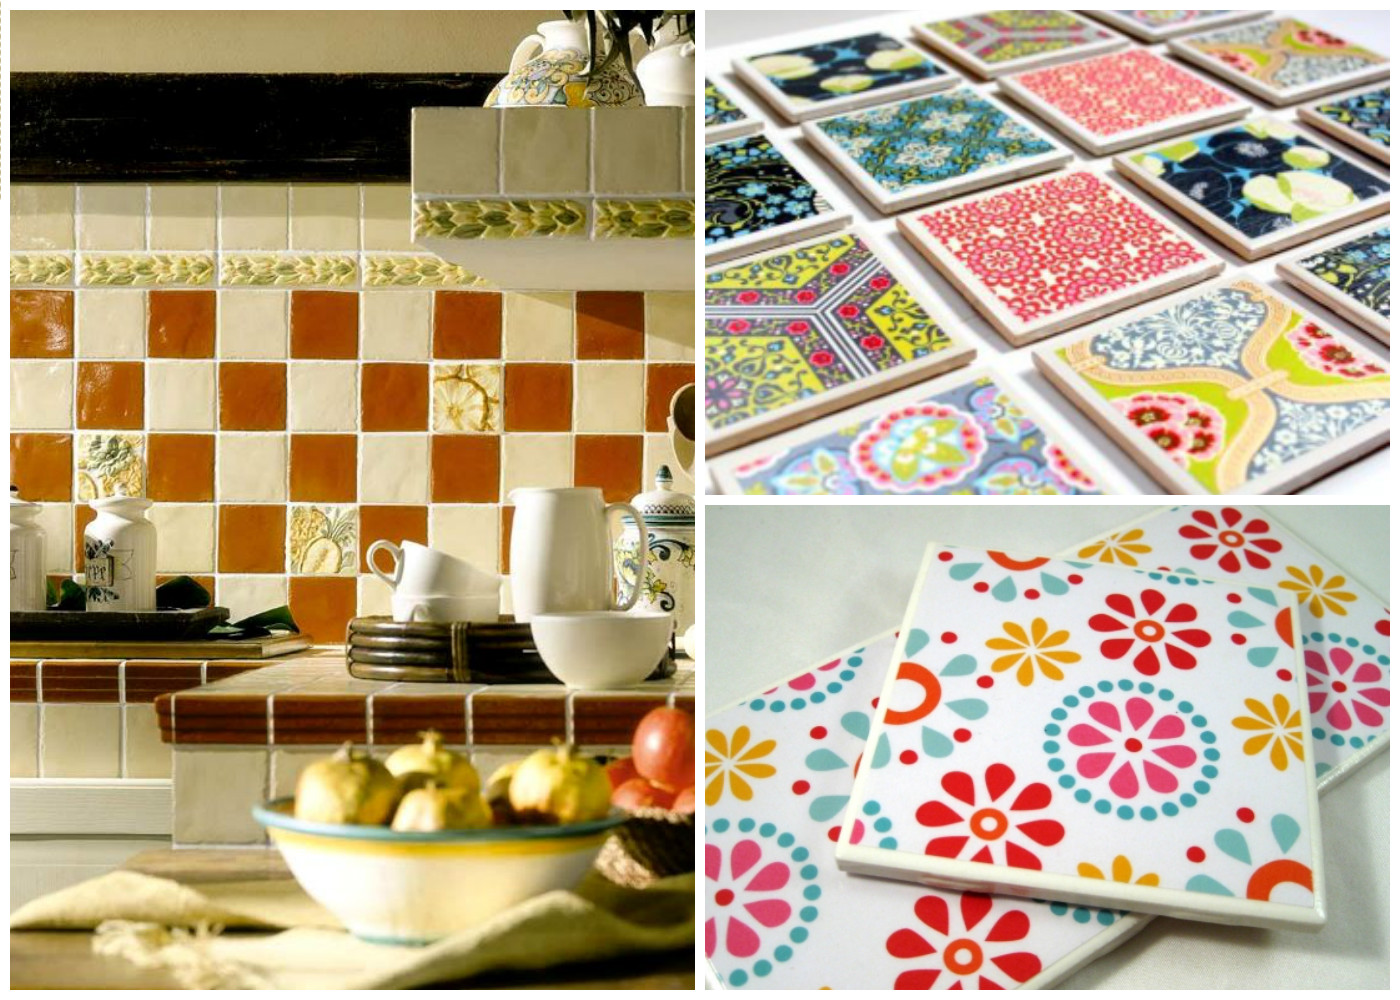
Tile
There are several options for decorating tiles. Decorative elements can be arranged in a different order.
- The same image is repeated on the surface of the tiles.
- Alternation in an arbitrary or systematized form of different elements.
- Decorate as a strip, decorate only part of the wall.
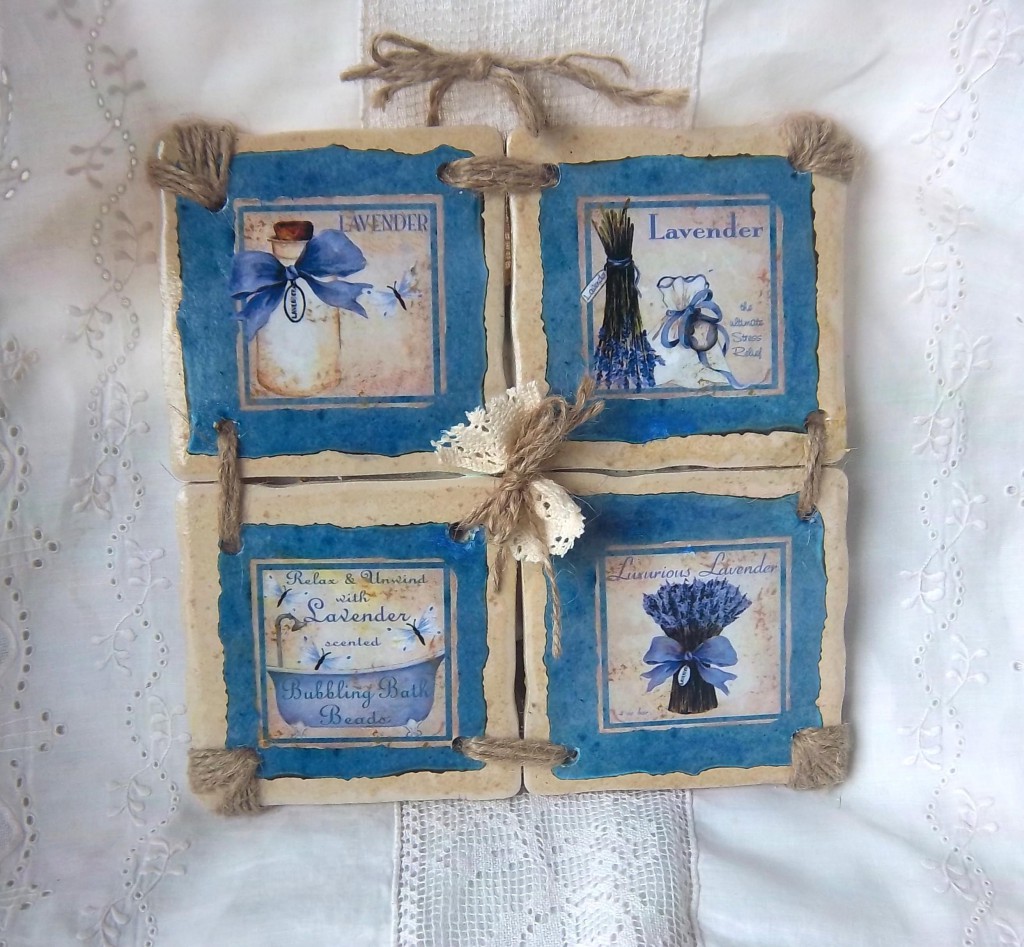
- Make a panel.
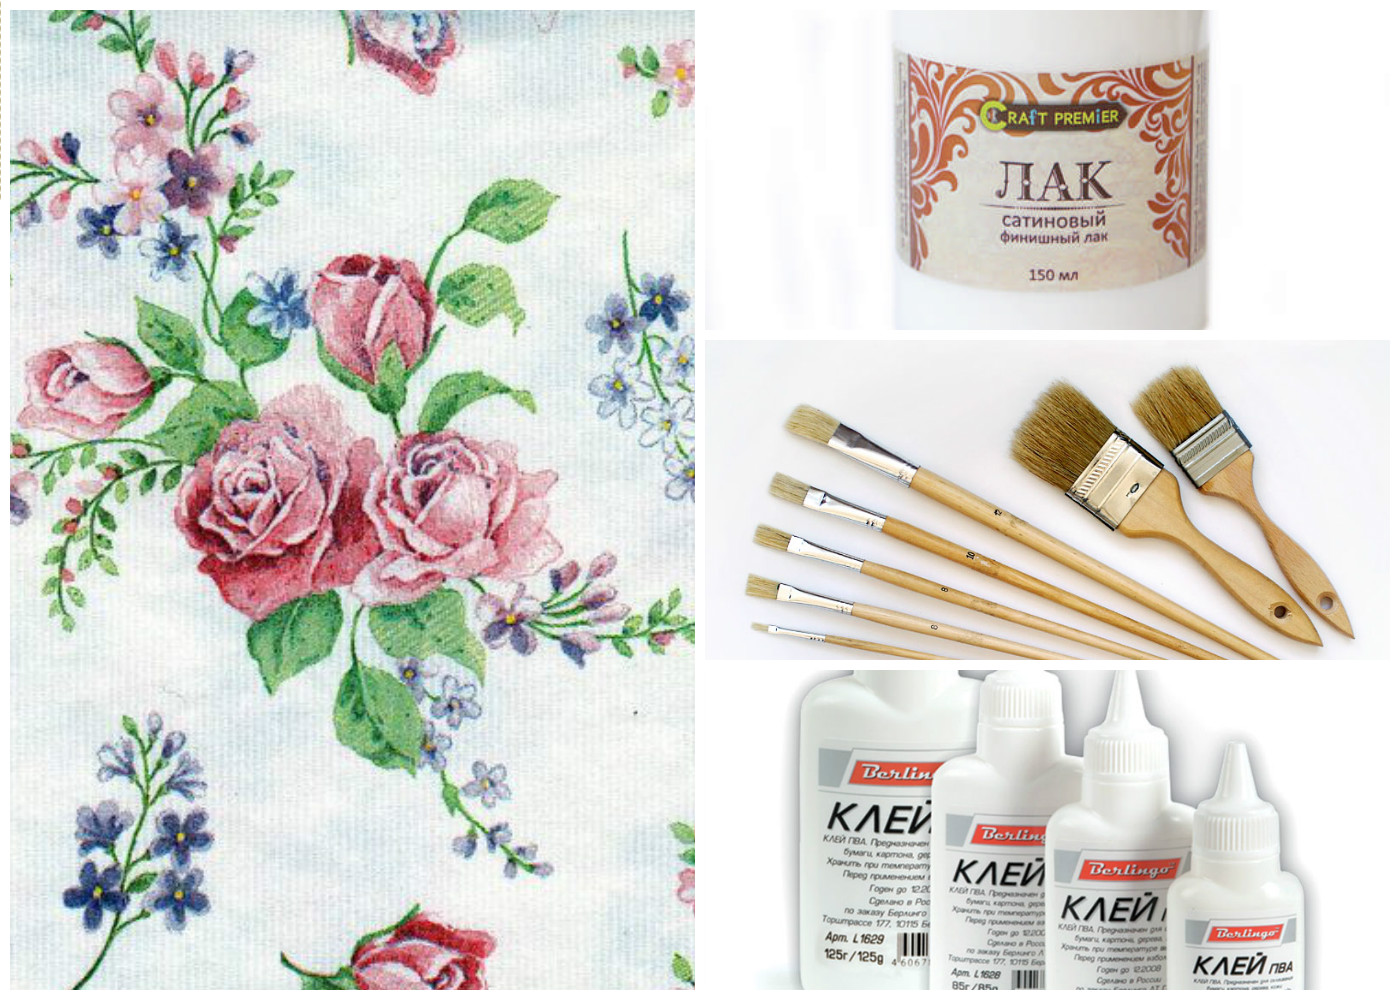
Materials
To decorate the bathroom with your own hands using the decoupage technique, you will need several tools, the main ones are soft brushes, a roller, scissors. Need to buy a tool for degreasing the surface, varnish, glue. First you need to choose a thematic picture, which will become the main motive. You can speed up the drying of the surface with a hairdryer. Facilitate the work of tweezers, curly scissors, gear rollers. You can buy everything you need at the nearest stationery store. Materials for blending are sold in the form of ready-made sets. You can make them yourself from thick napkins or tissue paper, fabric, ready-made mass for modeling.
The laser printer will help you transfer the pattern to tissue paper. It must be glued to a sheet of paper or secured with adhesive tape. Inkjet printers are not suitable for this purpose, their ink in contact with varnish lose their durability. The glue is needed on an acrylic basis, since PVA acquires a yellowish tint over time, the composition becomes ugly. For topcoat, varnishes on a polyurethane or acrylic base are required. Alkyd compounds contain chemical active elements that damage the decor, changing its original color. For a wet room, polyurethane varnish is best, it has increased resistance to various external influences.
Do-it-yourself bathroom decoupage will require many identical illustrations. The size of the paper in the finished sets does not always coincide with the format of the tiles, so it is better to use table napkins with a suitable pattern. Thin and multilayer are suitable for this purpose. The texture of thin fabrics with a bright pattern, such as chintz or silk, will be clearly visible under the varnish layers.

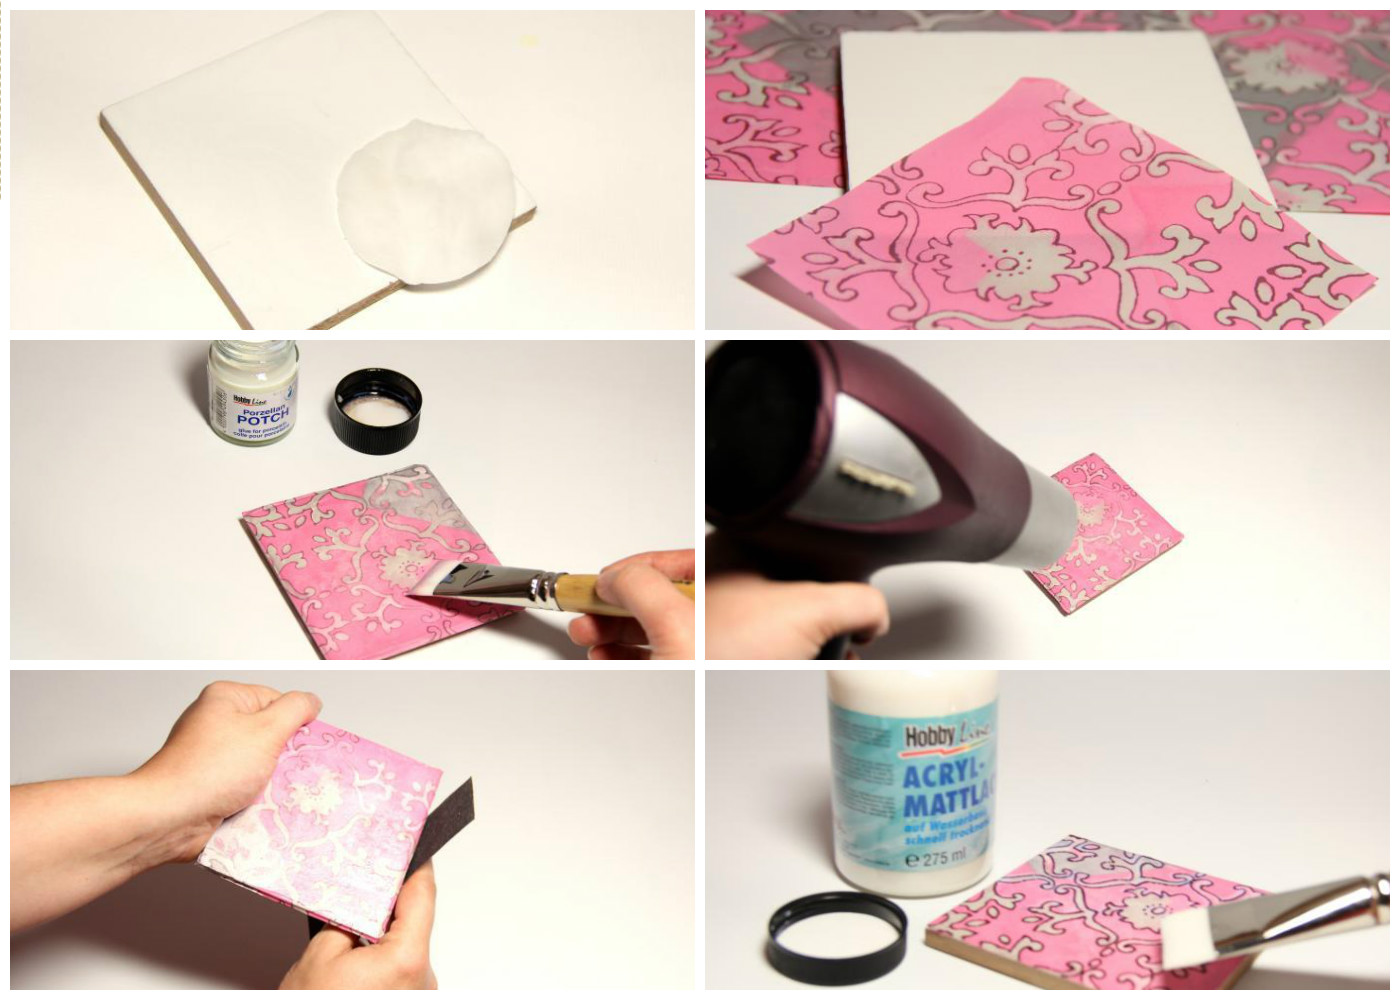
Work stages
Decorations on the tiles can be done before laying tiles or already on the finished wall.Any surface must first be degreased and cleaned of dirt and dust. The process takes place in several stages.
- Decorative elements are cut out of the material to the size of the tile.
- The surface of the bathroom wall must be thoroughly degreased. To do this, you can use acetone or a solution containing alcohol.
- The adhesive is applied to the back of the paper or to the prepared surface. The second option is less risk of damaging the image. If the paper is thick, then the glue base is applied both to the tile and to the decor. If tissue paper, textiles, napkins are chosen for decoupage, then decorative elements are covered with glue on top. It is worth pre-marking to prevent the appearance of stains.
- The surface of the paper and fabric must be smoothed out with light movements in the direction from the center to the edges to prevent the formation of air bubbles under the coating.
- After the glue has completely dried, the tile is varnished one or several times to fix the result. This work is conveniently done with a brush or roller. Subsequent varnishes are made after the previous layer has completely dried. Using the bathtub at this time is not recommended, otherwise humidity will prevent the adhesive from solidifying quickly.
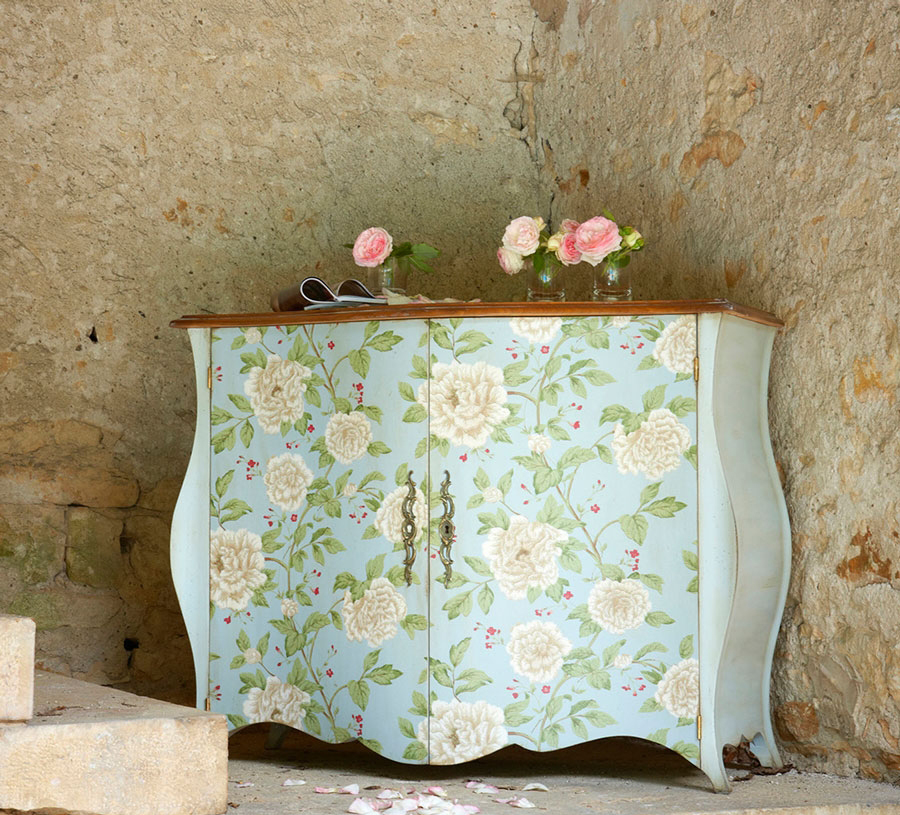
Doors, wood, plywood and other materials with a rough surface are treated with sandpaper, smooth enough to wipe with a solvent. Then it is necessary to prime or paint with a suitable shade of acrylic paint. As a decor, you can use special cards for decoupage, cards, photographs, computer prints. The image is glued and gently smoothed. After complete drying, you can apply a beautiful background and varnish 2-3 times.
If the tile is decorated before laying on the walls, and not all, but only part of it on one side, then you need to carefully look at the symmetry of the picture during installation. If the motive is complex, consists of several elements, then you should first draw it with paper, then number the individual parts of the sketch and the original. With a sharp pencil, it is desirable to outline the contours of the drawing, this will avoid errors. Pre-staining with pearl varnish creates an unusual flickering texture of the image. When choosing vintage images, it is advisable to use craquelure varnish, this allows you to achieve the effect of aging in the bathroom.


Decoration Zones
Decoupage technique is universal for any surfaces. You can decorate with your own hands almost any items in the bathroom:
- external and internal surface of the bath;
- sink with stand;
- toilet bowl, including tank and lid;
- walls;
- floor;
- bath accessories.

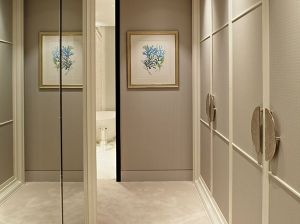
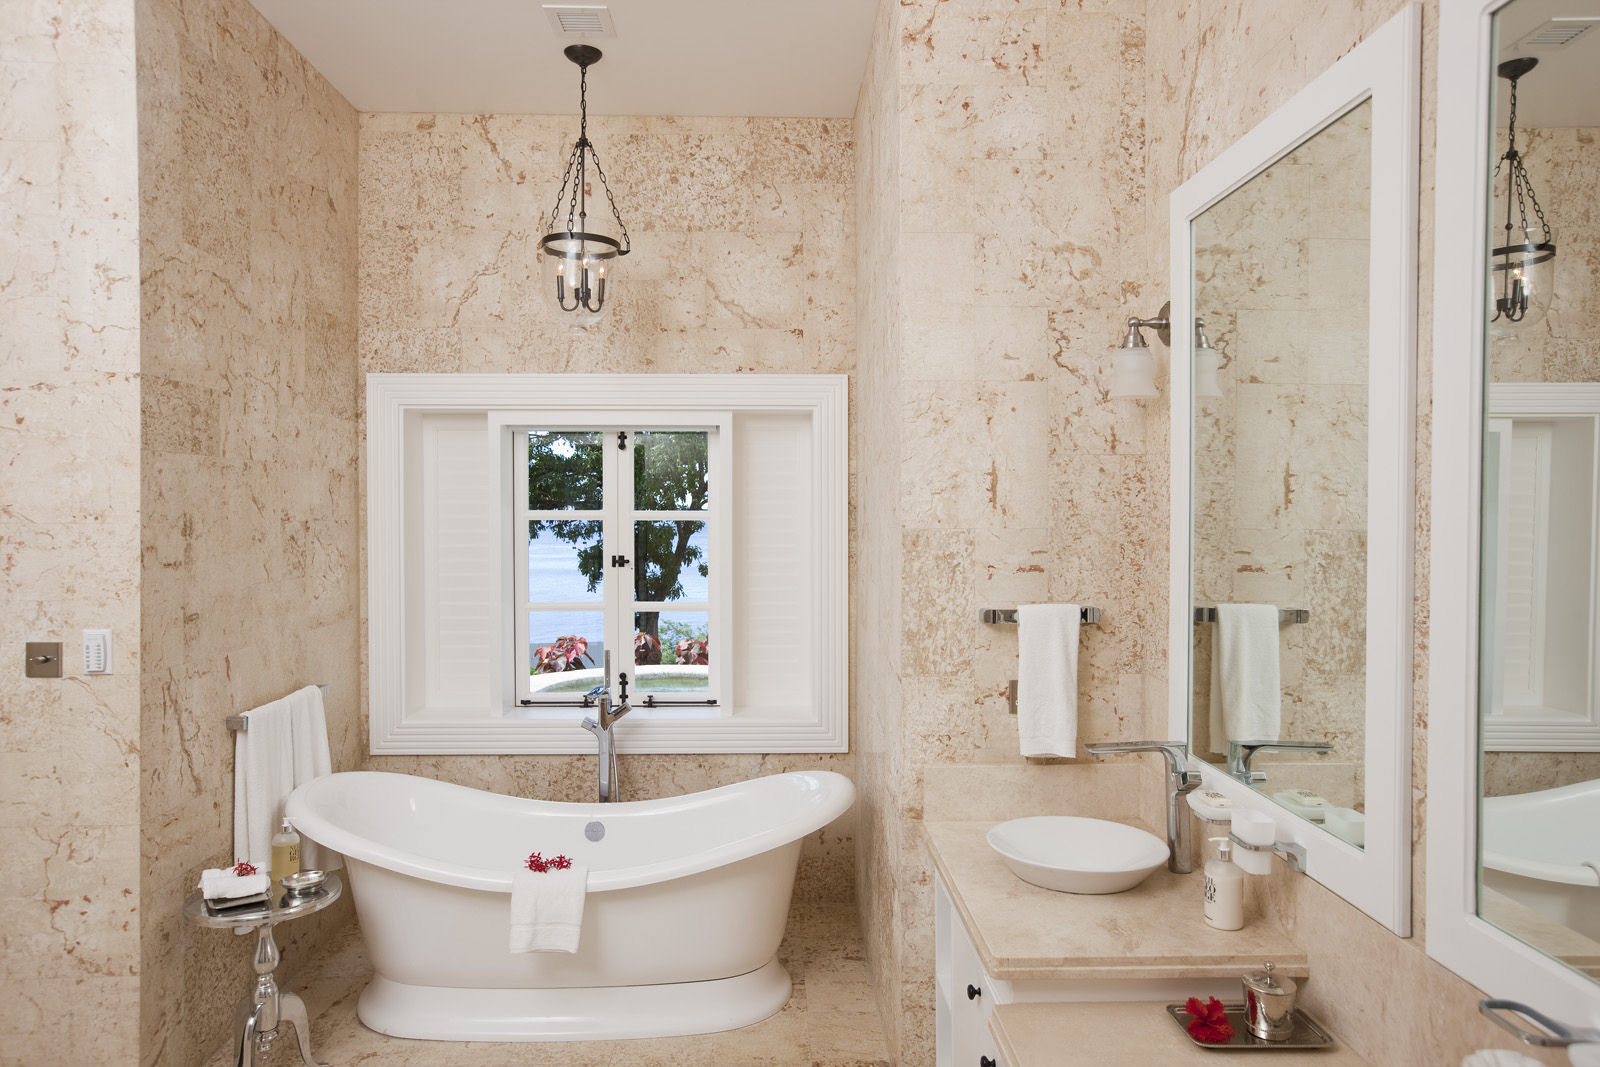
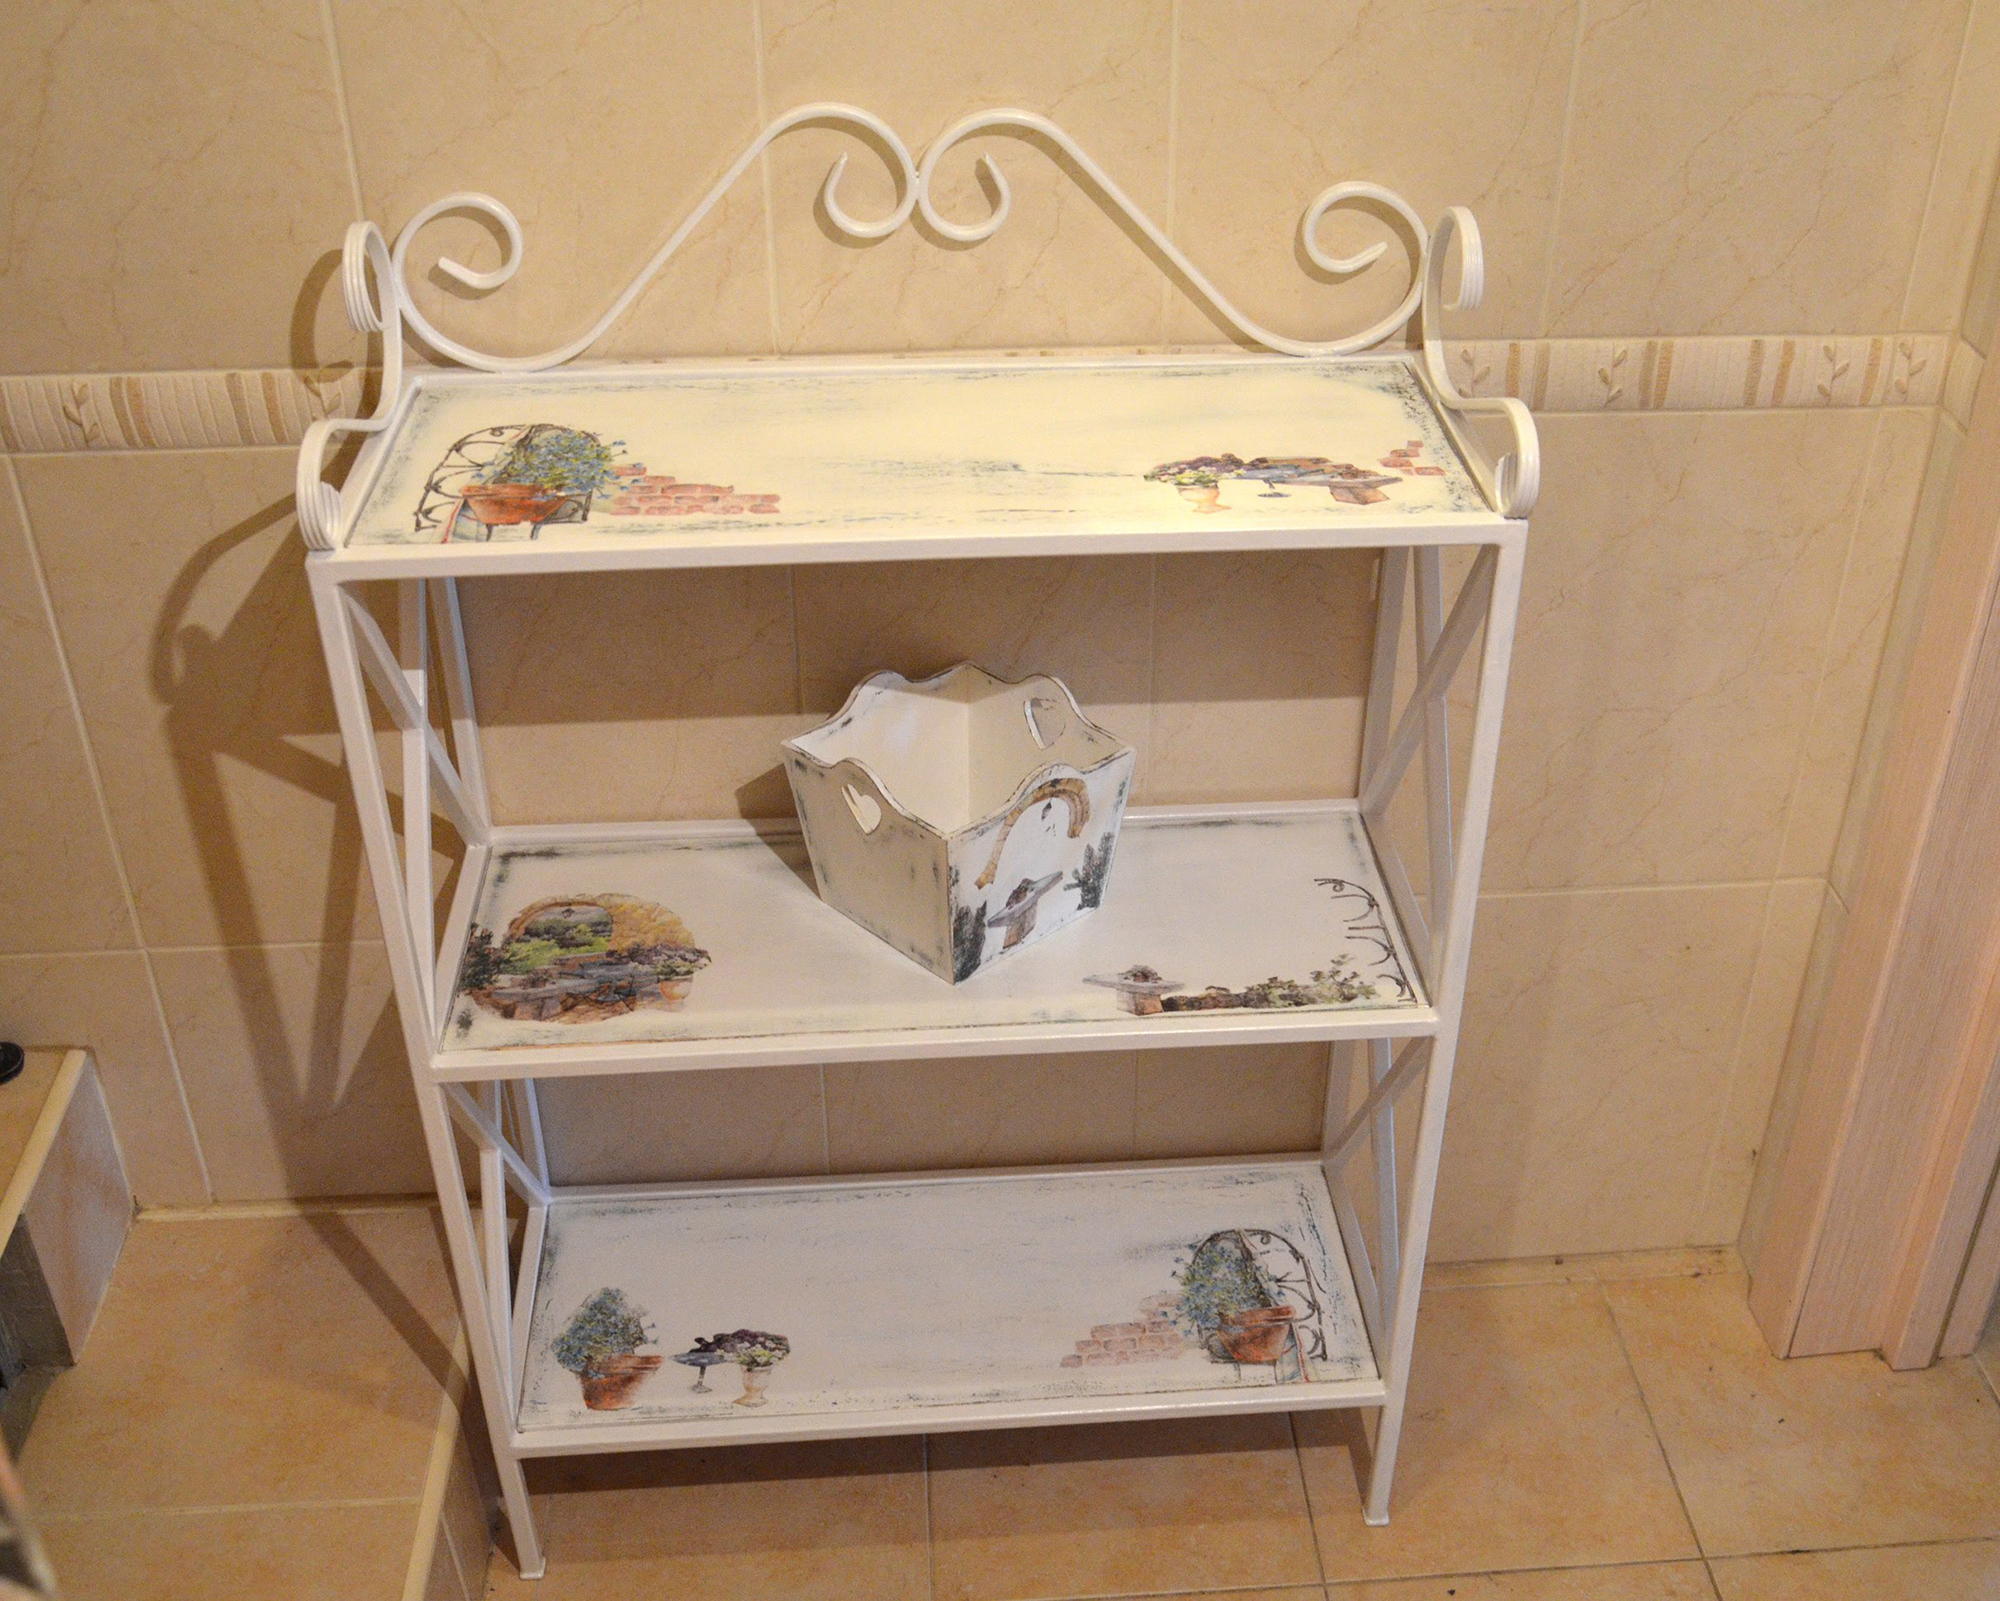
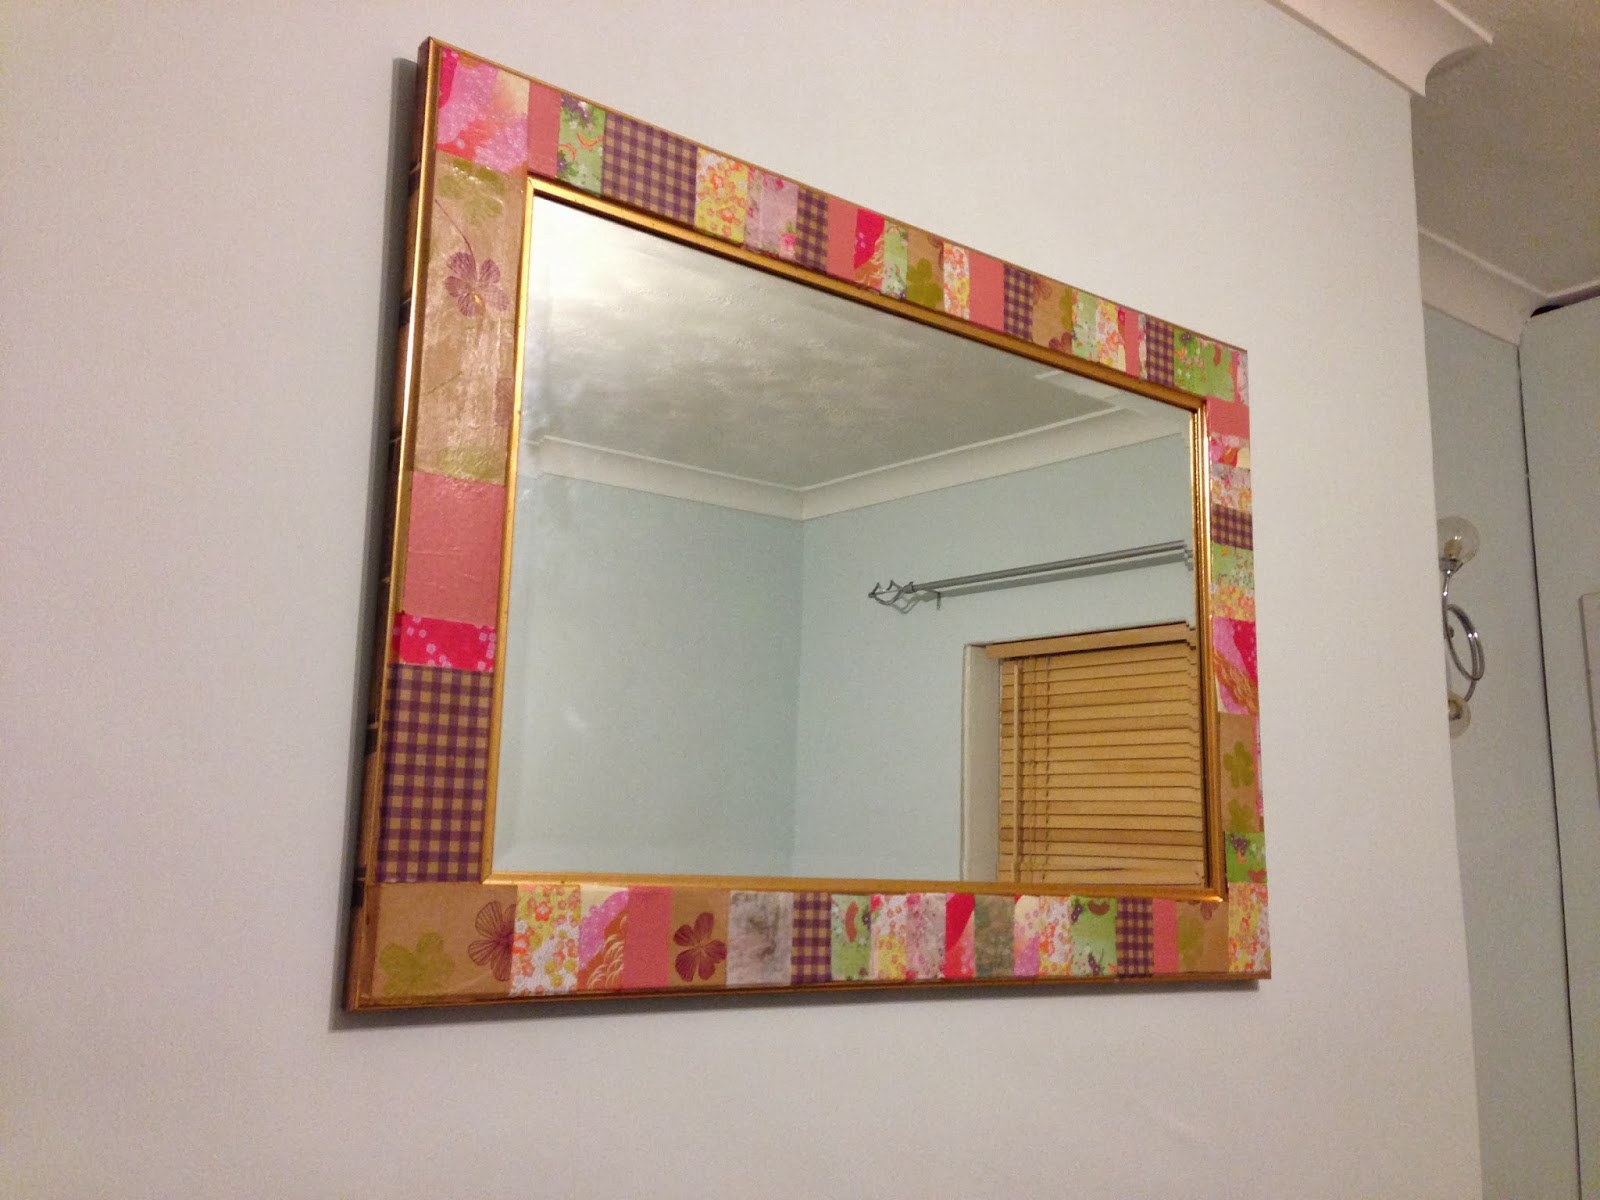
DIY patterns for tiles are easier to do than on other objects. The bathroom, decorated on the inside, will become an attractive place for kids who before that did not like to swim. Around the wall cabinets and mirrors in the bathroom you can make original frames that frame them. The tile ornament can be applied in the form of a strip separating the wall or placed at the very bottom in the form of a border.
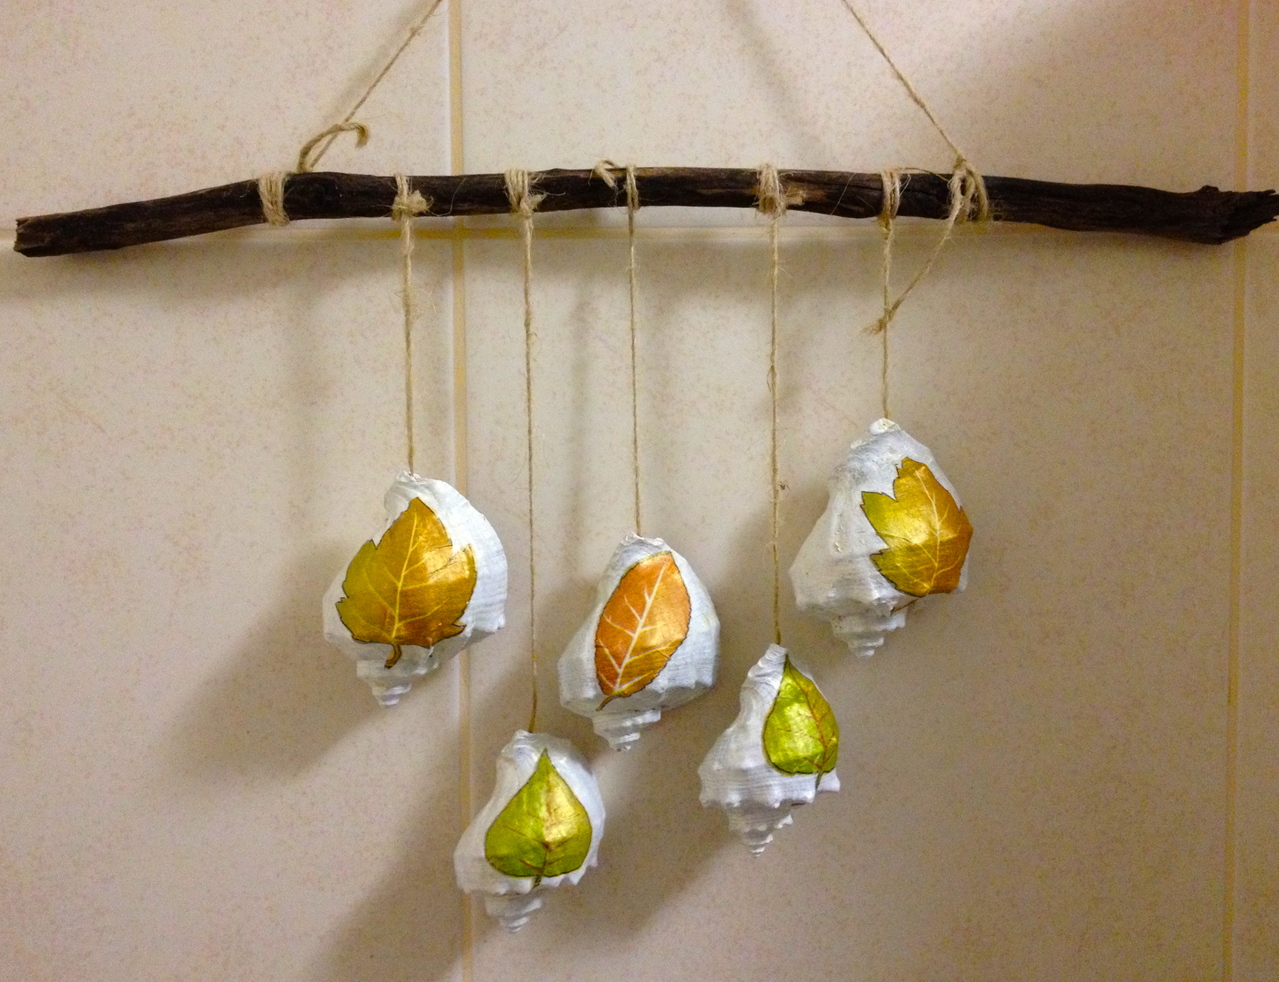
The image of thin paper looks more natural. You can decorate the bathroom with a picture of the seascape or arrange as an ornament at the edges. Thanks to the decoupage technique, you can quickly, inexpensively, with your own hands create an original bathroom interior. Things after decoupage, including doors, look like hand-painted. As an addition to the panel made using the decoupage technique, improvised materials can be used. These include: small shells, small beads and beads, buttons.