Decorative plaster of ordinary putty: methods of implementation and advantages
Content
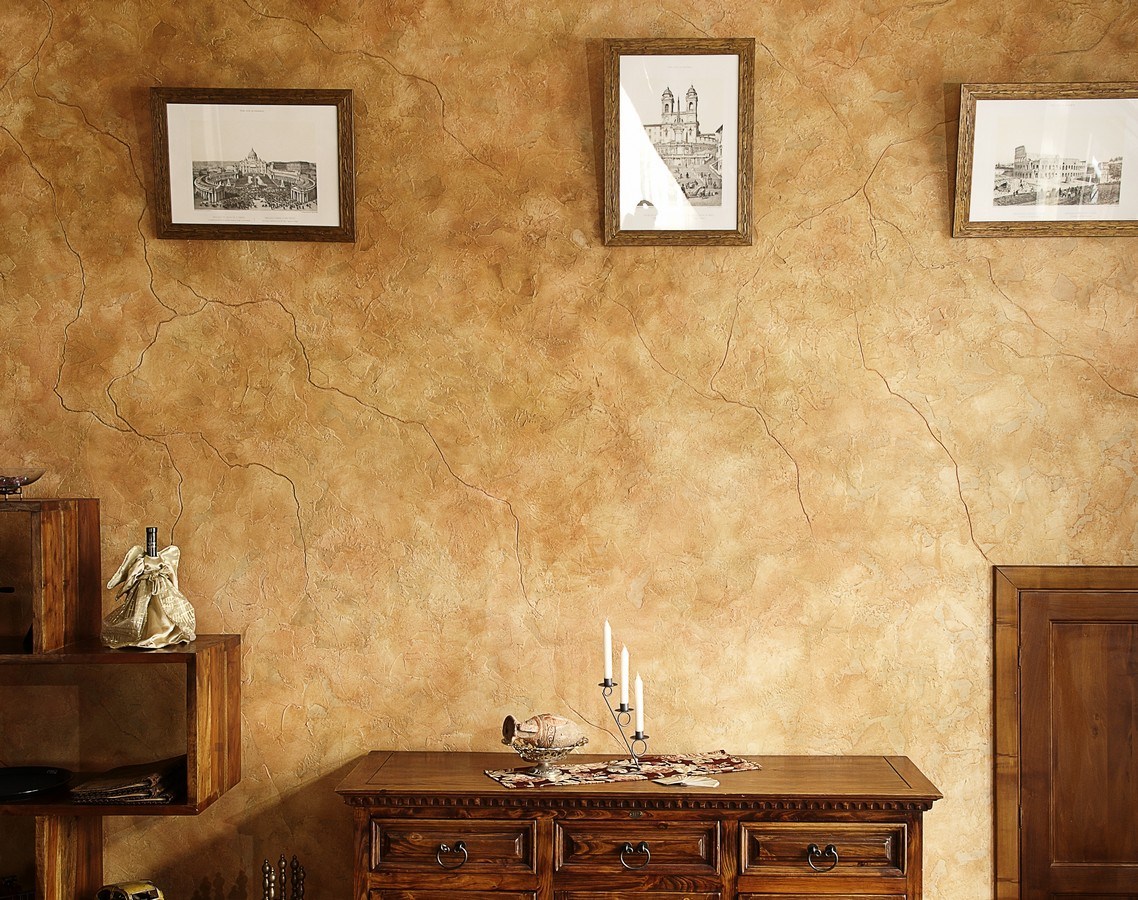
One of the effective methods of decorating the walls of various rooms is decorative plaster. This method of decoration allows you to get a beautiful and unusual surface of the walls. For finishing, special materials and tools are most often used. However, you can save on finishing materials if you use ordinary building putty. Do-it-yourself decorative plaster from ordinary putty allows you to achieve excellent results, show your imagination and save a lot.
Advantages of using putty for decorative plaster
The implementation of decorative plaster from ordinary putty has a number of significant advantages. These include:
- Good ductility. Plaster has high plasticity, so it is easy to work with it even for an inexperienced master.
- A variety of textures. When using this material, you can get original and exquisite textures to your liking.
- A good indicator of adhesion to any materials, including foam blocks, bricks, drywall.
- High adhesion. The composition of the putty includes plasticizers, which provide an excellent indicator of adhesion. This simplifies the work with the material, and allows you to easily create any textures.
- Excellent characteristics of the finished decorative coating. The finished surface has good heat and sound insulation properties, does not absorb odors.
- Durability. The resulting surface retains a presentable appearance and basic performance for a long time.
- Security. The composition of the material does not include toxic ingredients, so it is absolutely safe, and can be used to decorate the bedroom, children's room, kitchen and other rooms.
- Positive emotions from the work. Those who decided to independently decorate the wall with plaster will get a lot of pleasure from creating fancy textures and realizing their creative potential.
Thus, performing wall decoration using conventional plaster will allow you to get a beautiful, neat and unusual surface with your own hands quickly and without problems.
Types of putty to create decorative plaster
Before starting work, you should choose the optimal filler materials. There are several types of putty that can be used to create original decorative plaster on various surfaces.

Types:
- Starting. Such material is used to align the walls. It has a grayish tint and rough texture. The cost of such a putty is low, but it does not work well for creating decorative plaster.
- The finish line. It has a soft and smooth texture. It can be used to create decorative plaster. It is made of various materials.
Types of material by composition and application features:
- Gypsum It has a rich white color. It can be used for rooms with high humidity.Its feature is the control of humidity in the room: at a high level, it can absorb excess moisture, and in the dry - give it away.
- Cement. On its basis, it is possible to create decorative plaster in any room, as well as conduct quality external work. It can be applied directly to the brick. It is used to decorate the balcony, including not glazed, as well as the bathroom.
- Polymer. It is usually used to seal joints and bumps.
- Water resistant. This type of putty can be used for decorative plastering on various substrates. It can be used in rooms with high humidity or with temperature changes. It features a good indicator of durability and strength.
- Universal. Universal putty is presented in a wide range of colors. It lends itself well to grinding, and is used for processing a wide variety of surfaces.
Regardless of the choice of putty material, in order to get a good result, it is necessary to follow the recommendations and rules for creating decorative plaster.
Features of the work
To get a high-quality result, you need to know how to make decorative plaster from ordinary putty, what materials and tools to use for this. It is important to follow the sequence of work and devote time to quality surface preparation.
Surface preparation
To prepare the surface, you will need a spatula, trowel, level, plumb and trowel. The surface preparation process includes the following steps:
- Cleaning the surface of traces of old wallpaper, paint or putty.
- If there are chips or cracks on the surface, they should be puttied.
- Check the walls for evenness using a level and a plumb line. If there are severe differences, it is necessary to level the surface.
- Application on the walls of the primer.
After completing the last stage of surface preparation, it is necessary to allow it to dry completely.
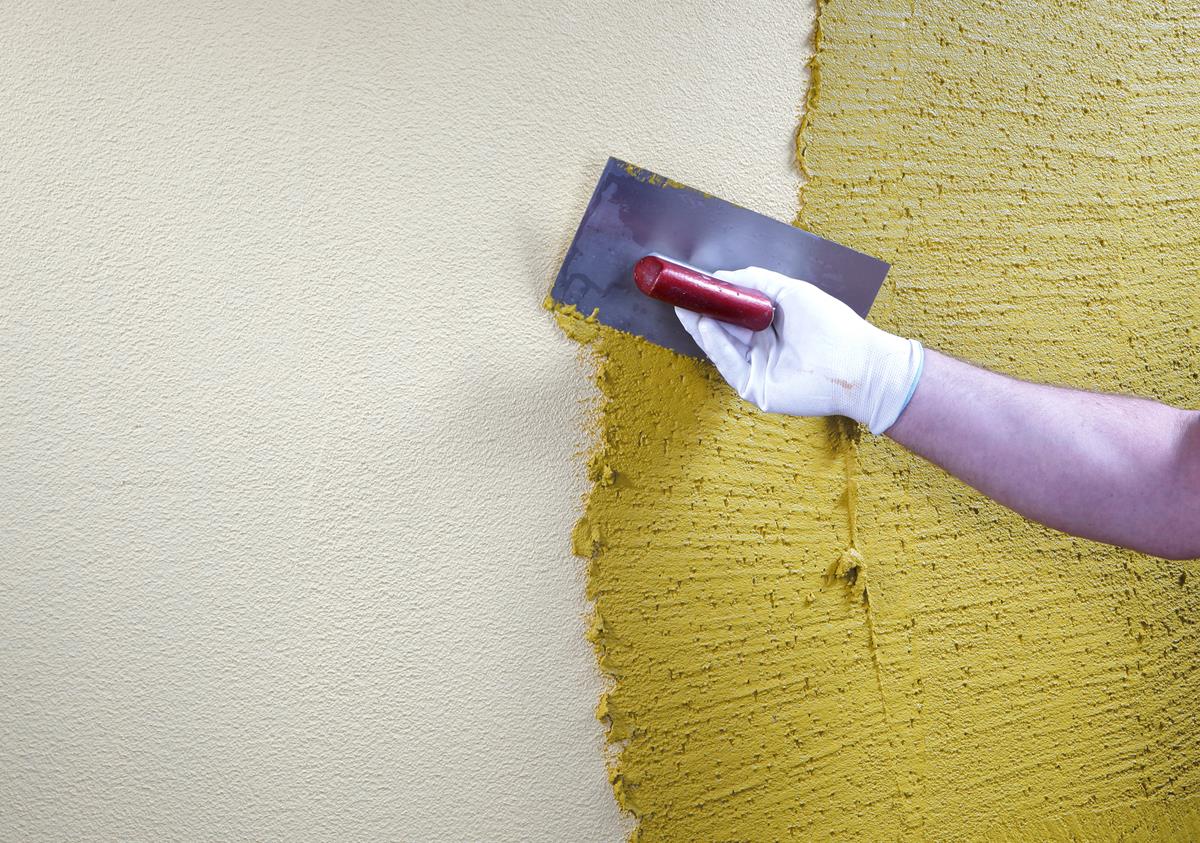
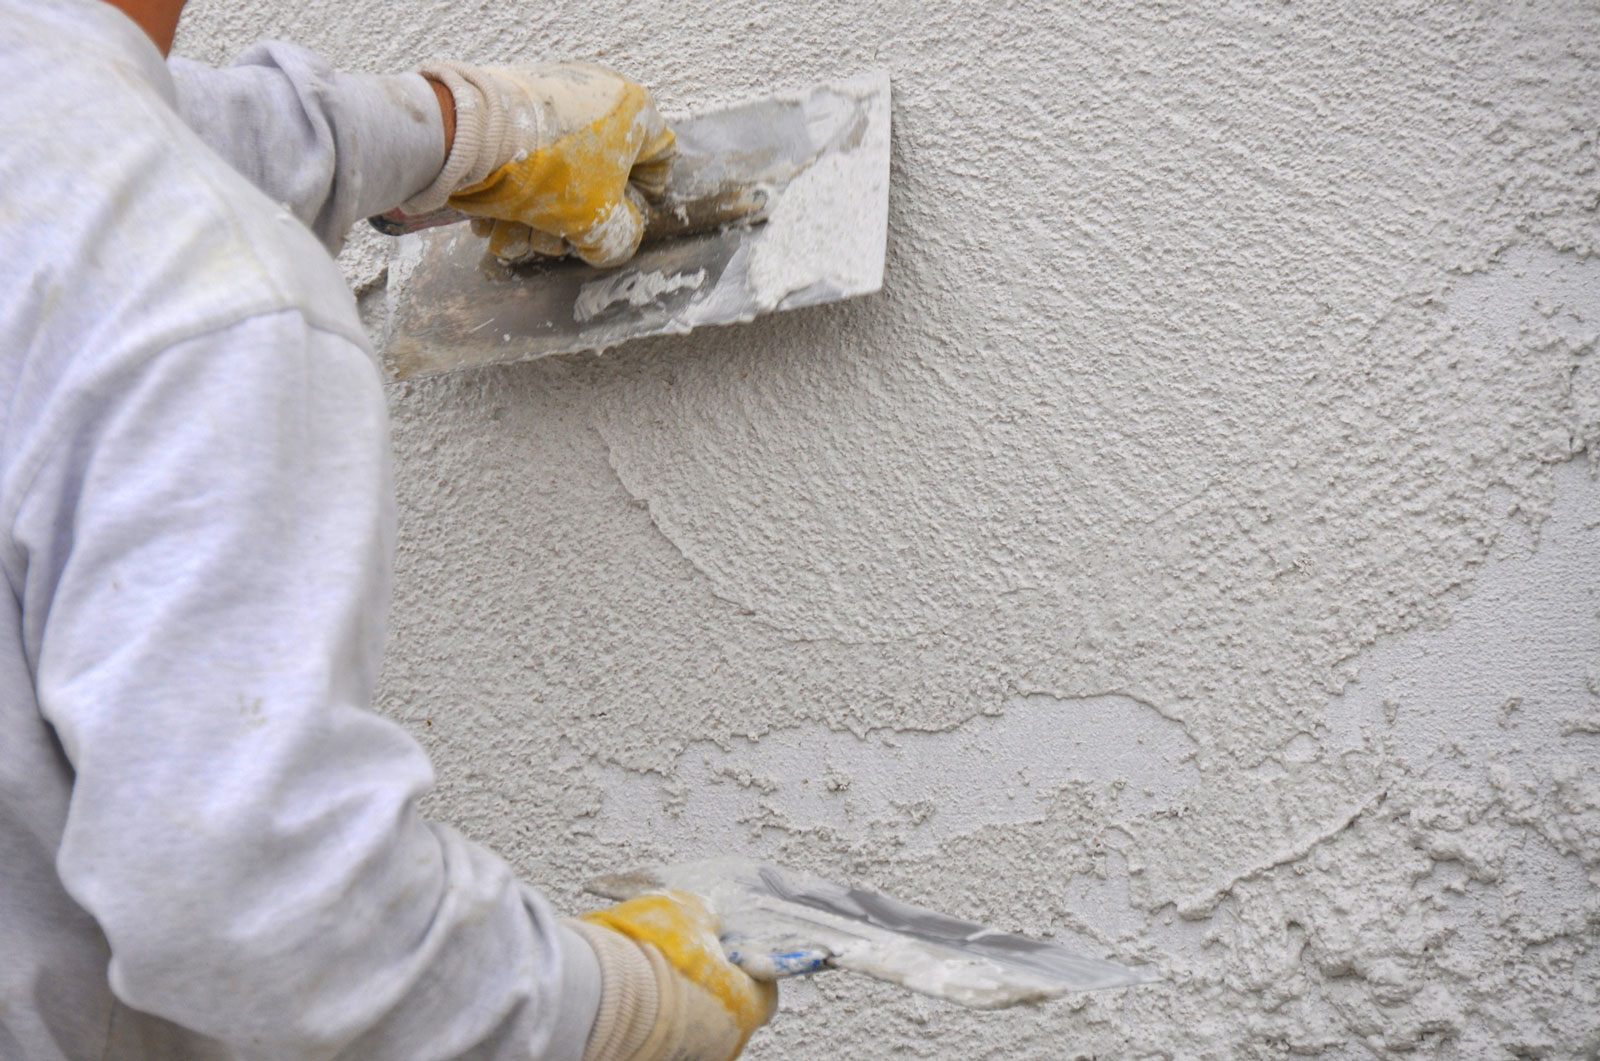
Base coat application
Decorative plaster from ordinary putty is a great way to decorate any surface.
However, in order to get a decent result, you must follow the rules for applying the base layer.
Stages of applying the base layer:
- Dilute the mixture with water, according to the instructions. It is necessary to prepare such an amount of solution in time to apply it in one go.
- Application of the first base coat. The layer of the mixture should be about 1.5 mm in order to fit the textured layer.
- Putty distribution.
After applying the base layer, you can proceed to create a decorative surface.
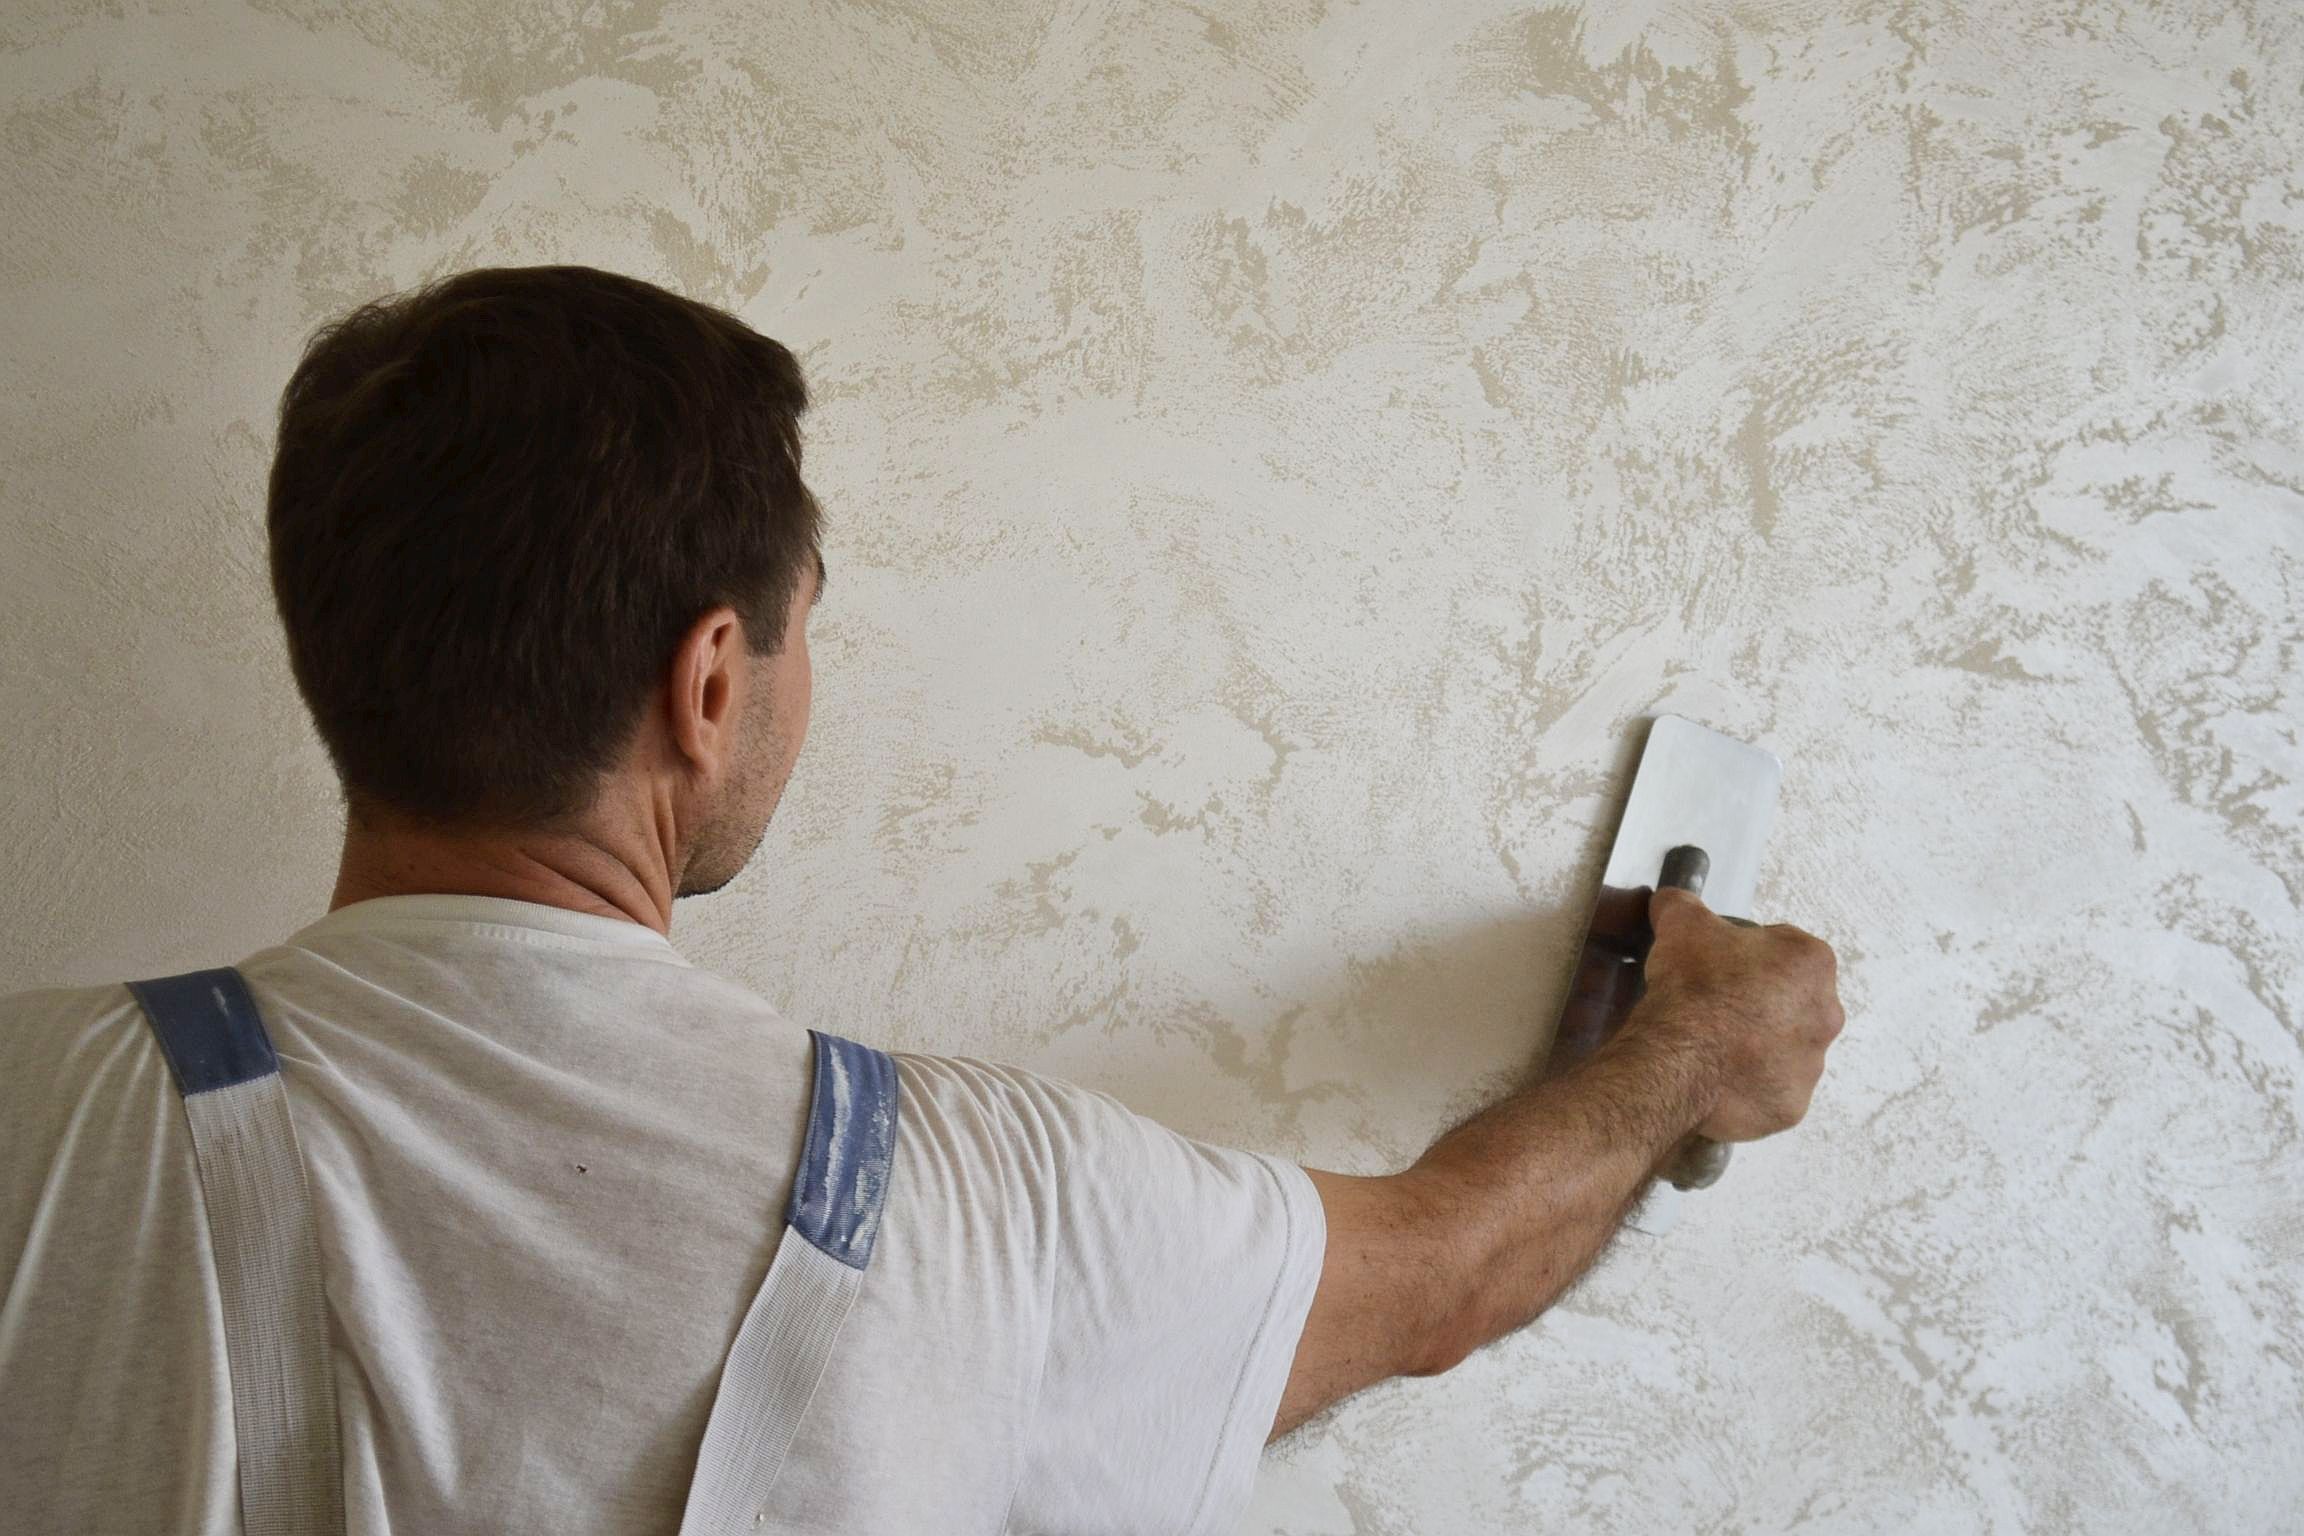
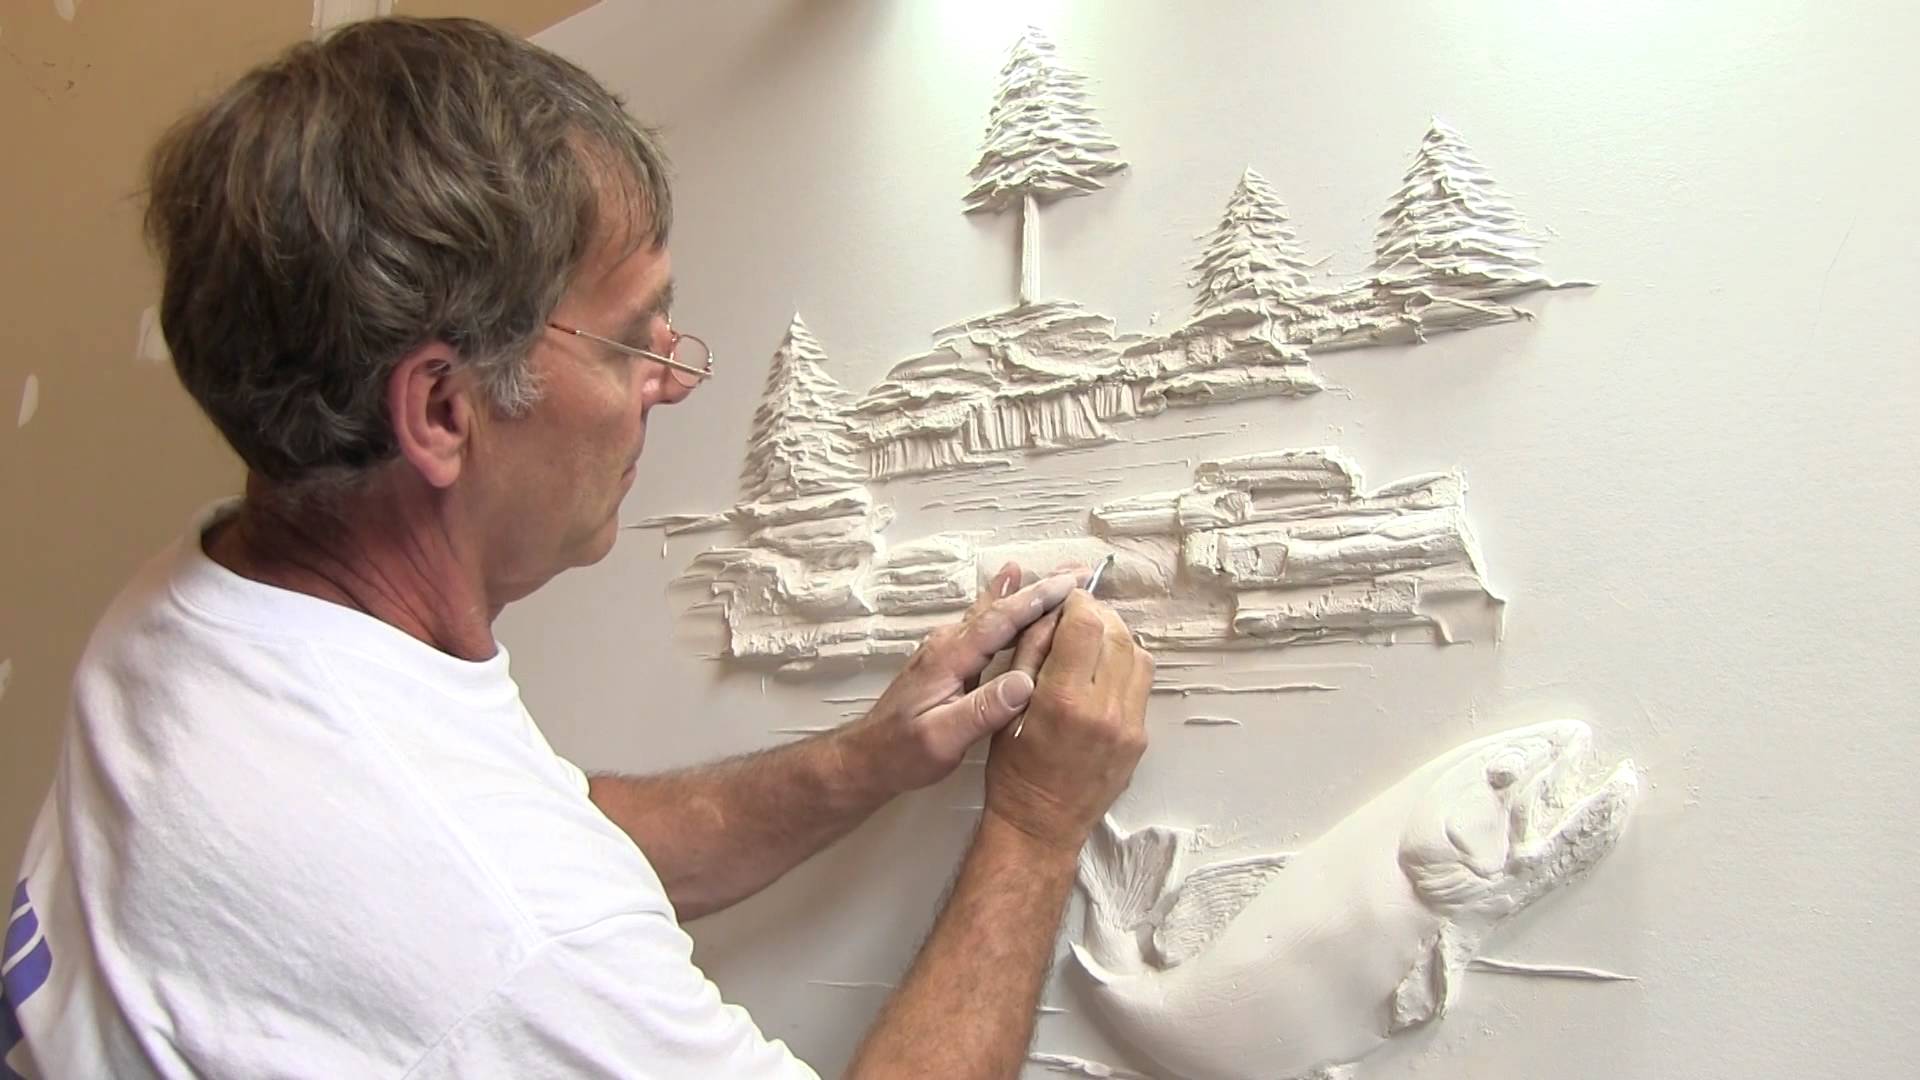
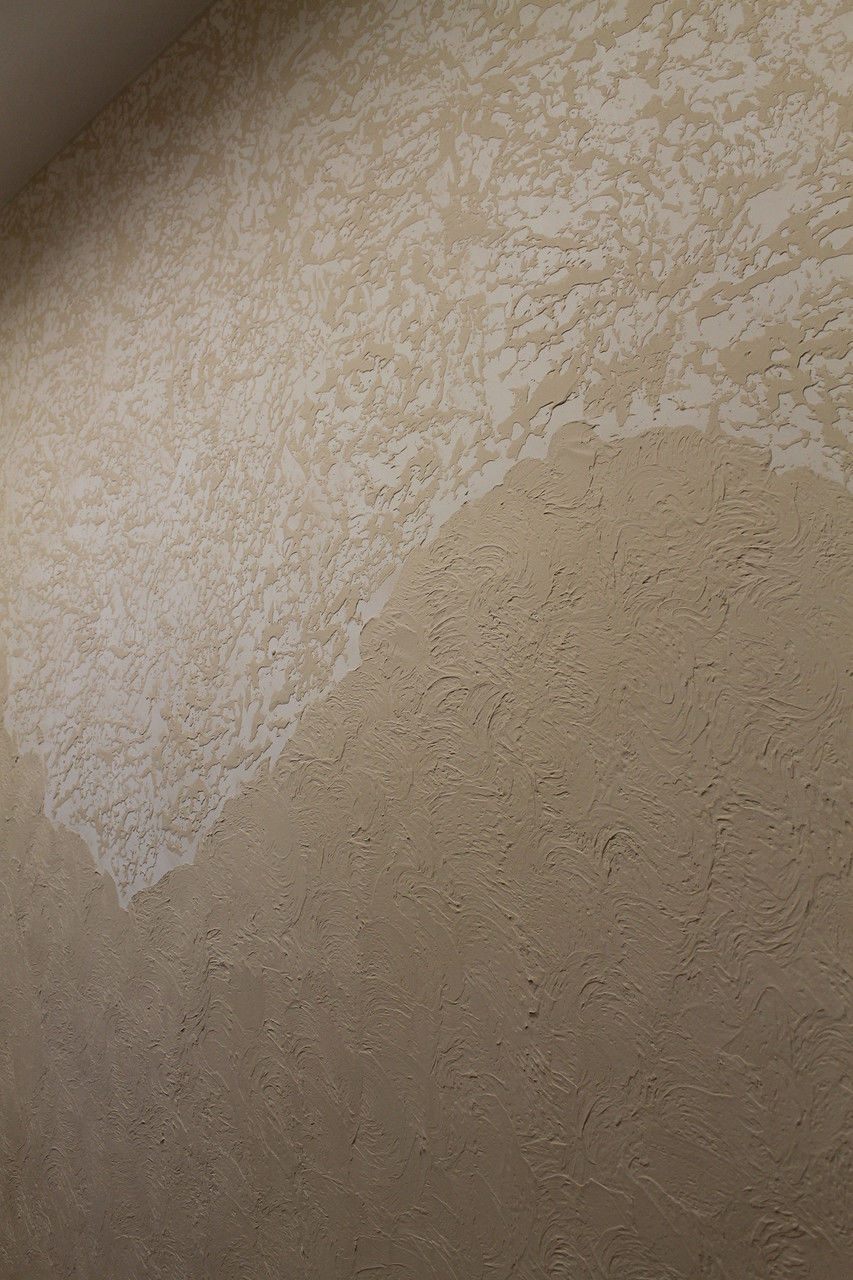
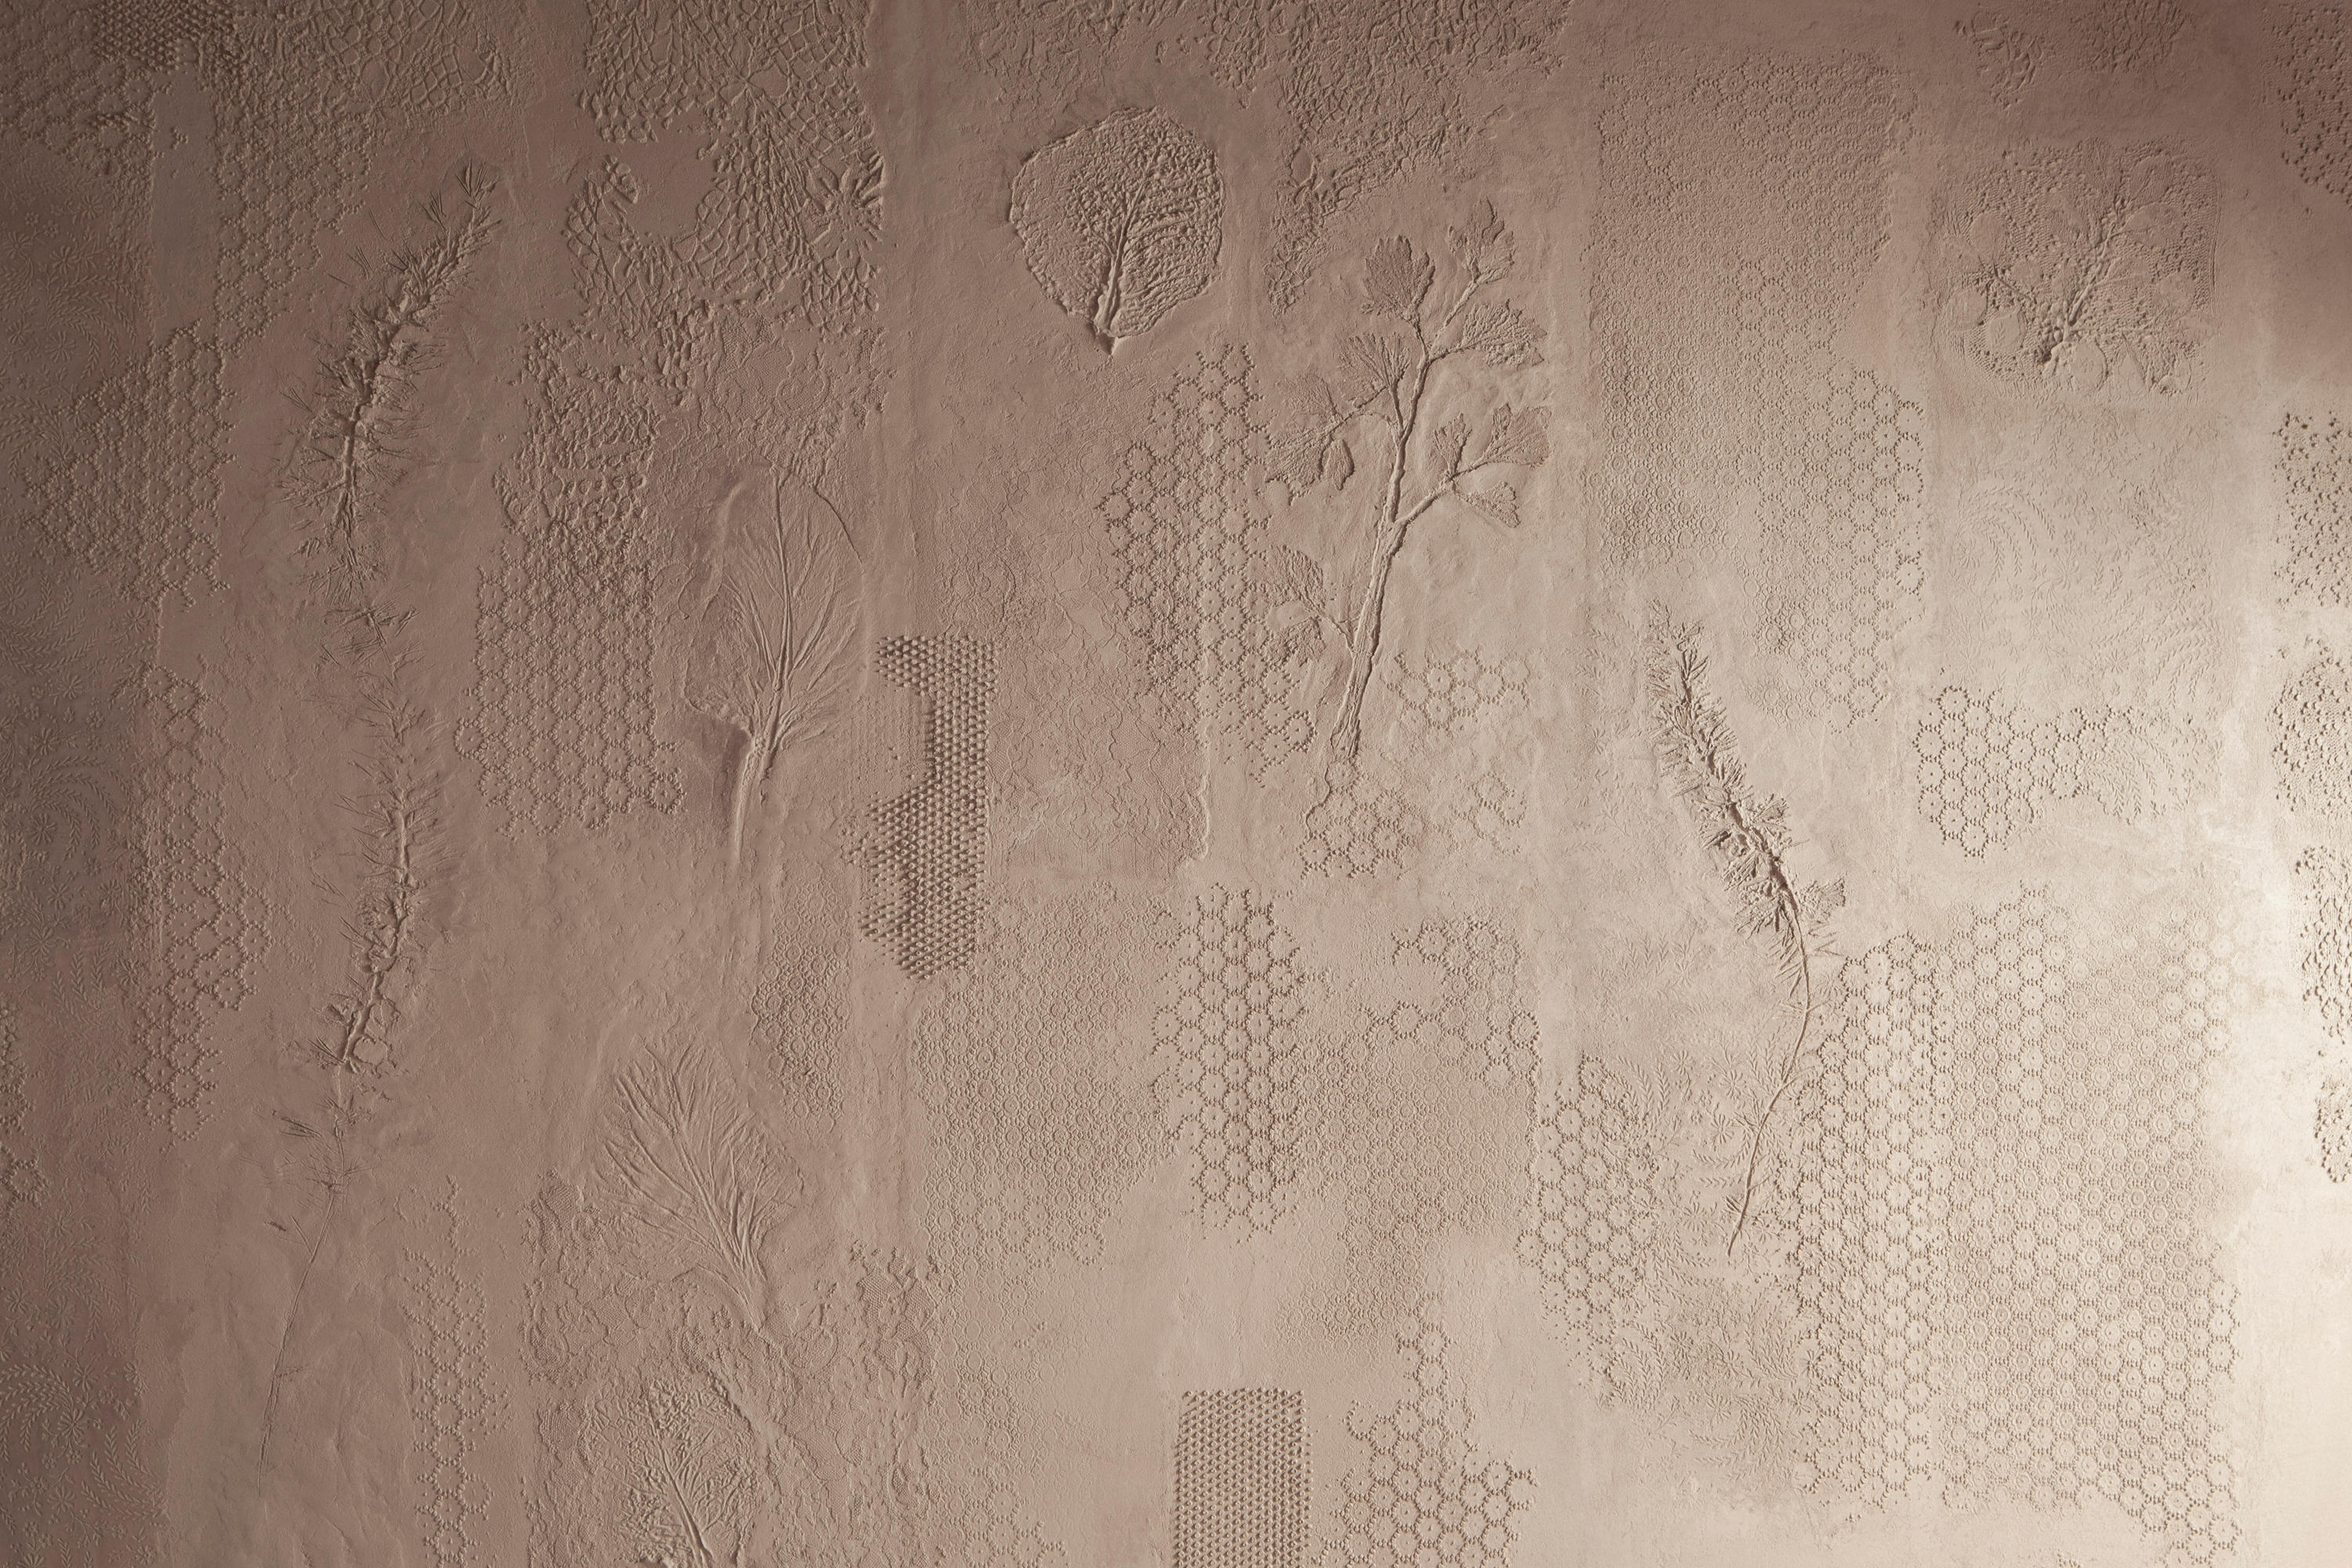
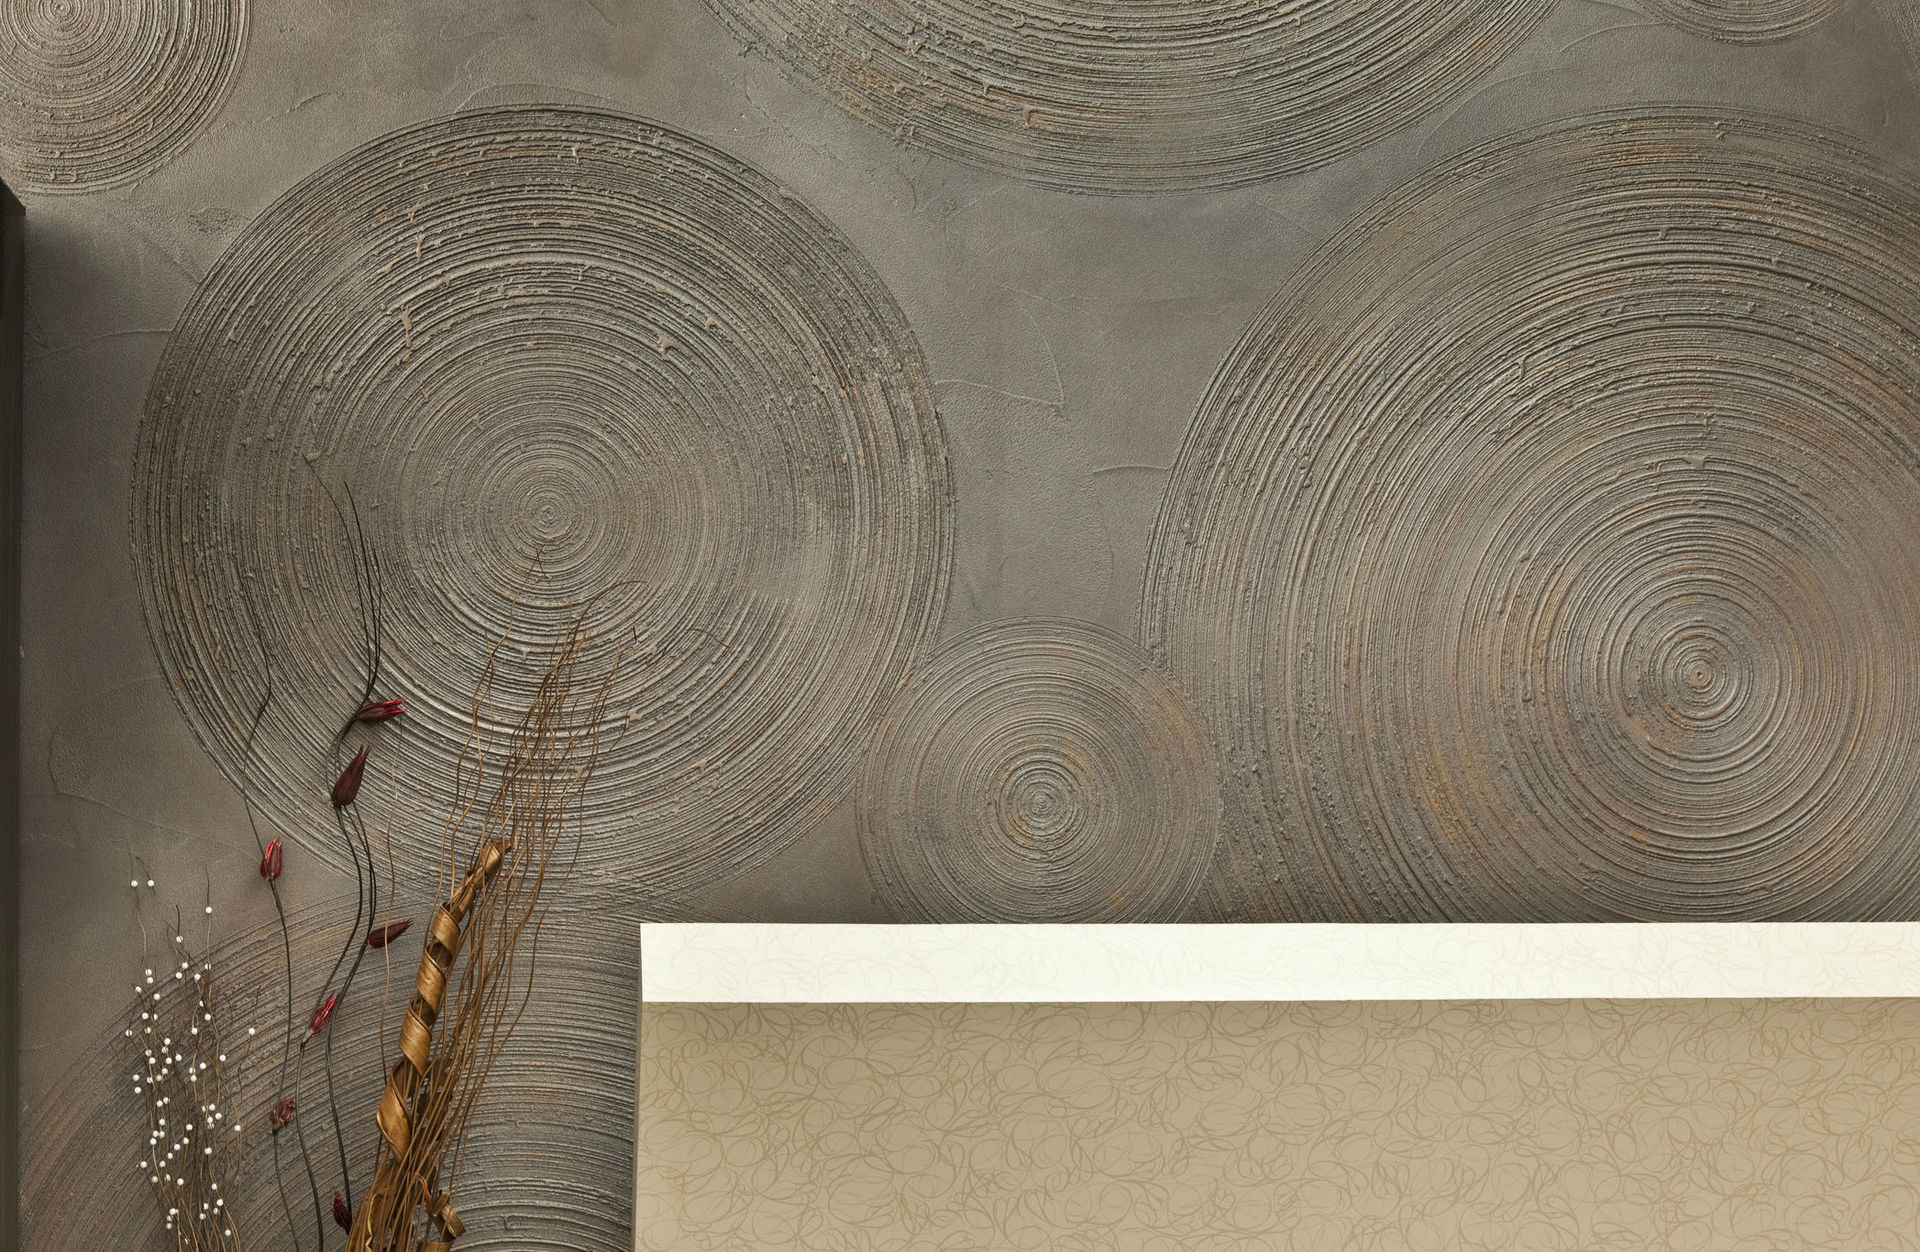
Create a textured surface
To create a decorative surface, you can use the following tools:
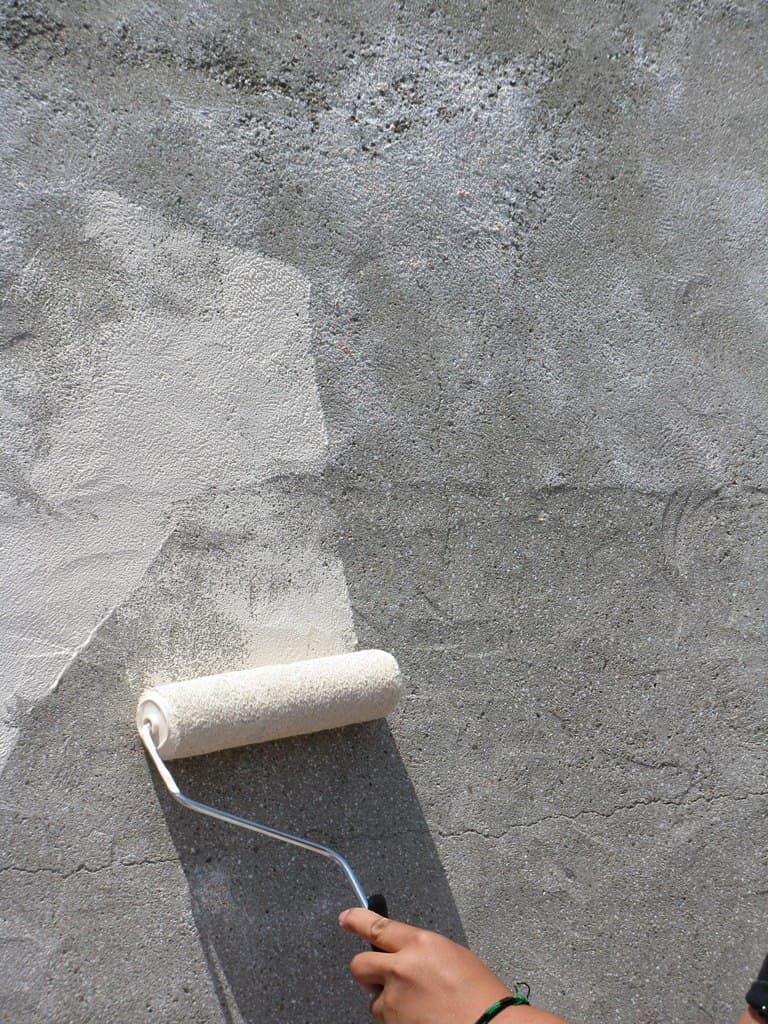
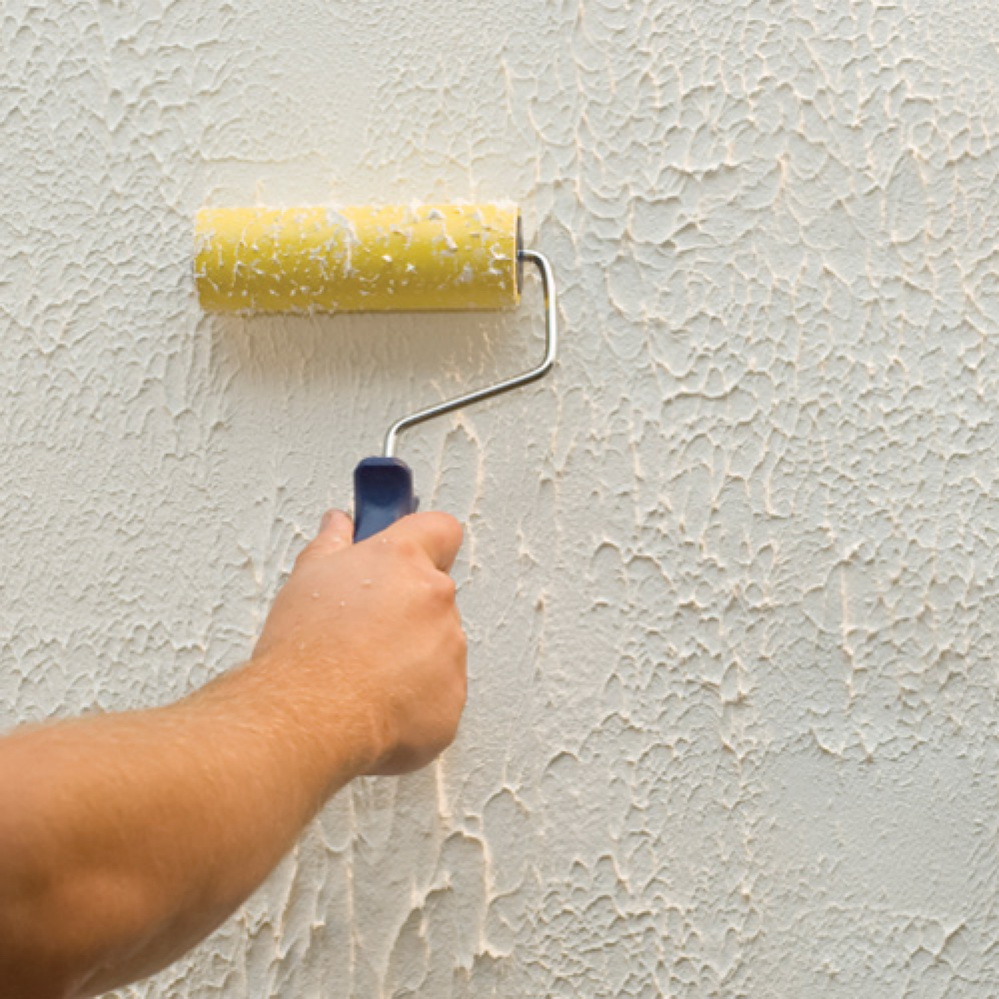
- Roller. When working with a roller, it is easiest to achieve a textured surface. It turns out most beautifully if you walk along the entire length of the surface without tearing off the roller.
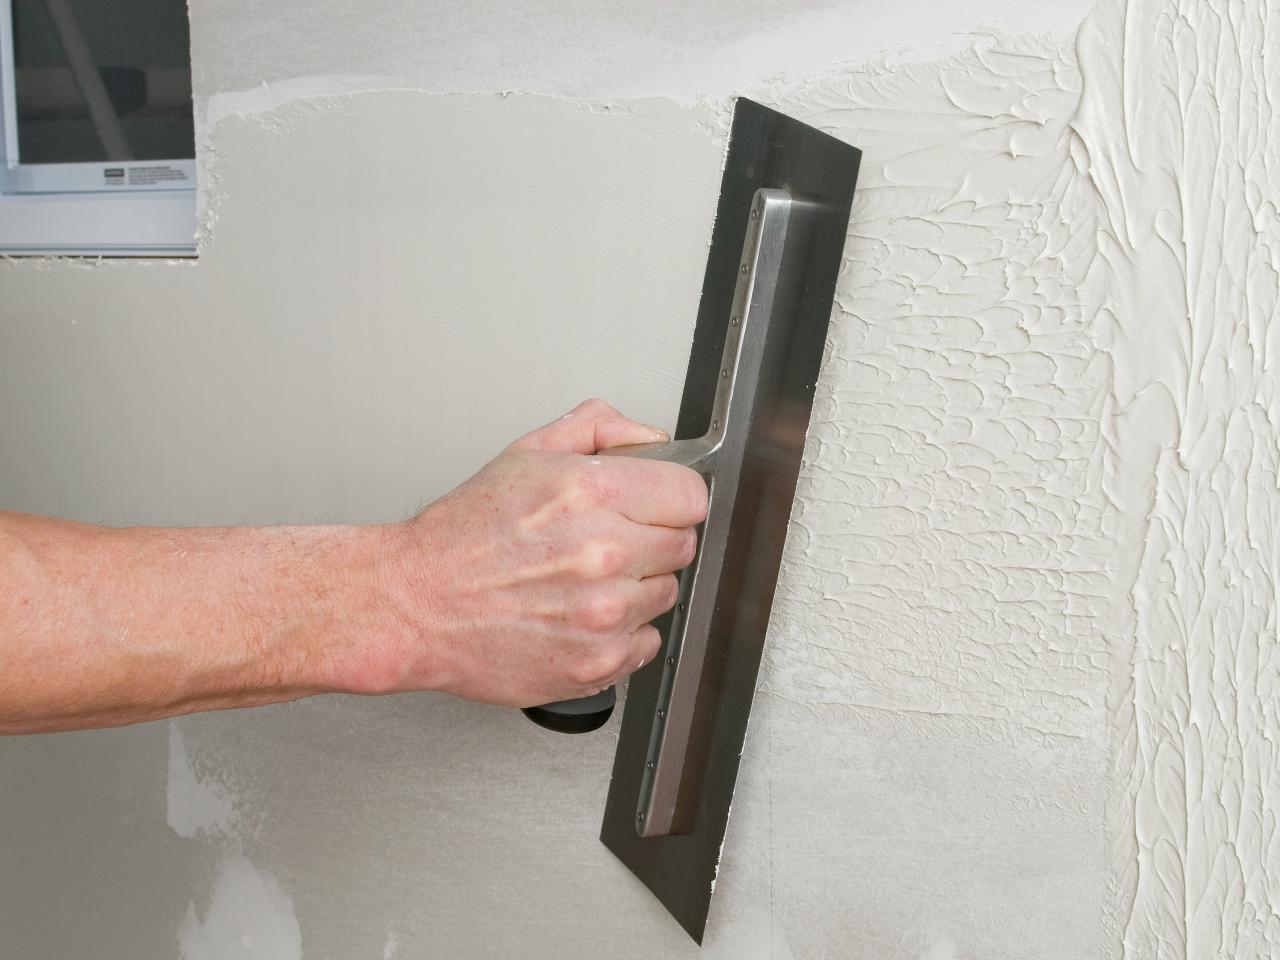
- Brushes and curly spatulas. It is enough to put a putty knife over putty, leaving broken or wavy lines. Brushes allow you to get a fine or rough texture.
- Stencils. They must be pressed into the base layer so that the pattern remains. There are special stencils for flat surfaces and corners.
The choice of a tool for creating a textured surface depends on the desired effect, as well as on the availability of skills for their application.

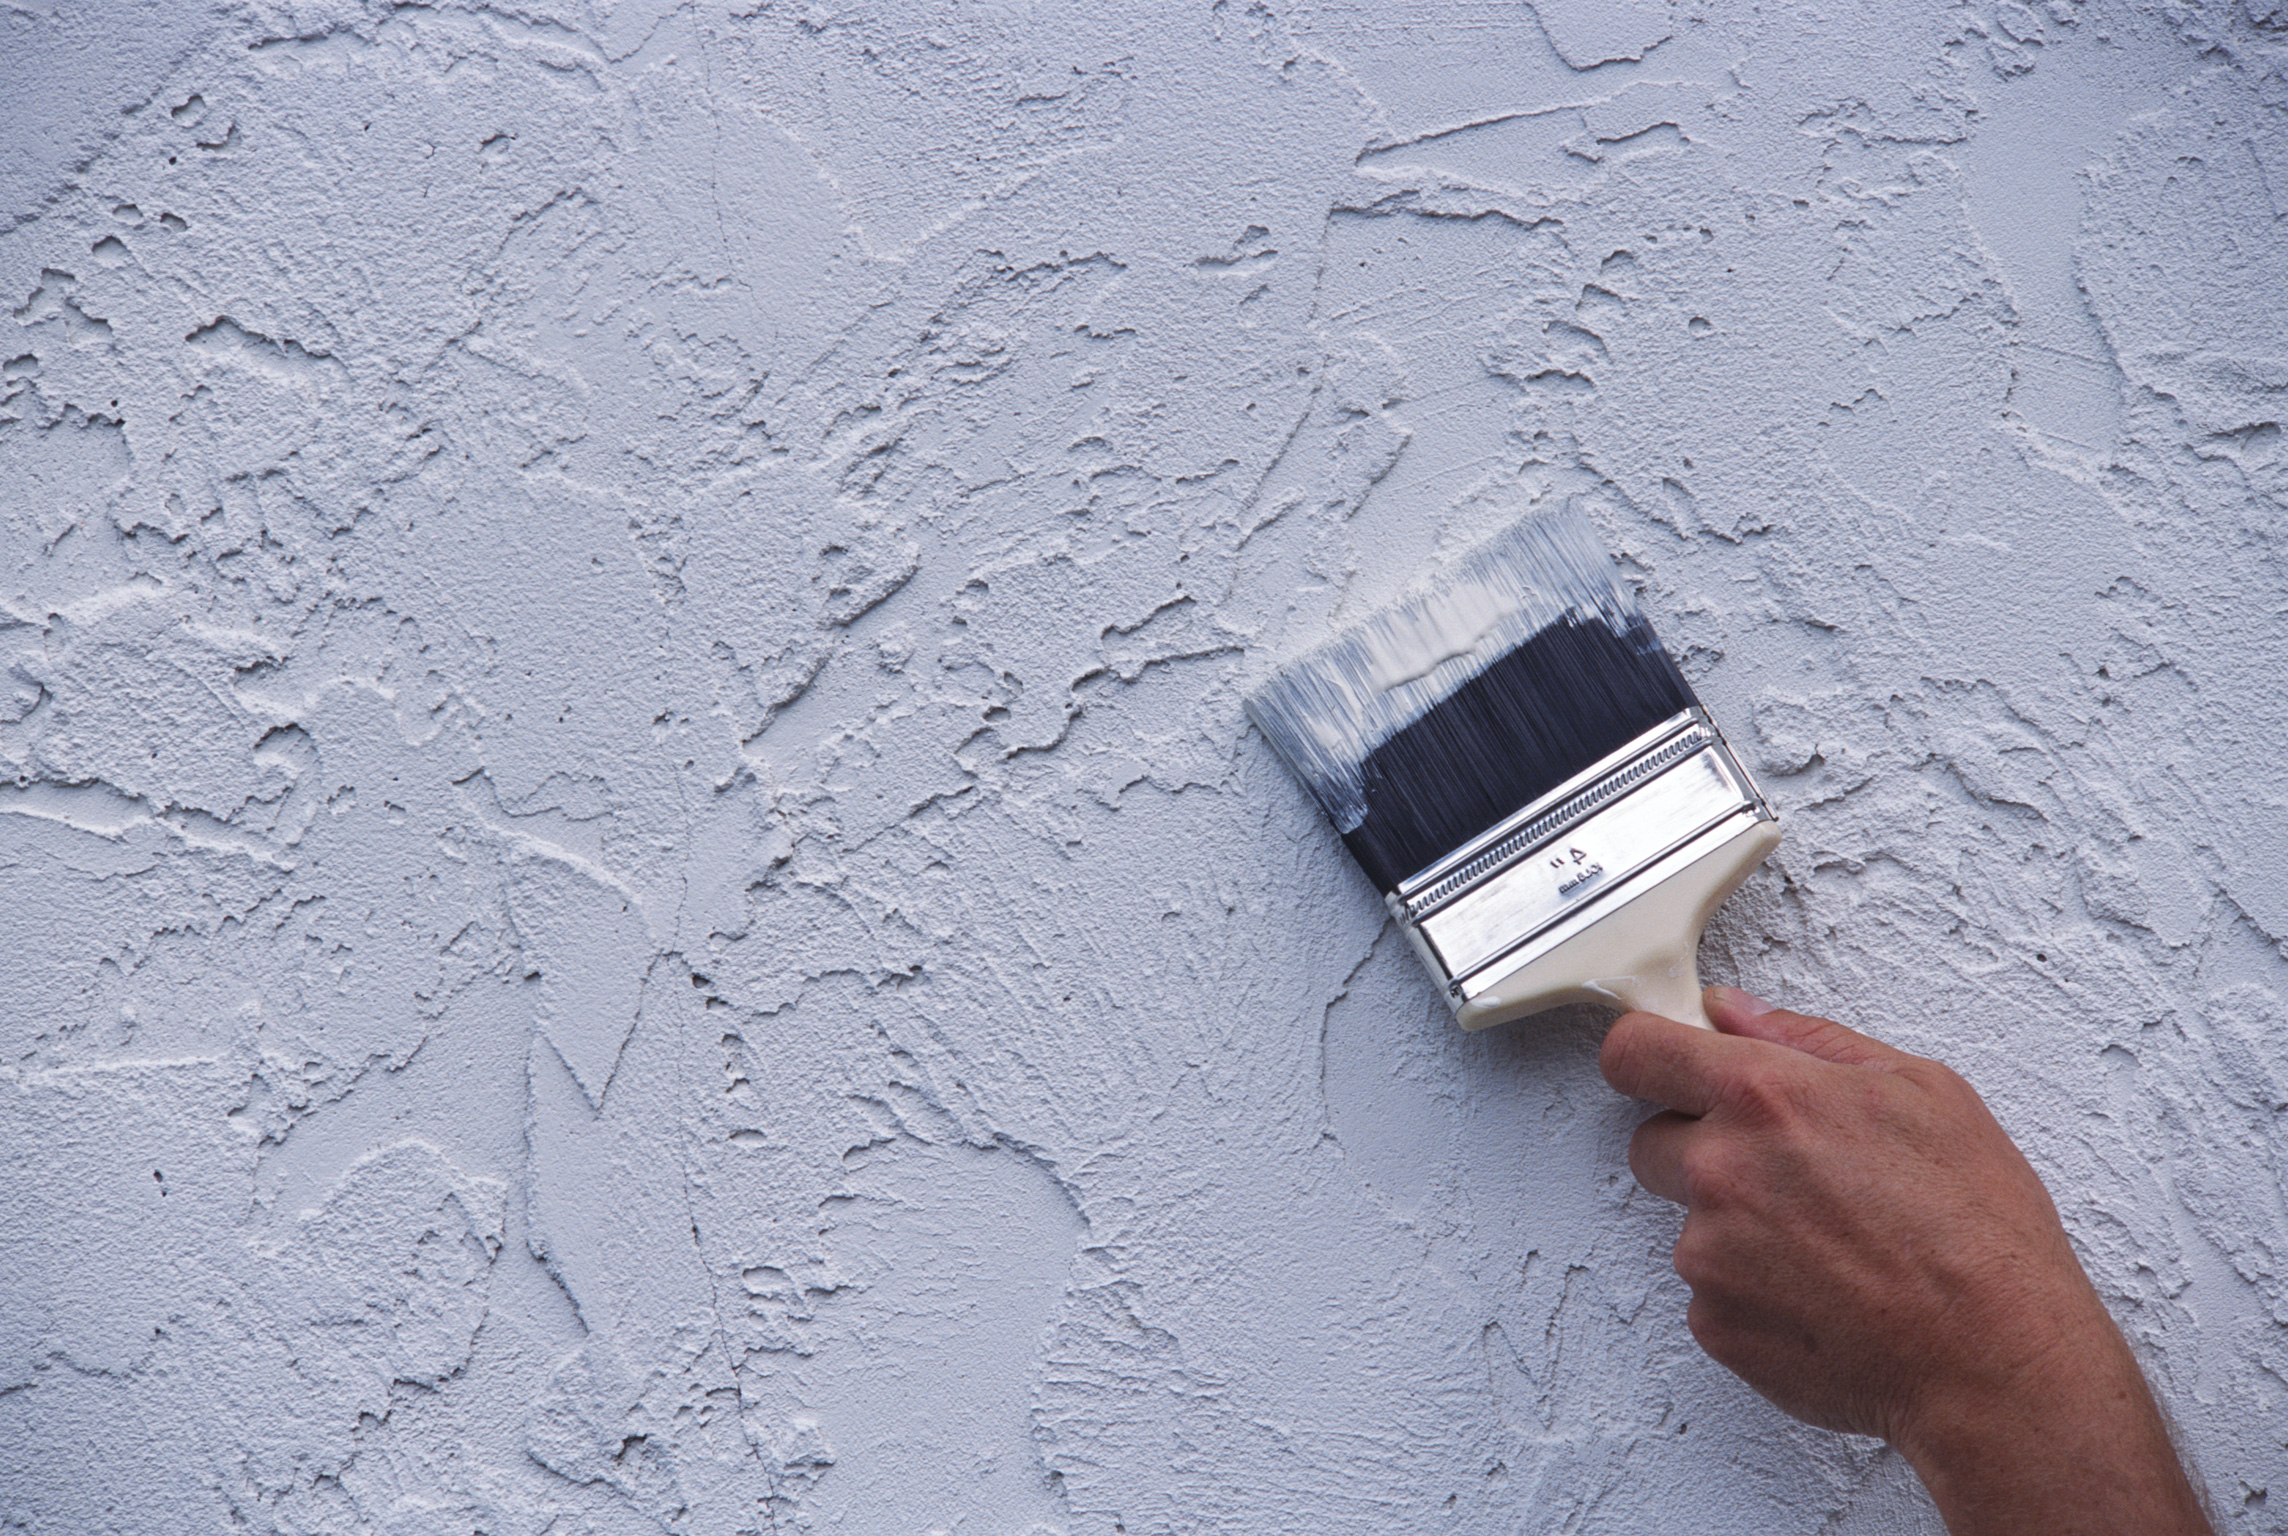
Finish finish
In order for decorative plaster to maintain a beautiful appearance for a long time, the texture should be protected. To do this, it is recommended to use paint in two layers. In addition, the use of paint will emphasize the beauty and depth of the texture.
It is worth noting other features of the finish:
- Before finishing the surface, it is necessary to wait until it is completely dry. If you hurry, when painting the wall, you can ruin the integrity of the texture, so it is better to carry out work a few days after creating the texture.
- It is necessary to pick up two paints that will differ in color by 2-3 tones.
- First you need to apply a dark coat of paint. The work is best done using a long pile roller.
- The second coat of paint must be applied only after the first has completely dried. The second paint should be lighter. For the second layer, use a short-nap roller.
If there is no special paint roller, you can use ordinary brushes. In this case, it is better to choose the widest brushes so that the paint lays more evenly. Steps for painting with a brush:
- Pour some paint into a convenient container that can be constantly held in your hand. Soak a brush in it, removing excess paint on the container.
- Additionally, you can wipe the brush on a piece of paper or cardboard.
- Paint the surface with sweeping movements so that the paint is applied evenly. To paint decorative plaster from putty, strokes should be done across, slightly touching the wall.
- Completely painting the wall is not required. It is important to lubricate its convex surface to visually make the texture even more voluminous.
Another way to stain is to wash. It is necessary to apply a darker paint on the surface and immediately wash it off with a wet rag. Dark shades will remain in the recesses, and light shades on the texture.
Regardless of the method of painting the surface, the last step in surface decoration is the application of a clear water-based varnish. To better penetrate the decorative plaster, it is recommended to dilute it with water. Varnish must also be applied in two layers.
Creating a decorative plaster from putty is a simple task. In this case, you can even use materials at hand. The main thing is not to be afraid to experiment and show your creative abilities.