Infrared ceiling: the most advanced heating system
Content
Heating a house with electricity is considered the most expensive, but if other types of fuel are not available, it is worth considering the most popular types of heaters that are powered by a wall outlet. The most economical are infrared. Their efficiency is much higher due to a different principle of operation. Unlike conventional electric reflectors or radiators, infrared heaters do not heat the air, but the surrounding objects: floor, walls, furniture, people. Heated objects evenly give off heat, creating a feeling of comfort and dryness.
The device and principle of operation of the infrared heater
The steel casing of the device comprises a reflector and a heating element or radiator. When turned on, the radiator heats up and emits infrared waves, which are perceived by humans as thermal. The heating element can be made in the form of a heating element - a tubular heater, an open or closed spiral, or a carbon coating in film heaters.
The reflector serves for directed heating and protection of the device itself from overheating. Infrared waves are completely safe for humans and animals, except for possible overheating. To prevent it, heaters are equipped with temperature controllers and sensors. With their help, you can set the heating temperature and turn off the device when it is reached.
Types of infrared heaters
According to the mounting methods, these devices can be divided into:
- Ceiling
- wall mounted;
- outdoor.
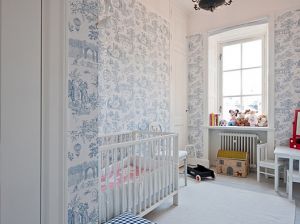
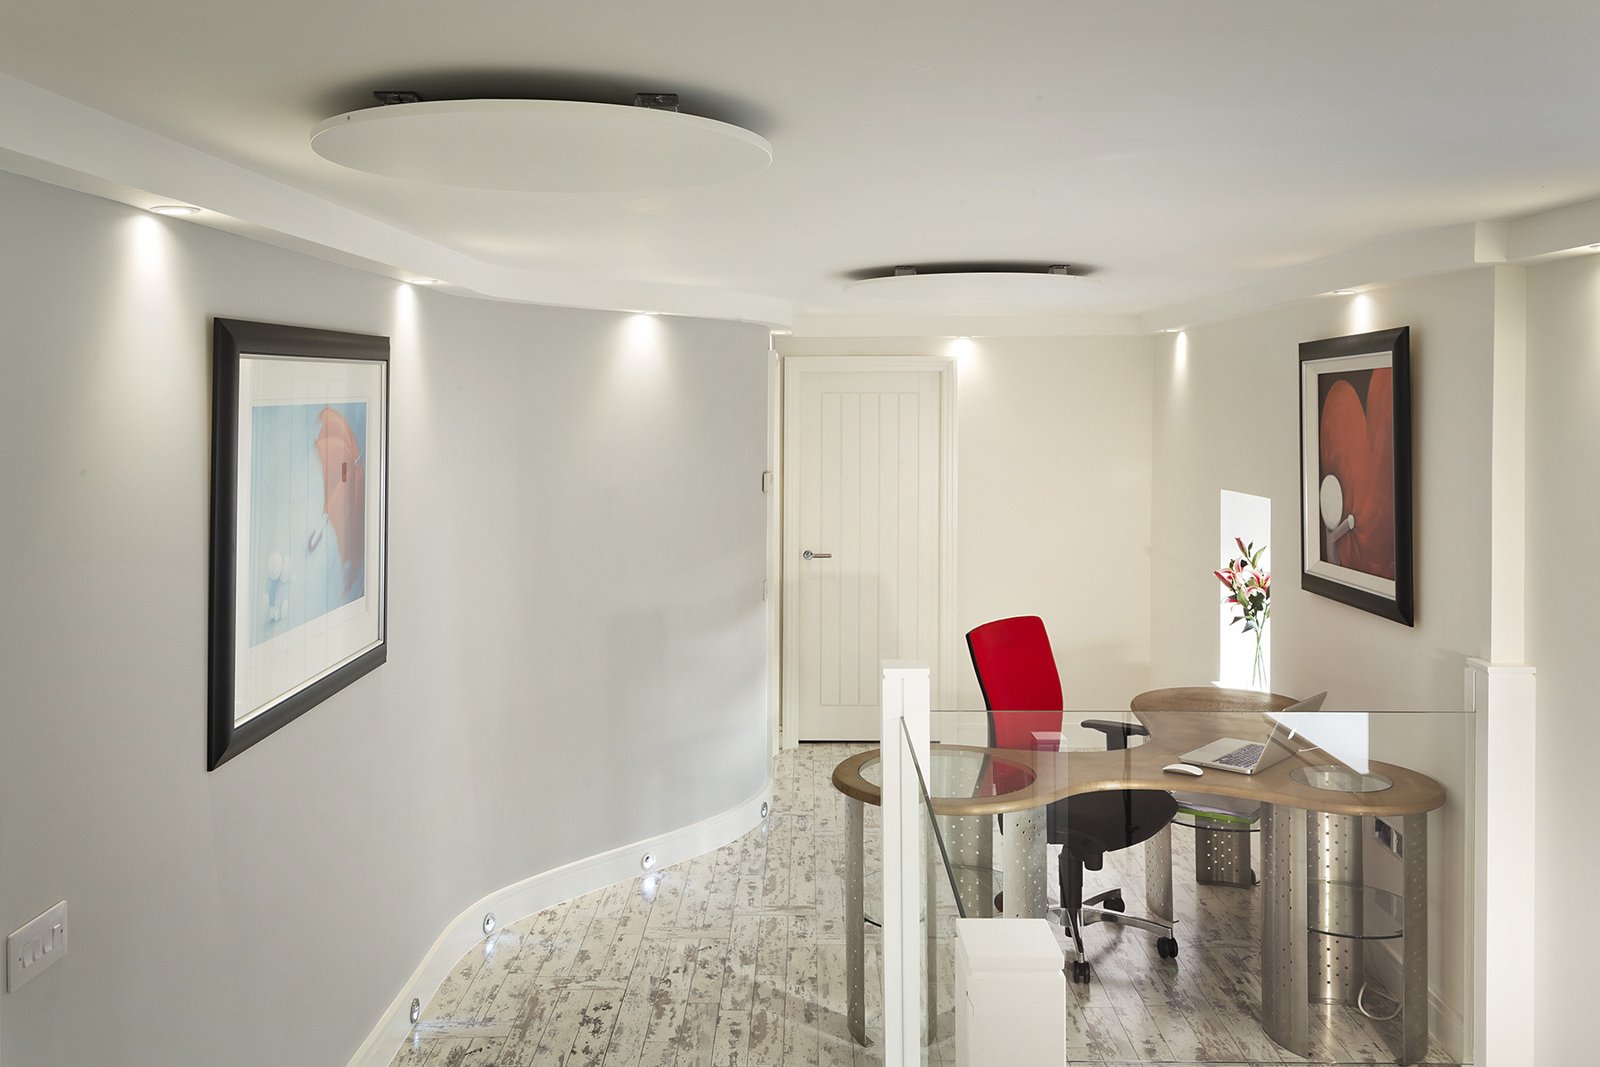
Ceiling models are very popular. They occupy a place only on the ceiling, which is almost always uncritical. It is not possible to accidentally touch and burn themselves or to accidentally lean a flammable object.
A correctly installed and directed appliance will evenly heat the entire area below the sleeping, dining or rest area. And finally, modern models look so neat and aesthetically pleasing that they only decorate the interior. Please note that the height of the ceilings must be sufficient, at least 2.5 meters.
Infrared film on the ceiling
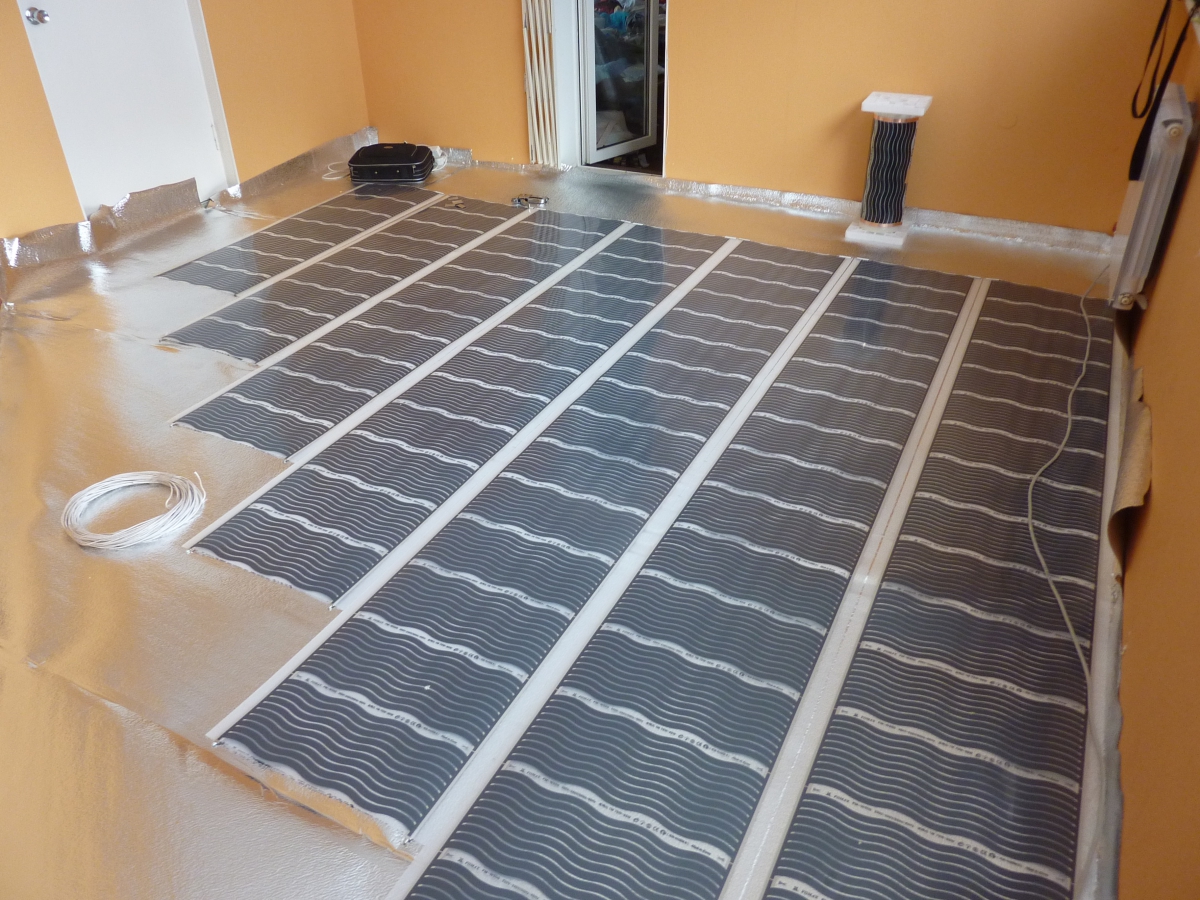
Even more interesting is the novelty among the heaters - infrared film. It is a plastic film, inside of which conductive and heating coal elements are sealed. The film is much more convenient than a conventional heater. It can be:
- strengthen on any flat place - floor, ceiling or wall under the window;
- cut into pieces of the right size along special lines;
- hide under a suspended or suspended ceiling.
Compared to the heater, the film does not heat up so much. For a good warming up of the room, especially in the cold season, you will have to cover a fairly large area with it. But this product is absolutely fireproof. It is also lightweight, available in rolls that are convenient to carry.
Advantages and disadvantages of infrared warm ceiling
Compared to other types of heating systems, a warm ceiling has many advantages:
- the greatest profitability in comparison with usual radiators and reflectors;
- the room retains a natural level of humidity;
- simple installation and lack of labor-intensive operations;
- simple automatic control allows you to forget about temperature changes;
- the ability to install in buildings of any type, including wooden;
- a wide selection of finishes for ceilings.
Of the significant shortcomings, only the restriction in the height of the ceilings can be distinguished, but in this case too, one can get out of the situation. For example, when installing thermal film, bypass those places where people are constantly located: above the head of the bed or above the workplace.

How to make a warm ceiling in the house with your own hands?
The installation of an infrared film on the ceiling takes place in several stages:
- ceiling insulation;
- calculation of film area;
- installation of a film, a temperature regulator and a sensor;
- network connection and health check.
Prior to the installation of thermal film, it is necessary to finish all construction and finishing work on the ceiling, excluding the finish. Also carry out all work on laying communications and lighting wires.
Now we will consider the stages of installing a warm ceiling in more detail.
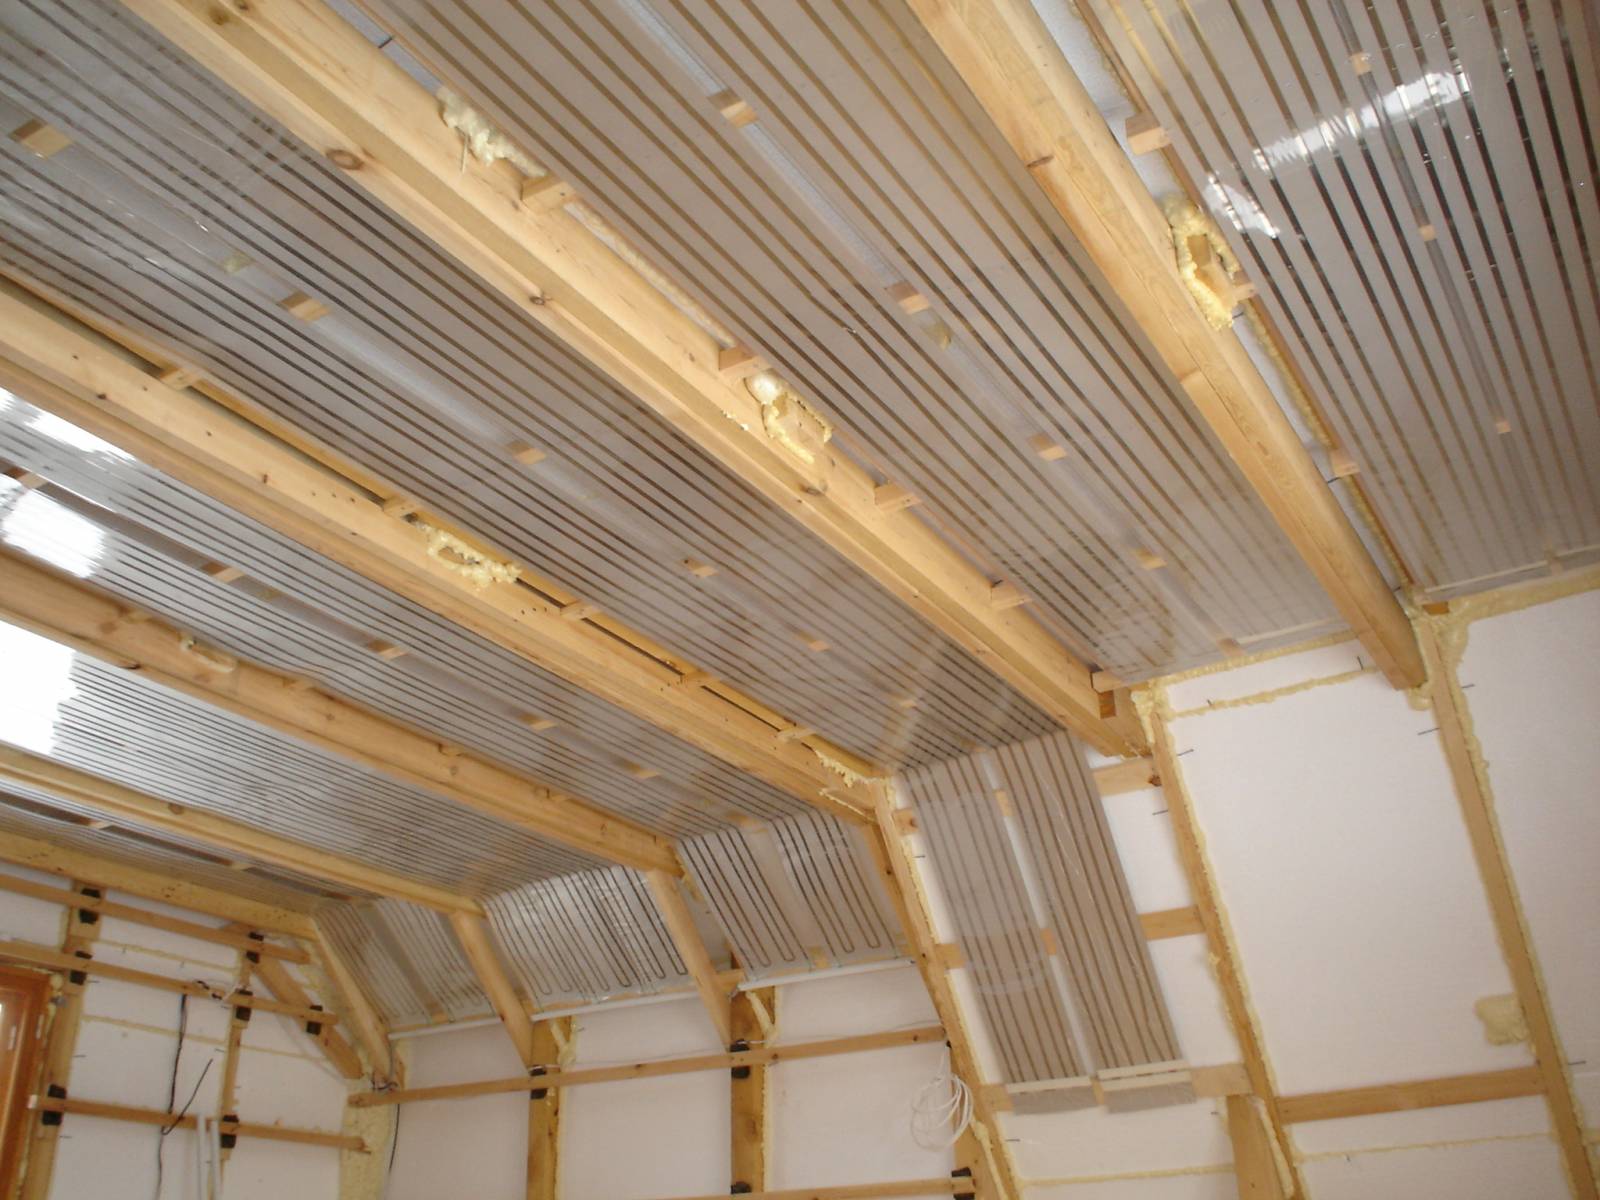
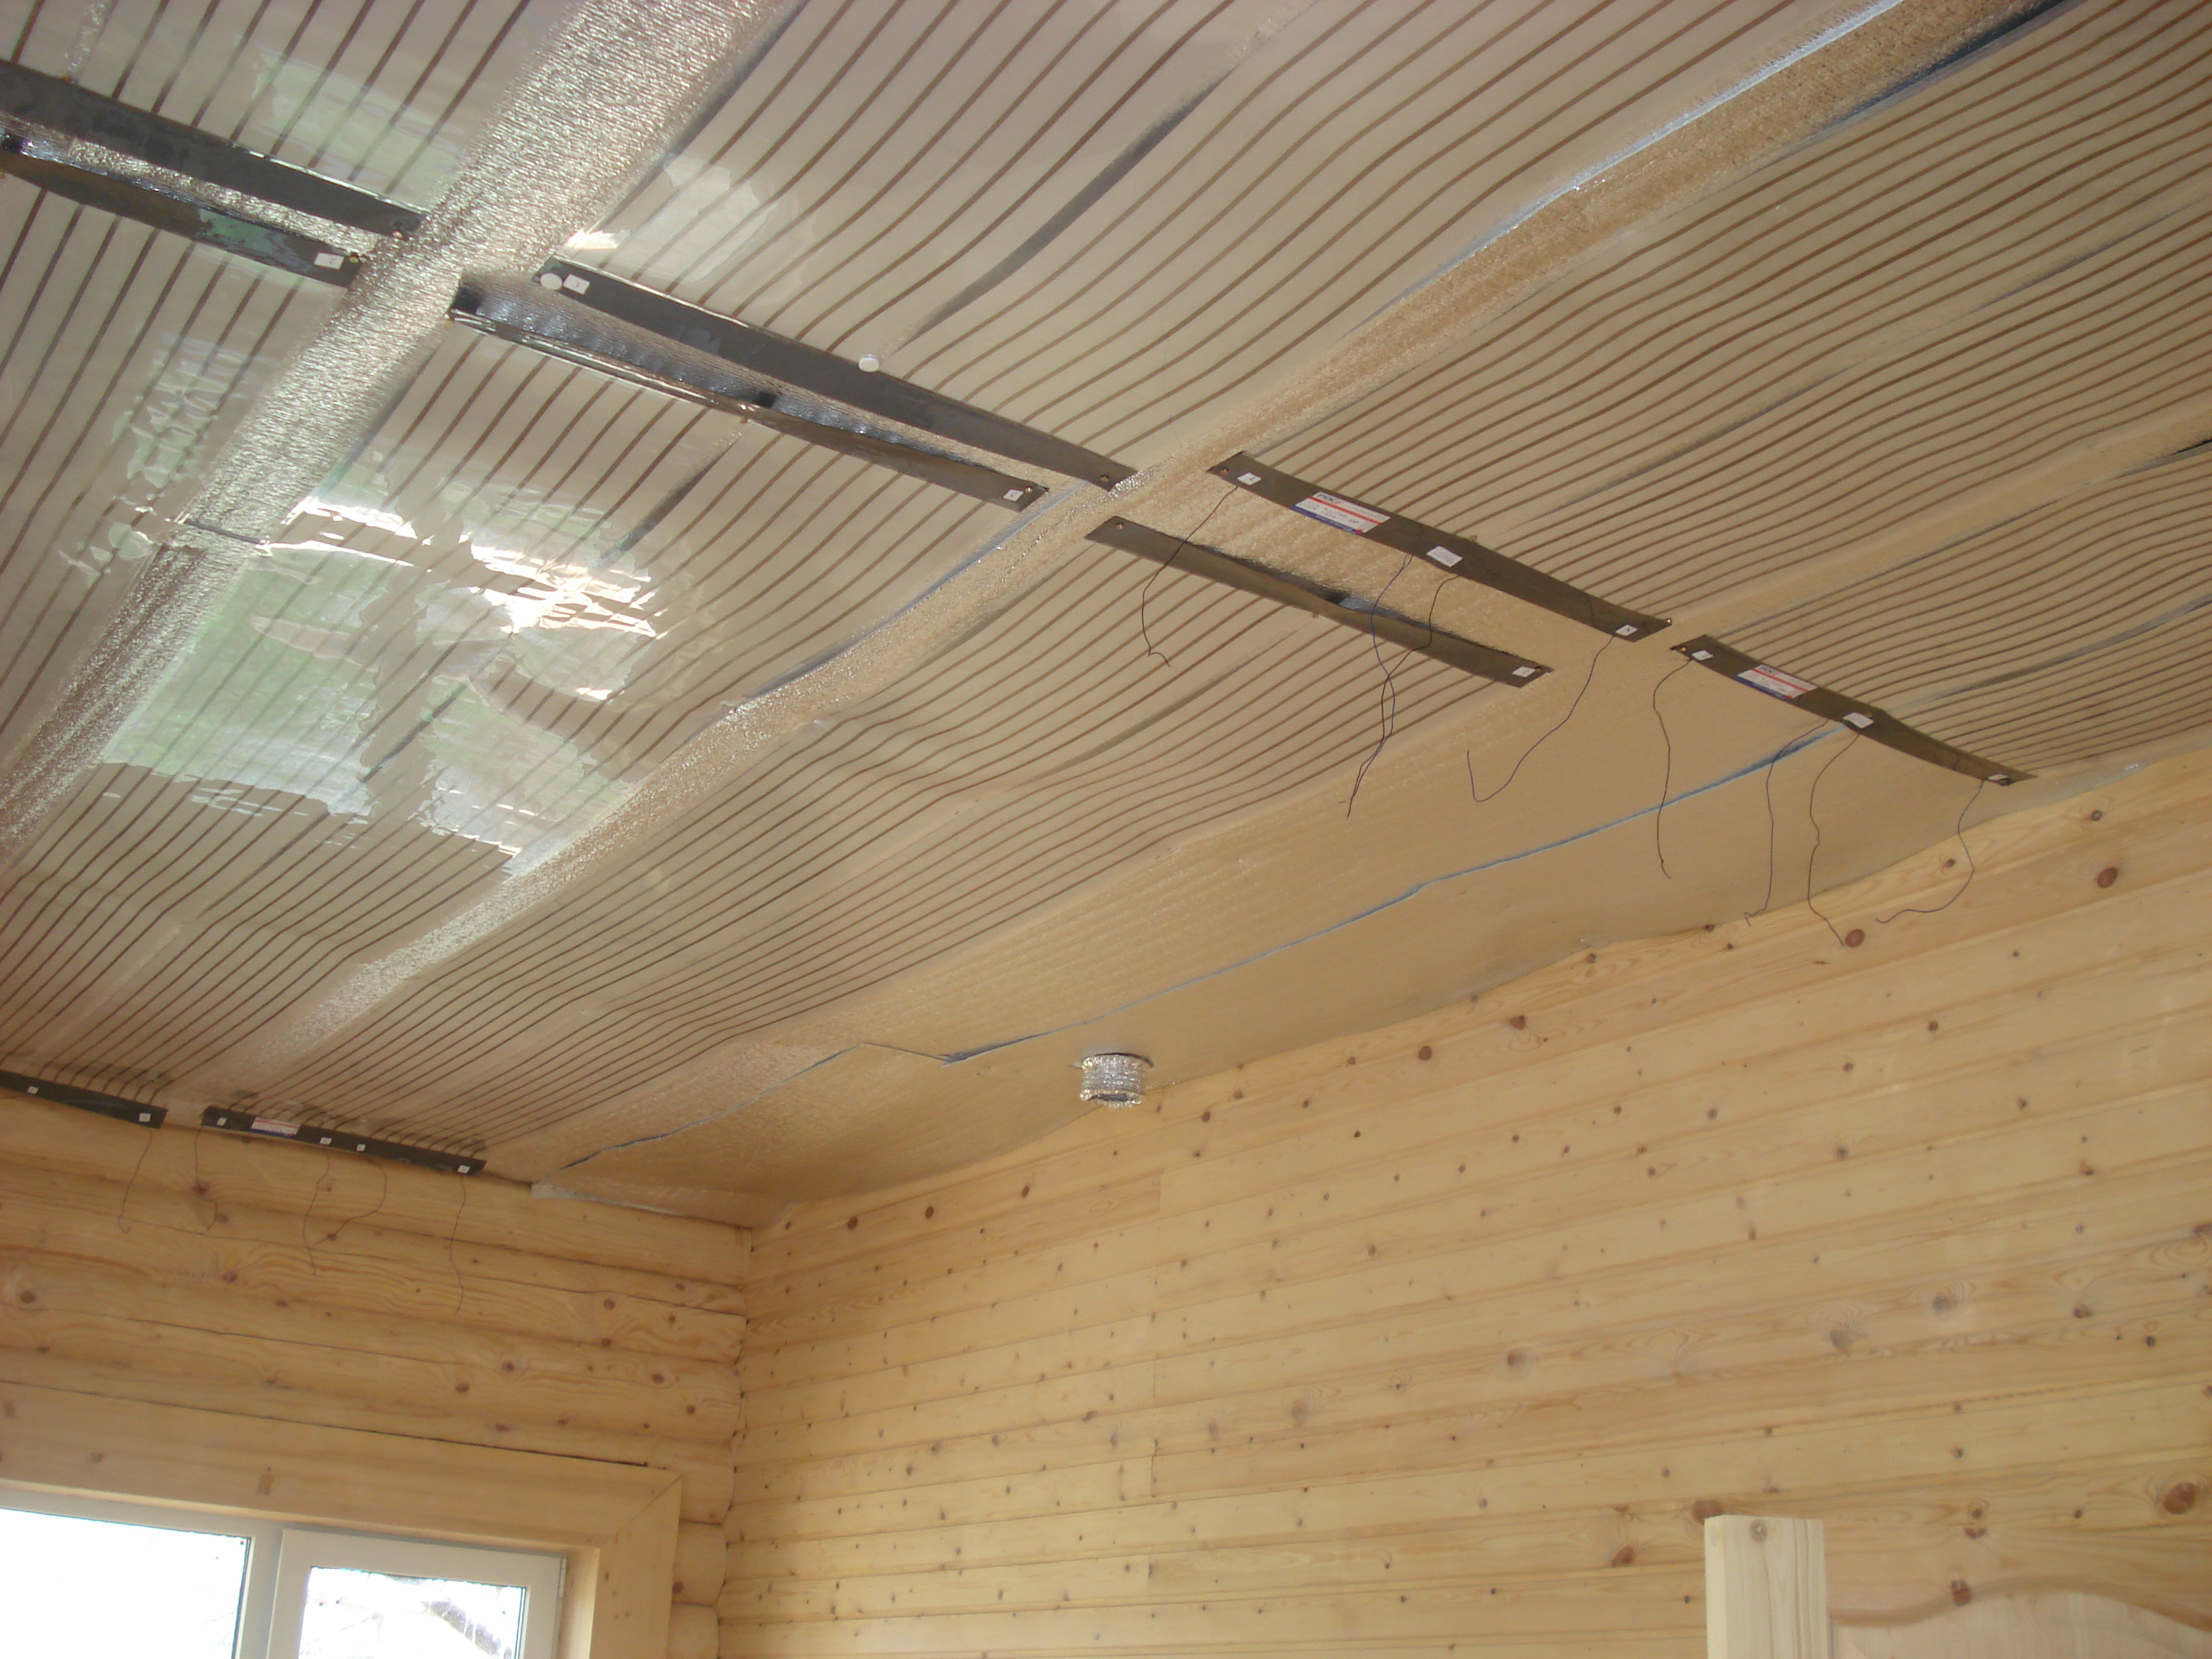
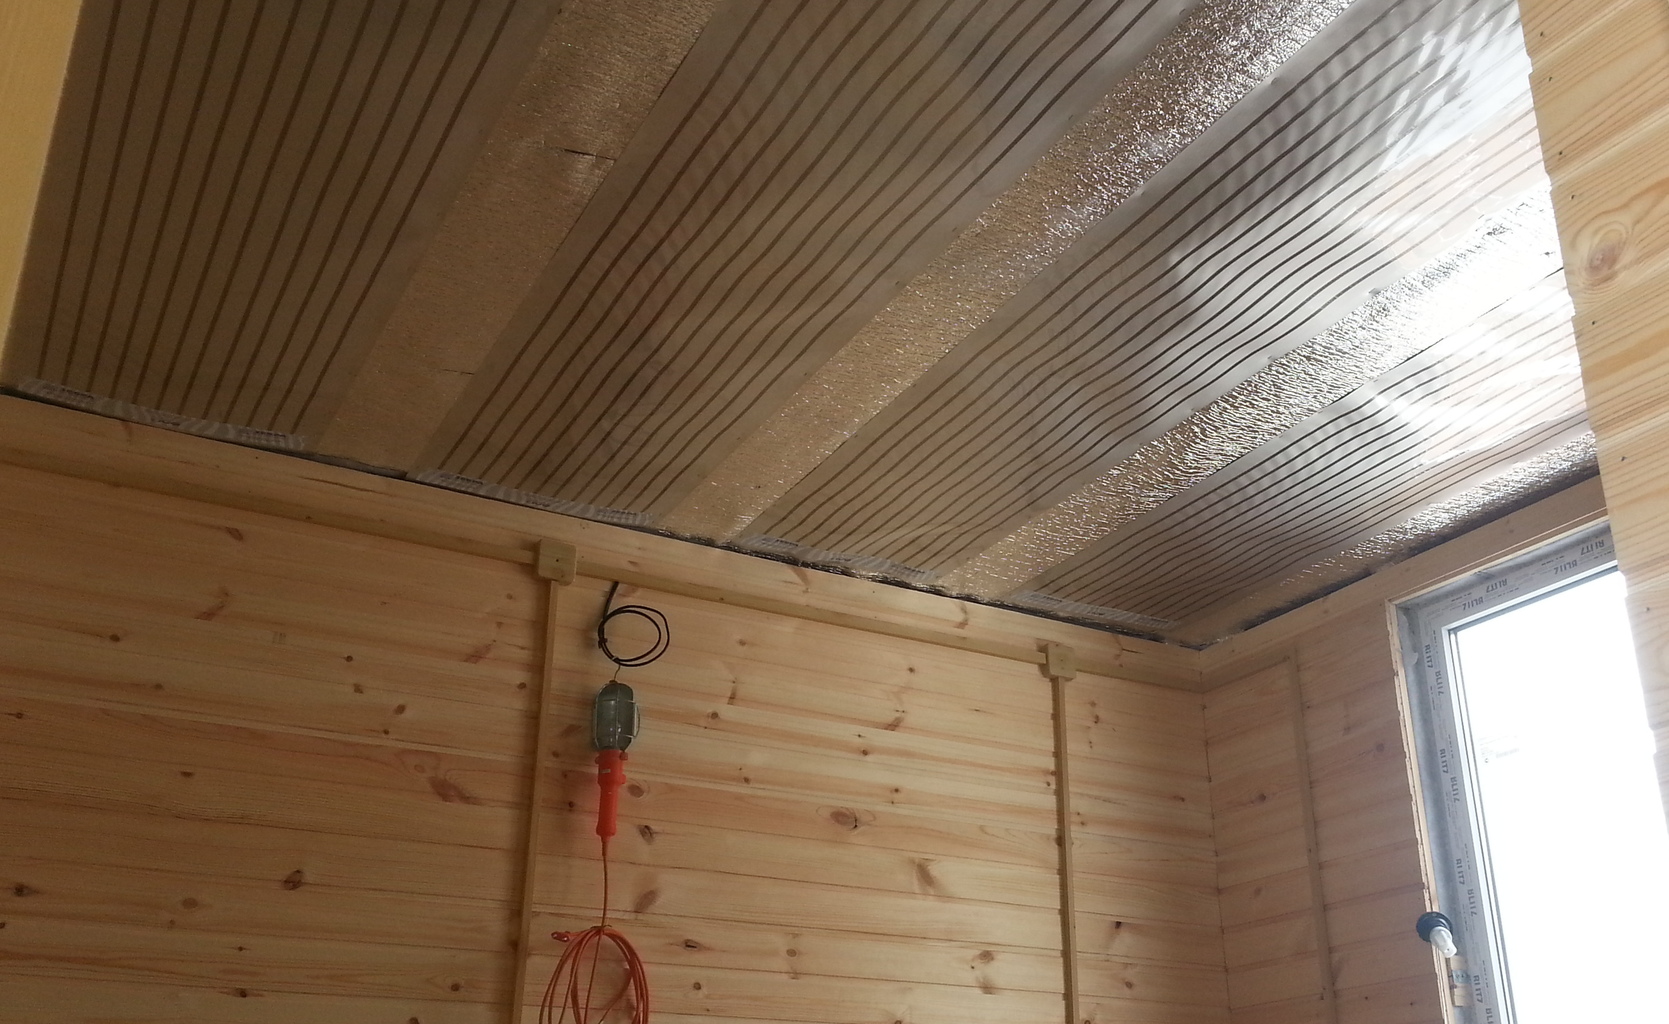
Ceiling insulation
It is necessary in order not to heat the attic or the neighbors a floor above. A properly insulated ceiling will return all the heat to the room, thereby increasing the efficiency of the device and reducing energy consumption. Thermal insulation with a reflective layer is attached to the entire surface of the ceiling and goes a few centimeters to the walls. This will prevent heat loss through the gaps between the ceiling and the wall. The joints in the insulating material are sealed with tape. The material itself must have a thickness of at least 5 mm.

How to calculate the area of infrared film?
To correctly calculate the required area, you need to consider the following:
- how well the building itself is insulated. For a brick house or a light frame structure, these data will vary;
- whether it is planned to live in the house in the winter, permanently or on short visits;
- volume of the heated area. It can be both the whole room, and part of it;
- whether infrared heating will be primary or secondary.
If a warm ceiling is planned as the main type of heating, it should occupy at least 70% of the entire ceiling. As an additional, this figure can be reduced, respectively, the power of the main heating system. The average film power is approximately 0.2 kW per 1 square meter. Dividing the power of the thermostat by this number, you can find out the area of the film that can be connected to it.
Installation of thermal equipment
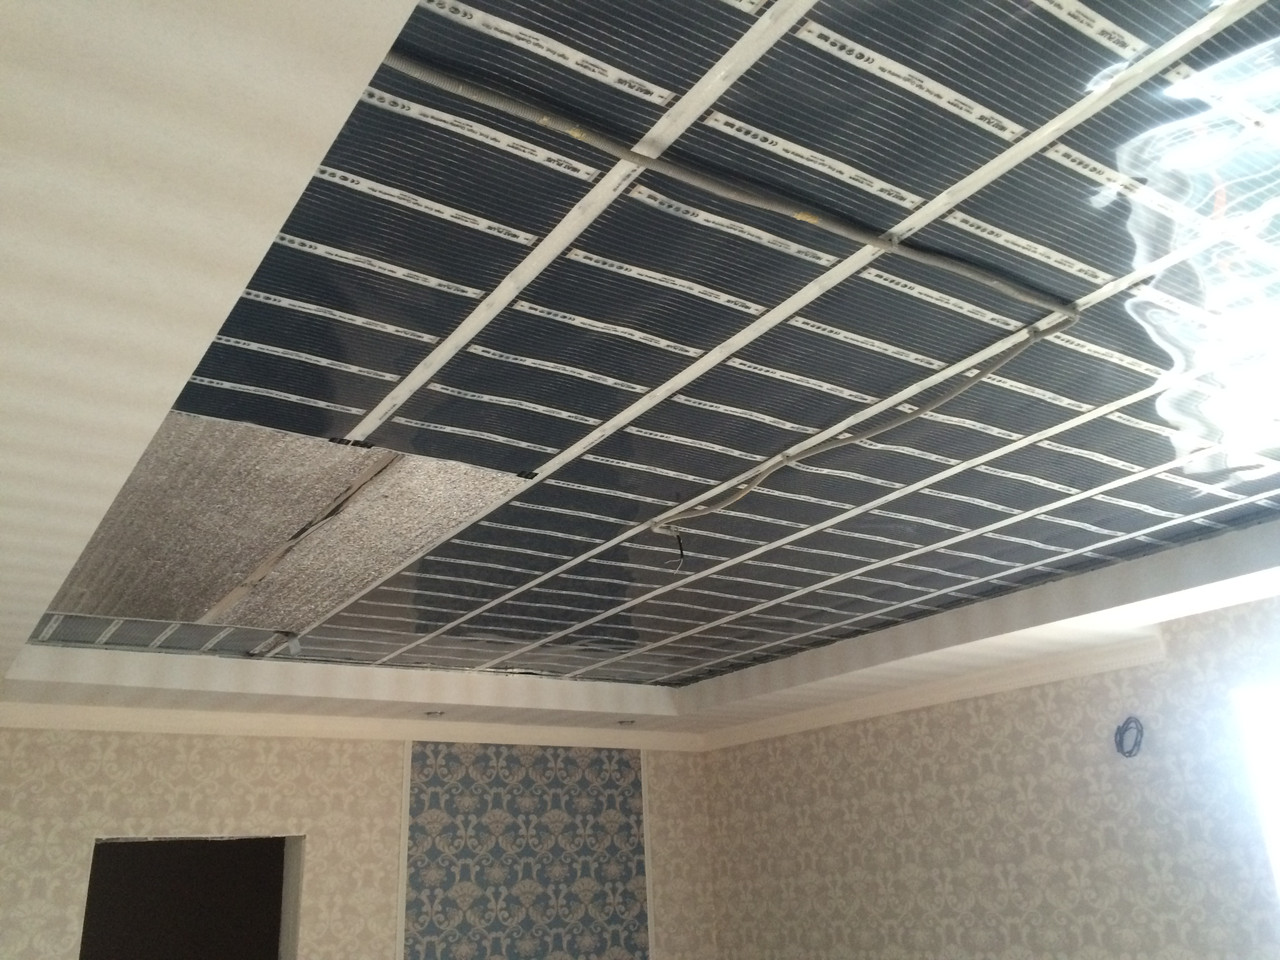
Thermofilm can be cut only along special lines marked on it. Each type of film has its own maximum length. This information can be found in the attached documentation or ask the seller. There should be no gaps or air gaps between the film and the ceiling insulation.
Next, you need to connect the copper contacts of the conductive bus with electrical wires using contact clips. One half of the clip should be located on the copper bus, and the other inside the heater. After that, the ends of the film are insulated with bitumen tape on both sides.
The sensor is mounted in the insulation cutout and connected to the regulator and heating elements.
Electrical connection
Connect the thermal film through the regulator to the network in parallel. If the warm ceiling will have more power, it is better to connect it through a separate machine.
A properly installed warm ceiling when turned on should emit a comfortable uniform heat, do not overheat anywhere and turn off in a timely manner when the set temperature is reached.
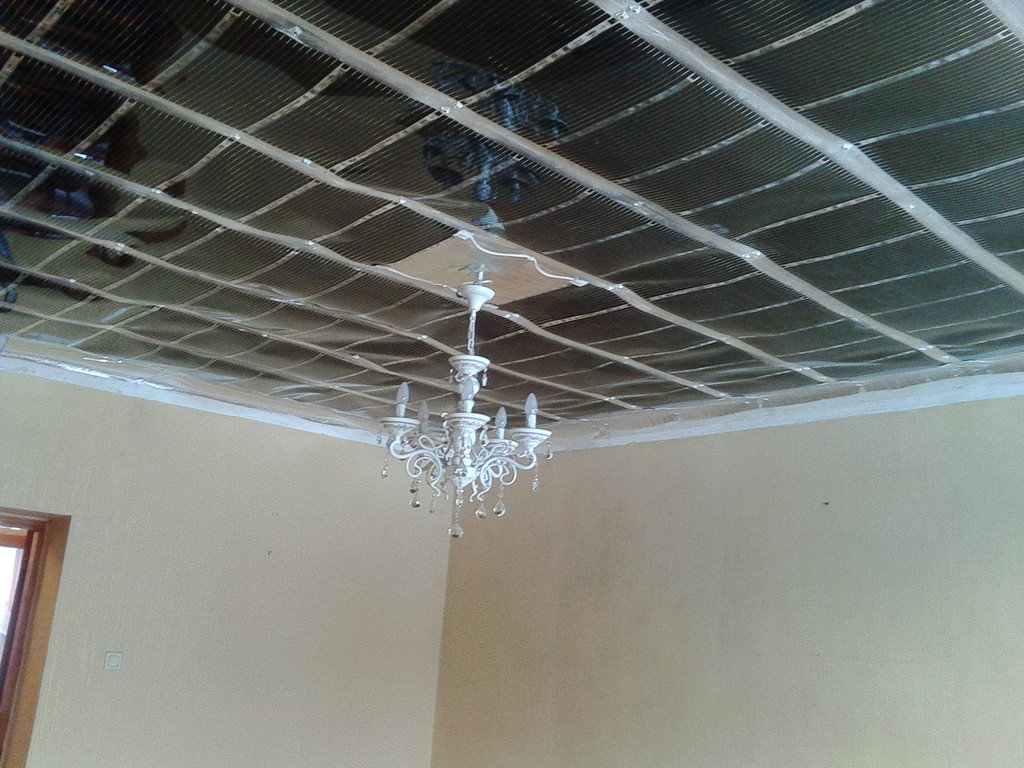
Finish finish
Next, the final finishing of the ceilings is made. It can be a stretch ceiling with special microperforation.It perfectly transmits infrared waves. The stretch ceiling in this case is mounted along the edges of the wall without affecting the ceiling itself.
You can also close the structure with a suspended ceiling: plasterboard sheets, lining or plastic panels. A small gap should be left between the suspended or suspended ceiling and the infrared heating system. For ceiling decoration, waterproof materials with a thickness of not more than 16 mm should be chosen.
The infrared heating system for ceilings is the most modern, safe and effective of all electric heating options. With proper installation, it will last a long time, filling the house with warmth and comfort, while remaining completely invisible.