How to glue a corner: simple secrets
Content
Each householder who cares about his home makes him beautiful and well-groomed. Often in apartments there is a need to protect the external corners of walls or arches from damage, to cover the wallpaper pasted on the corners and so on. For these purposes, plastic corners are used, but the question arises of how to glue a plastic corner so that it aesthetically emphasizes a window or arch, covered up minor repair flaws and protected the external corners from accidental damage.
Now we have the widest selection of PVC corners of various sizes and colors. Designers are advised to choose the corners that are most appropriate to the design of your room and suitable for wallpaper, walls, floor, furniture and other interiors. How to glue plastic corners, knowing the simple stages of installation, you will learn below.
Simple technology for fixing PVC corners
To begin with, we will determine the tools we need:
- Knife, hacksaw with a small tooth or scissors;
- Adhesive:
- Dragon glue (the corner is pressed to the surface 3 minutes after application);
- universal polyurethane adhesive;
- transparent silicone sealant - suitable for tiles in the bathroom / kitchen or areas with a small load;
- Masking tape.
You should be aware that white glue is best suited for white corners, and colorless for colored ones.
To glue a corner to the wallpaper, you first need to measure the required number of corners. Most likely, you will get corners cut with whips, so they will need to be adjusted to the required size. At a vertical angle, one corner is usually spent, which is cut quite a bit. To smoothly cut the plastic, you need to heat the knife over the gas. One side of the corner should be left 4-5 centimeters longer to adjust in place. If the wallpaper protrudes beyond the edge of the corner, they also need to be trimmed carefully.
The adhesive is carefully applied with a dotted line to the inside of the corner with a mounting gun or sealant. Then the corner must be glued to the surface and pressed with a napkin along the entire length. Excess composition is removed with a napkin.
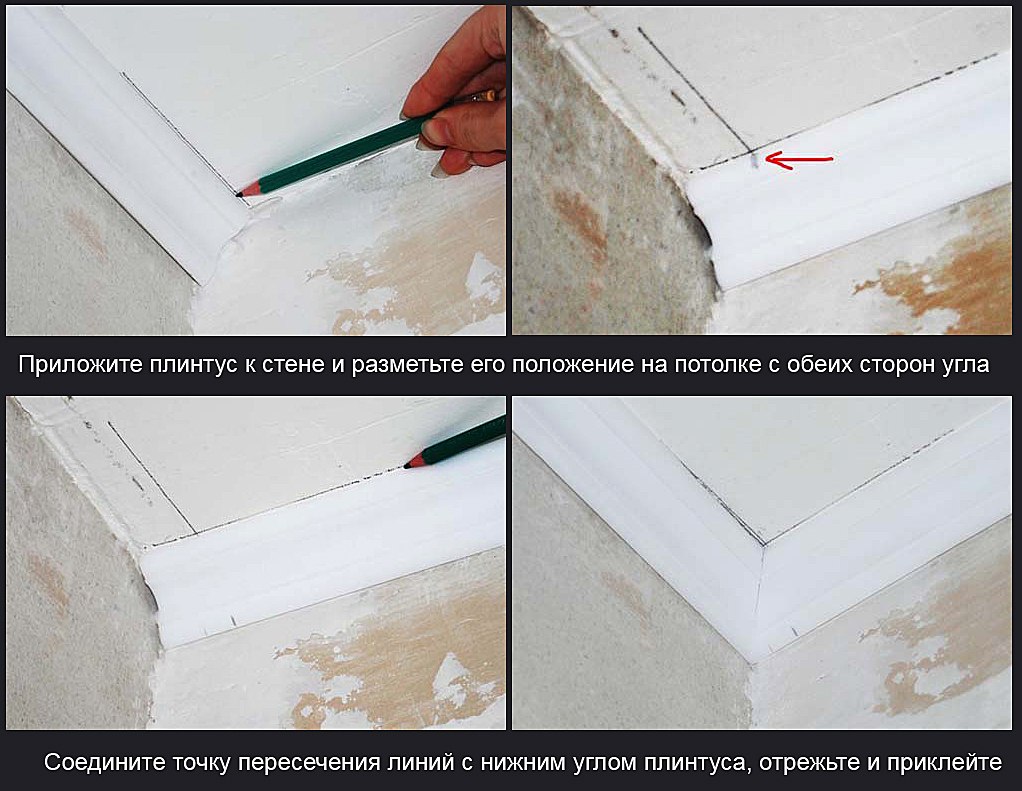
If there is no danger of damage to the wallpaper, then the corner should be fixed with masking tape. After that we give the glued corner a firm hold and the glue base to dry. Having learned this simple installation method, you will also know how to glue the ceiling corner.
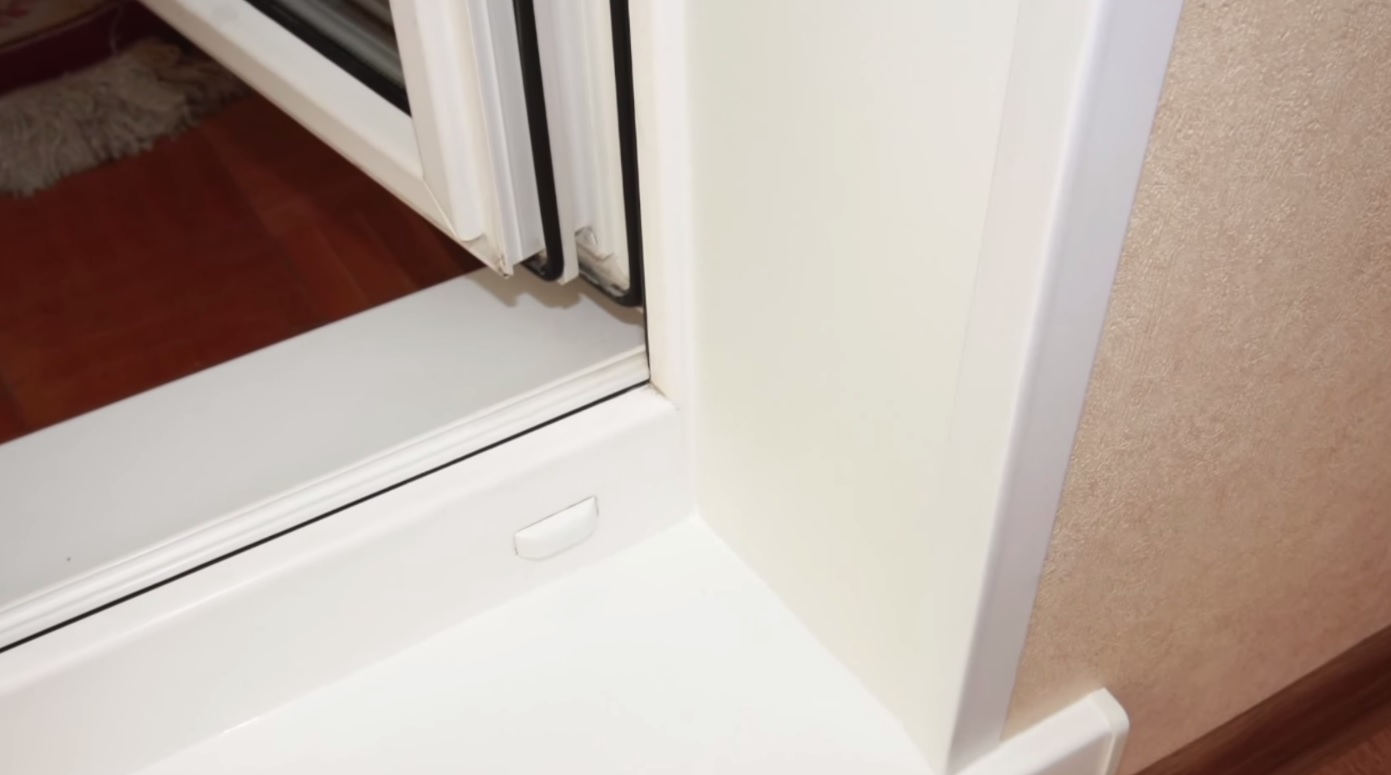
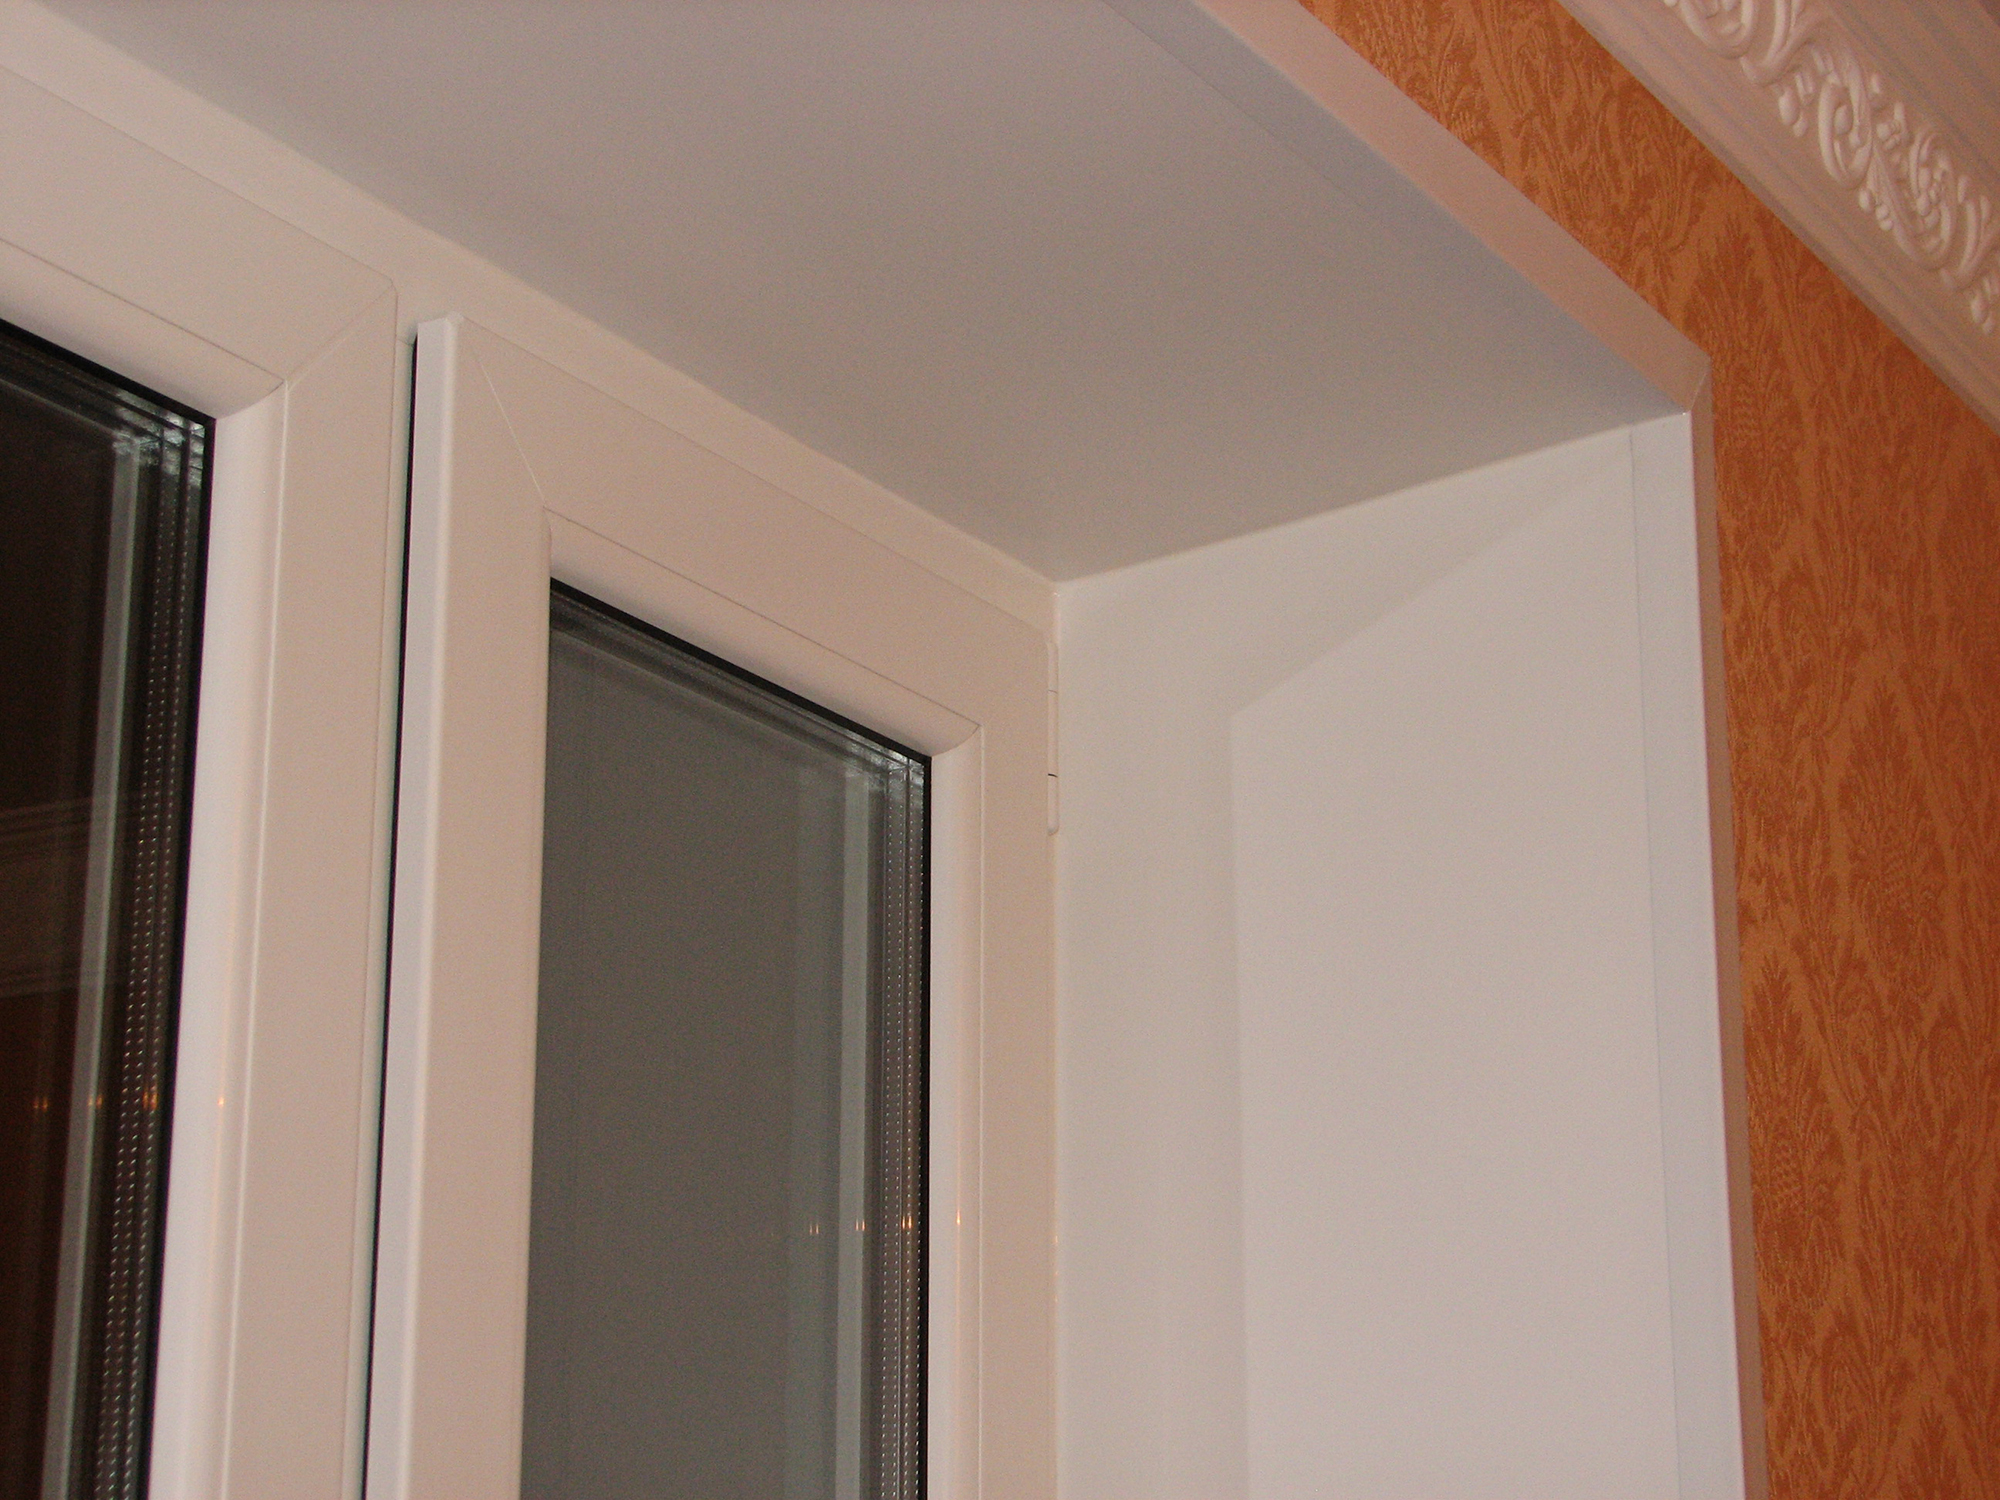
Windows and doors are interior elements that are also decorated with the help of corners. Transparent silicone sealant is well suited for sticking plastic corners on slopes. Most often, the corners are glued to new windows, but you should still make sure that the surface is even, because any corner can not hide any corner. On the surface there should not be nails, screws and other foreign objects, it must also be degreased. Bonding is carried out in the same manner as described above.
Inner corners
This kind of corners is not widespread, the interior does not suffer without them, but there are lovers who prefer just such a design. Such corners consist of three parts:
- Grooves;
- Perforated ribs;
- The front concave part.
You adjust the layout for the tiles and clad one of the walls.It is best to trim the back of the corner and stick it with silicone.
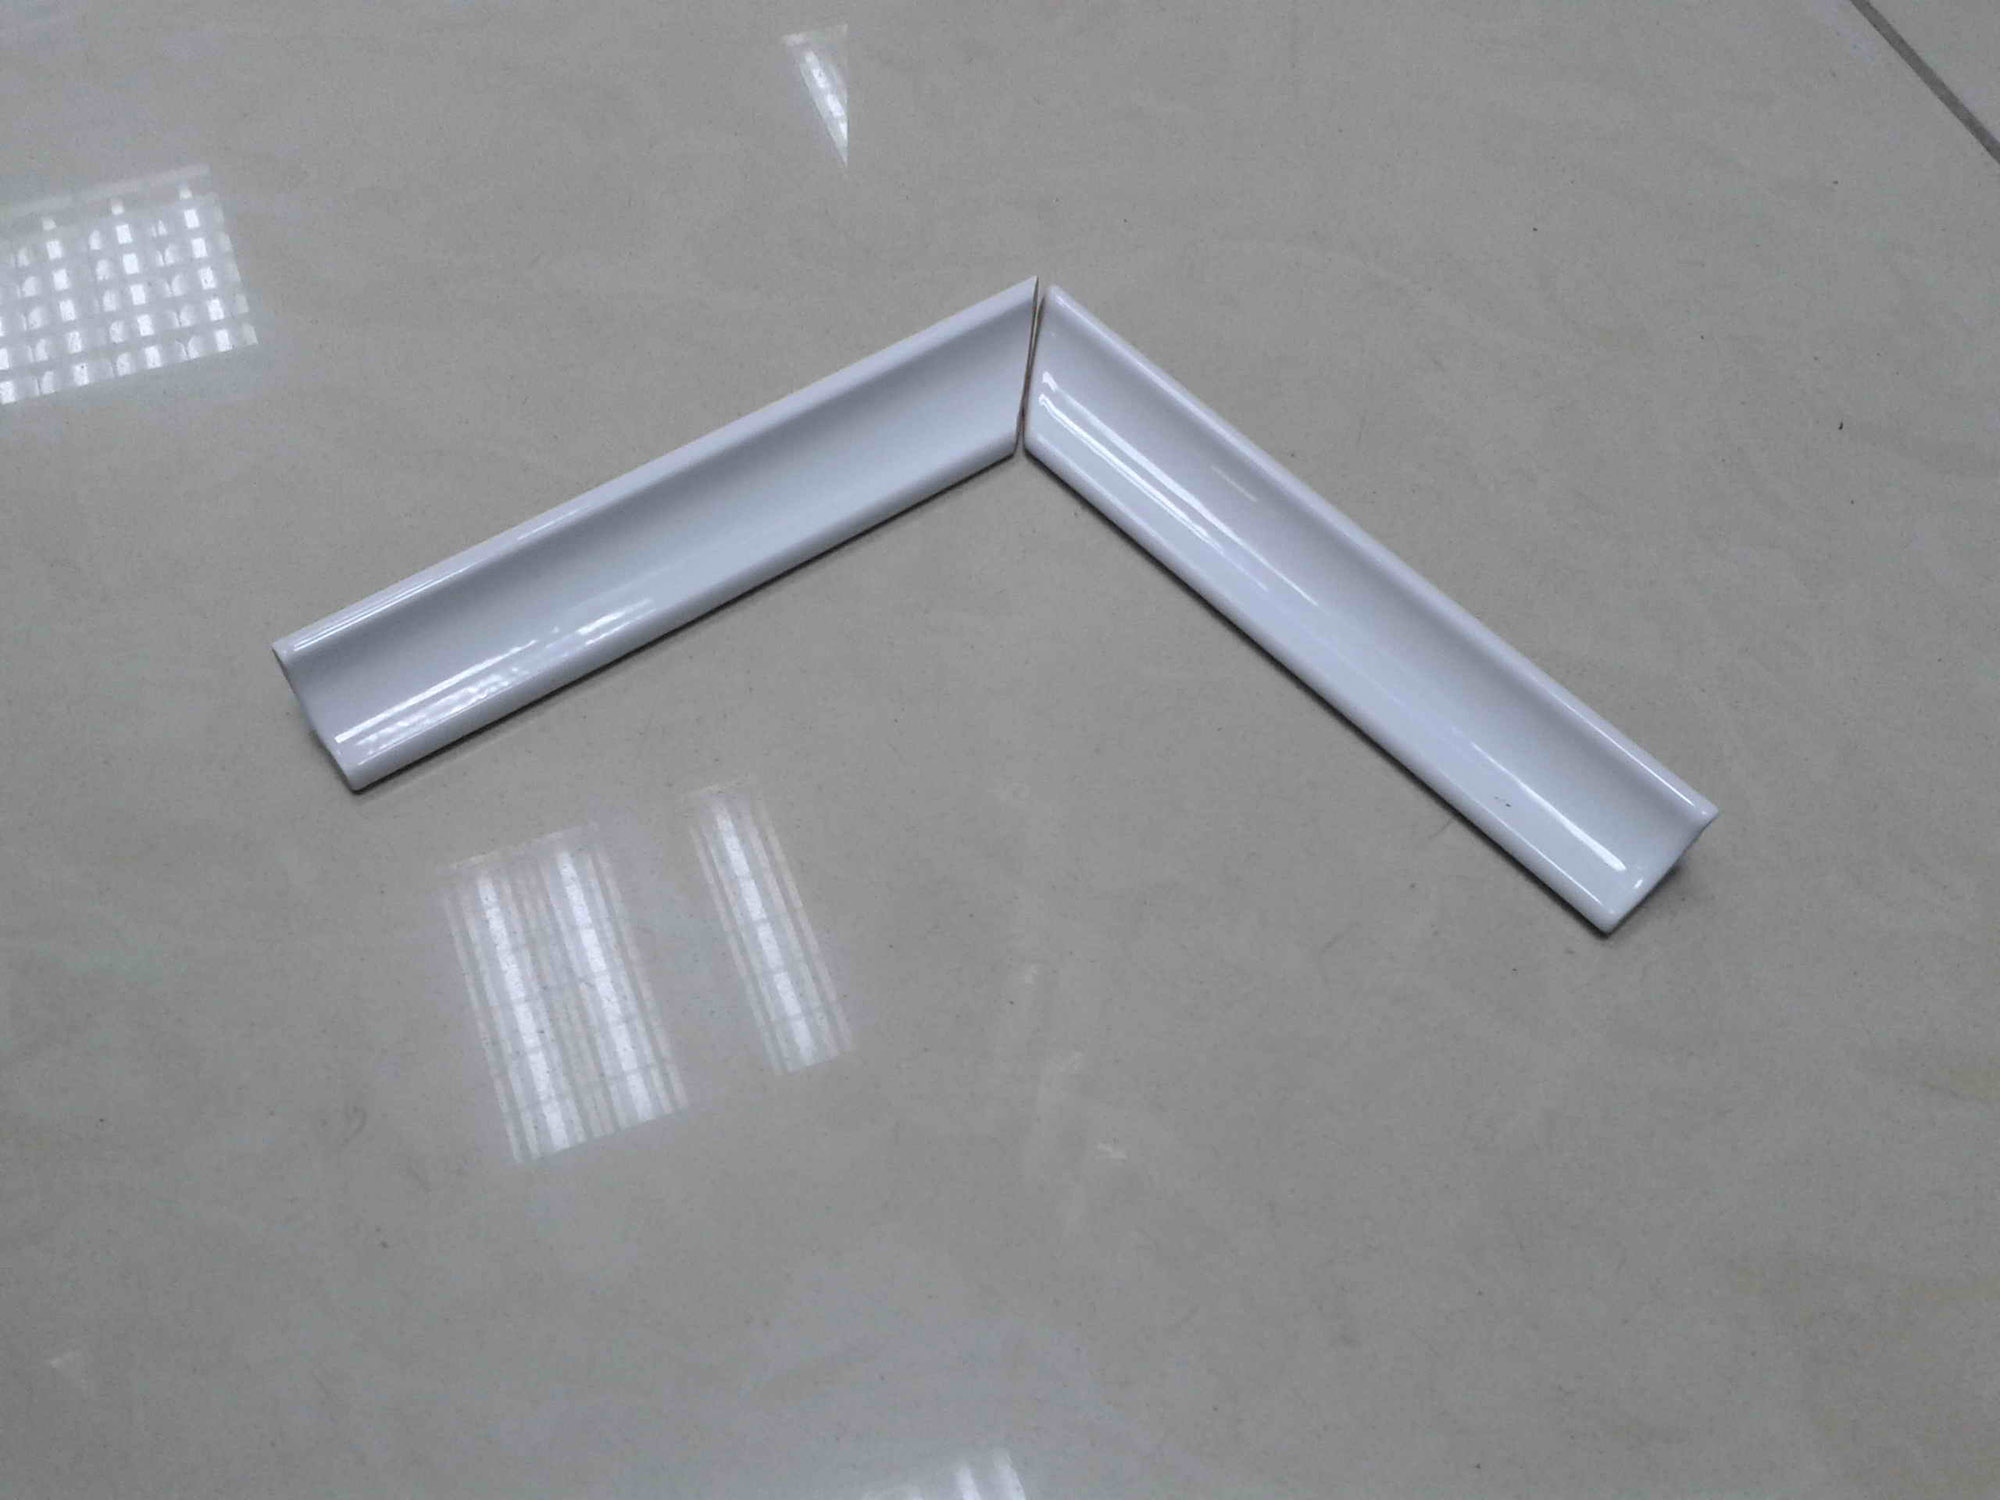
Glue the corner to the arch
Such a finishing element as an arched corner is used to design curved structures. Such corners, like ordinary straight lines, protect corners, prevent shedding and erasing of paint, clearly distinguish the form of structures.
The corner on the arch can be attached in the following ways:
- Glue on glue - the gluing pattern is similar to vertical angles;
- Secure with screws;
- Fasten with nails without caps.
The last two options slightly spoil the appearance of the corner, as they are noticeable, can leave cracks or bend the corner.
In addition to PVC arched corners, there are also perforated ones. They are attached as follows:
- The tightly pressed corner is shot by brackets to the surface;
- Next, a solution of gypsum plaster is applied with a spatula, which is pressed tightly;
- After the plaster has dried, it is sanded with a mesh or sandpaper.
Ceramic corners and corners for tiles
A ceramic corner is most often used in a bathroom, where water mercilessly destroys building materials. Such a corner provides sealing and maintains the attractiveness of the interior. Buying this necessary part, everyone probably wondered how to glue a corner on the bath.
Ceramic corner provides reliability and quality due to the following properties of ceramics:
- Environmental friendliness of the material;
- Resistance to deformation and hardness;
- High resistance to tearing;
- Resistance to changes in temperature and moisture.
The only drawback of ceramic corners is that they easily crack during serious mechanical damage, in other words, do not drop something heavy on them.
Among modern ceramic borders distinguish:
- “Pencil” - a thin convex strip of ceramics, well closes the slots, perfect for edging mirrors and dividing rooms into zones;
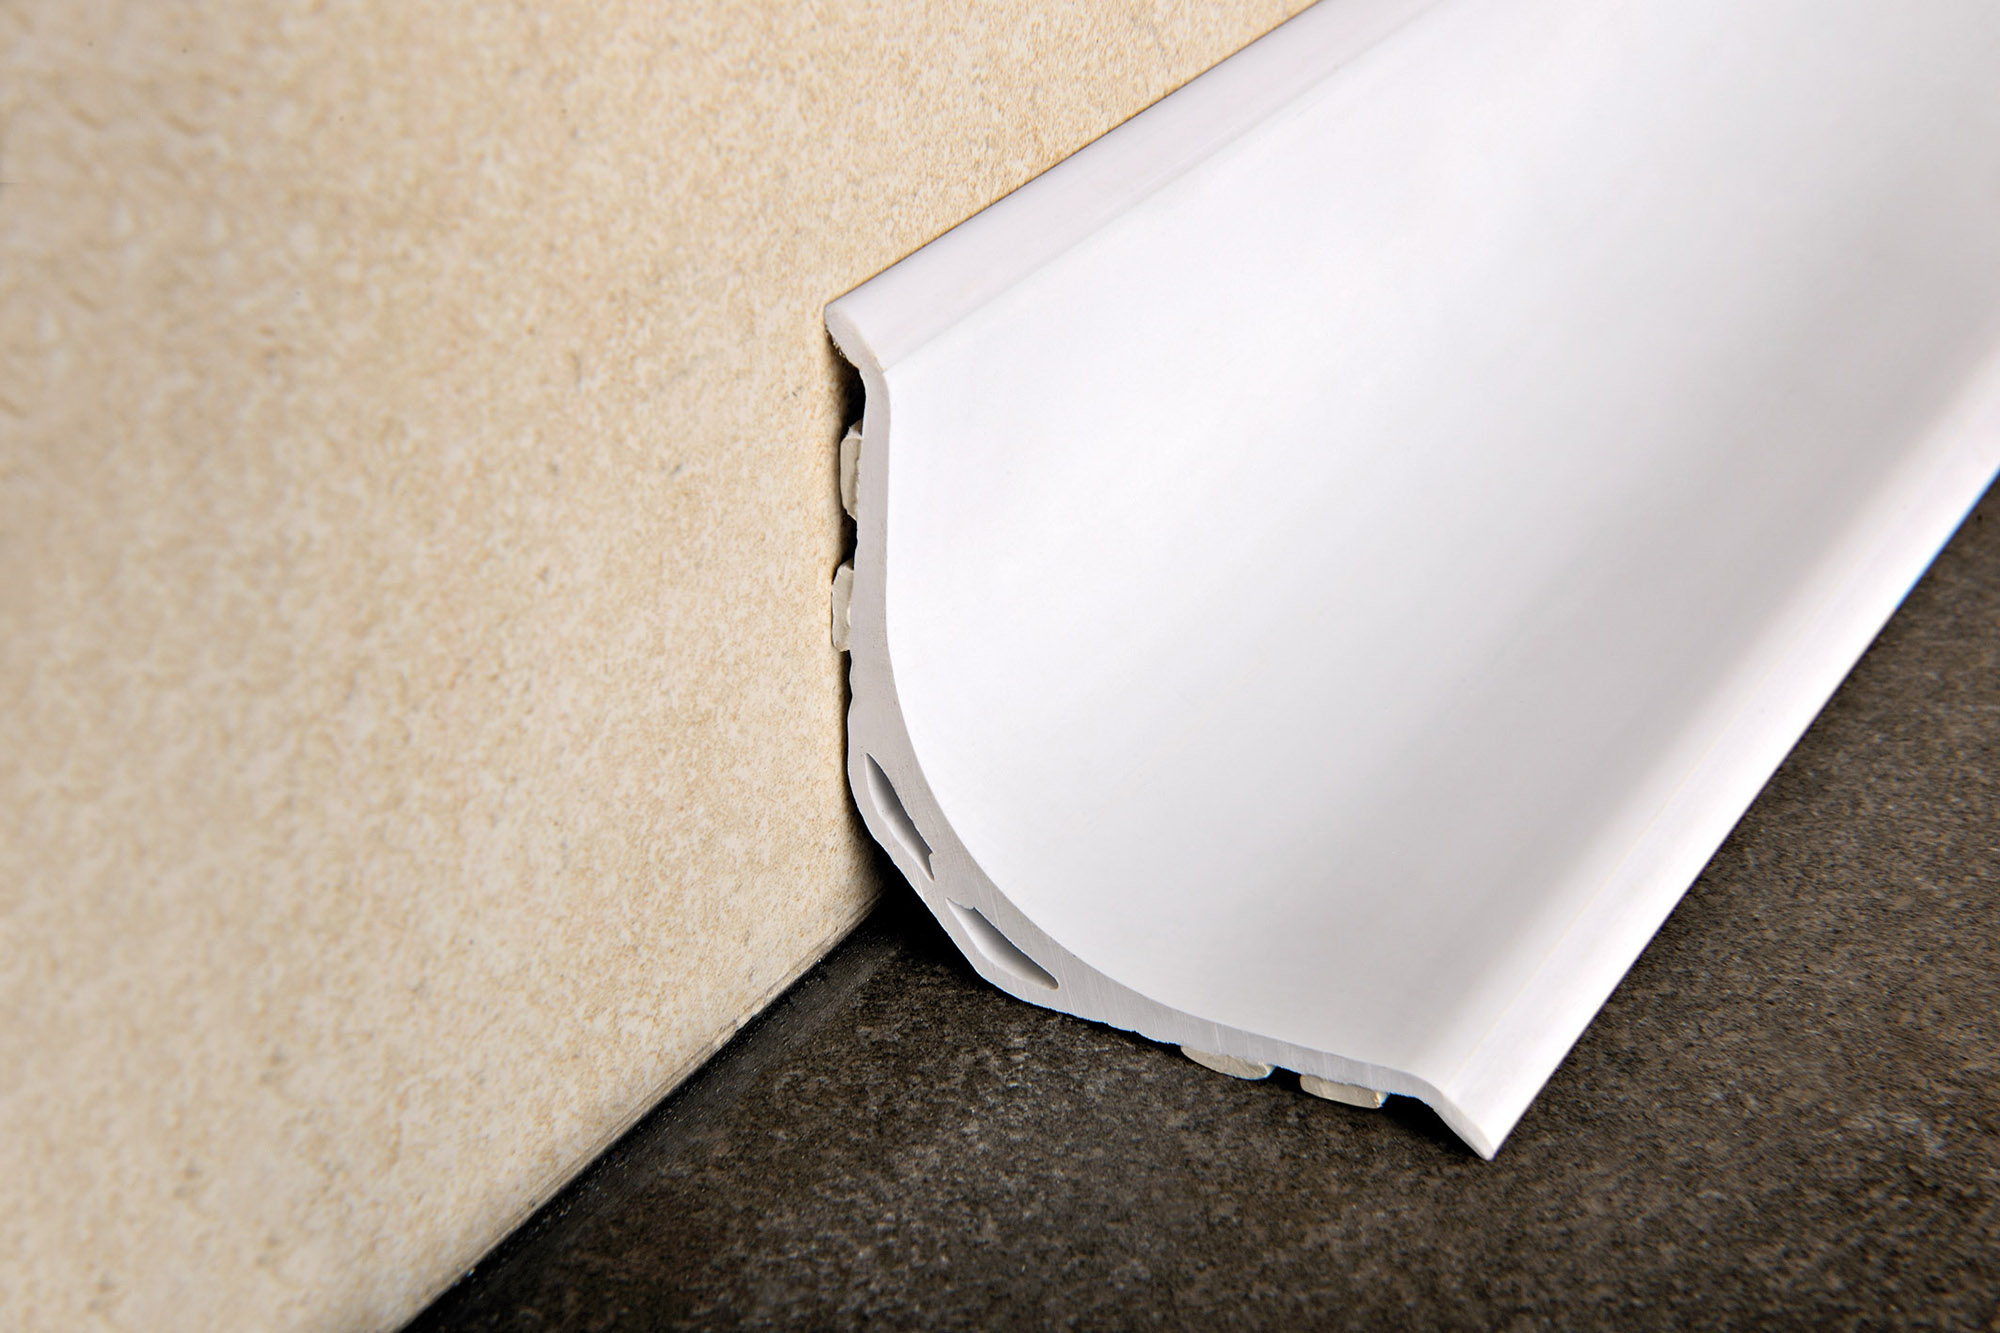
- “Angular” - has a triangular section, conveniently applied to the surface of the bathtub and wall;
- “Frieze” is a low border; its length is equal to the width of the tile.
Well-chosen ceramic elements are ideally combined with the design of tiles and the entire bathroom.
How to glue a ceramic corner
Installing ceramic corners is quite a labor-intensive and difficult job, similar to laying tile. So you can attach a corner to the tile or under it.
- First, you clean the entire surface of dust and dirt;
- A layer of sealant is introduced into the gap with a gun, the joints are leveled with a spatula or with a wet hand;
- Then you prepare the adhesive composition proposed by the manufacturer, it should adhere well to the spatula and not spill over;
- Fit paired corners, leaving the smallest gap;
- You start laying from the corner, covering the back of the corner with glue;
- The corner is attached to the joint, excess glue is removed;
- The next day, the corners are abundantly doused with water to fix the glue.
Use of corners: PVC, ceramic, arched and others will effectively protect the vulnerabilities of your apartment, as well as create a unique atmosphere of comfort and tidiness. In fact, it is not so difficult if you understand a little about the properties of the material and the method of attachment.