How to independently make the ceiling in the bath: important points and design features
Content
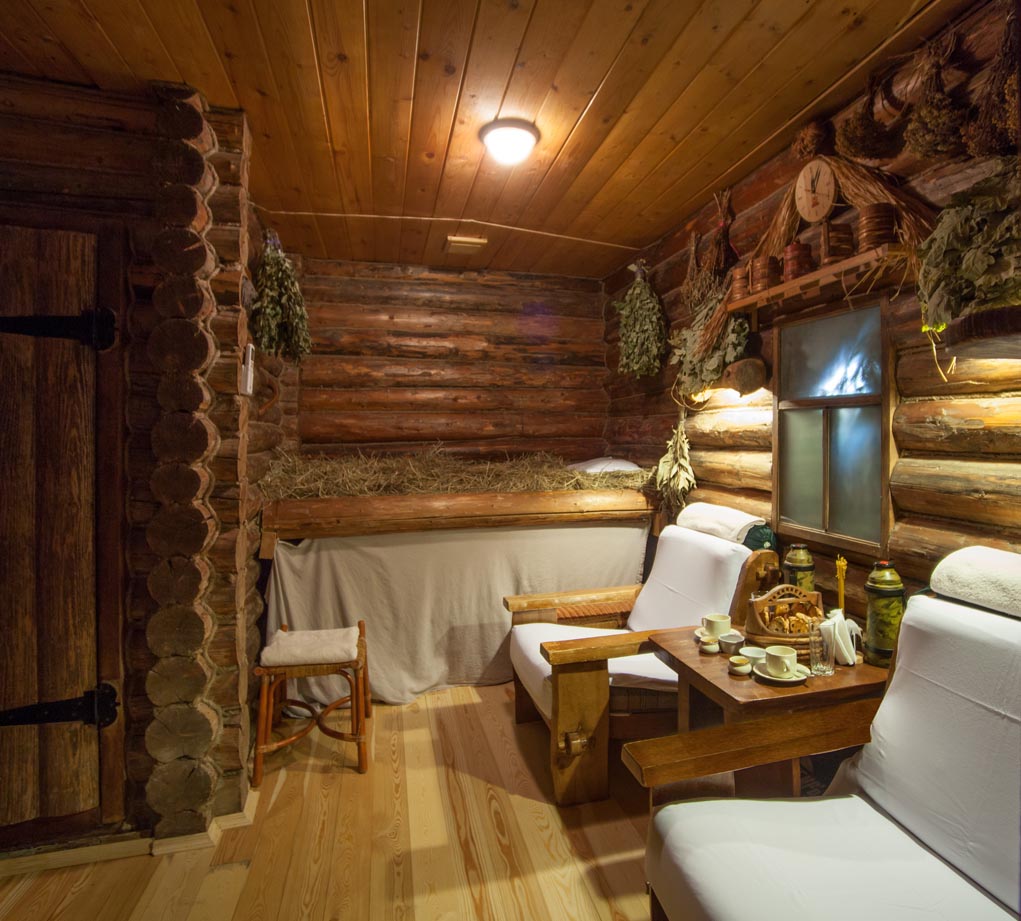
Such a structure as a bath requires thoughtful decisions from the owner, mistakes are not allowed here, because the materials used in construction must meet special parameters and requirements. They must withstand high temperature, moisture, water, in addition, they must retain heat, which is so important. No less important is the design itself, the service life and its quality will depend on this. You can make the ceiling in the bath with your own hands, but for this you need to know about the rules and features of the work performed.
Material selection
If you decide to do the ceiling in the bath with your own hands, regardless of whether it is a stone building or wooden, it is worth preparing for the fact that careful preparation will be required. The ceiling in the bath will be made of several layers:
- Ceiling decoration;
- Waterproofing;
- Thermal insulation;
- Vapor barrier;
- Attic flooring.
Each of the layers requires the selection of individual materials that can provide high-quality coating.
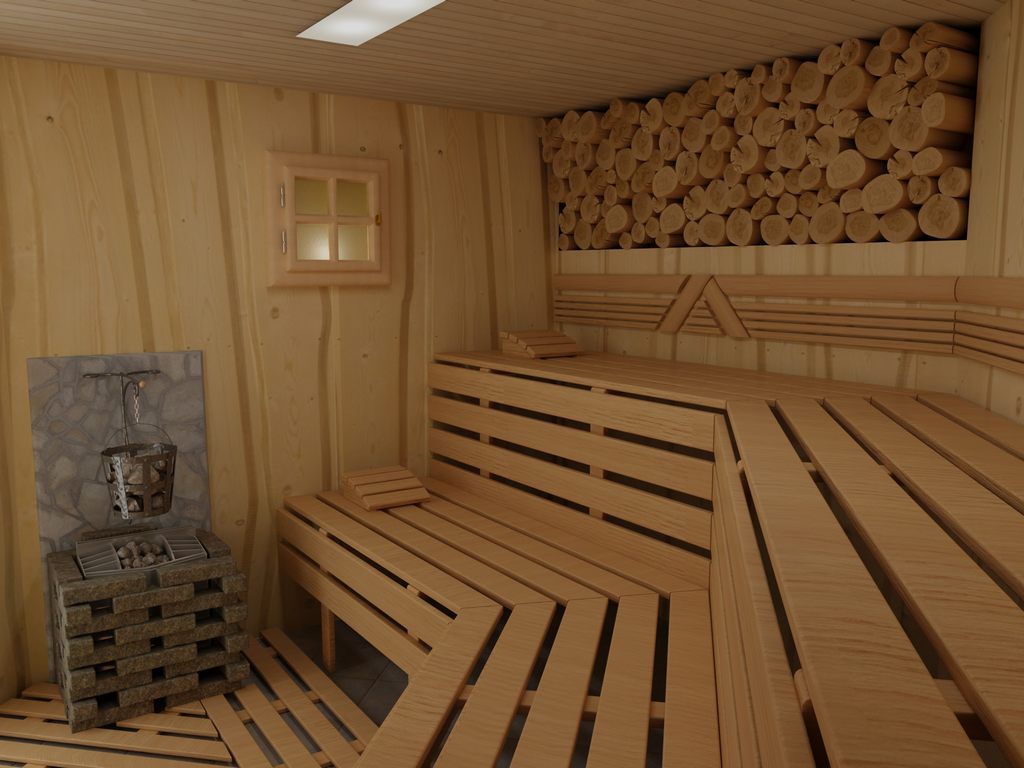
The most suitable material for binder is a wooden board. In order to sheathe the ceiling in the bath, you can use linden, it has a beautiful appearance, golden color, in addition, it has a gentle pleasant smell. It has high characteristics, high temperature is not scary, high humidity does not affect its condition and it does not deform.

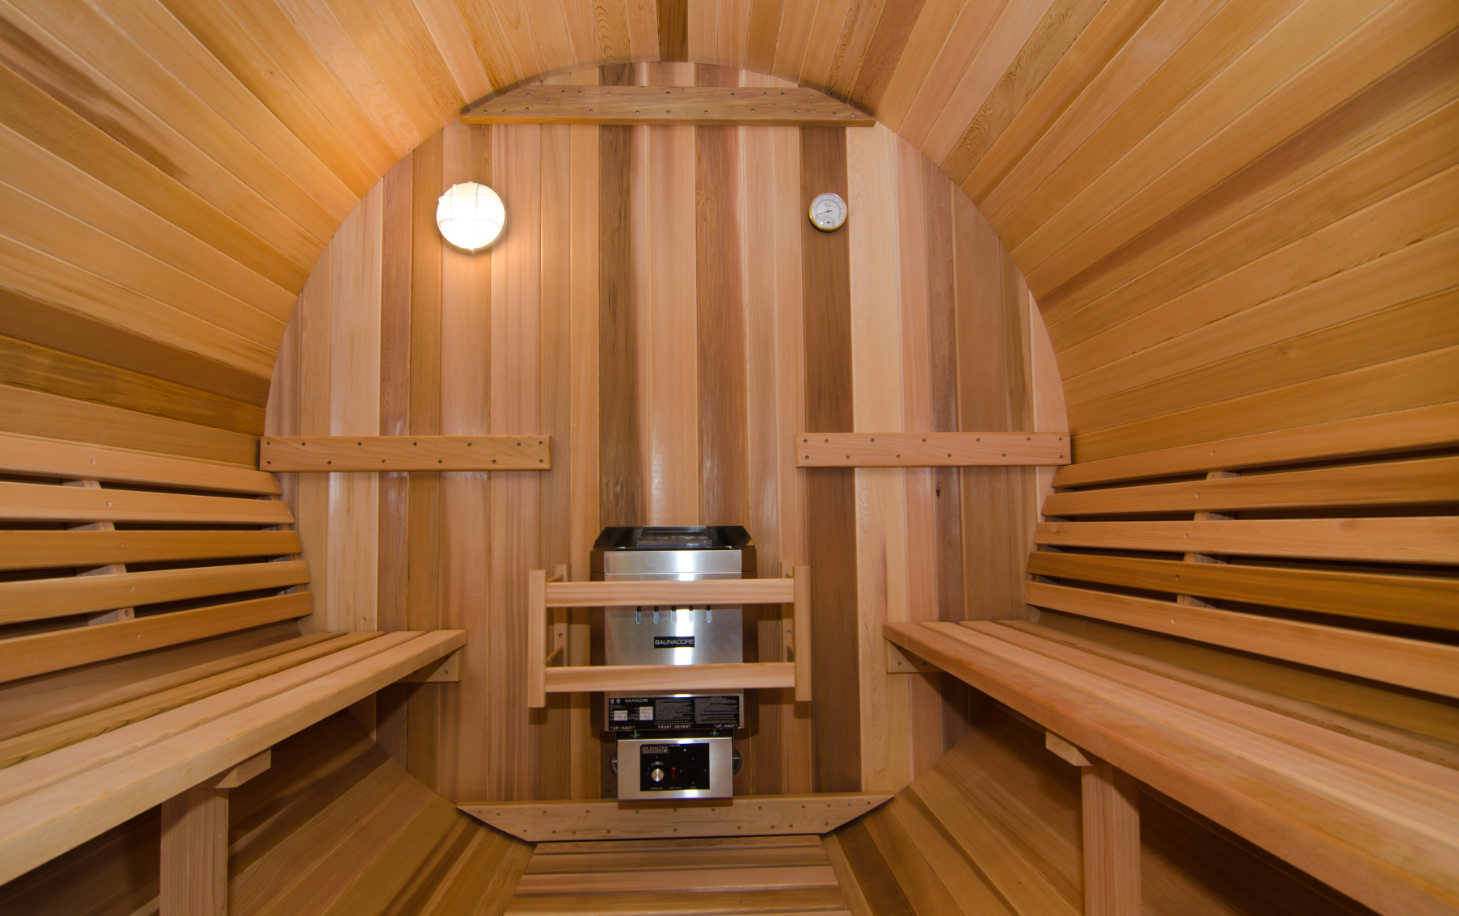
Also, the ceiling in a Russian bath can be made of aspen or larch, the advantage of this material is that it dries quickly and does not rot, but there is a drawback: the material can darken from steam, if the visual side is not very important, then you can safely choose it .
But conifers are better not to use. The thing is that from exposure to high temperature resin will be released from the log, which can cause a burn in a person.
When choosing a material, make sure that it does not have cracks, knots or damage. A board that has defects will not work, except for a planed board, you can use a dowel. When it is planned to equip the attic, the board should be at least 50 mm. Before you start working with the board, it must be properly processed, on the advice of professionals, it should be saturated with special means that will protect it from destruction.

Thermal insulation
One of the important points for a bathhouse is how quickly it heats up and how long it holds heat, because the consumption of materials that are spent on heating will depend on this, therefore, insulating the ceiling in a bathhouse is a very important point that requires special attention. There are several options for how to insulate the ceiling in the bath:
A great option for warming is mineral wool, the main advantages of which are:
- Thermal insulation;
- Soundproofing;
- Resists burning;
- It has no harmful substances.
When choosing this material, you need to pay attention to the thickness: it should be 10 cm or more, it is better to choose a basalt roll, but, unfortunately, it also has disadvantages, it loses its properties from moisture, and good insulation is required, besides it has high cost.

A fairly warm ceiling will turn out if you use penoizol, in addition, it is quite affordable. It is very easy to work with it, it has high thermal insulation indicators, but if you need to repair the ceiling in the bathhouse, you can’t install it again, so they just throw it away.
You can use available material - expanded clay. This is a lightweight material that retains heat well, but in order for it to be a good heat insulator for a bath, you will need a layer of at least 30 cm.
And another warming ceiling material - clay, sand, sawdust. This is an affordable option that will provide the necessary thermal insulation, but the process itself is quite time-consuming. At the first stage, clay is kneaded, which is laid out from the attic side, an approximate layer is up to 3 cm. It is necessary to wait until the layer is completely dry, after which the clay is covered with sawdust, and sand is poured on top.


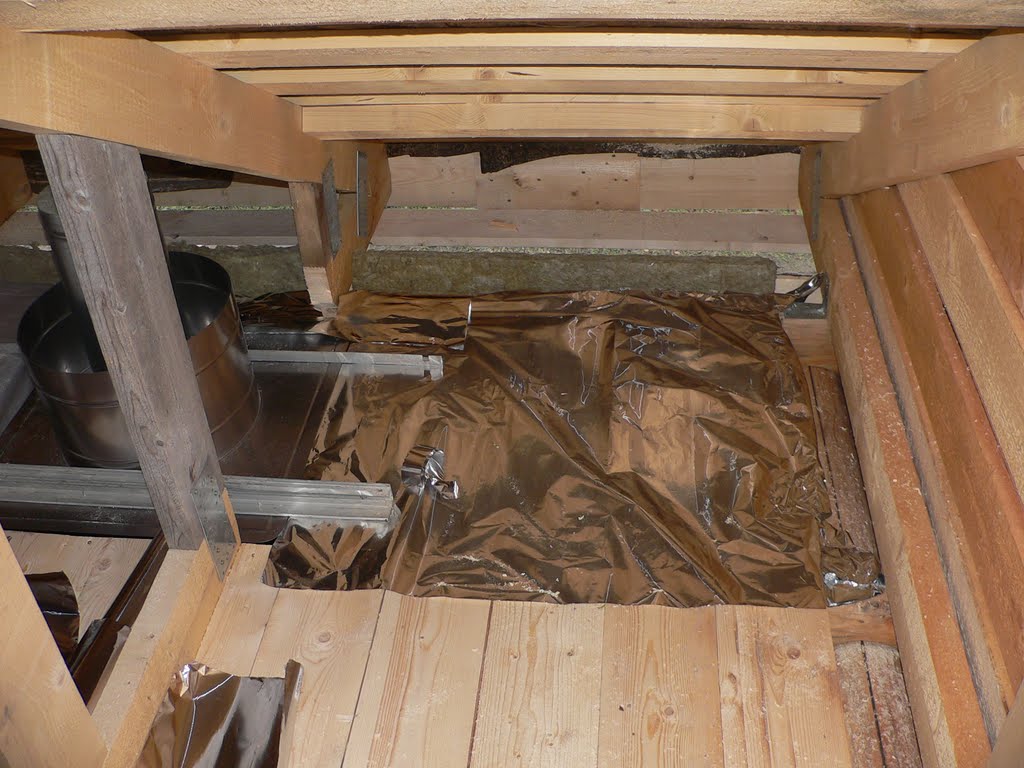
Steam Protection Materials
It is equally important to know how to make a ceiling in the bath, so that it does not succumb to the influence of steam, because this can ruin the thermal insulation. If the proper protection is not provided, moisture will accumulate in the insulation layer, and sooner or later it will cease to provide the necessary heat.
The best protective material in this case is foil. She decorates the ceiling as follows: it is necessary to cover the entire surface and leave an overlap on the walls, the length of which should be at least 10 cm. This is done so that in the subsequent process, this protection is connected to the vapor barrier.
Since foil is not a very cheap material, it can be replaced with a more affordable one. For example, plastic wrap also uses paper that is pre-impregnated with wax. It is immediately worth noting that these materials are not so effective and have a shorter service life.
Moisture protection materials
Protection against moisture must be strong, reliable and high-quality, and foil material has such characteristics: it is very simple to work with and it is able to provide all the necessary conditions. When laying, you need to fasten the material with a stapler.
It can be replaced with a cheaper protective material, for example, plastic wrap, but the quality of protection will be much lower. If such a material is chosen, it must be of high strength.
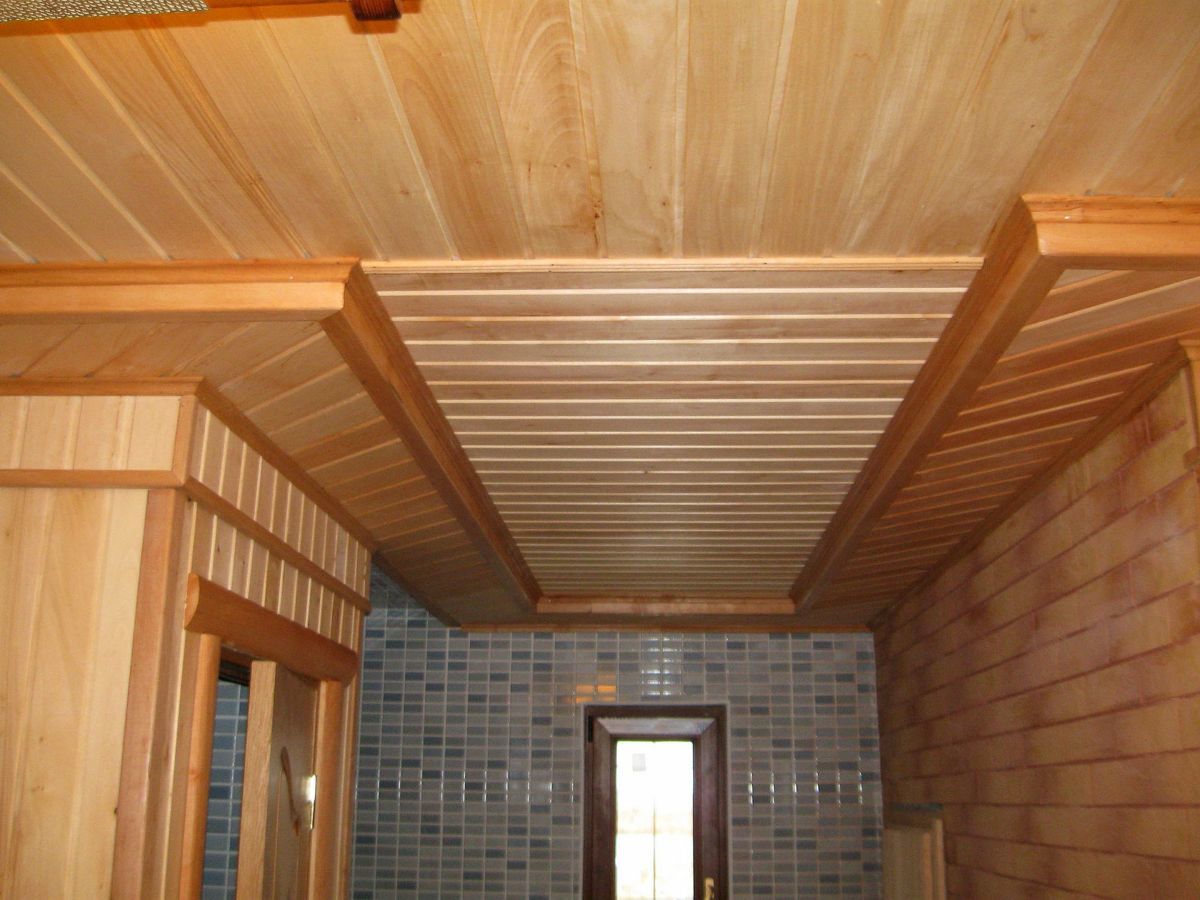
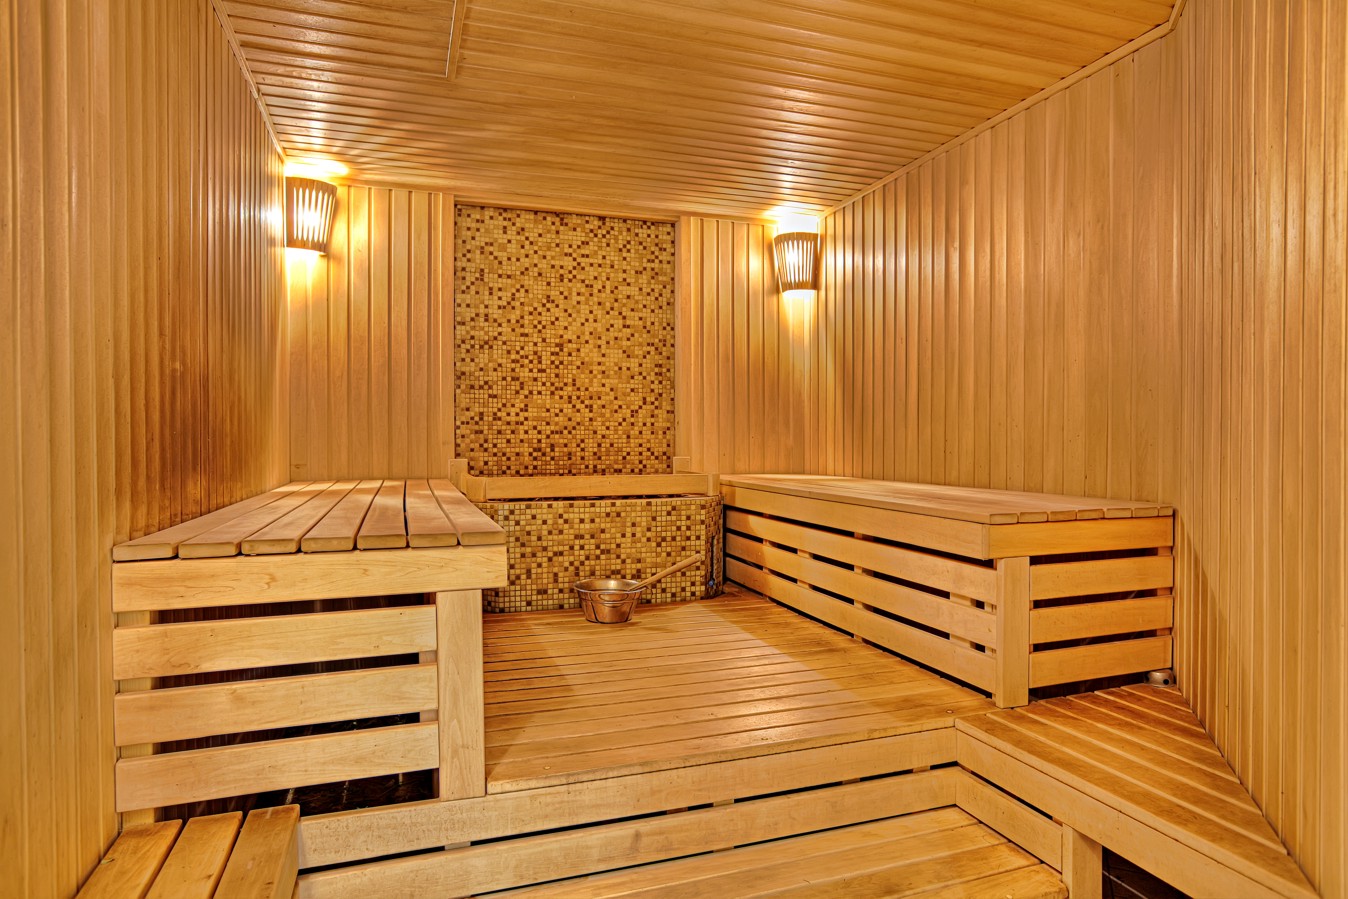
Finish
When all the materials for the work are selected, you can begin such a process as decorating the ceiling in the bath. There are several options for how to sheathe and each owner chooses the most acceptable.
Hemmed
Such an option as a false ceiling in the bath is primarily practical, because it has space for the attic, where you can store attributes for the bath.
Work Stages:
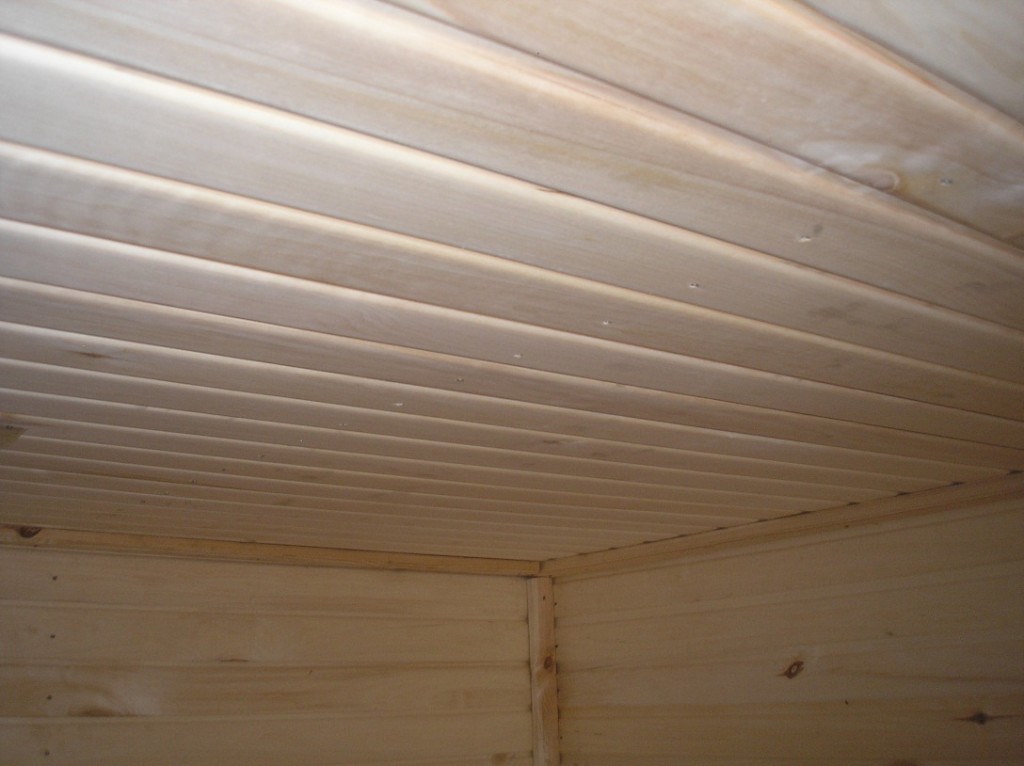
- When the installation of the frame from the timber is completed, it is necessary to hem the trim board from the inside.
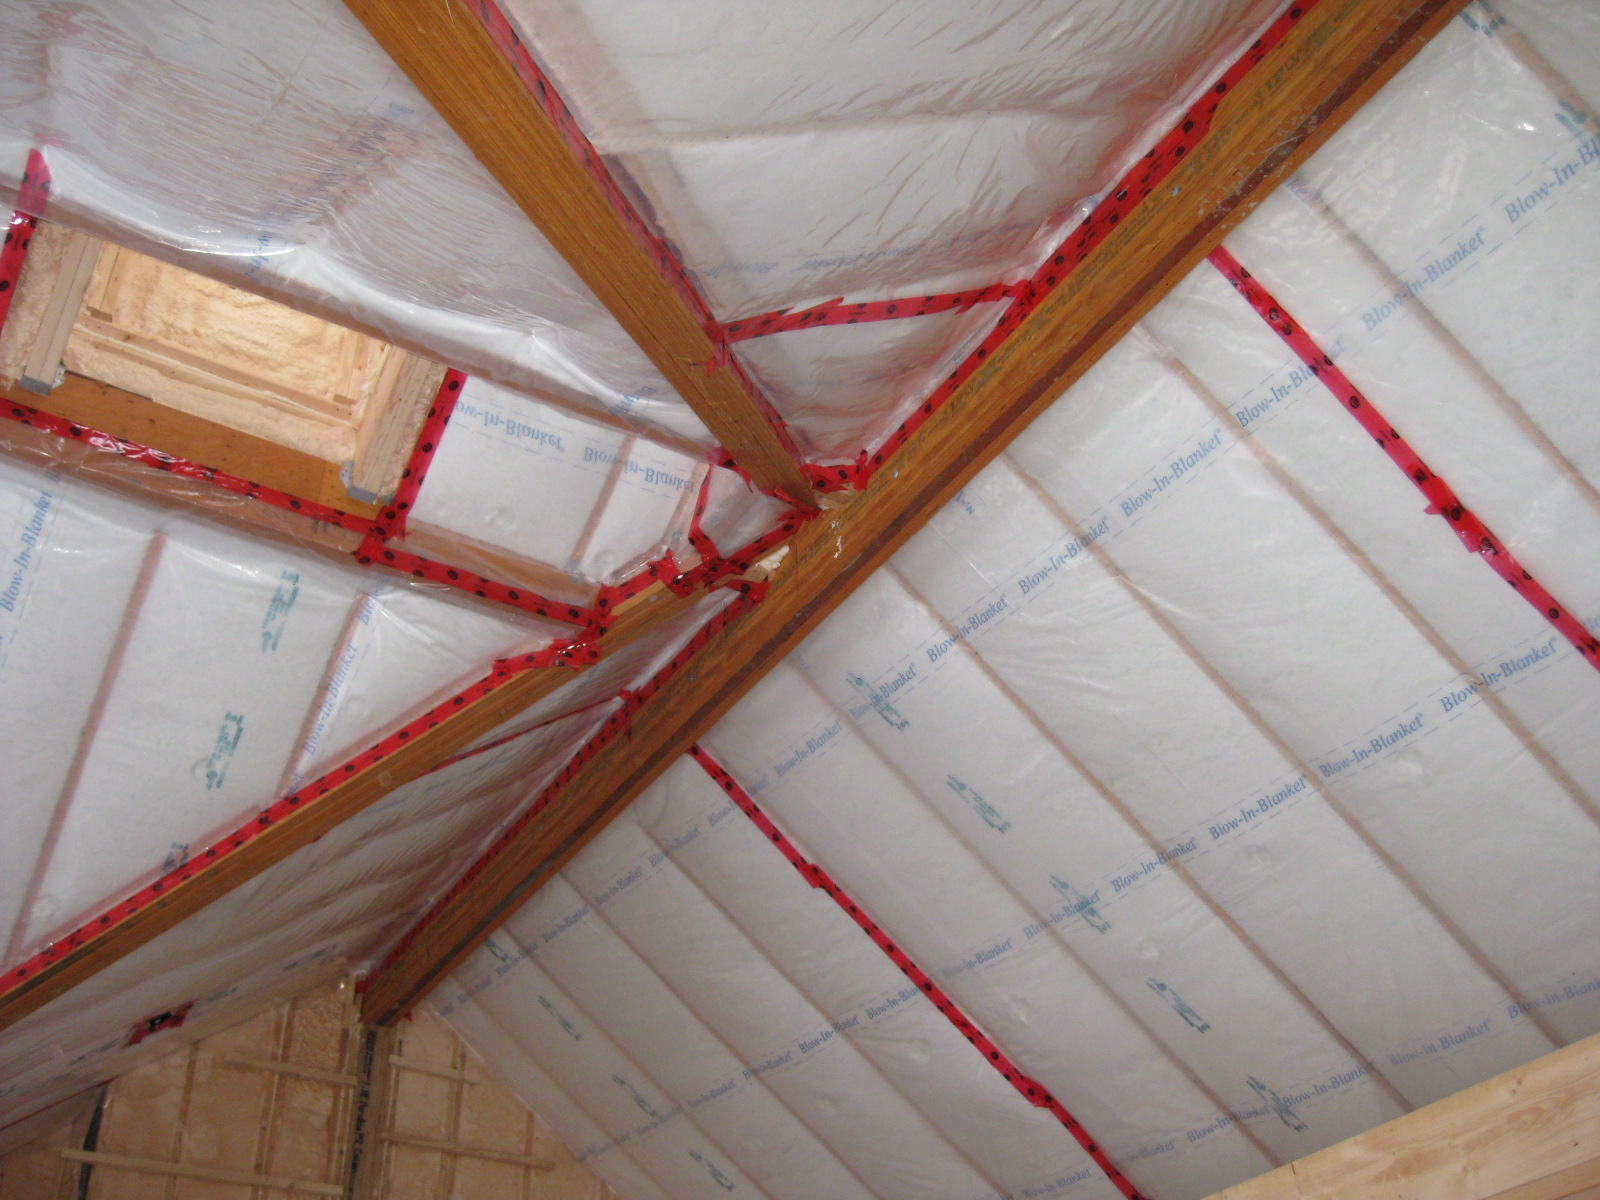
- Further work will take place from the attic. The first layer is vapor barrier, which is placed between the logs.
- The next layer is insulation, it is necessary to cover the entire surface so that there are no voids.
- This is followed by a layer of waterproofing.
- At the top, all layers of protection are covered with a boardwalk.
All layers of protection are laid so that the last waterproofing is not higher than the beams. At the same time, it is necessary to observe the required thickness of each layer so that they can perform their functions.
Grazing
If the ceiling is made in the bath, the owner can save on the costs of the materials used, moreover, this is a fairly easy way to arrange. In this case, the design does not have an attic and the only drawback of such a ceiling is that it cannot be used in large baths. For example, if there is a steam room, a relaxation room, baths, and a washroom, this option will not work. With this method, the ceiling device in the bath span should be no more than 250 cm. Otherwise, the design will be fragile.
The thing is that with this method, the load will go to the walls, because the ceiling boards will lie on the crown of the log house.
Work Stages:
- At the first stage, it is necessary to lay the boards on top of the edge of the walls on the inside of the log house from the inside. Boards should have a thickness of about 40 cm, it is necessary to close up so that there are no gaps and cracks.
- Next, you need to cover the boards with a layer of vapor barrier, it is easy to fix it with a stapler.
- To keep the ceiling warm, you need a layer of insulation. In this case, mineral wool is ideal. If used, for example, expanded clay, it is necessary to make sides.
This is the simplest and easiest method of arranging the ceiling, but you should remember that it is suitable only for small baths. In addition, if the ceiling is being repaired, it is very easy to damage the insulation layer, as it simply does not have a protective layer.
Sandwich panels
In a brick bath, sandwich panels are very often installed, which have many advantages, among which the main ones can be distinguished:
- Low cost sandwich panels;
- Rather big dimensions;
- Do not differ in large weight;
- Sandwich panels have a high level of thermal insulation;
- During assembly, a sandwich of panels does not take a lot of time and effort;
- Excellent sound isolation is noted;
- Thanks to special manufacturing technology, sandwich panels are characterized by a long service life;
- Material resistant to both low and high temperatures;
- Sandwich panels are completely safe for human health, do not have toxicity.
The basis of this material is a wood plate. During production, two plates are used, between which a warming layer is laid.
Among the types of filler that is used for plates, manufacturers prefer:
- Polyurethane foam;
- Mineral wool;
- Styrofoam.
During the construction, it is possible to use any options, but if we talk about environmental friendliness, it is better to give preference to mineral wool. The rest are characterized by less environmental friendliness, but have a high ability to isolate sound, retain heat with low weight. If you intend to use polyurethane foam or polystyrene, chimney insulation will be required. If you are interested in how to insulate the ceiling of the bath outside, this option is ideal.
How to install a bath using sandwich panels?
The bathhouse is built in several steps, which can be conditionally divided into:
- Designing a bath. This process can be carried out by yourself or resort to the help of a typical one. With knowledge of the panel dimensions, calculating the length of the walls for the minimum number of cuts of materials is a simple procedure.
- After purchasing the necessary materials, you can proceed to the foundation. You can choose the design column or tape type. The choice depends not only on how complex the structure is, but also on the groundwater level.
- The next step is to create a box. During construction, it is recommended to use slabs whose thickness ranges from 7.5 to 10 centimeters.
- Roof construction. This element must be built in a single slope or gable form, since the design will not be able to withstand heavy loads.
- The final stage is the finish on the outside and inside. Here you can use any material that you like. The most used now is linden lining. Additionally, building insulation is not required.
Now every owner knows how to properly make the ceiling in the bath, which will be of high quality and have a long service life. If the steam room is large, and the question arises, how to finish the ceiling in the wash room and in the relaxation room as well as in the bath. The thing is that in the relaxation room and in the washing bath the temperature also rises, high humidity, steam and the ceiling are exposed to the same effect as in the steam room, the surface also requires protection, so the owner already knows how to sheathe, install and close the ceiling. , and difficulties should not arise.
The main thing when arranging is to pay due attention to the quality of the materials that will protect, then such a design will really provide reliability and quality.