Wiring: how to do it yourself?
Content
Over the past twenty years, the development of progress has made our lives much more convenient and comfortable, which is primarily due to the large number of various household appliances and other useful appliances present in our homes. Over time, it comes to the realization that the existing old wiring diagram in the apartment simply can not withstand such a significantly increased load on the power grid, so sooner or later it is necessary to solve the problem of how best or more precisely - how to make the wiring of the new wiring instead of the old one.
In this article we will try to answer the question of how to do everything ourselves, and at the same time we will help to deal with all the nuances that you will encounter when changing or installing electrical wiring in your apartment, in the house or in the country with your own hands.
Where to start?
First of all, it is necessary to carefully think out and draw a plan for future postings, i.e. determine:
- where will be located and how many outlets will be;
- where the lights and switches will be located;
- how and in what places the wiring lines will pass;
- where will the distribution switchboard stand, and how best to ground it.
It will be nice if you only have good knowledge of electrics and draw a schematic diagram of the future wiring, where the circuit breakers will also be calculated, as well as the detailed wiring of the wires in the junction boxes.
According to existing rules, you may need to order this project of power supply only in case of new construction. Moreover, the design documentation will also have to be handed over to the state authorities for energy control for approval, and subsequently the installed electrical wiring must be presented to the energy inspector for acceptance in order to give permission for its connection to electric networks.

In all other cases, you just need to adhere to the basic rules of electrical safety when planning and installing electrical wiring in the house with your own hands.
After you have decided on the number and locations of future electrical appliances, make a detailed calculation of all the necessary materials and, after a thorough check, carry out their purchase in a specialized store. When calculating and purchasing basic supplies, make a small margin of 5-7% - it will usually come in handy in the future.
When preparing a tool for the installation of electrical work, one should not particularly worry, since the standard set available in each house is quite suitable for this, because all the main work is done not under voltage. If you need to directly connect the new wiring to an existing electrical network, you can call a real electrician.
Basic wiring requirements
Although it is believed that all the work of electricity is subject to one Ohm's law and two laws of Kirchhoff, the diverse application of various schemes and variations of these physical formulas in practice give all the variety of electrical appliances and useful work.
In the same way, we can say about the wiring diagrams, wherever we mount, the principle of their construction is quite simple:
- all electrical appliances, the electrical load is connected as if in parallel;
- all switches and protective devices in the form of circuit breakers and fuses - as if in series or in a wire break (line).

It’s simple if you connect the light bulb to the garage, but the correct wiring of the wiring is done really according to the system of complex calculations of electric networks with a large number of formulas and tolerances, and with a number of certain restrictions and requirements in the form of existing regulatory documents:
- Rules for the installation of electrical installations;
- Rules for the technical operation of electrical installations of consumers;
- specialized SNiPs;
- various GOSTs.
Differences and nuances of the wiring device
It is not necessary to know all of the above documents in order to dissolve the wiring in the room or in the country house, so we will briefly try to list all the differences and nuances in the construction of electric networks, depending on their functional location, which will need to be taken into account in a given situation.
The electrical wiring in the apartment is the simplest option and does not have special requirements. Connection is made from a group floor panel, there we have no right to change anything - this is the responsibility of utilities. Otherwise, we remember and are guided by the basic rules:
- use wires only with copper conductors and only three-wire with a grounding conductor;
- wire lines are best drawn with straight lines along the walls 15 cm from the ceiling, and leave to sockets and switches to make strictly vertical;
- sockets should also be used only with a grounding contact with an installation height of 30 to 90 centimeters from the floor;
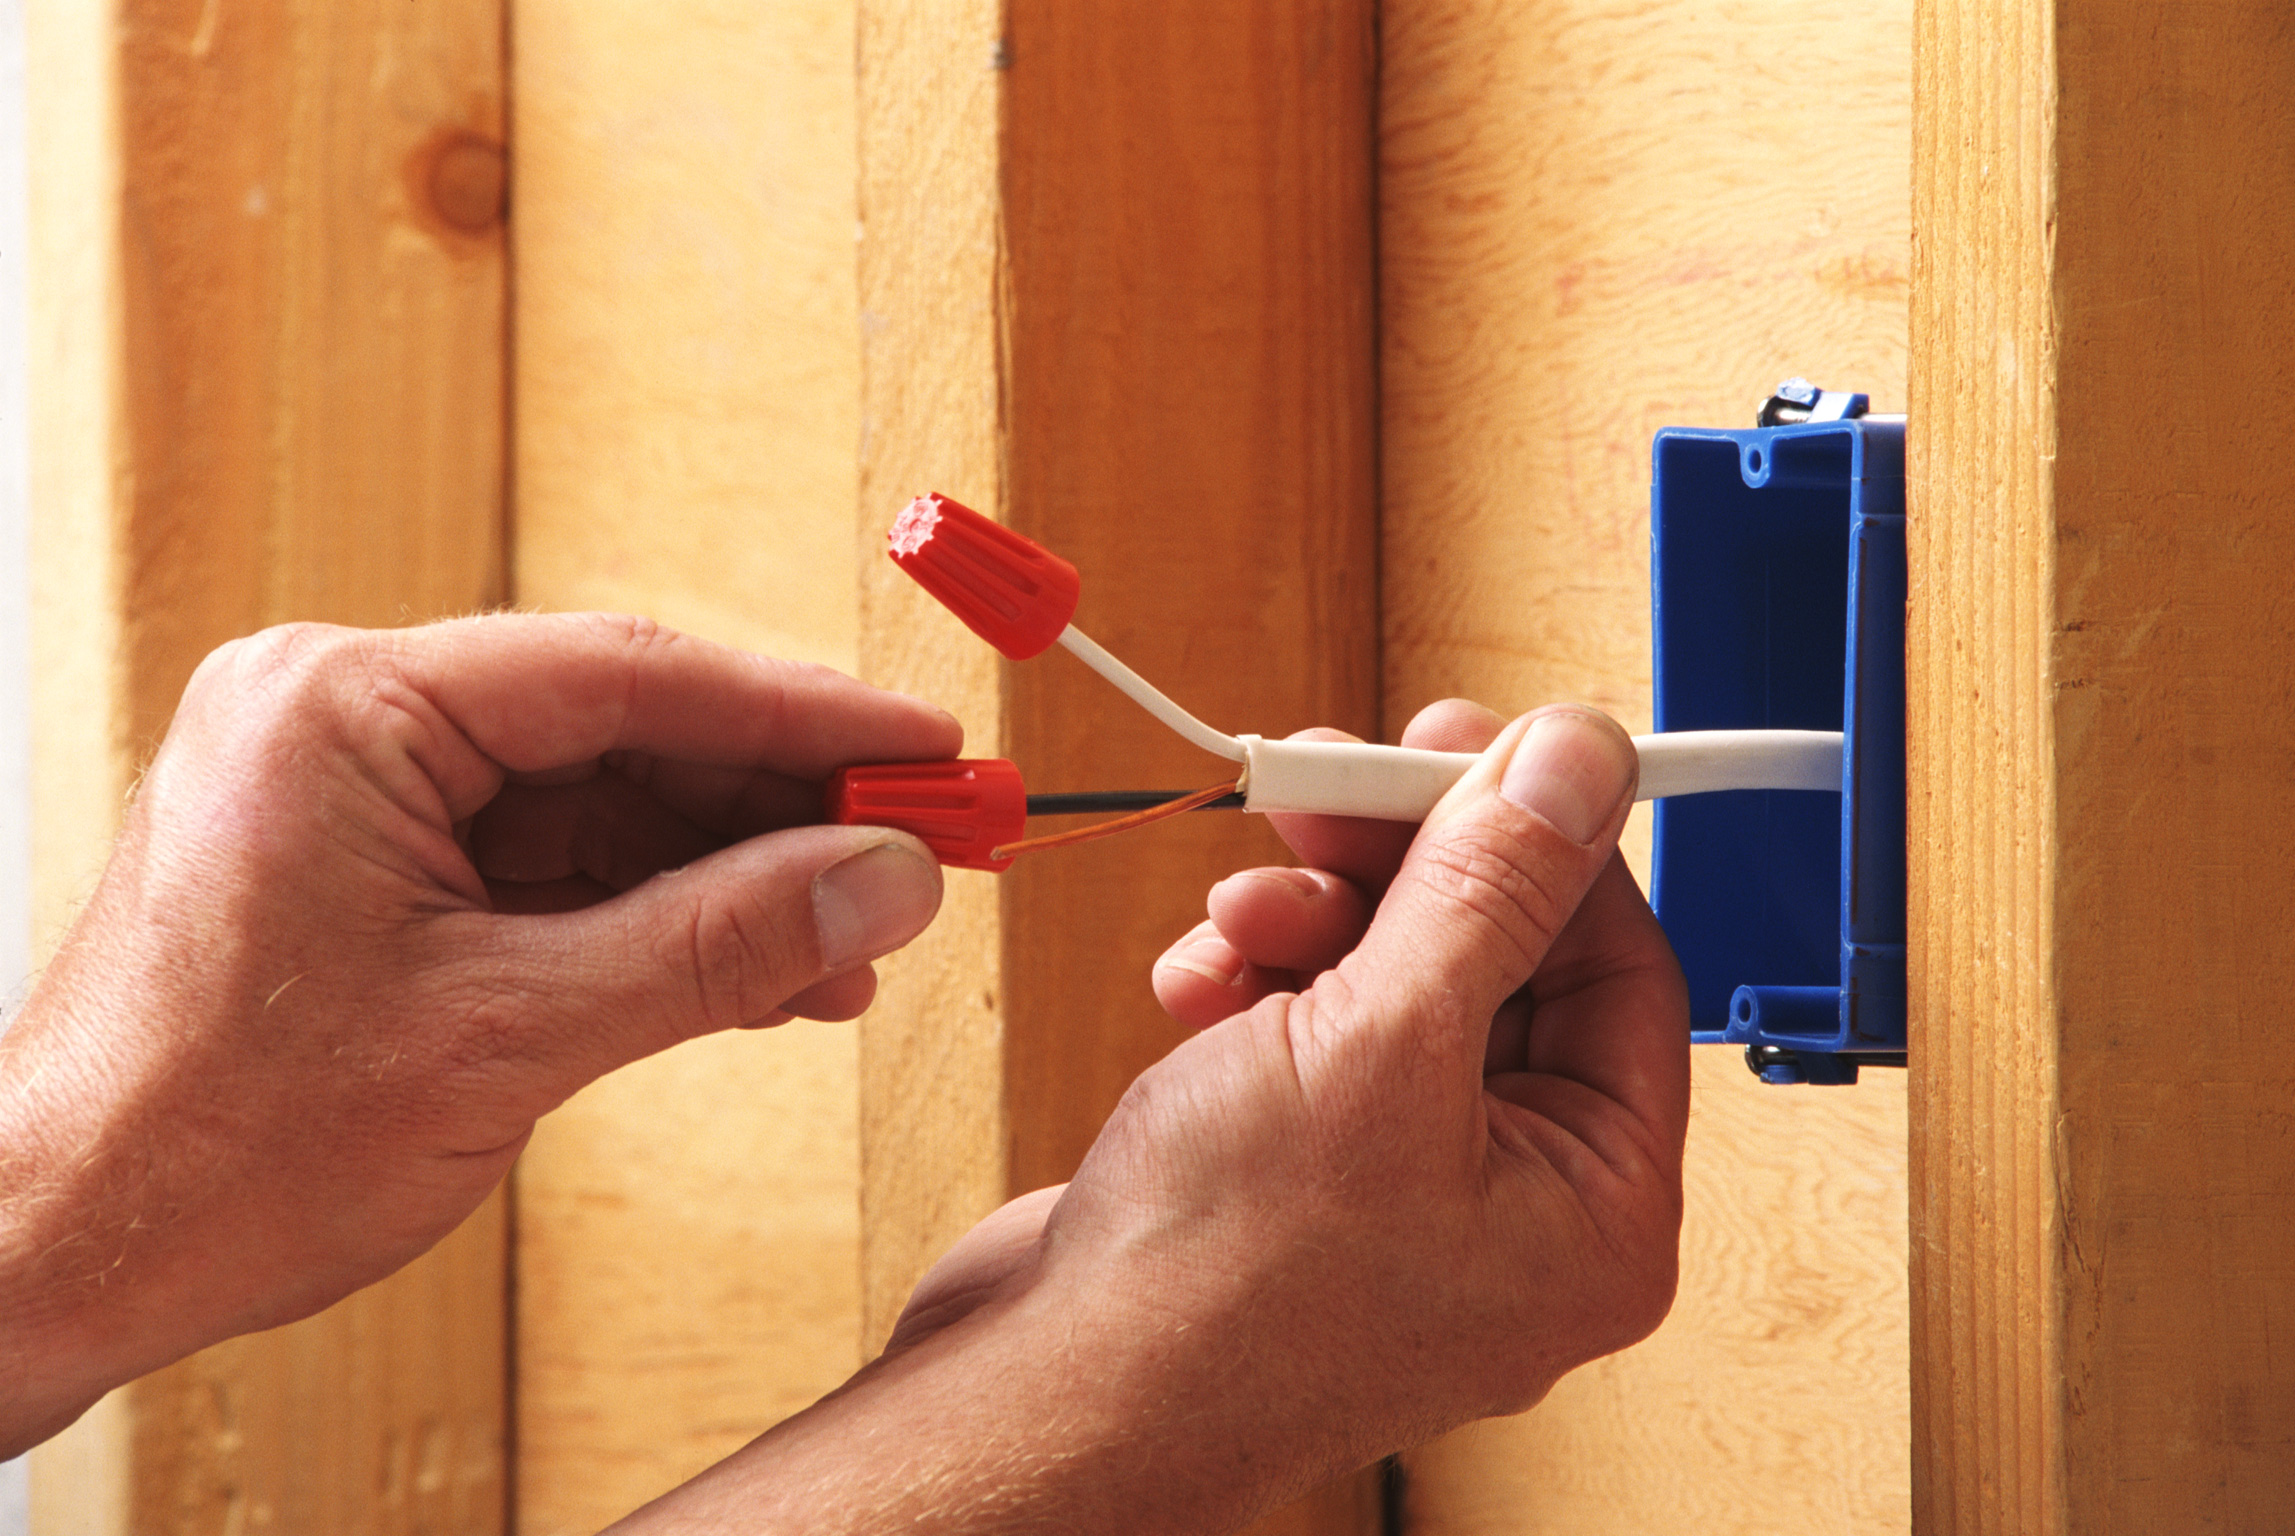
- in junction boxes, only either bolt clamps or crimping or soldering of wire contacts;
- switches of any type can be located from 70 to 180 centimeters from the floor surface;
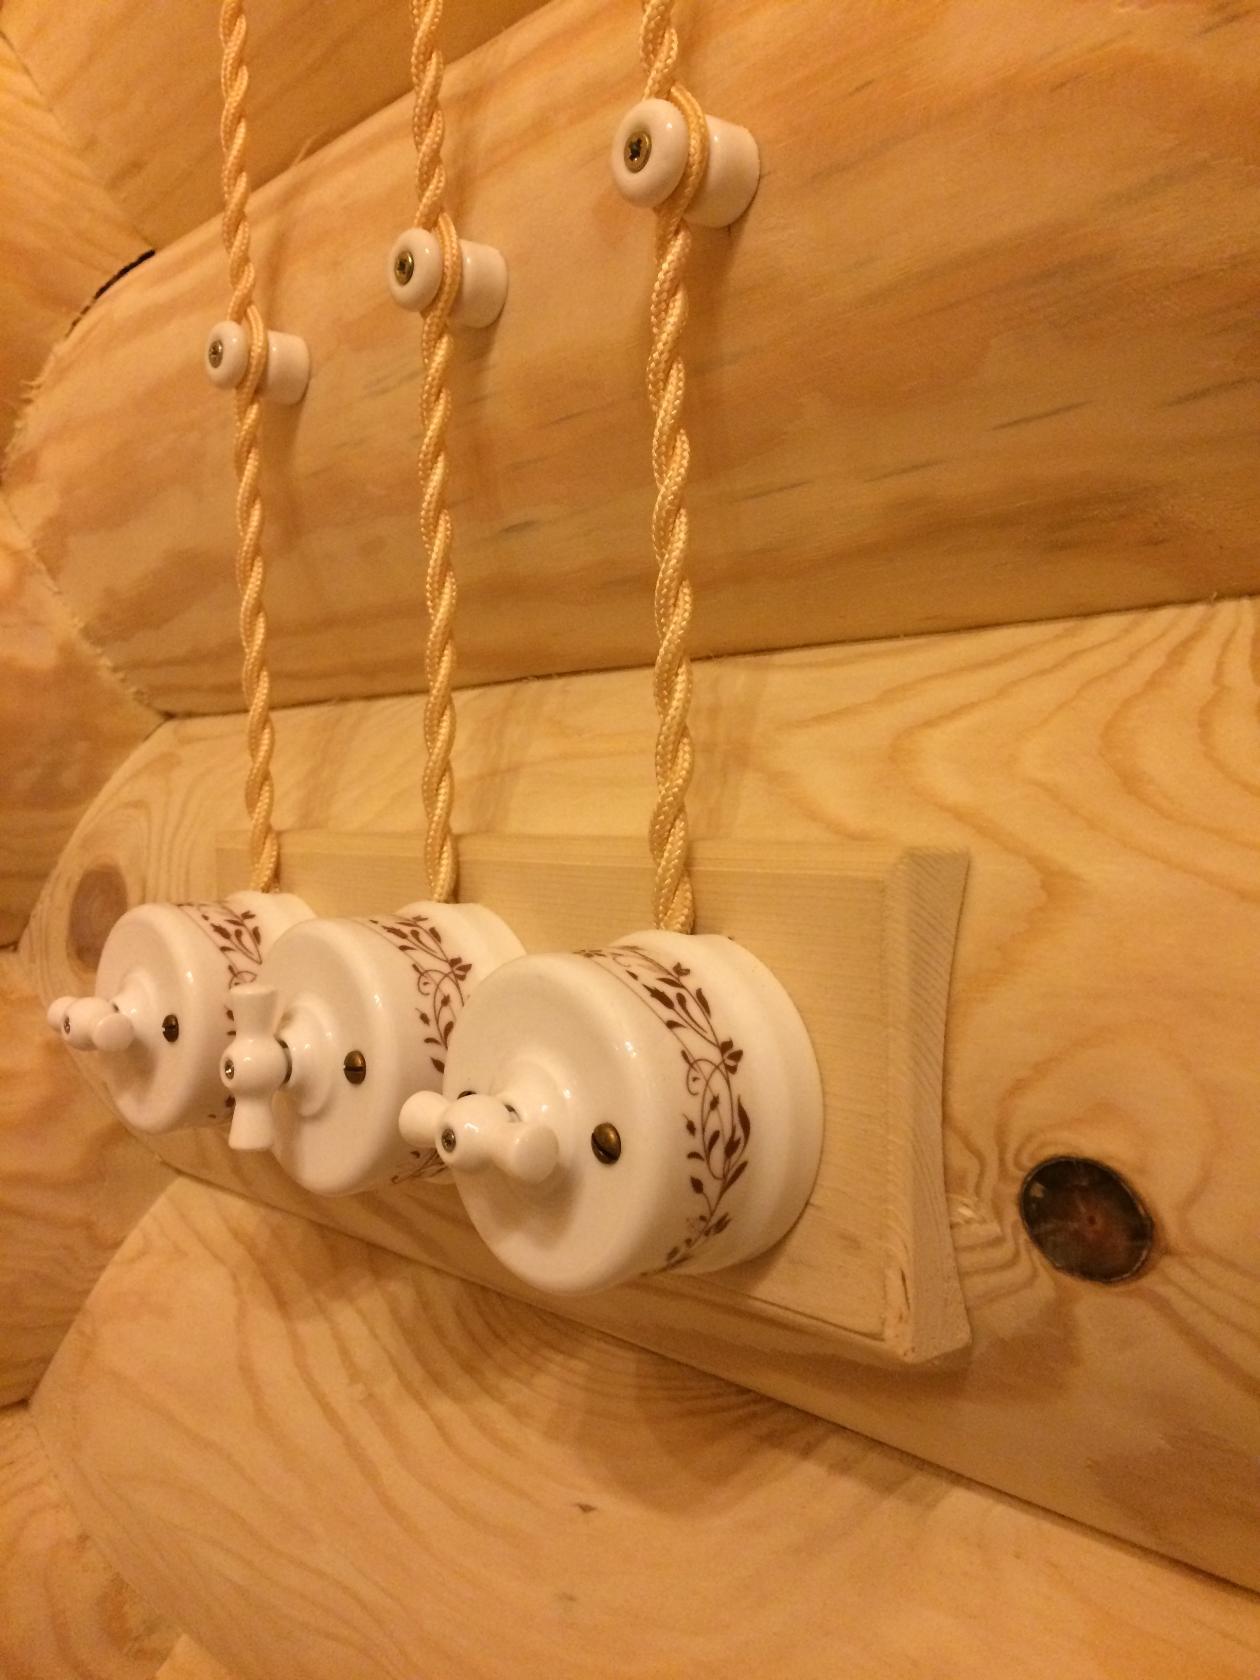
- chandeliers and lamps of any kind without restrictions.
Such simple requirements are suitable for wiring both in a two-room apartment and in an apartment of a panel house.
The electrical wiring in a private house is already arranged somewhat more complicated, since an introductory distribution switchboard with an electricity meter will be added. Moreover, this will already be your area of responsibility, and everything will have to be bought at your own expense in case of a replacement.
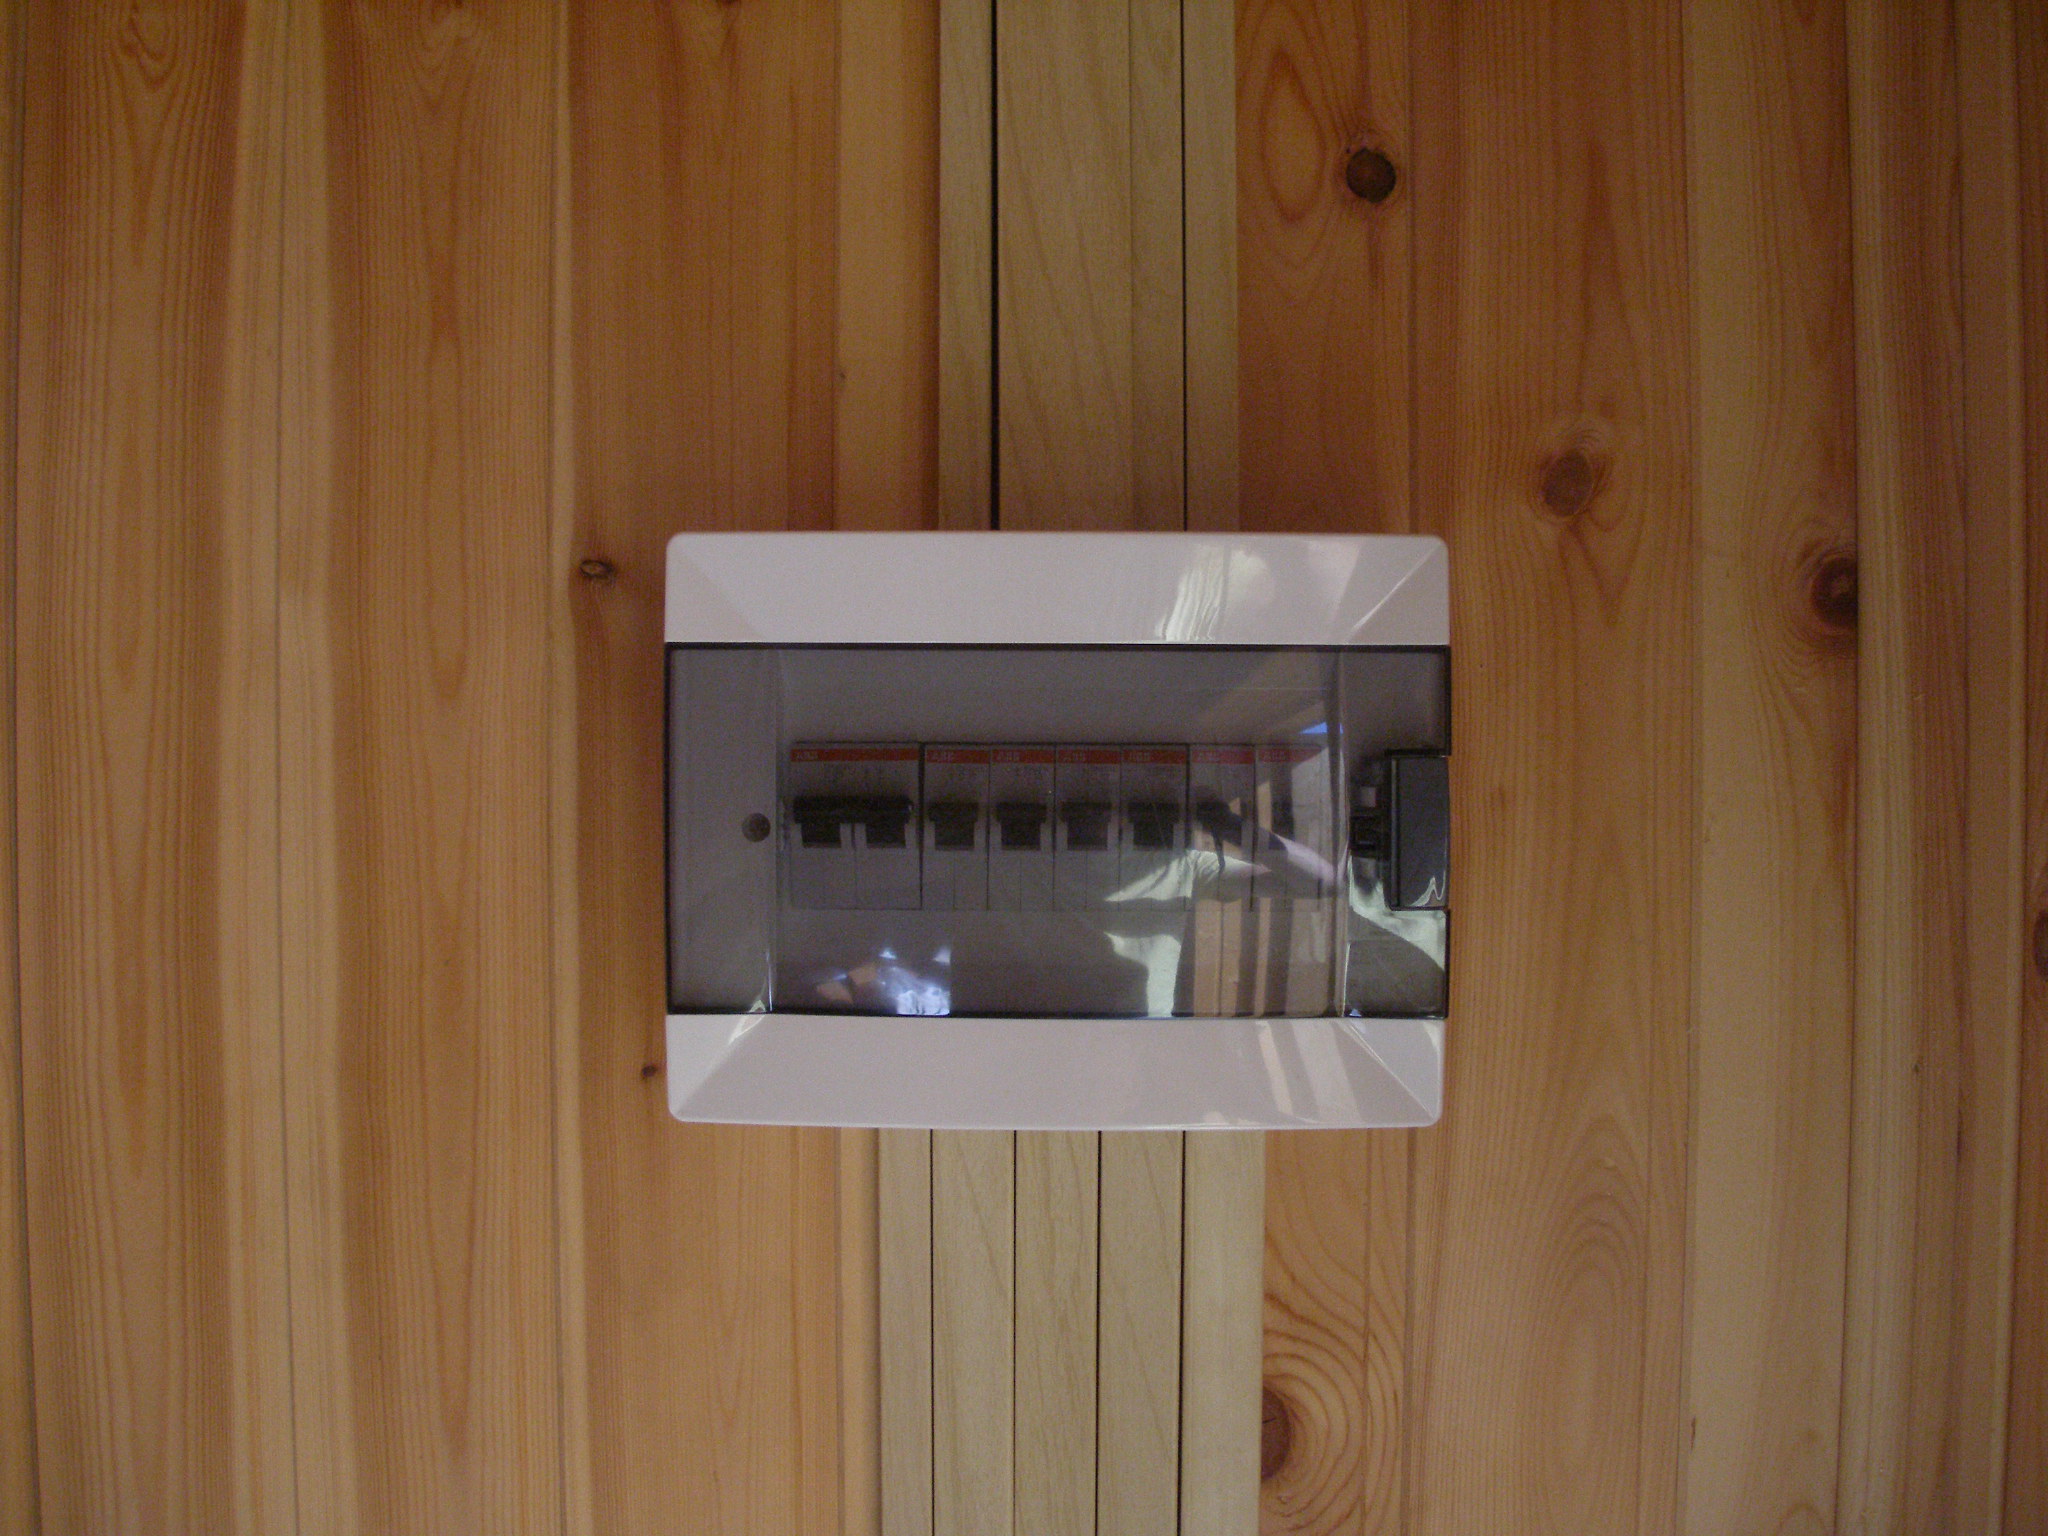
An introductory switchboard must be equipped with:
- introductory circuit breaker;
- 30 mA residual current device;
- electric meter;
- automatic circuit breakers for each outgoing line.
In addition, you will need to make a ground loop and ground the metal housing of the electrical panel.
In the same way, wiring should be done in the country house, only to a lesser extent.
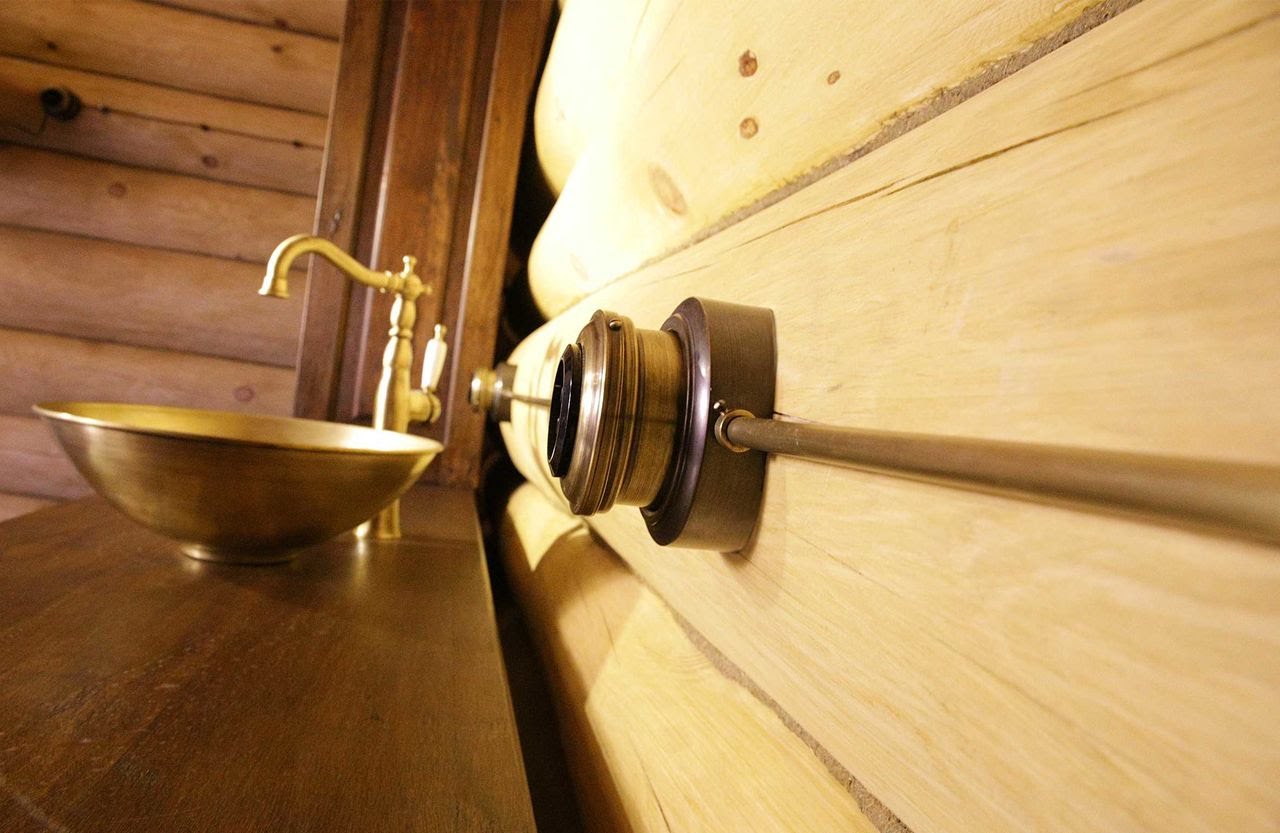
The wiring diagram in a wooden house will differ in that:
- in the switchboard you will have to add another RCD already at 100 mA to prevent fire;
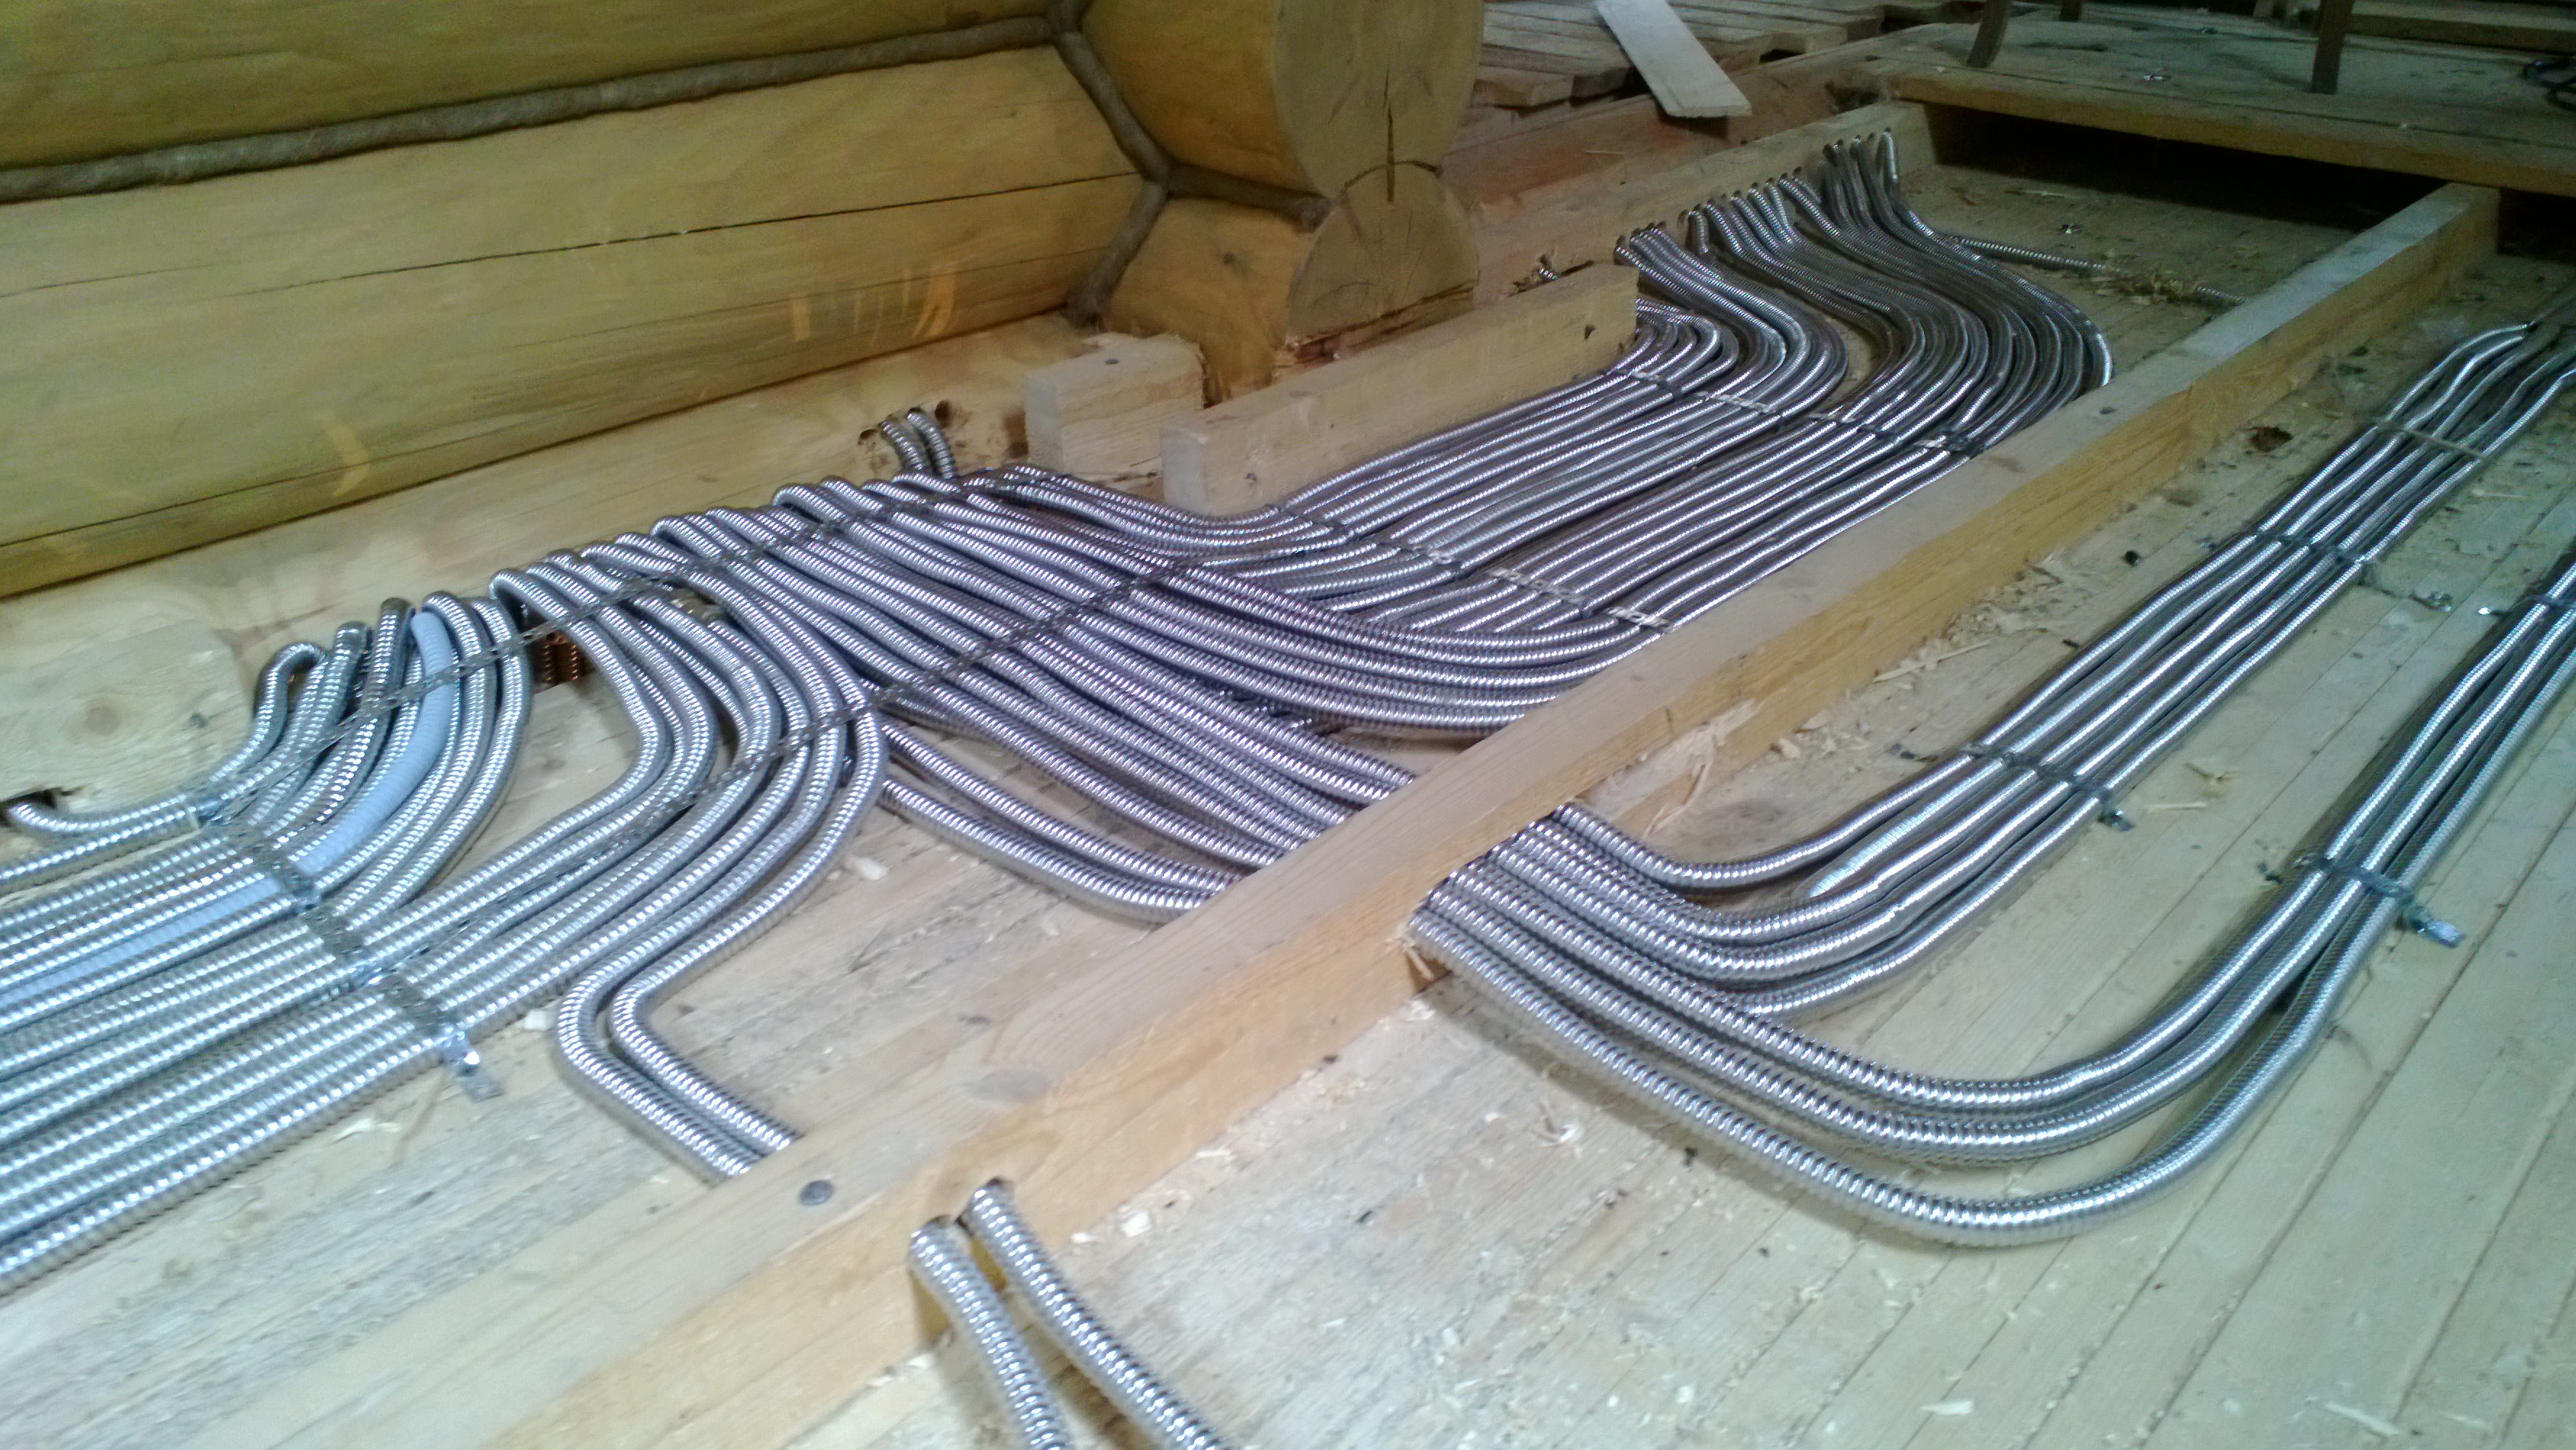
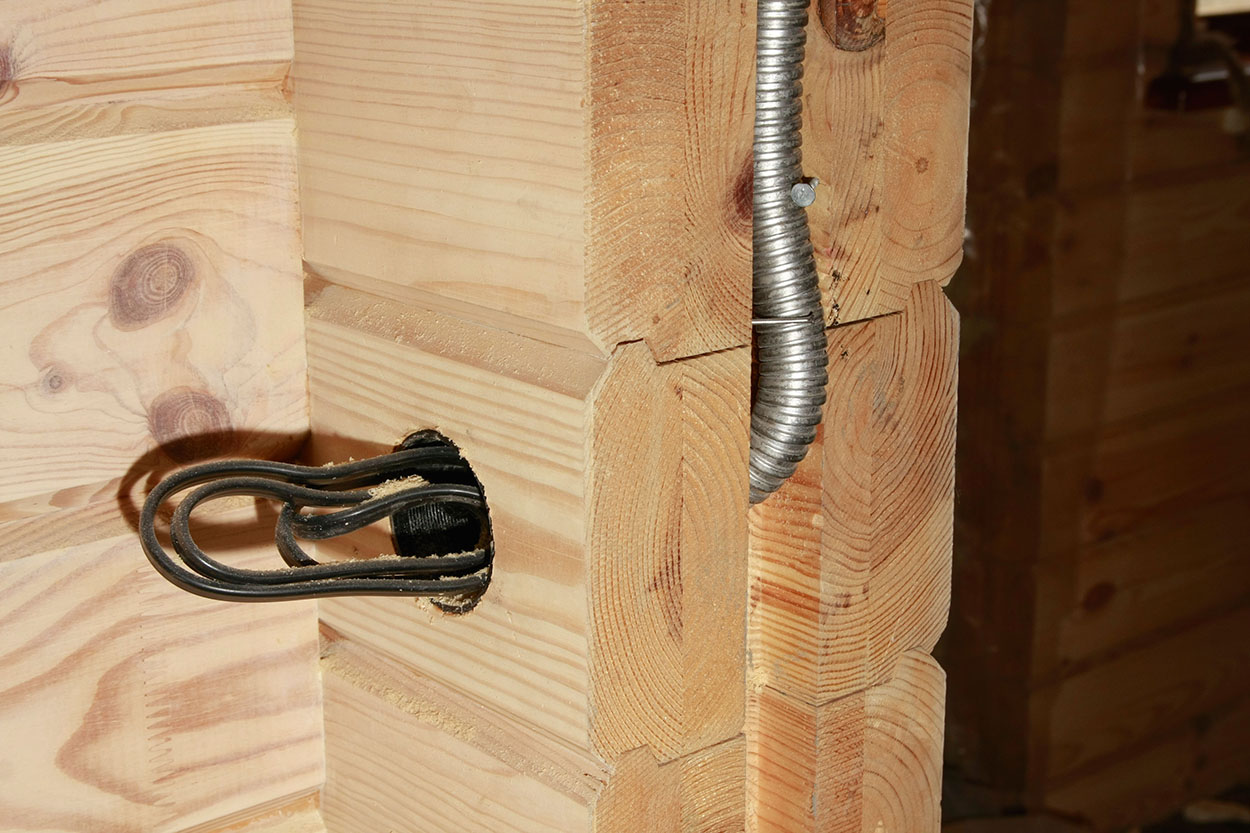
- wiring on wooden walls will have to be entered in a fireproof casing - it can be metal pipes, a metal hose, a fireproof PVC corrugation pipe or a special PVC cable channel;
- all passes through the tree are allowed to be done only in steel pipes, as well as the wiring hidden under it.
The wiring in the garage has several basic requirements:
- Mandatory presence of RCD on 30 mA;
- ground loop plus all metal parts must be grounded;
- wiring from the floor to a minimum height of 1.5 meters must be mechanically protected, i.e. made in a metal pipe or metal hose;
- luminaires and sockets must have a protection class of at least IP34.
The electrical wiring in the bathroom has three basic requirements:
- protection class not less than IP67;
- It is not allowed to lay trunk lines through the bathroom;
- all metal parts of the bathroom and water pipes must be connected by metal communication in the form of a potential equalizer system.
The electrical wiring in the bathhouse must be done through a disconnecting transformer from 220 V to 12 V. This rather strict requirement is applied for electrical safety and allows for extremely damp rooms to have a voltage of only 12 V. These safety requirements apply to basement and basement rooms, as well as cellars and metal garages.

Difficulties with the selection of electrical equipment for 12 V should not arise, since the wires, lamps and switches fit the same as for 220 V, and a 220/12 V isolation transformer and 12 V light bulbs are available for sale in all specialized stores.
When installing electrical wiring in the kitchen, the wires should be located at a distance of at least 1 meter from the gas and water pipes, as well as power sockets.
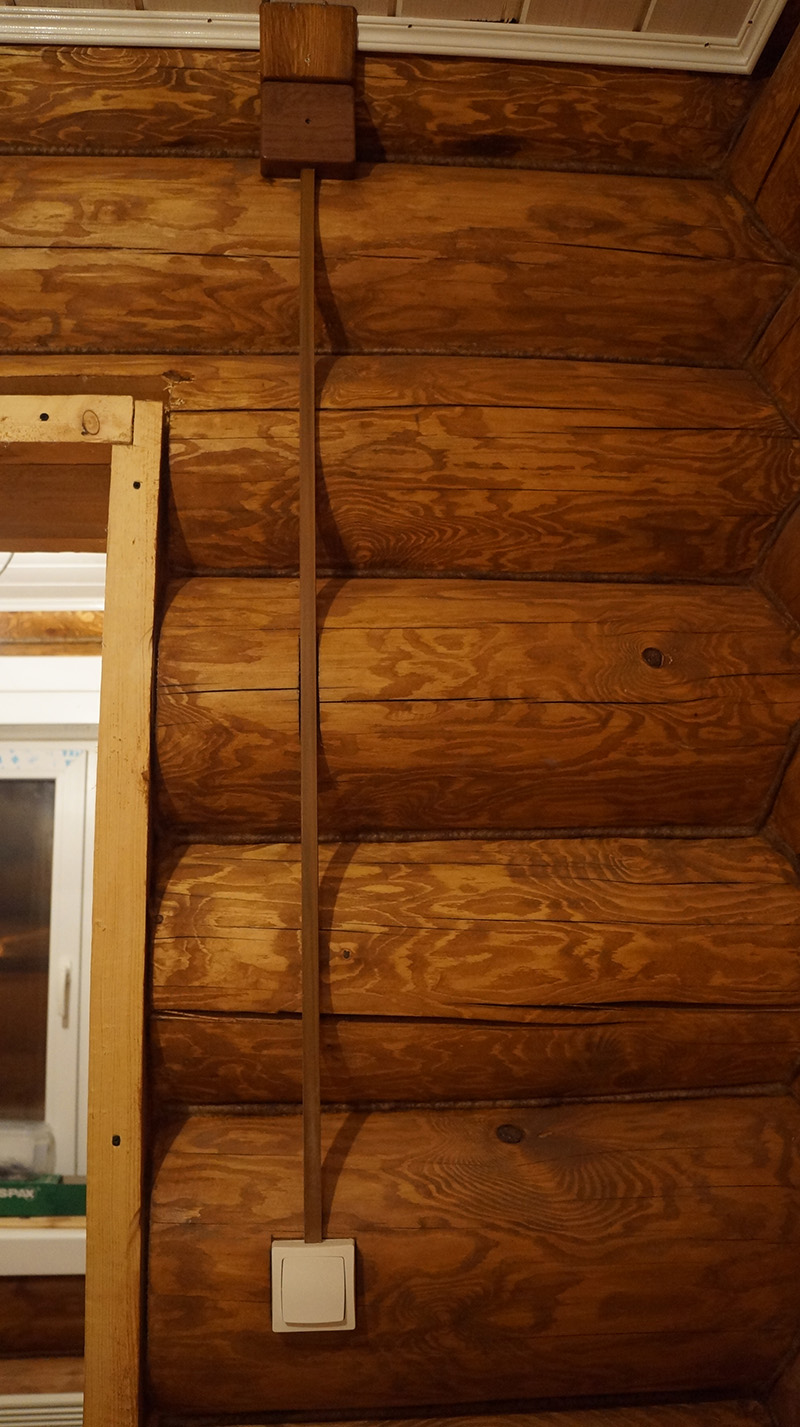
The electrical wiring in the house on the floor is allowed only in a specially designed baseboard, and under the flooring only in a metal box or pipe.
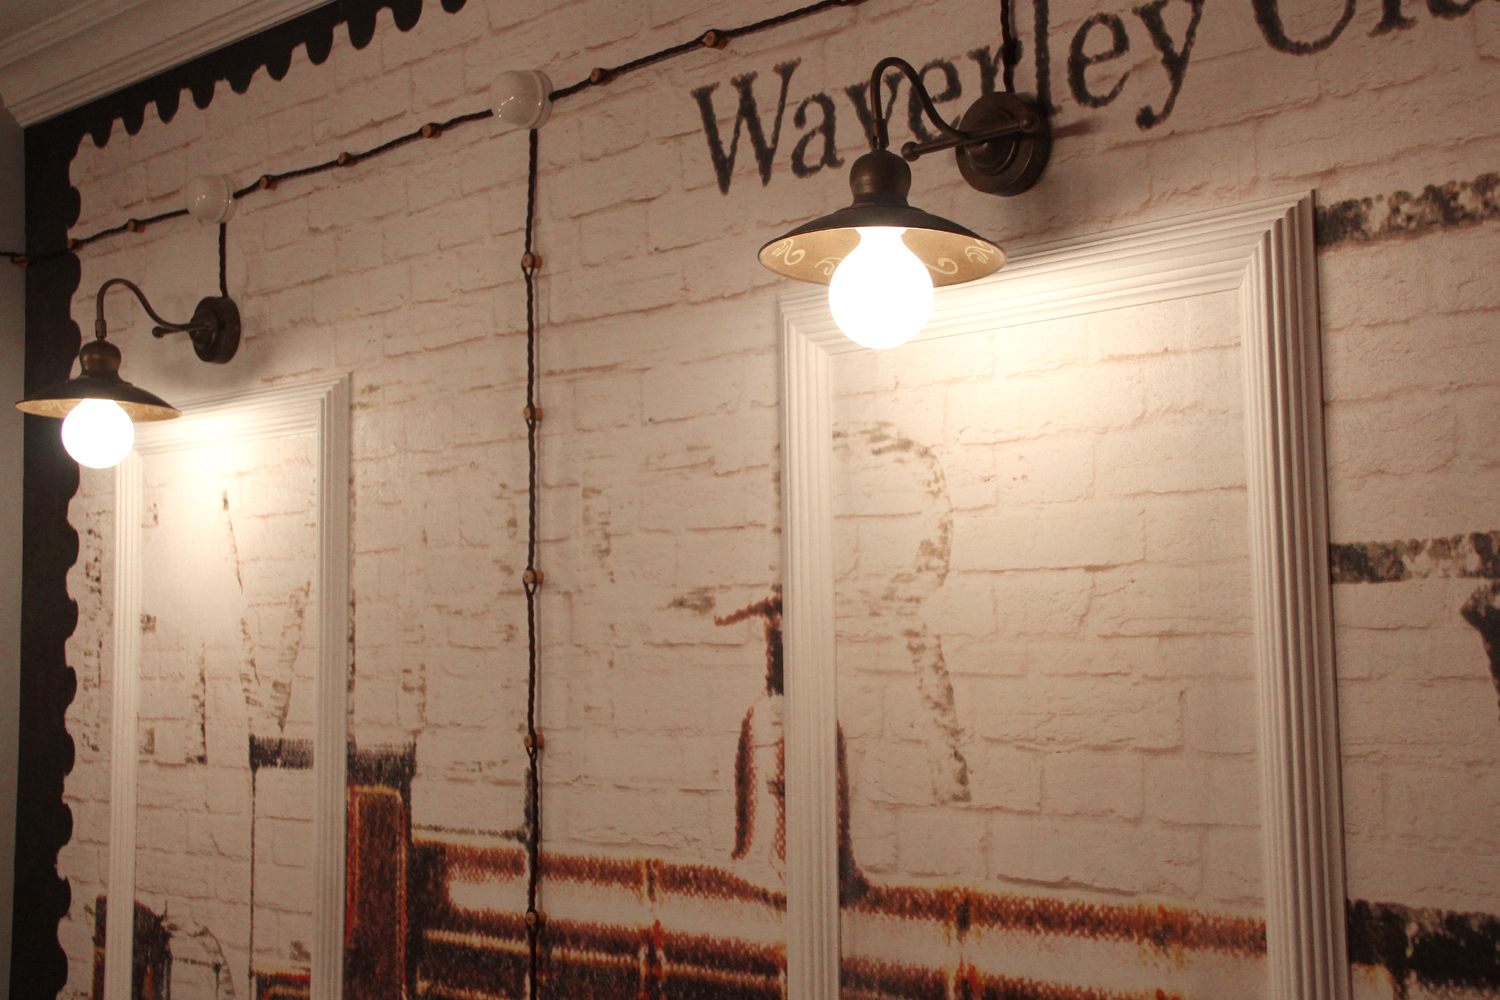
Electrical wiring on the ceiling can be performed in a PVC corrugated pipe or PVC cable channel, while being guided only by considerations of the exterior, but in interfloor ceilings, unless it is wiring in a panel house, it is necessary to arrange the wires under protection from rodents in a metal hose.
Installation of electrical wiring
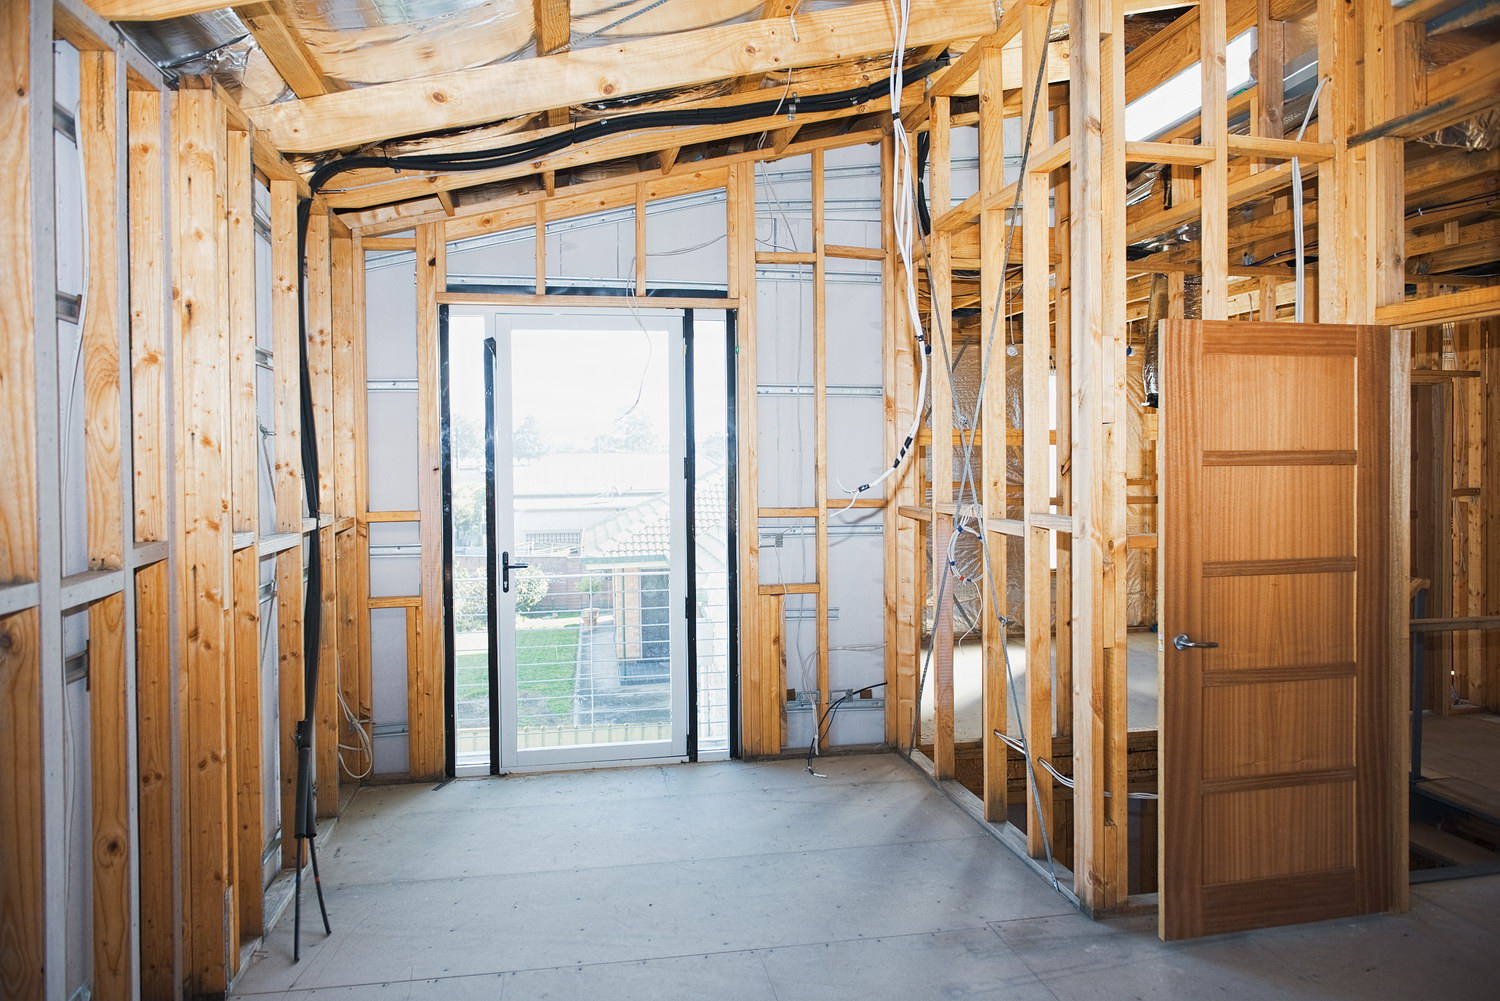
The electrical wiring in a private house with their own hands after completing all the preparatory measures takes place according to the following algorithm:
- Marking places installation electrical appliances: sockets, switches, lights and junction boxes.
- Next, the trunk and branch lines for the passage of wires between all installation devices are sequentially drawn.
- If necessary, depending on the selected method of arrangement of electrical appliances, for example, hidden, the surface of the walls is cut out for installation electrical appliances.
- Also, depending on the chosen method of laying electrical wires, in the case of hidden wiring, they make gating, and if they do electrical wiring in a wooden house with their own hands, they install PVC cable channels.
- All installation electrical appliances are mounted and secured without facing panels.
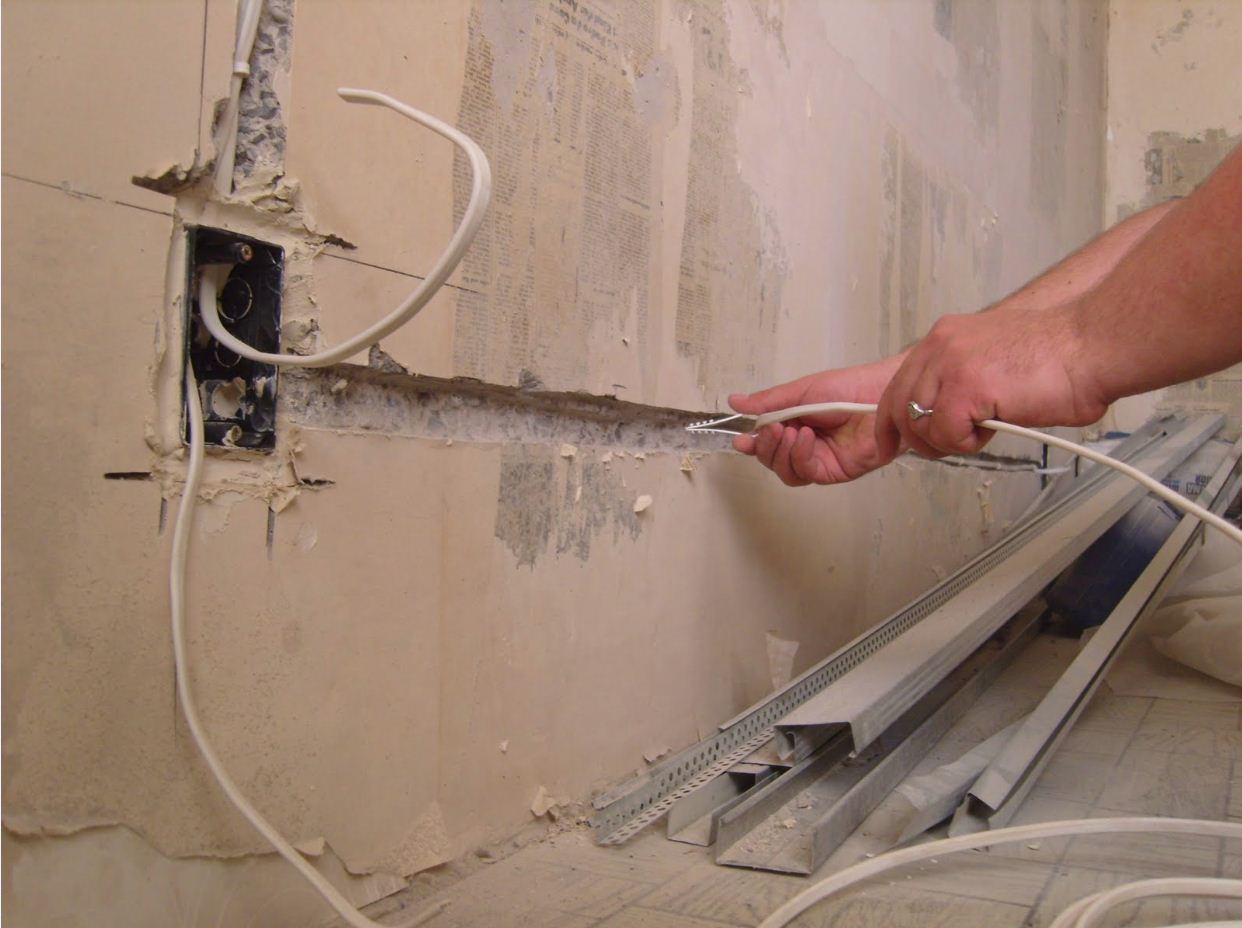
- At the next stage, wires are laid in the grooves made or in the mounted cable channels.
This is where the wire you bought with a small margin comes in handy. This is due to the fact that for all measurements and calculations the length of the lines is taken in absolute units, that is, ideally almost in a straight line. However, when installing the wire, it is laid in almost free condition and only slightly stretched so as not to damage the insulation. The difference between perfectly straight lines on the project and free laying of wires is an average of 3% of the total line length.

In addition, a small supply of cable or wire will have to be left to the terminals when connected directly to installation electrical appliances. Hence, there is a need to buy cable products with a small margin of 5-7%.
After you managed to separate and lay all the wires, we connect them to the installation electrical appliances. Here you have two mandatory execution requirements:
- When carrying out this operation, it is necessary to observe and adhere to the following rules for the color marking of wires, where the most important thing to remember is that blue is a working zero, and the protective grounding conductor has a yellow-green color. The phase conductor can have several colorings, but most often it is brown, white or red.
- When disconnecting the wires in the junction boxes, the phase wire must pass through the switch, i.e. it must be torn. This is done so that when the light is off, it is safe to change a burned out lamp in the chandelier without the presence of a voltage of 220 V. It is also advised to connect the phase wire to the central pin of the bulb socket.
Upon completion of all installation work, carefully check once again the wiring diagram you made, the presence and reliability of grounding contacts and potential equalizers, the absence of exposed and bare metal parts of electrical equipment that may be under voltage of 220 V.
If possible, use a tester to measure the insulation resistance of the wires for possible electrical breakdown.
That's all. And if you precisely followed the recommendations given here, then do-it-yourself wiring of electrical wiring will safely serve you for many years.