How to lay linoleum: some simple tips
Content
Repair is a difficult process, requiring not only large energy costs and financial investments, but also excellent knowledge in the process and in building materials. If we talk about flooring, the variety that is presented in stores today is simply colossal. We will not consider all floor coverings, we will dwell in detail only on linoleum, which for many years remains the choice of millions.
Why linoleum remains the leader in sales?
What are the advantages of linoleum over other coatings:
- the cost is noticeably lower than that of other floor coverings;
- laying this coating takes incomparably less time;
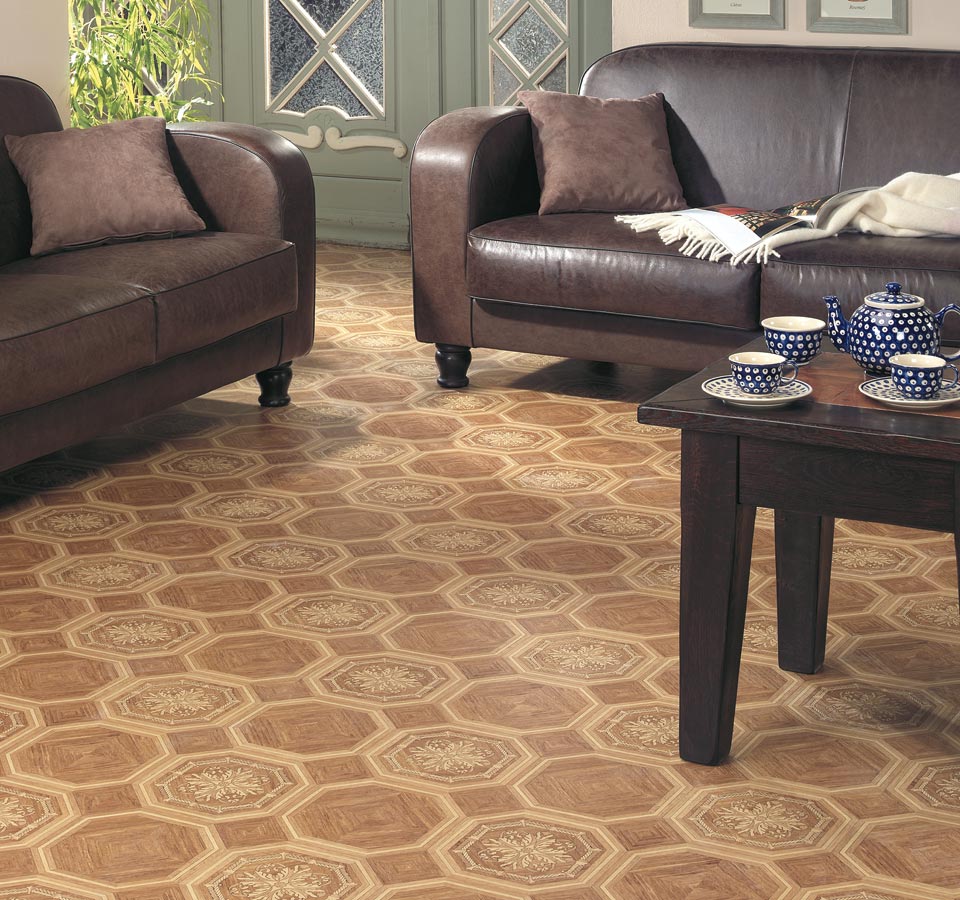
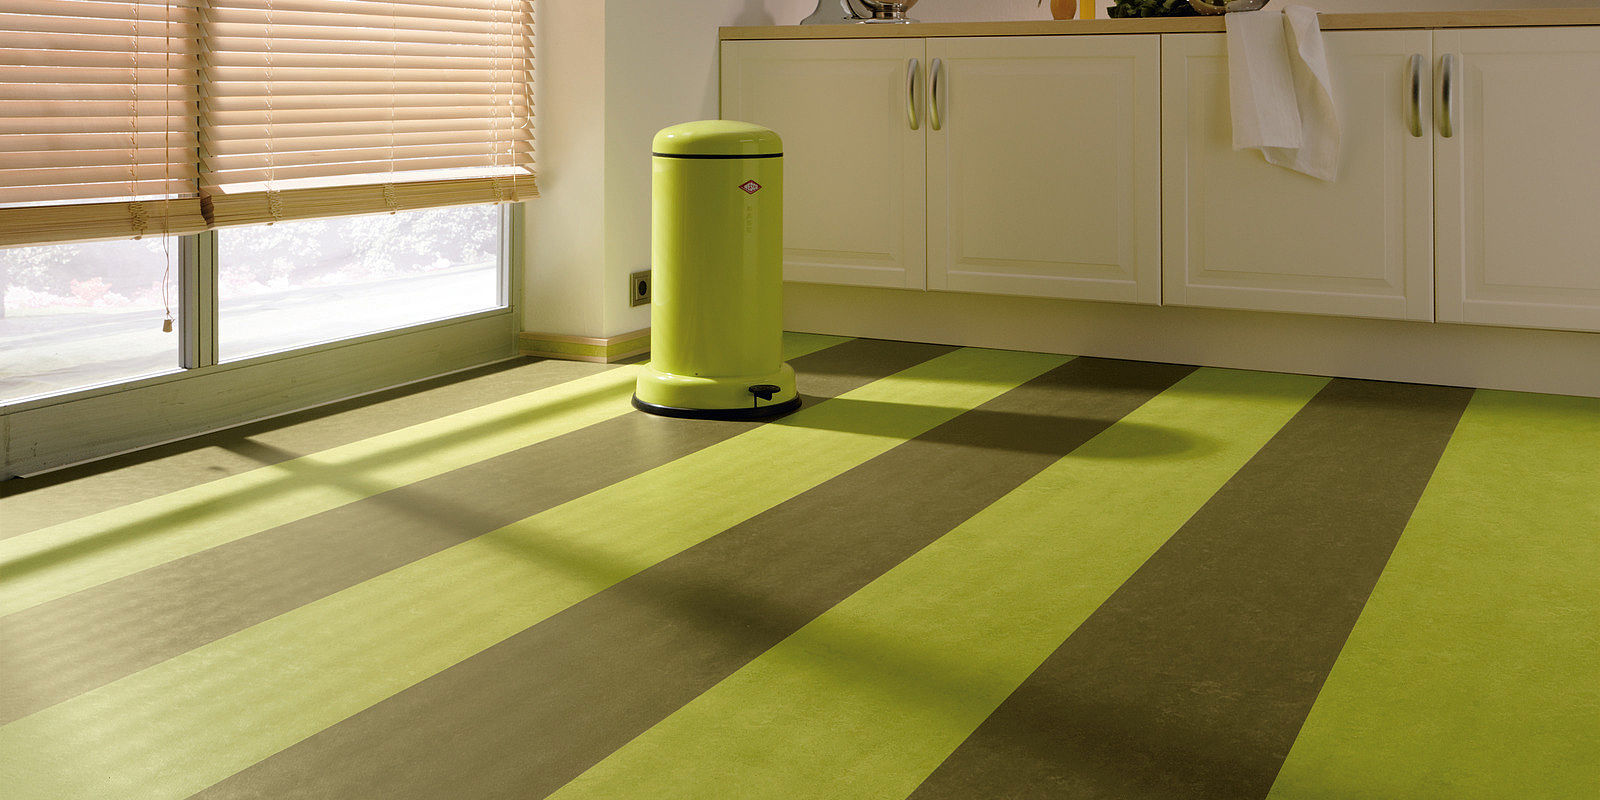
- variety of color palette and texture;
- dismantling linoleum also takes a minimum of time.
Thus, since the advantages of this coating are undeniable, linoleum is acquired everywhere.
Which linoleum to choose?
Before you lay linoleum with your own hands, we recommend that you decide on the choice of material. It is necessary to take into account the composition, base, coating, degree of strength and other indicators. Based on this, we can distinguish several of the most famous types of linoleum.

Polyvinyl chloride linoleum
The composition of this flooring includes various additives, due to which linoleum becomes more elastic and durable. They produce it with different bases: fabric, non-fabric, foamed. On sale there are single-layer and multi-layer rolls. The base and several layers contribute to an increase in heat and sound insulation.

The advantages of this material: quick styling, a large selection of colors, antistatic and moisture resistance.
Cons of this material: extremely resistant to temperature extremes, the effects of fat, alkali and solvents.
Rubber linoleum or relin
This material is based on synthetic rubber. Relin is two-layer and single-layer. This flooring is used in rooms with high humidity.
Advantages of this material: very flexible and durable, stable in operation, durable and successfully combined with various substrates, perfectly retains heat.
Cons: low environmental friendliness, subject to rapid fire and is not resistant to solvents.

Colloxylin linoleum or nitrocellulose
This type of linoleum is based on colloxylin in combination with various stabilizers, fillers and dyes.
The advantages of this material: flexibility and moisture resistance.
Cons: high level of thermal conductivity, risk of fire, prone to solvents, alkalis, acids. Laying this material requires a quality prepared base.

Gliftal linoleum or alkyd
This type of linoleum is the most environmentally friendly of all presented above. The basis of this material is alkyd resin in combination with fillers.
Pros: a huge selection of colors and a variety of patterns, good thermal and sound insulation.
Cons: subject to temperature changes.
After you have made a choice, you can go to the next step and find out if linoleum can be laid immediately on the day of purchase.

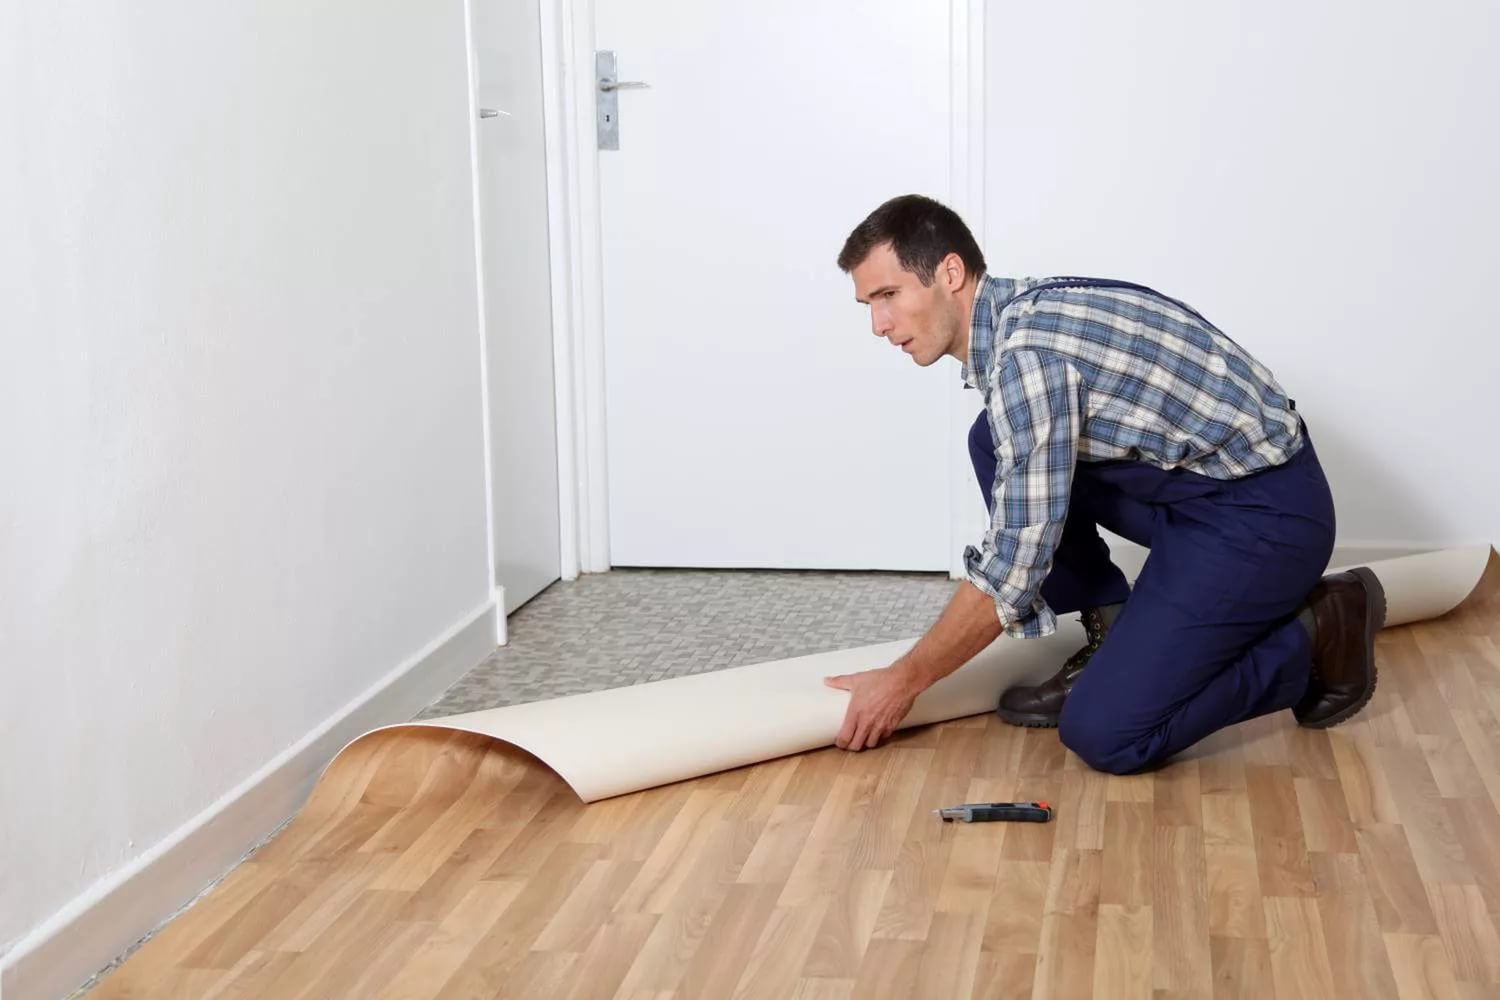
Laying linoleum
Having made a purchase, do not rush to start laying it right away.
The material must spend a day in the unfolded form, this is necessary in order for linoleum to take the form of a room and get used to room temperature - all this guarantees easier installation.
It is important to know that in this case the optimum temperature should not be lower than 18 ° С, air humidity should not exceed 65%. It should be understood that fluctuations in temperature and humidity will adversely affect the physical characteristics of the material.
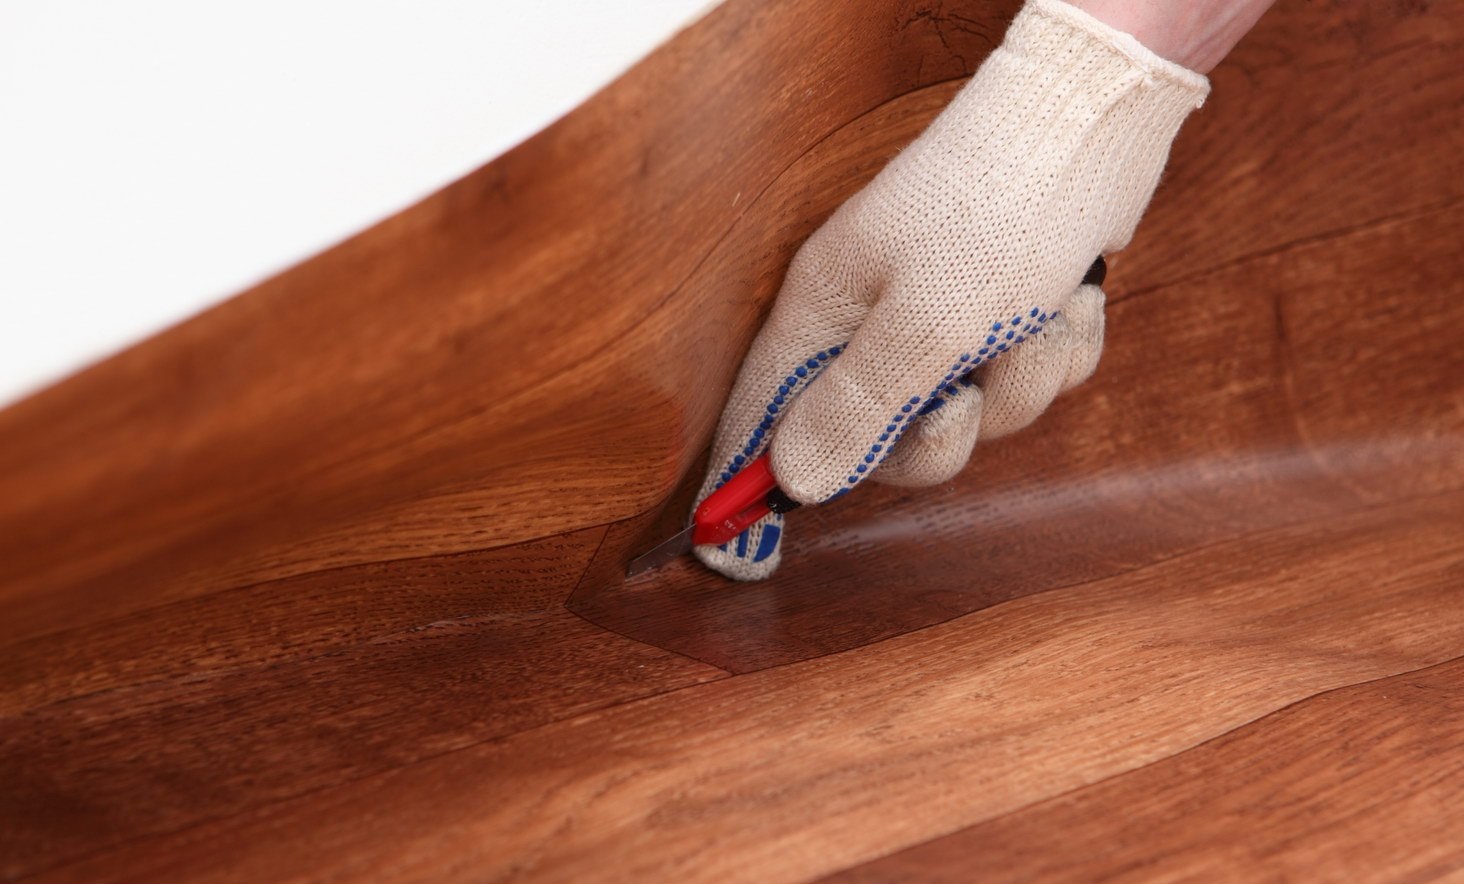
Now about how to lay linoleum. First you need to cut the material with a special knife with interchangeable blades. To date, 2 methods are known by which it is possible to lay linoleum on the floor: using glue and without it.

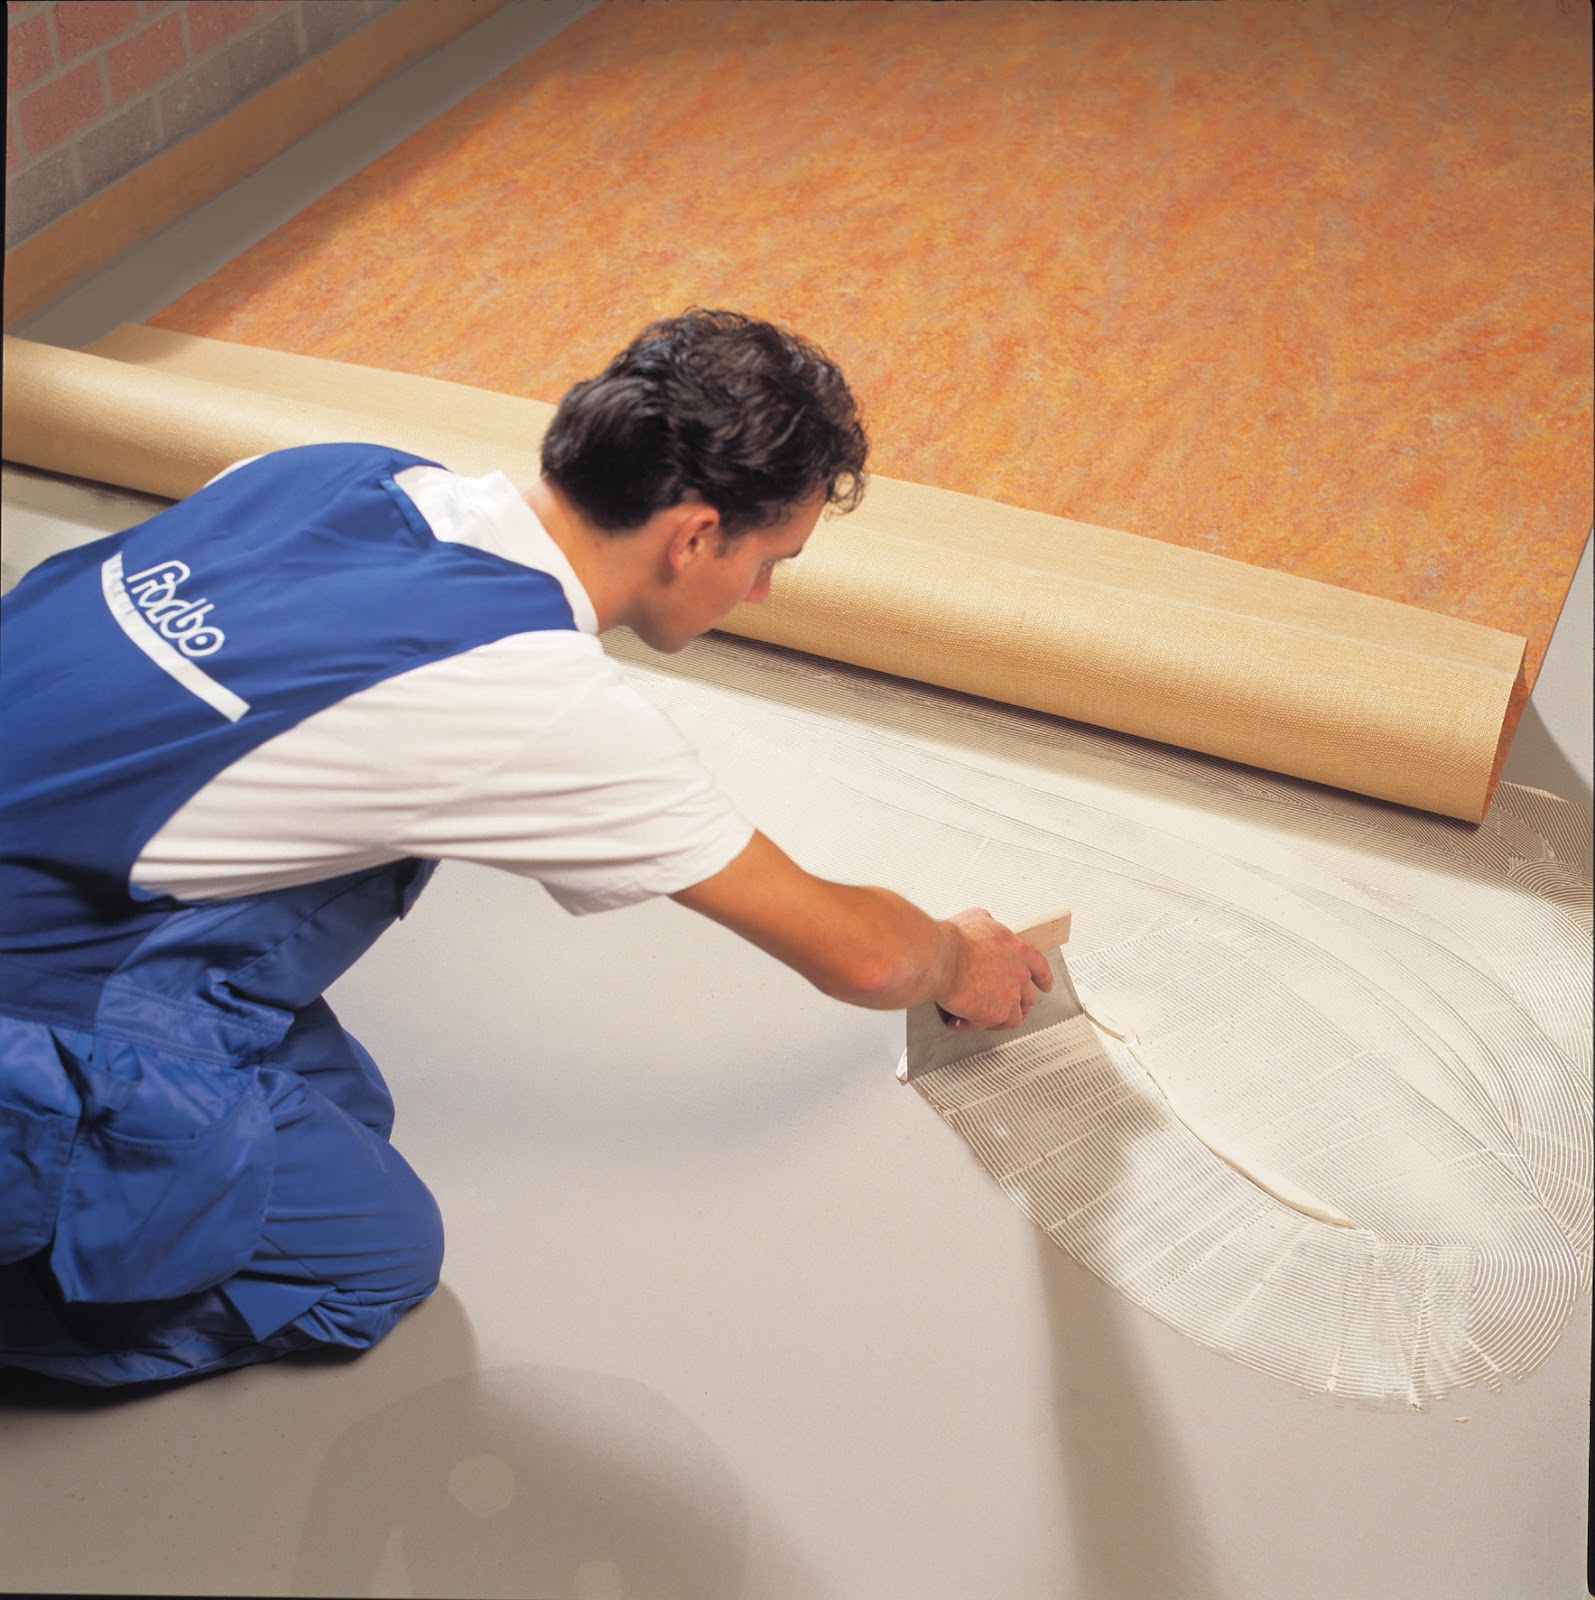
Using glue
This method requires you to have glue and mastic. The process itself is as follows:
- spreading the material around the room, remove the excess with a knife;
- bending one of the sides, apply glue abundantly;
- carefully spread linoleum, tightly pressing it to the floor;
- We do the same with the rest of the party;
- if there is a joint, the use of double-sided adhesive tape is recommended, which should cover the entire length of the joint, after which we carefully glue the halves together, pressing them together as tightly as possible;
- upon completion, it is necessary to glue all the existing seams and leave the linoleum to dry for several days, after which the new coating will be ready for use.
It is important to know that the hitch may be better if the base is pre-saturated with a primer. A small spatula is used to apply the glue, a wide spatula is necessary to smooth the surface. The process begins, as a rule, from an angle opposite the entrance.
Without glue
This method is good in the case when large loads on the coating are not planned, and also provided that the canvas of the selected linoleum ideally fits the covered area or is slightly larger.

Direct installation is as follows:
- it is necessary to cut the canvas so that the lap on the walls is not less than 5 cm;
- using double-sided tape mark the perimeter of the room, lay the canvas on top;
- in order to properly smooth the canvas, it is necessary to move from the center to the walls, in addition, cuts should be made in the corners for a tight connection with the walls;
- after it was possible to carefully smooth the canvas, you should glue the edge of linoleum to the previously prepared tape;
- control fastening occurs with the help of a plinth, which should fit snugly against the wall.
No matter which method is preferable for you, it is also important to know about the nuances that may depend on the basis.

How to lay linoleum on a wooden floor?
Laying linoleum on a wooden floor is not difficult, you only need to level the floor, if necessary, replace the old boards with new ones. And now more about the process itself:
- conduct a thorough inspection of the wooden floor: each floorboard should fit snugly against the other, any creaks and irregularities are excluded, when they are detected, preliminary work is required to replace the wooden floor;
- if there are cracks between the old floorboards, while the floor does not creak and does not fall, then it is enough to use a putty to eliminate the cracks;
- To create a perfectly flat floor, sometimes use additional materials that create the flooring. To do this, the wooden floor is covered with sheets of plywood or fiberboard, which are neatly attached to wooden boards with screws at a distance of 40 cm.

How to lay linoleum on a concrete floor?
Laying on concrete is much easier than on wooden floors.The most important thing is that the floor surface is absolutely flat and dry. The laying process is as follows:
- preliminary it is recommended to completely remove the old coating;
- it is necessary to inspect the concrete surface, if unevenness is found, then it is recommended to use screeds to completely level the floors;
- if the irregularities are significant, then replace the old couplers with new ones;
- lay linoleum with glue or glueless;
- It is recommended to lay a substrate under linoleum for additional thermal insulation.
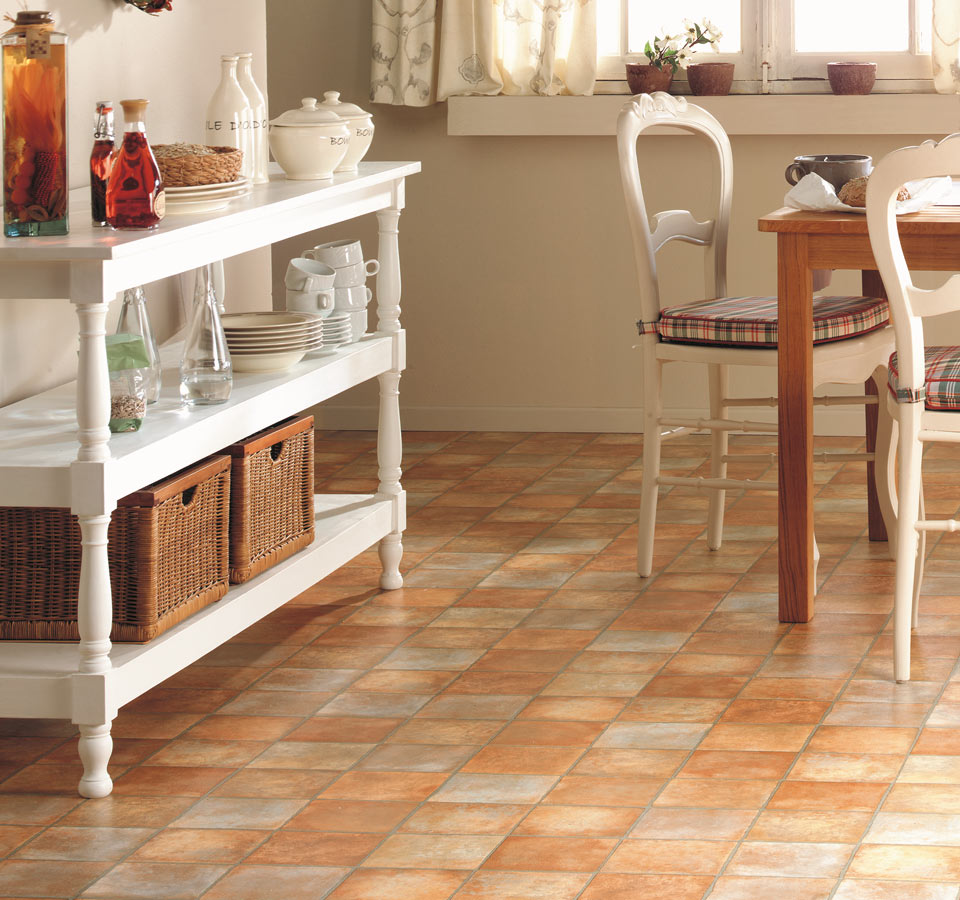
Now you know which linoleum is better to lay in the kitchen with a concrete floor or in any other room, because the choice of material is very dependent on the loads and frequency of operation. Linoleum in the kitchen should be durable and environmentally friendly.
Before laying linoleum on a warm floor, you need to know that when heating some types of linoleum can emit hazardous substances, and some may not be resistant to temperature extremes, so you should carefully choose linoleum for a warm floor.
In general, laying linoleum does not take much time and money, but in order to avoid any unpleasant moments, we recommend that you carefully prepare for the repair. Having clarified all the nuances, you can safely get to work.