How to install the mixer: professional advice
Content
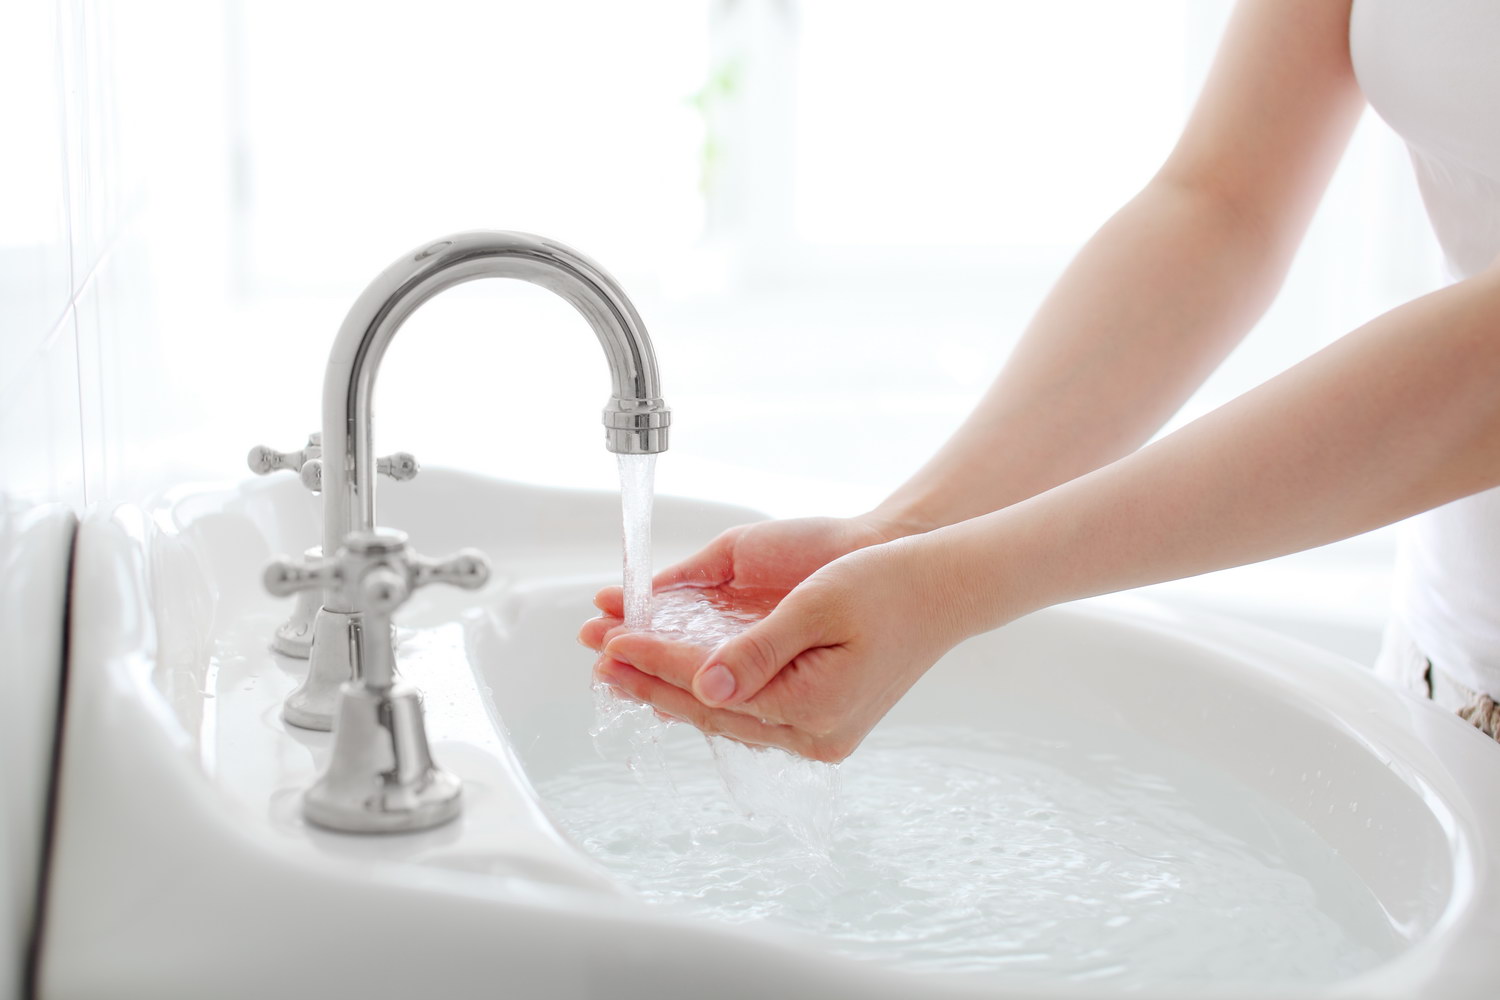
The question of how to put the mixer, becomes relevant in the event of a major overhaul or failure of the old plumbing equipment. Naturally, the simplest solution is to call a plumber who will quickly and efficiently do the work, but finances do not always allow you to do this, and in some cases there is such a situation that the solution to the problem is simply impossible to postpone. A striking example is the torn thread on the mixer, which leads to leaks and flooding of the neighbors. In this article, we will consider issues related to the installation of faucets in the bathroom and kitchen.

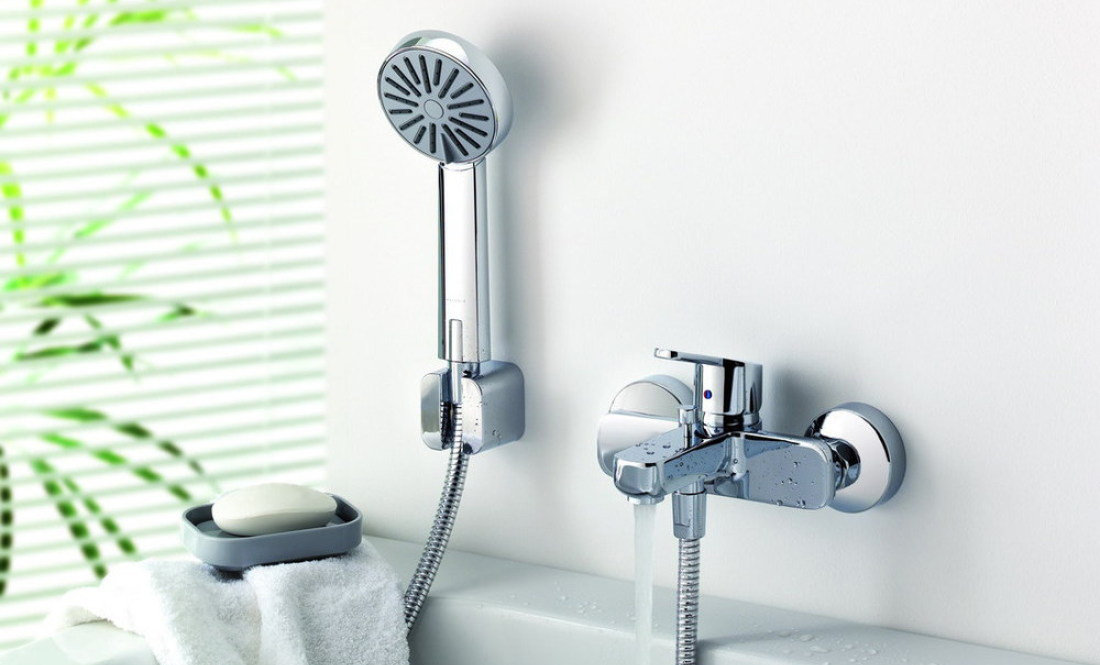
The procedure for installing the mixer in the bathroom
In steel and cast-iron bathtubs, there are no openings for installing mixers, and their formation on their own is a rather complicated procedure, therefore, in the bathrooms, pipes for hot and cold water are led directly to the wall near the bathroom. In the case of using an acrylic bath, it is possible to install plumbing on it, but we will consider this option later.
So, we will consider how to install a mixer in the bathroom if the outlets of the water pipes are on the wall. The procedure includes several stages:
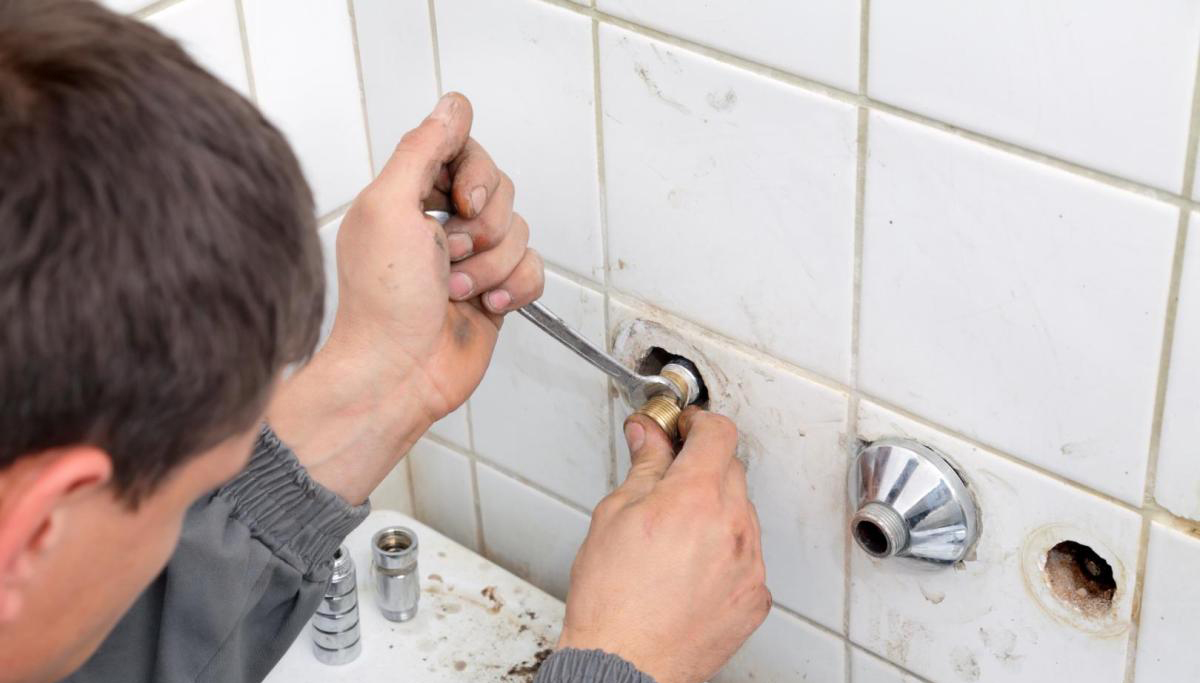
- First you need to check what thread the outlets have - internal or external. If the thread is external, then additional installation of special couplings will be required. Make it easy. It is enough to wind the tow and screw the coupling tightly tightening it with a key;
- Installation of eccentrics. They come complete, and differ from ordinary couplings in different diameters of the external thread and curved shape. It is screwed into a sleeve or outlet with a thread of a smaller diameter, on which tow is previously wound. The eccentrics are mounted so that they bend upward;
- Adjustment of clowns. At this stage, you need to adjust them in accordance with the center distance of the mixer. To do this, one of the flare nuts of the mixer should be screwed onto the eccentric and see if the second nut fits another eccentric. If not, then use the key to carefully turn the eccentric, gradually achieving the desired position. It is advisable to rotate both eccentrics in order to further achieve the horizontal position of the mixer;
- Set decorative cups. Pre-mixer is removed from the eccentrics;
- Mixer installation using the supplied gaskets. There is no need to use winding here. If the preparation was done correctly, then there will be no leaks. sometimes it’s enough to tighten the nuts by hand. Do not tighten them too much, as the gasket or even the nut may be damaged;
- The final stage is the installation of a spout and a watering can for a shower, if such is provided for in the design. This is also done without the use of reeling.
After the plumbing is delivered, the joints should be checked for leaks and, if necessary, tighten the nuts.
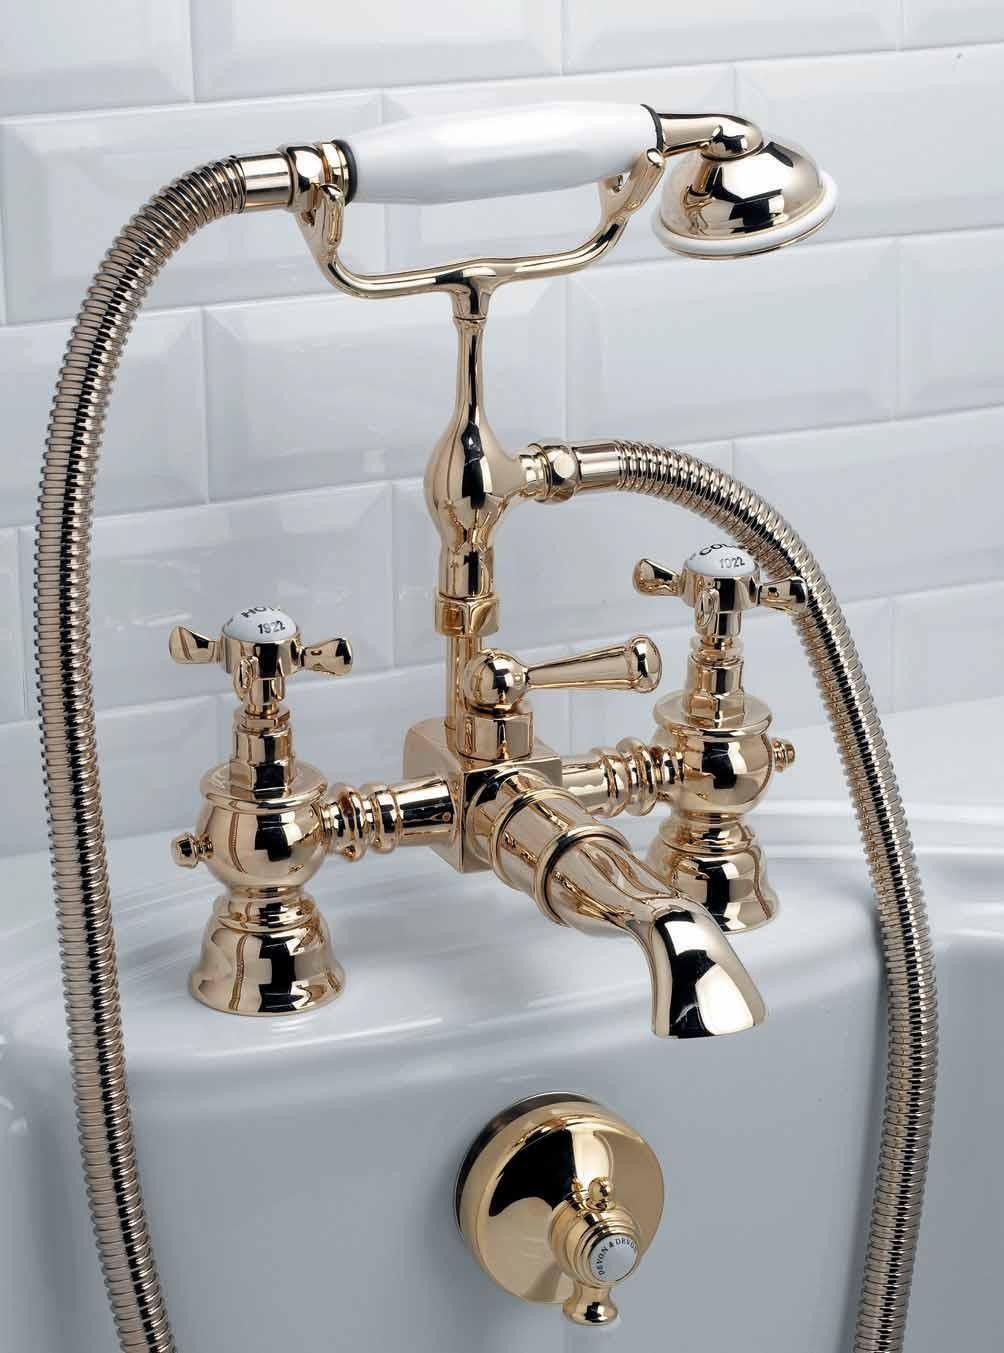
If you do not know how to install a shower faucet, then the procedure is the same. Its distinctive feature is its small dimensions. The fact is that a spout is not provided here, and, accordingly, a bath-shower switch.
Acrylic bath mixer
In the case of using an acrylic bath, it is possible to install directly on its side, and not in the wall. This option is preferable from an aesthetic point of view, since it becomes possible to hide all communications. Consider how to install a mixer on an acrylic bath.
To work, you need the following tools:
- Adjustable or gas wrench;
- Drill with a mill of the required diameter;
- Hardware. If the mixer is new, then it should be included;
- Hoses Depending on the presence / absence of a soul, there can be three or two;
- Screwdrivers.
The installation procedure consists of several stages:
- A suitable place to install the mixer is selected. Here, a number of factors should be taken into account - ease of location, the possibility of a trouble-free connection, access to the device in case of breakage for dismantling;
- The diameter of the required hole is measured and drilled in the bath. The diameter is sometimes indicated in the product passport;
- A tap with hoses and gaskets is inserted into the drilled hole. With the help of nuts, it is fixed on board the bathroom;
- The system is connected using hoses.
Here the simplest option was considered when the mixer body is open. If only a spout is brought up, then additionally it will be necessary to cut openings for the valves, as well as a holder for a shower head. This option requires accuracy so that you can’t make a mistake when marking up and not ruin the bath.
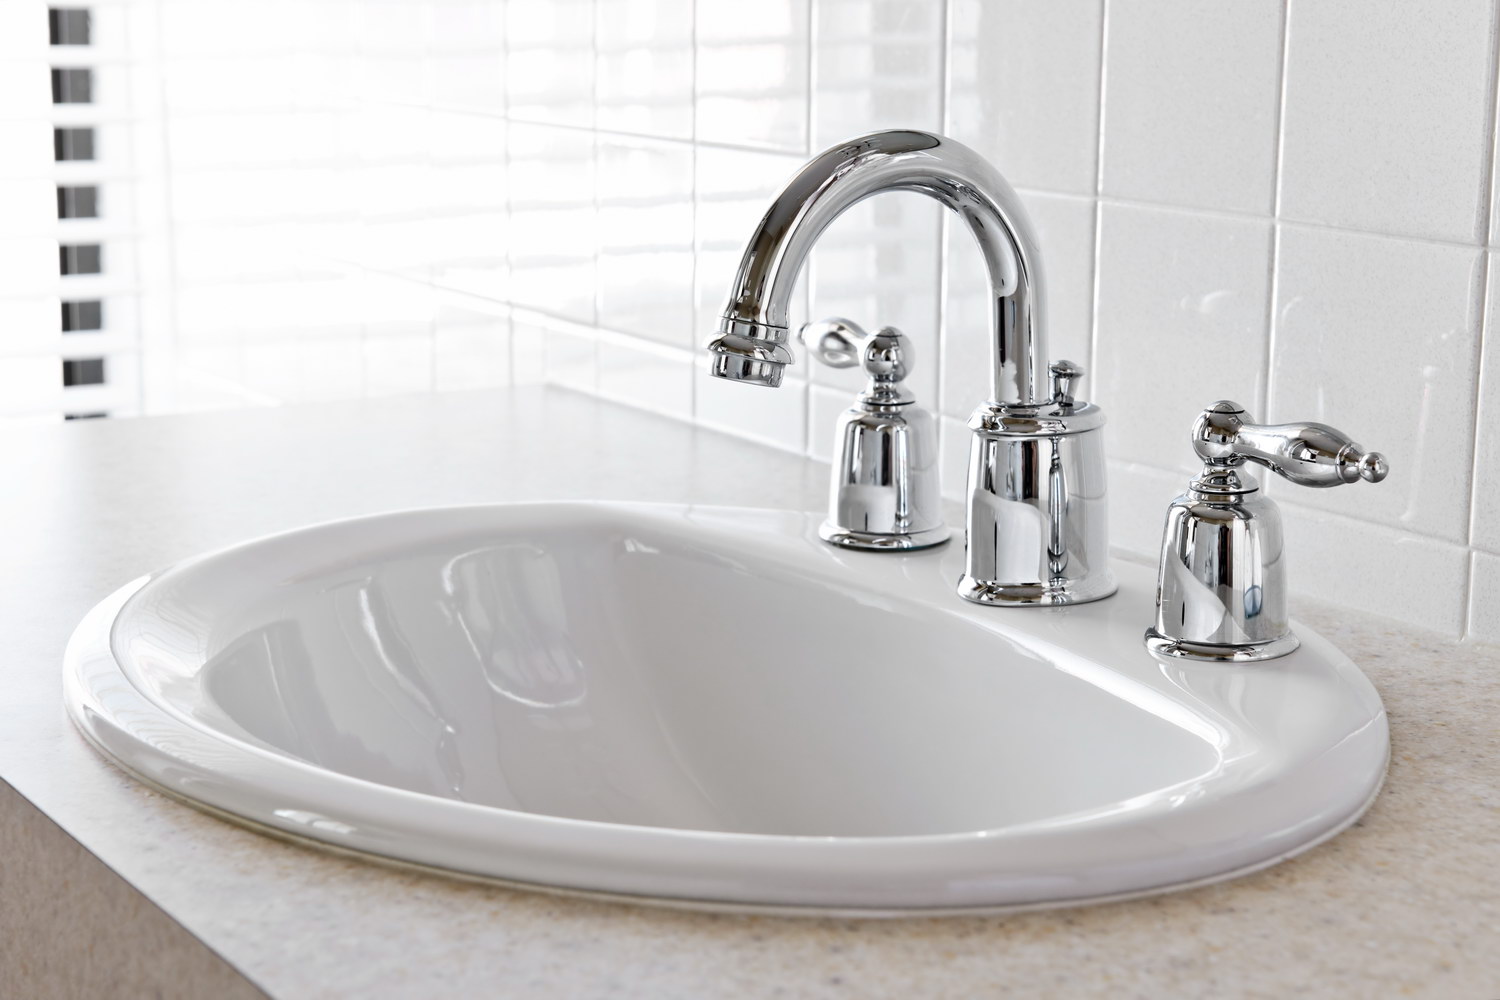
Kitchen faucet installation
Consider how to install a mixer in the kitchen. Wall mounting in modern kitchens is extremely rare. Plumbing is installed directly on the sink, which is then stacked on the headset or crashes into the countertop. In this case, special pipes (eyeliners) are used to connect to the water supply system, which sometimes need to be purchased additionally.
When choosing eyeliners, you should pay attention to the following points:
- Their length should be such that the hoses only bend slightly, and do not break. Also, do not take short tubes installed by the preload. A length of 86 cm is sufficient in most cases;
- If the supplied eyeliners are short, then it is better to purchase new ones, and not build them up;
- Silumin hoses are not of high quality, so you should not make a choice in their favor;
- Flexible eyeliners are easier to install, but they are less reliable, so it is advisable to mount them together with cranes;
- It is necessary to ensure that the bends are with gaskets;
- When replacing the old mixer, it is advisable to change the old bends.
Consider how to install the mixer in the kitchen, in the form of a small step-by-step instruction:
- The old mixer is dismantled and preparation for installation is carried out. Be sure to shut off the water. At the bottom of the sink, it is better to put a rag to prevent damage or loss of small parts;
- Assembly of the mixer and installation of eyeliners. Lever mixers are most often included, but dual-valve taps will require assembly. Before screwing the eyeliner into the mixer, its end is slightly wrapped with FUM tape. After the eyeliner is screwed on by hands, it should be tightened with a wrench. Do not overtighten the connection. There is a hole in the bottom of the mixer. You need to screw a pin-pin into it. A sealing ring is installed on the base;
- Installing the mixer on the sink. This procedure is easier to do when the sink is not yet installed. The ends of the hoses are pushed into its landing hole and a mixer is placed. After that, the second O-ring is put on from below and a horseshoe-shaped metal washer is attached. It is attracted with a nut screwed onto a hairpin. If the sink is already installed, it will be easier to tighten the nut with a pipe wrench;
- The inlets are connected to pipes with hot and cold water. Winding is not required here, there will be enough o-rings;
- Verification of the work done.Cold and then hot water should be used first to check for leaks. The presence of leaks may indicate a violation of the integrity of the seal.
Subtleties and nuances of installation
Above, we examined how to properly install the mixer in the bathroom, but there are several nuances that should be considered:
- Firstly, you need to use tow correctly. It is necessary to wind it in the direction of thread twisting, tight and with a cone (the base of the cone should be directed from the front edge of the thread). It is also necessary to ensure that the tow is not wrapped in a tourniquet - it should only lie in the grooves;
- In the case of installation of the mixer along with the replacement of pipes, it is necessary to determine in advance the height of the mixer. Most often it is 15-20 cm above the edge of the bath.
Mixer installation - the procedure is not too complicated. And if you do everything in accordance with the recommendations and installation rules, then this plumbing equipment will last more than one year without complaints.