DIY whitewashing of the ceiling: technology features
Content
Often this type of ceiling coating is considered obsolete, but it is the most environmentally friendly, natural material that can maintain a fresh look for a long time. And the cheapest one.
The plastering process itself is simple, but you should know how to whitewash the ceiling correctly.
Before starting the whitewashing itself, you will have to carry out a number of preparatory work, buy the necessary tools, think about how to remove the old whitewash from the ceiling (if there is such a need, you can purchase a special device for this).
How to prepare the ceiling for whitewashing?
The quality of the applied lime coating depends on several factors, the surface should be:
- perfectly flat;
- slightly rough;
- preferably strictly horizontal;
- without gaps and gaps.
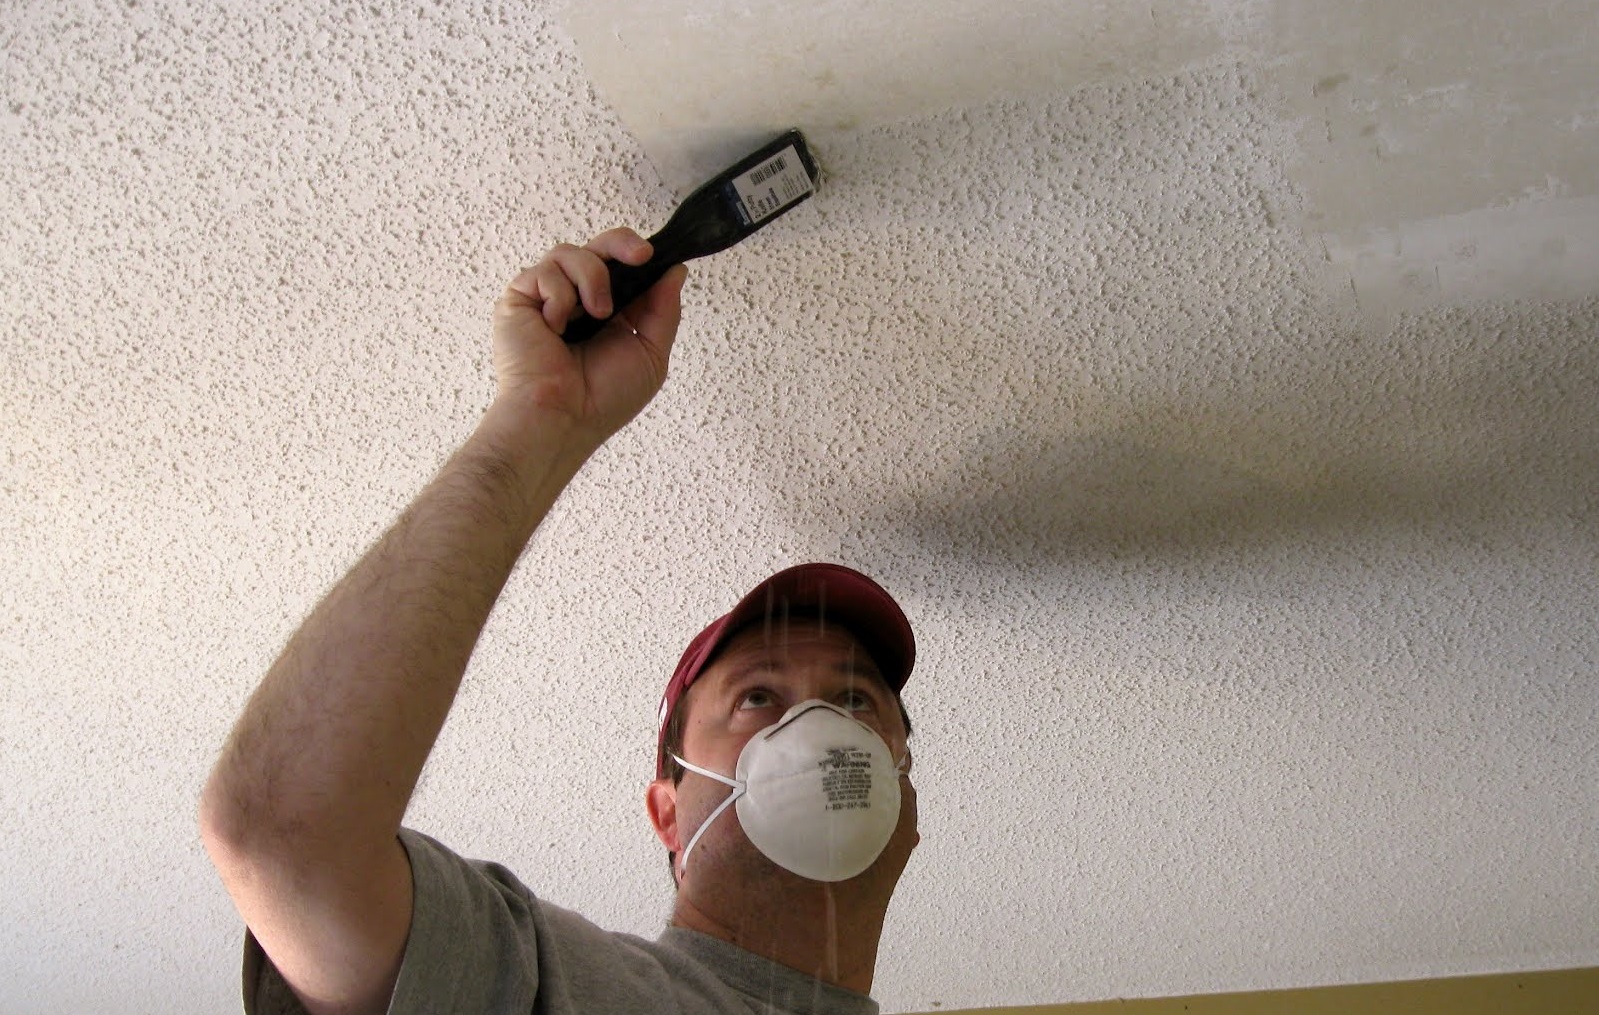
First, the ceiling is cleaned from the old whitewash. To do this, it should be moistened with water (you can use a spray), wait a bit. Removing whitewash from the ceiling is conveniently done with a spatula. So that nothing falls onto the floor, it will be convenient to use a special tool - a spatula with a bath (wet plaster will be poured into it).

To give the ceiling a fresh look, you can consider a simple way how to wash whitewash from the ceiling - quickly, without debris, while all surface errors will be clearly visible. Water from a spray bottle is sprayed onto the ceiling and immediately washed with a rag. This method is good with a thin layer of old whitewash.
After cleaning, all cracks, gaps, joints of the ceiling drywall (if any) should be carefully filled with the base material. For convenience, you can buy special small trowels with sharp tips, they can resemble a spoon in shape (only it is flat) or have the shape of a narrow rectangle.
An uneven surface must first be plastered - putty is used for this. You can buy ready-made, which can be used immediately, or dry, it will have to be diluted with water on your own in accordance with the instructions.

How to wash off the old whitewash?
The ceiling can simply be washed out with water with a little soap, especially if the old whitewash is already yellowed, stained.
If you want to do everything perfectly, then after cleaning you can wipe the surface and cover it with a PVA layer, this will increase the adhesion of the surface to the plaster.
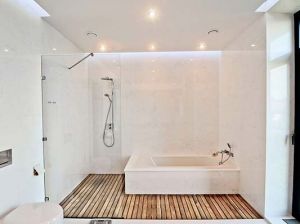
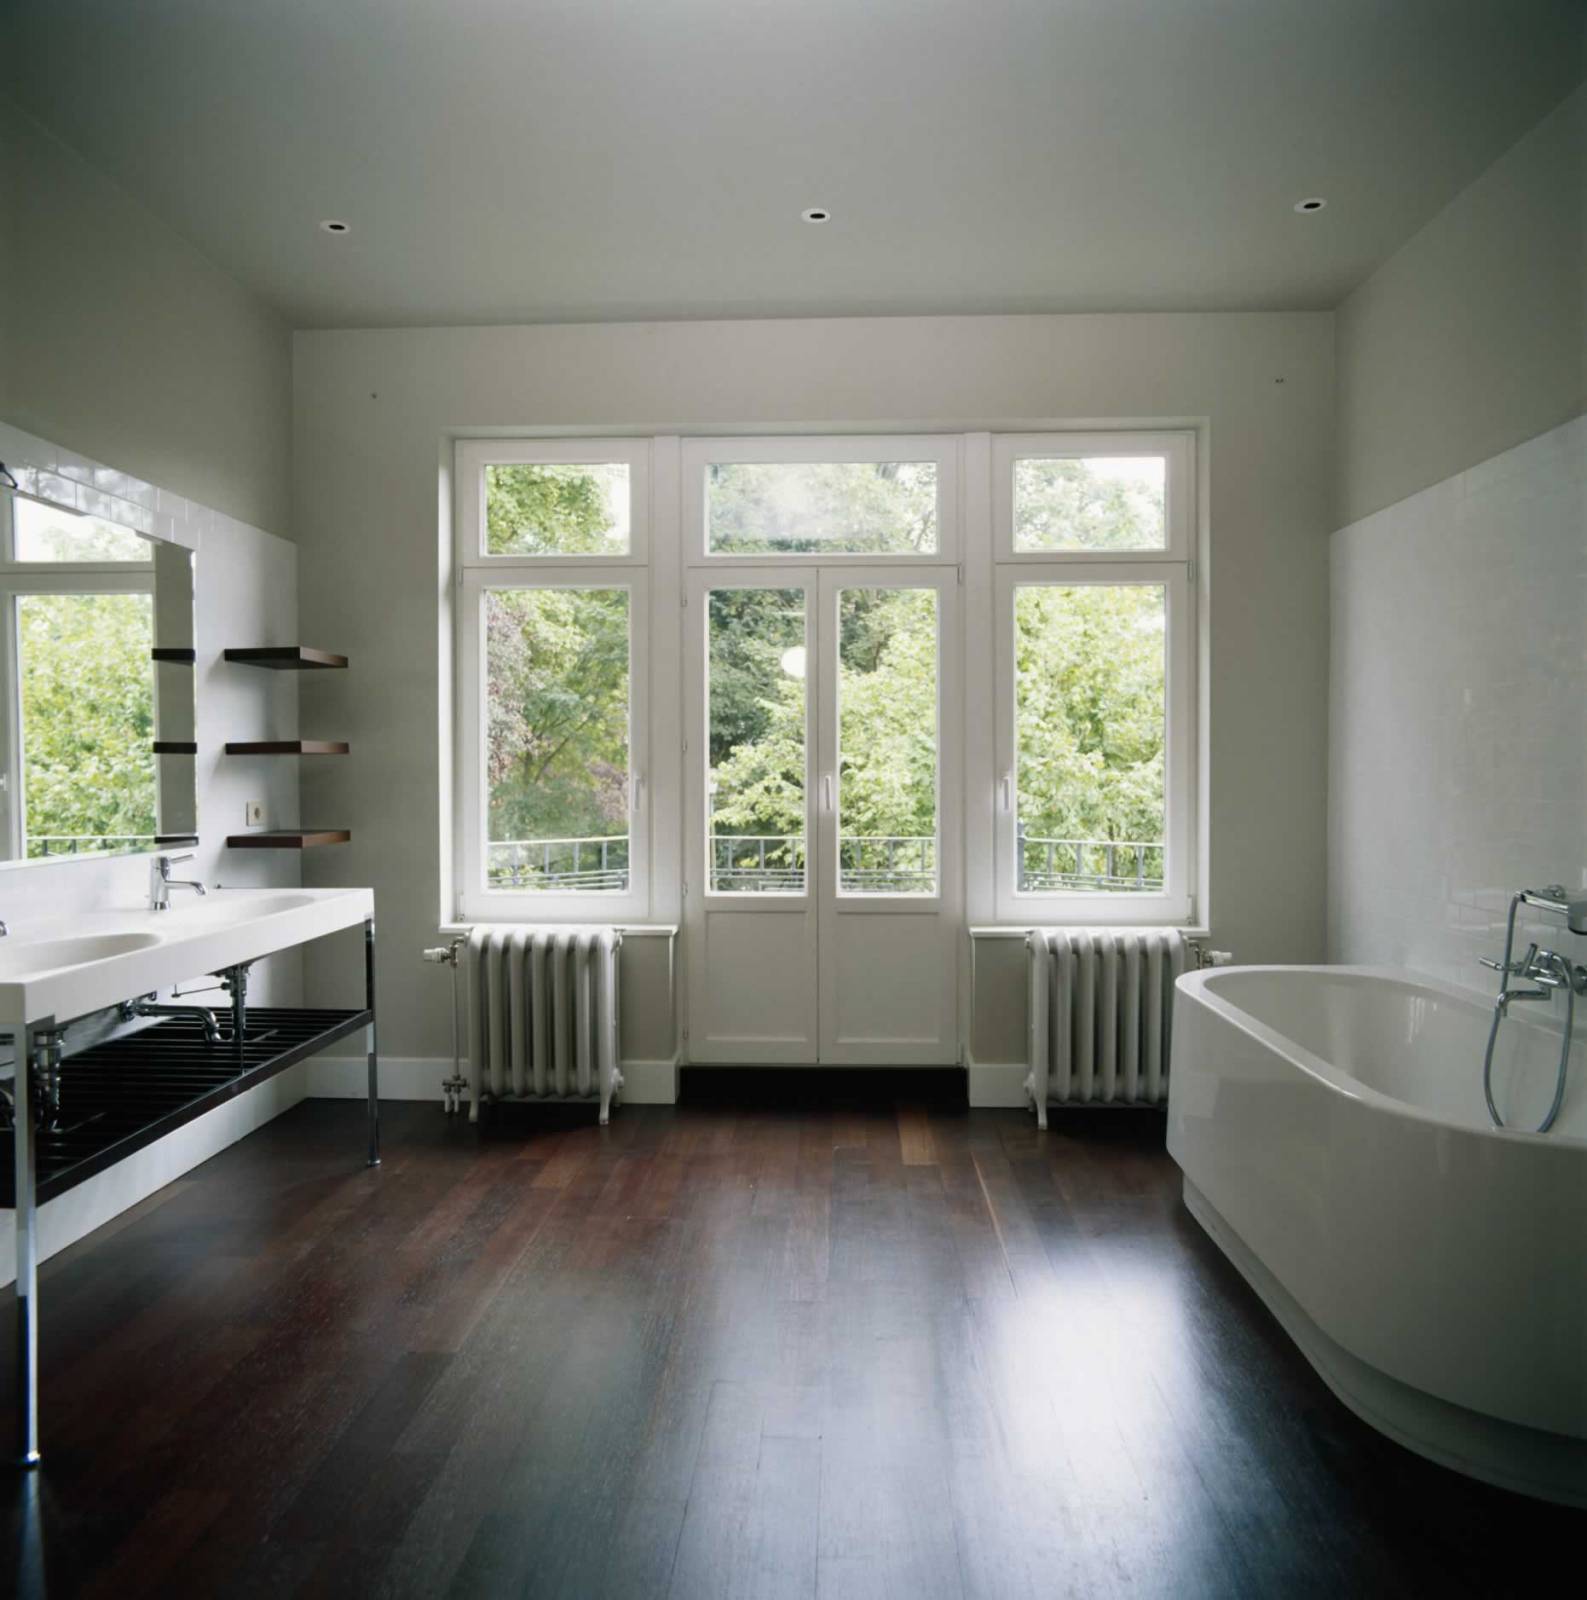
If the ceiling is whitewashed in the bathroom, then the surface should be treated with an antifungal agent, it is advisable to do this in the kitchen and in rooms with high humidity.
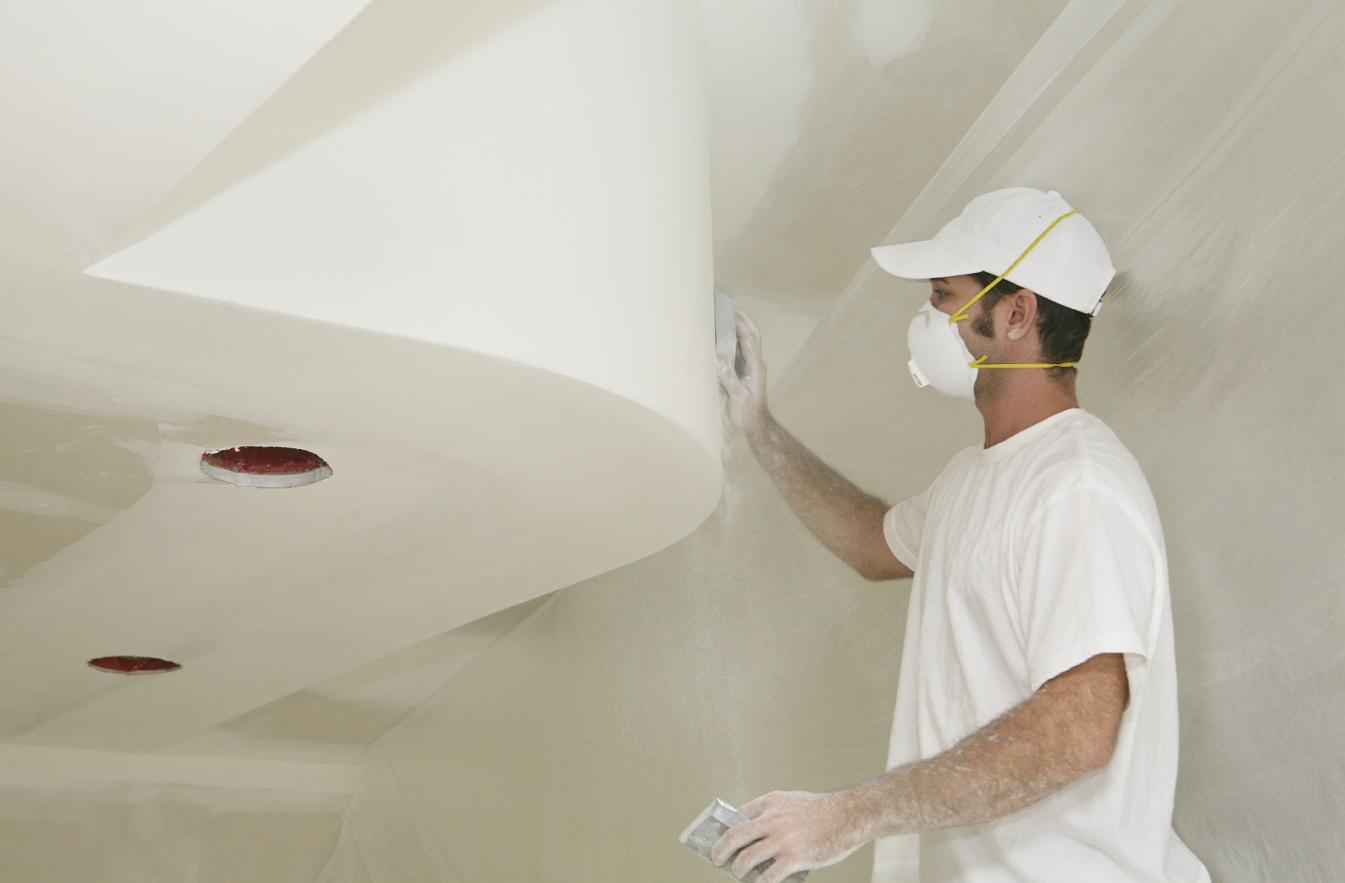
Ceiling alignment
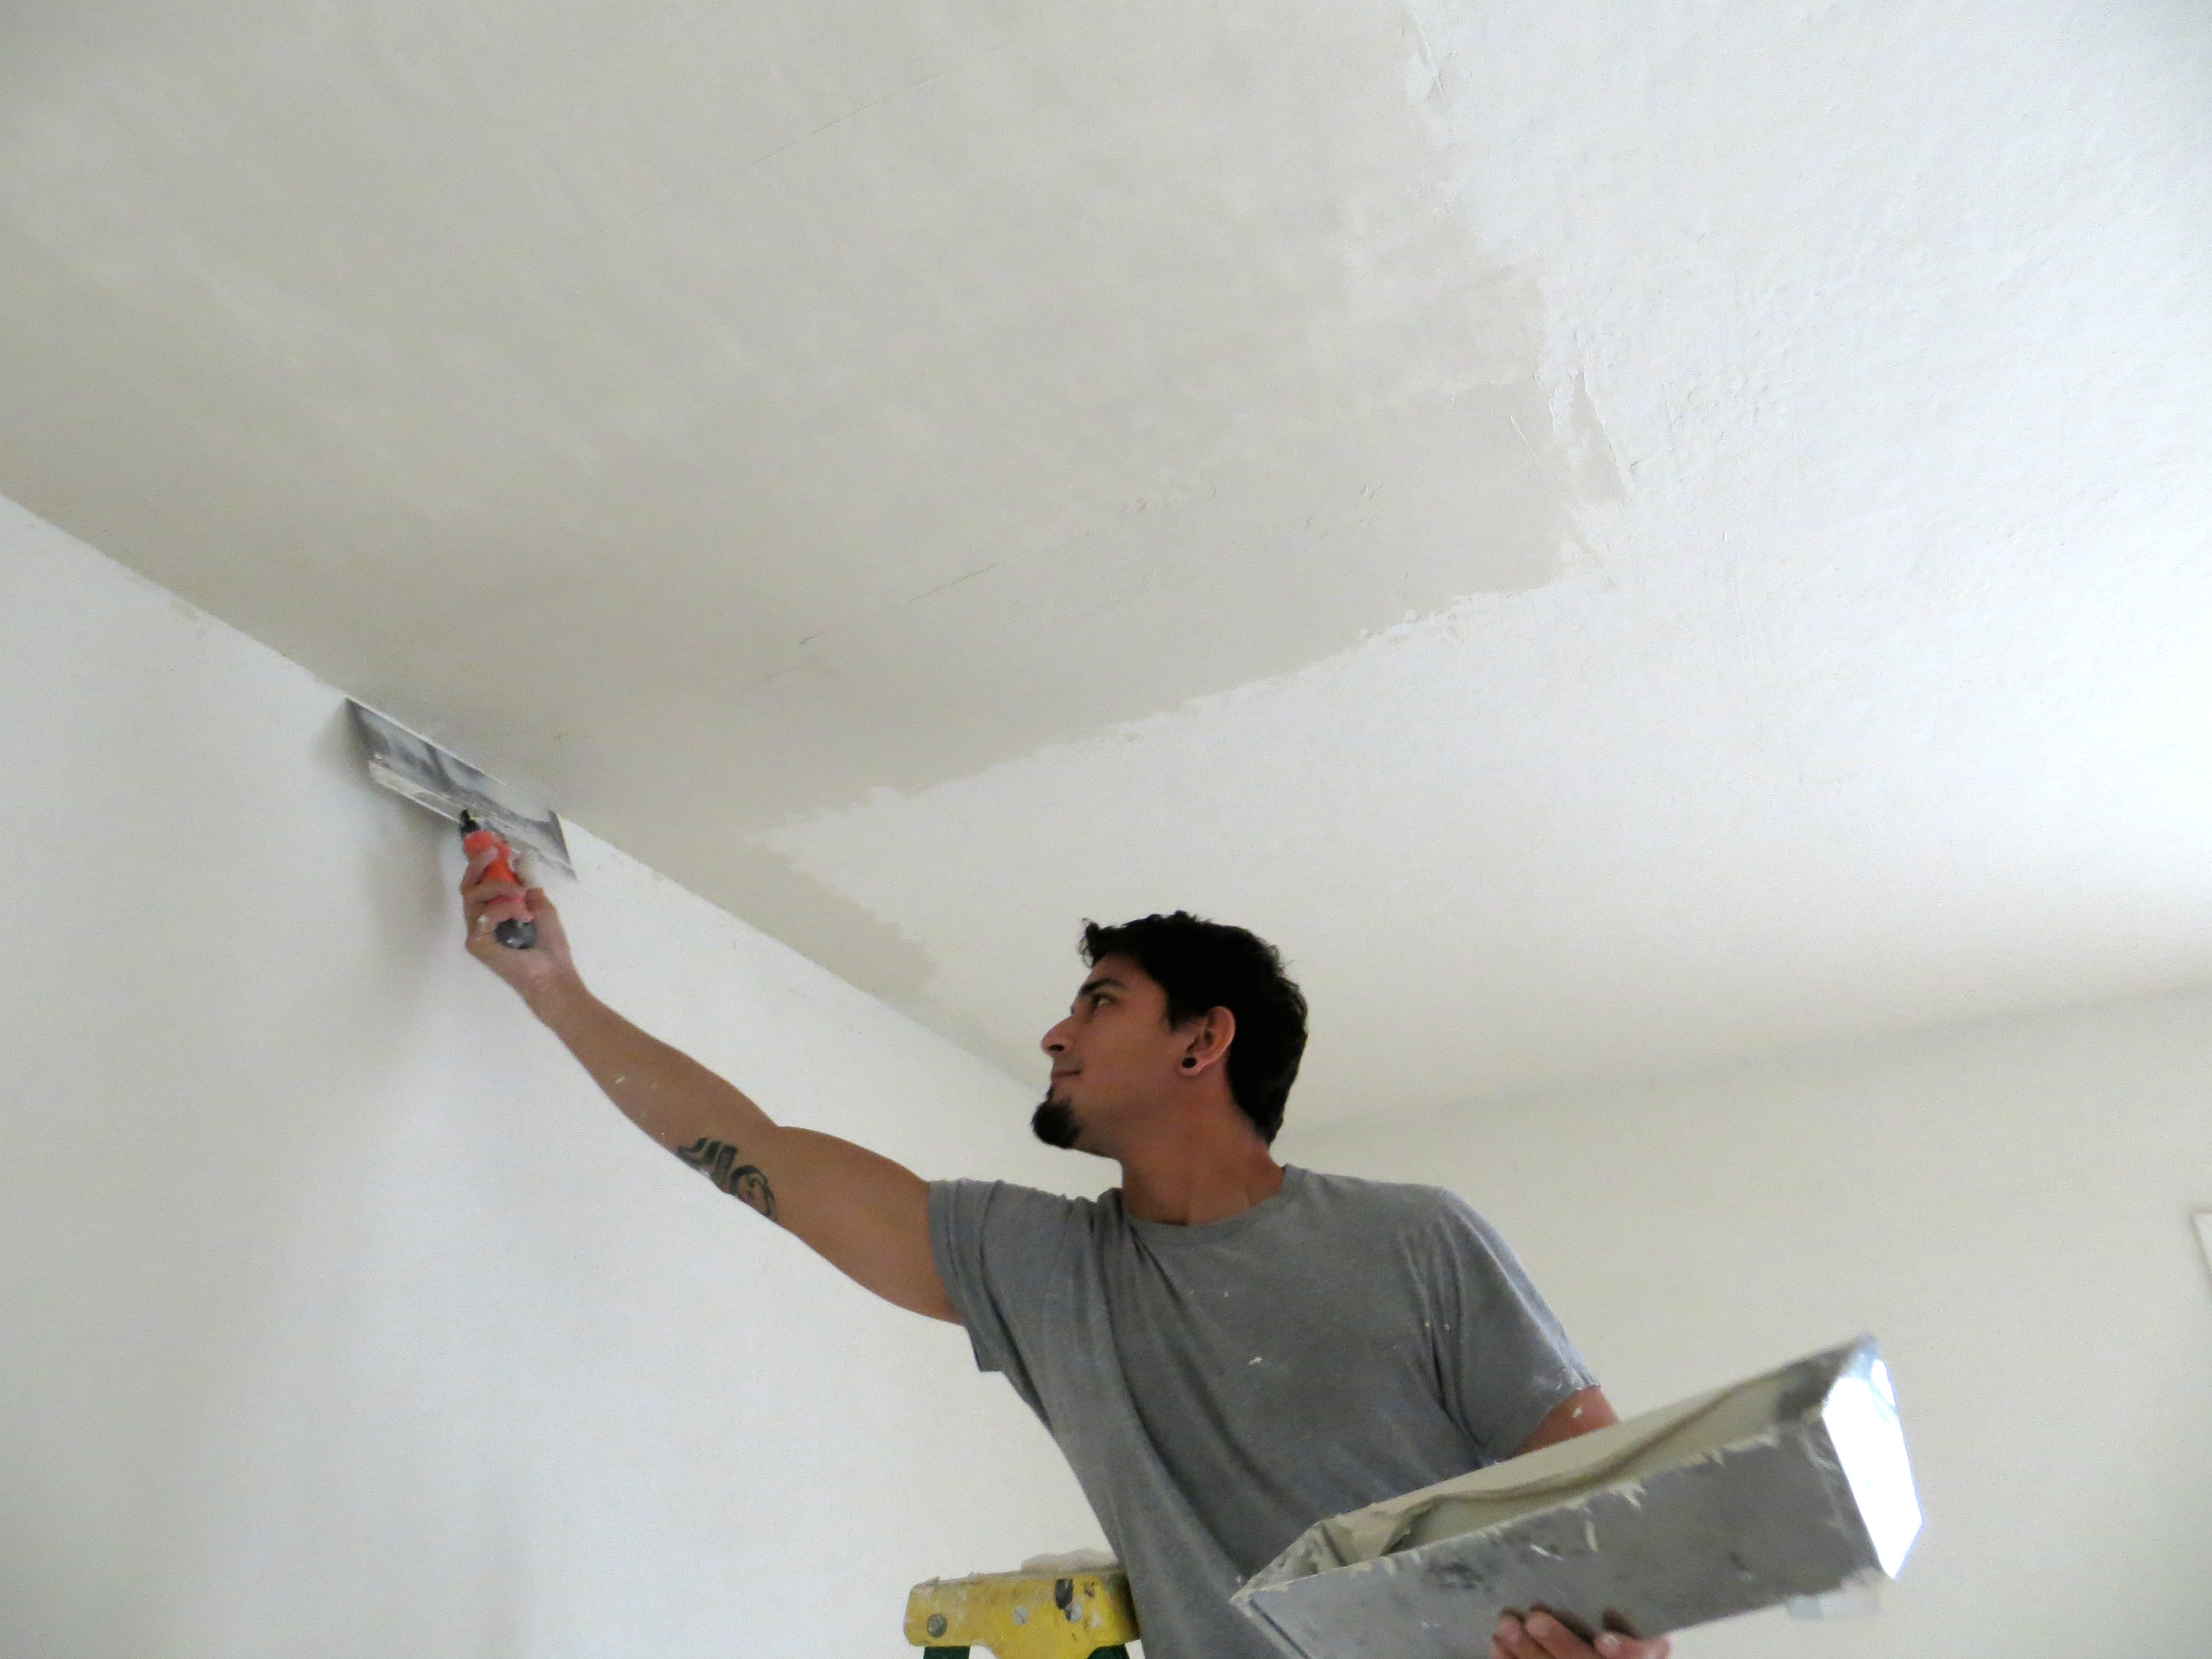
If you plan to thoroughly level the ceiling, it is better to take a falcon - a tool for applying putty. This is a guard with a handle, used for applying plaster.
Putty should be taken so that it is in the center of the falcon, imposed with a layer not exceeding 7-10 mm. The applied putty is then leveled using the rule, a steel trowel is also suitable: they need to smoothly, without radical effort draw wavy lines, periodically removing the escaping excess plaster.After that, you can use a special tool to prepare the surface for applying the finish layer - it makes the surface slightly rough, which contributes to better formation of the finishing layer. For this purpose, you can use sandpaper, it must be rolled up into a small roll and the surface treated. The roll needs to be rotated little by little as it is clogged with putty.

Patches on damaged and uneven areas are superimposed and aligned as well.
Then, the prepared ceiling with the applied and treated base layer should be left to dry completely.
If it is planned to paint the ceiling after whitewashing, and the surface has been previously treated with high quality, then it is enough to wash the old coating, dry it and prime it (this will ensure uniform and economical application of paint).
How to whiten the ceiling?
The methods for whitewashing the ceiling are determined by the material used, to give the ceiling whiteness and freshness, you can use:
- lime;
- chalk;
- water-based paint.
All three methods of whitewashing are quite economical, easy (relatively) to perform and give a good result. All this work can be entrusted to specialists, but whitewashing the ceiling with your own hands will save a significant amount of money and give experience in self-solving domestic problems.
Before starting work, you need to take care of the safety of furniture and walls - if you do not plan a general repair of the room. This is a very dirty kind of work, so it’s important to consider how to remove whitewash from the ceiling and whitewash it again without covering the rest with chalk.
Chalk whitewashed
For work, purified chalk is used, tested and suitable for use in residential premises. First you need to prepare a solution. For 5 liters of warm water you need:
- about 2.5 kg of chalk
- wood glue - 30 g.
To give a milky whiteness, you can add a little blue - a few drops. If you add more, you get a dazzling, bluish whiteness. If desired, you can use color pigments and give the ceiling different shades.
- You need to prepare the mixture in the amount that is planned to be applied at a time.
- It should be thick, should not drain from the brush.
- Uniformity is very important: there should be no lumps. To do this, water must be added gradually, stirring thoroughly after each addition.
This material has an indisputable plus: whitewashing the ceiling with chalk does not cause allergies, it is natural and safe.
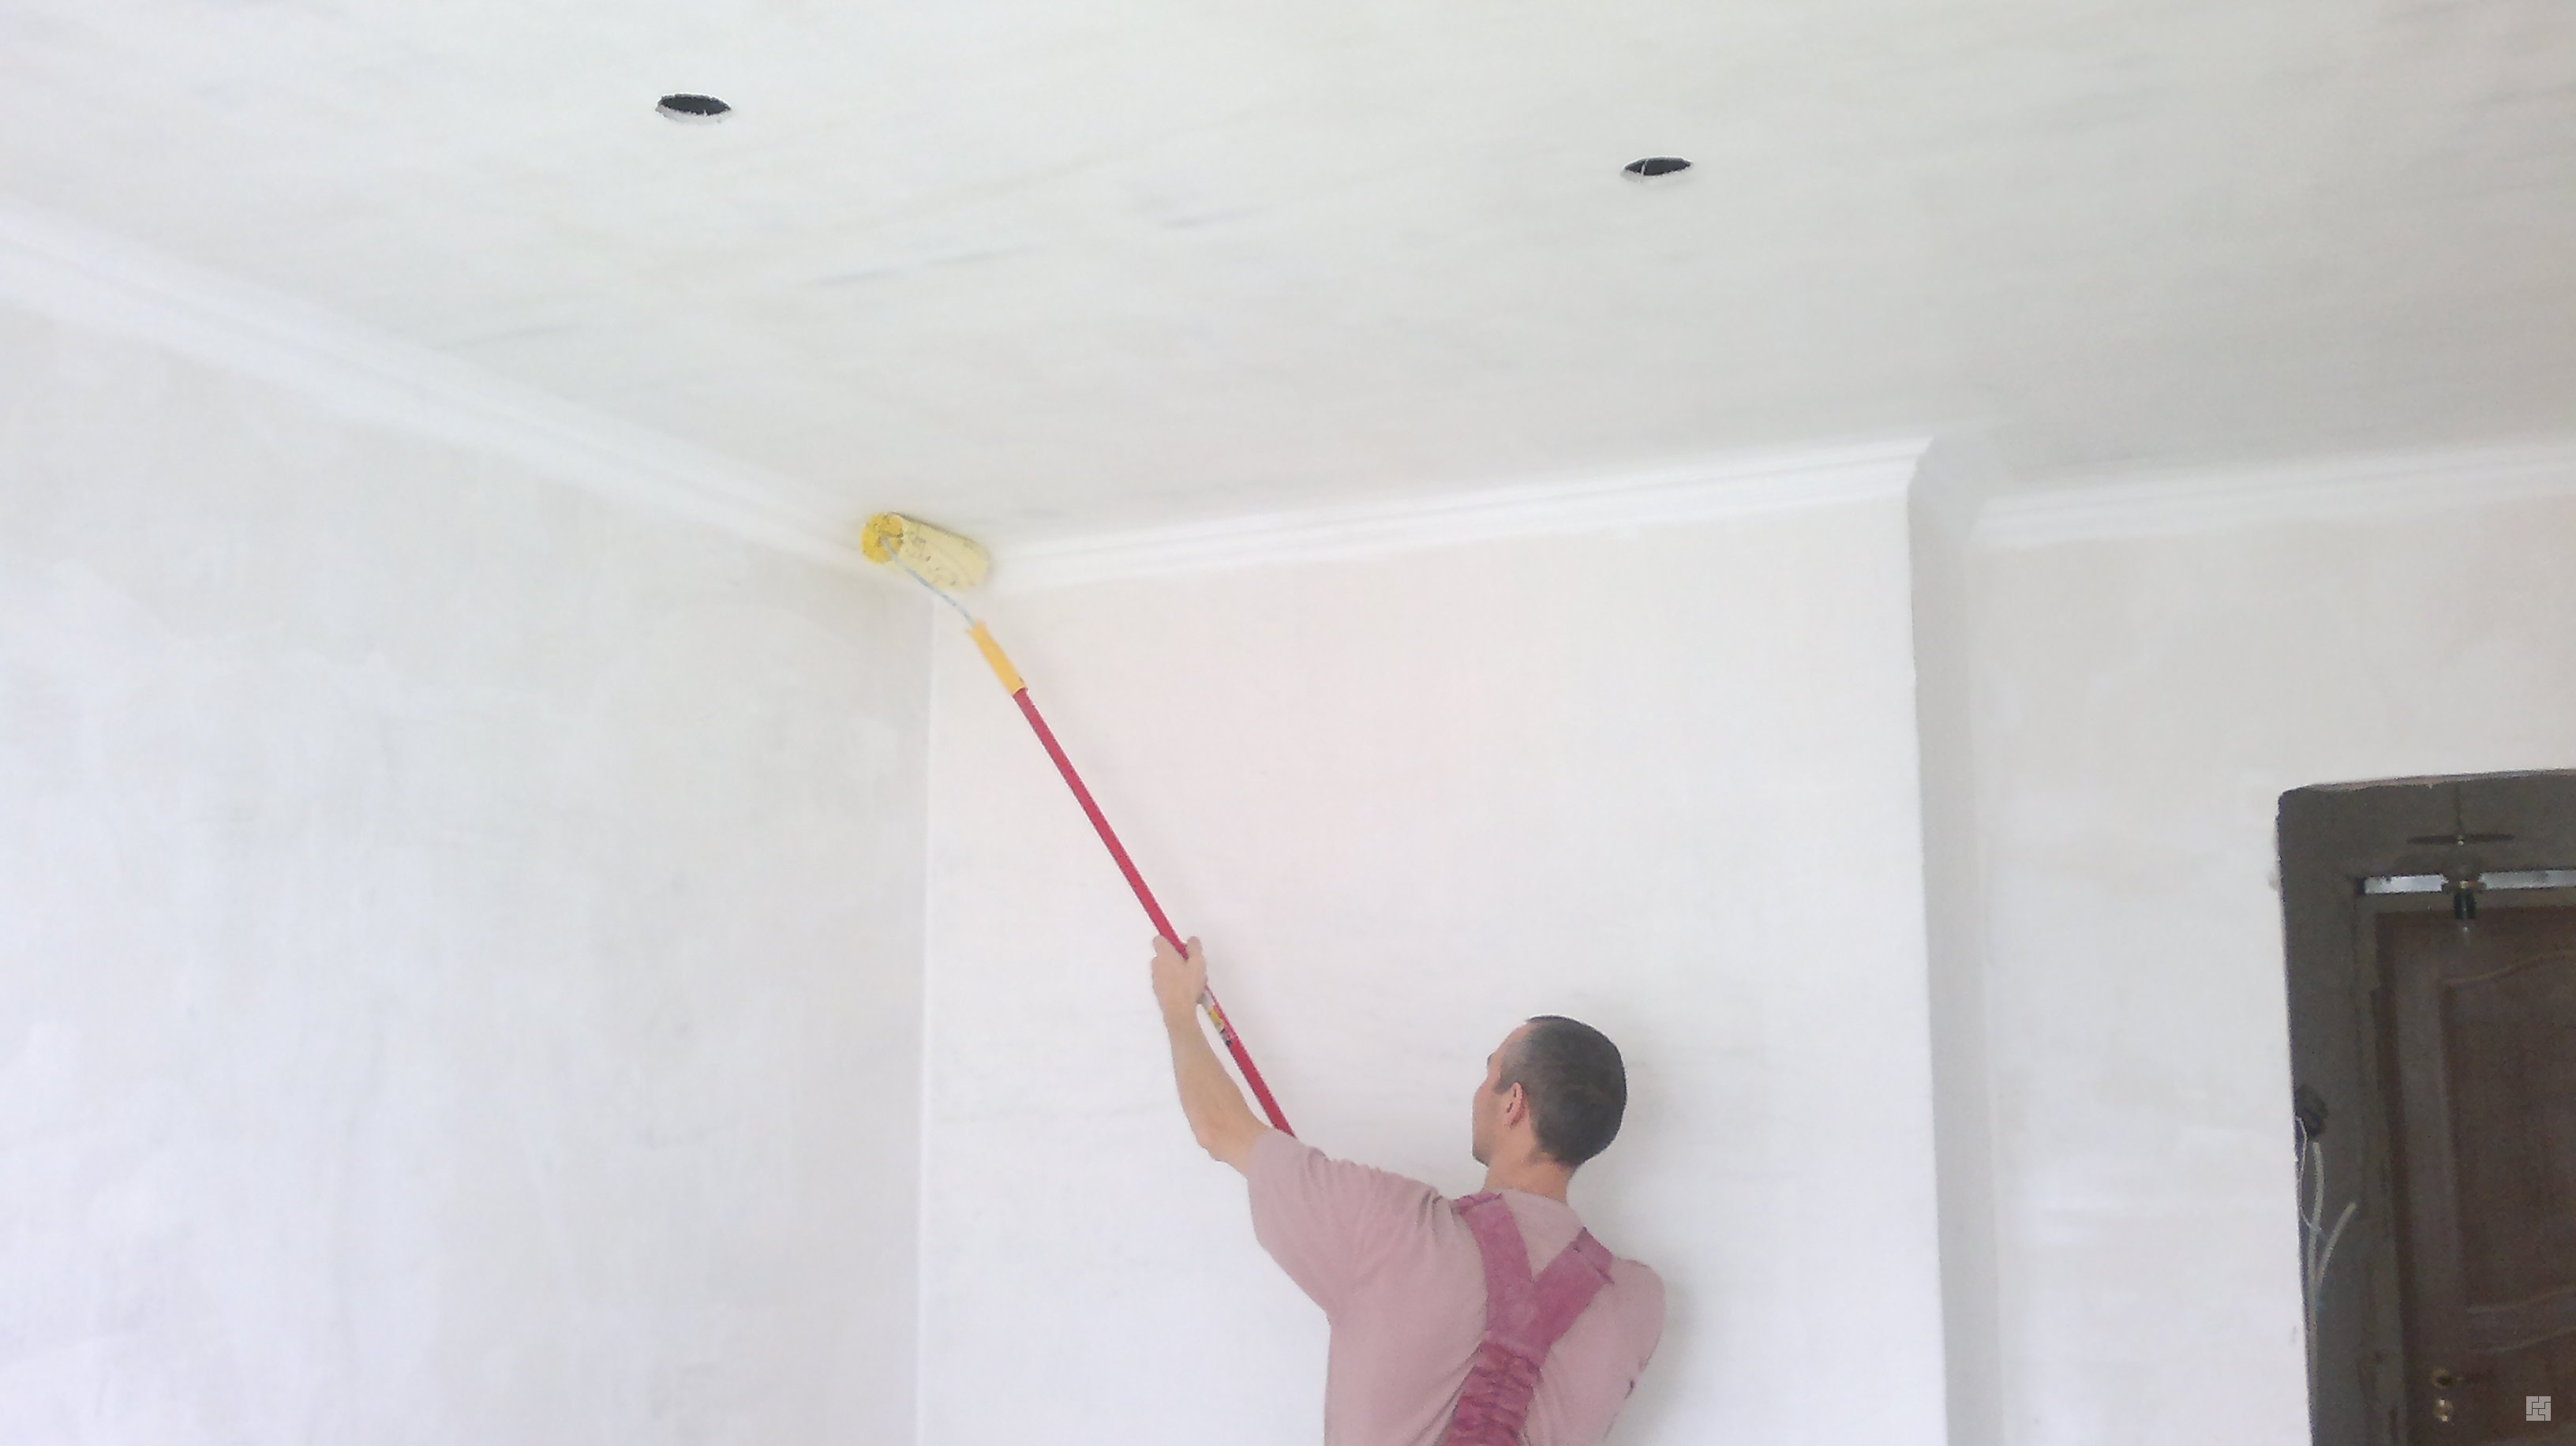
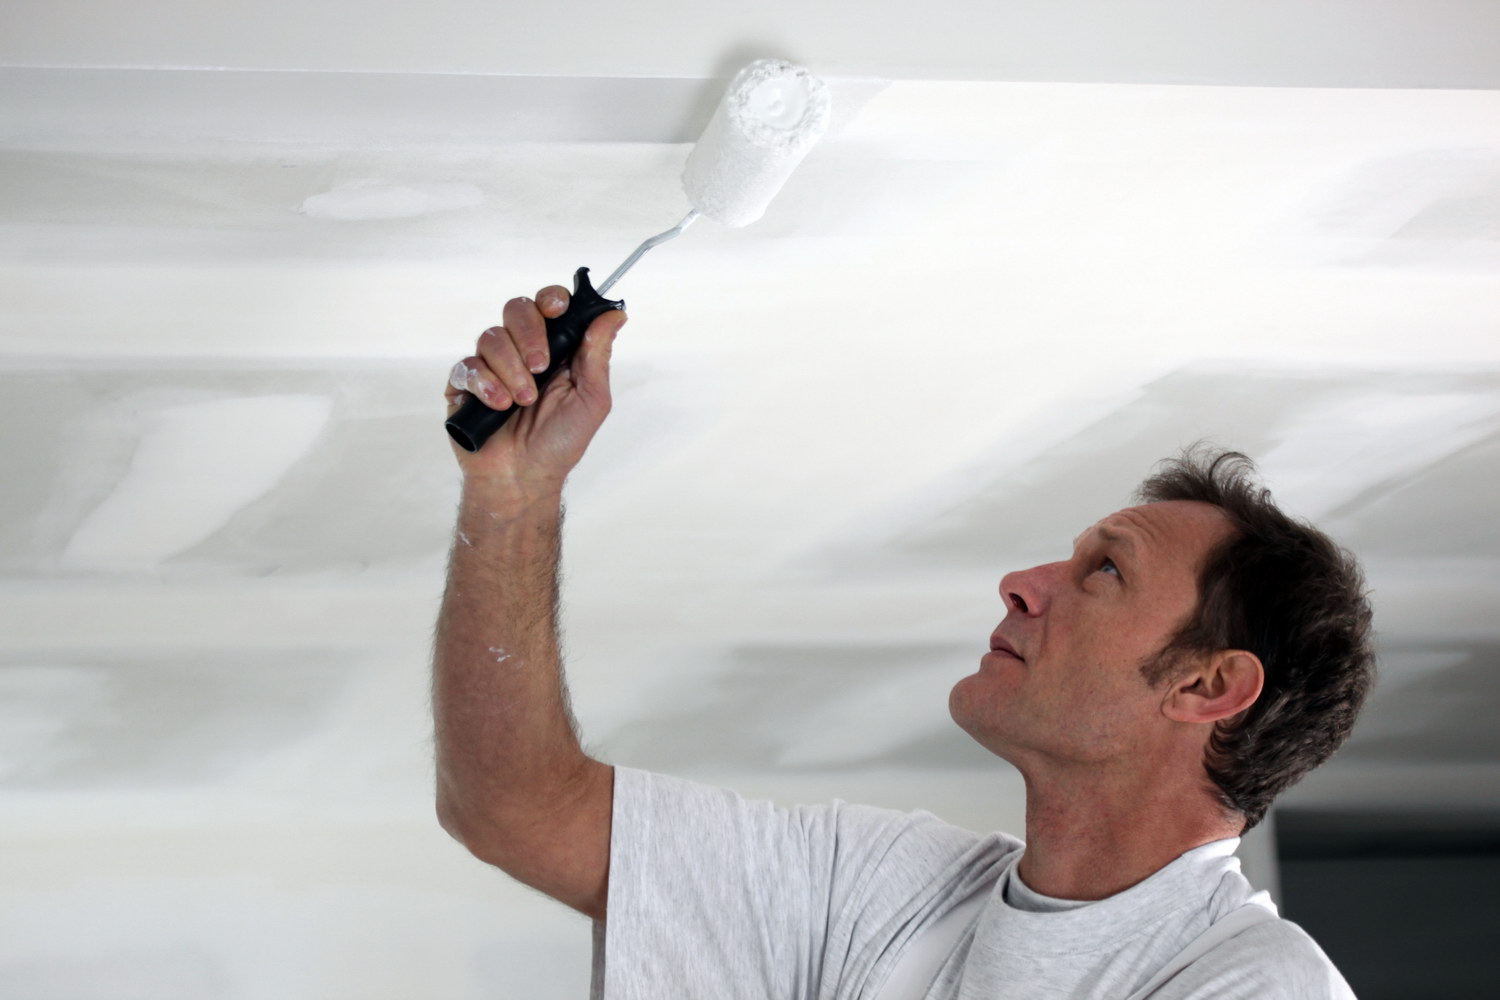
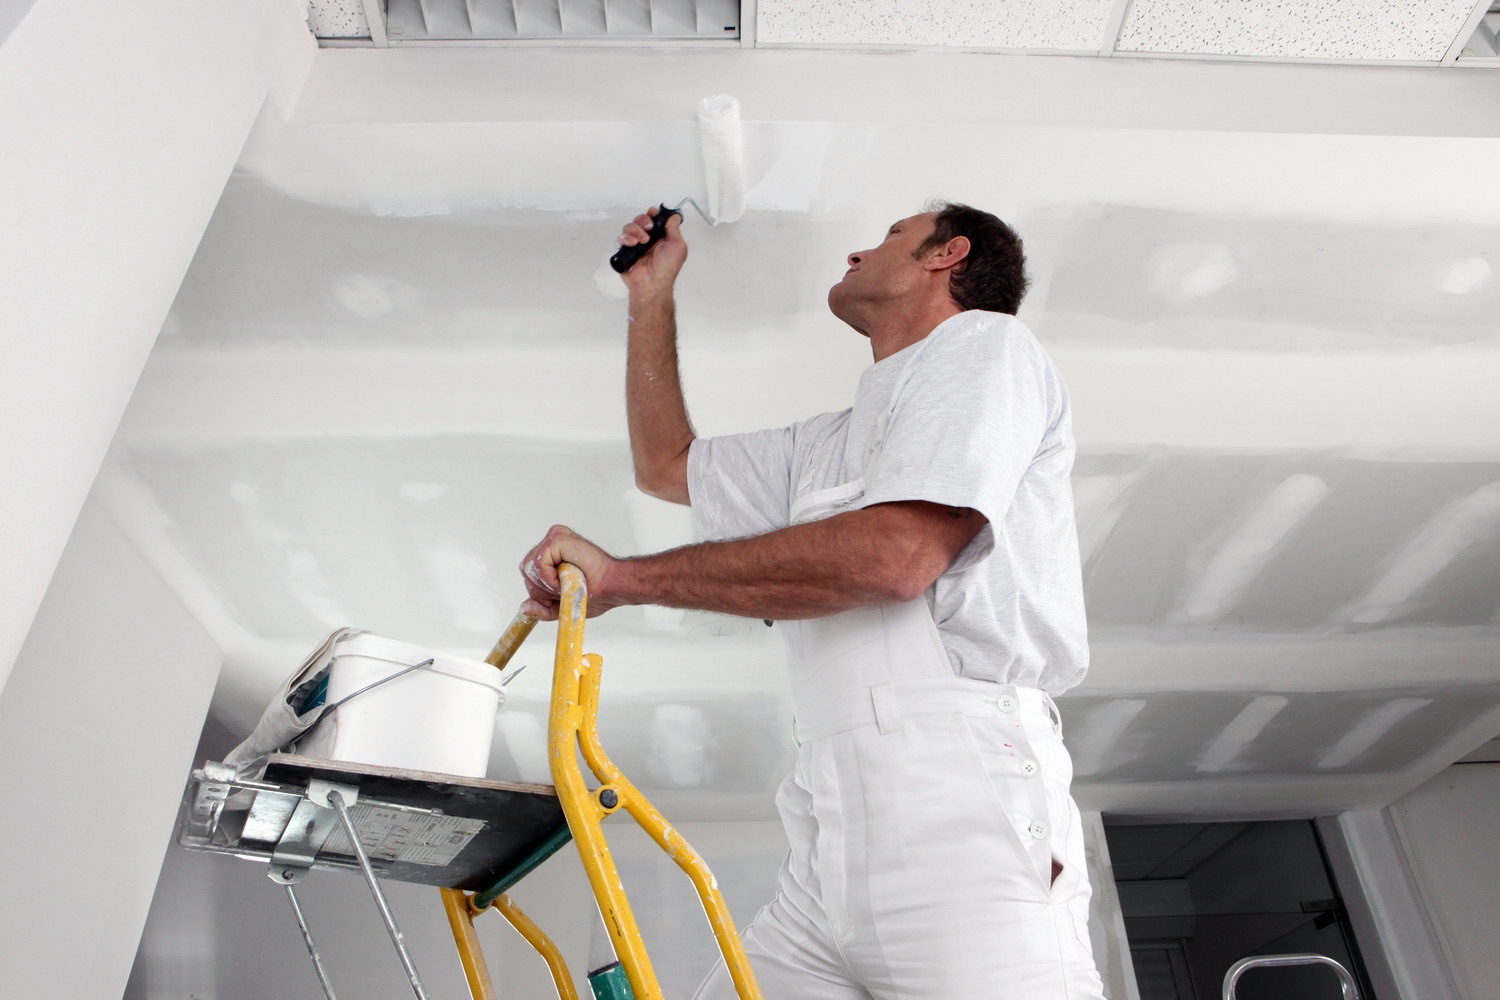
You can apply whitewashing with a brush, roller or spray gun. The material is applied in two layers. The main (first) should dry completely before applying the second.
If a brush is used, then you should move from the bright part of the room to the darkened one, then the bands from the brush will not be visible. In this case, the main layer is applied perpendicular to the light coming from the window, the finish - in parallel.
When choosing chalk as a material, it should be remembered that it absolutely does not hide surface flaws, therefore, preparation and leveling of the surface should be taken as seriously as possible.
Whitewashing the ceiling with a roller is carried out according to the same rules, you need to work with a spray gun, adhering to the right direction, while it is better to make smooth circular movements. You need to keep it at such a distance from the surface that only a suspension, and not a trickle of solution, fall on it.
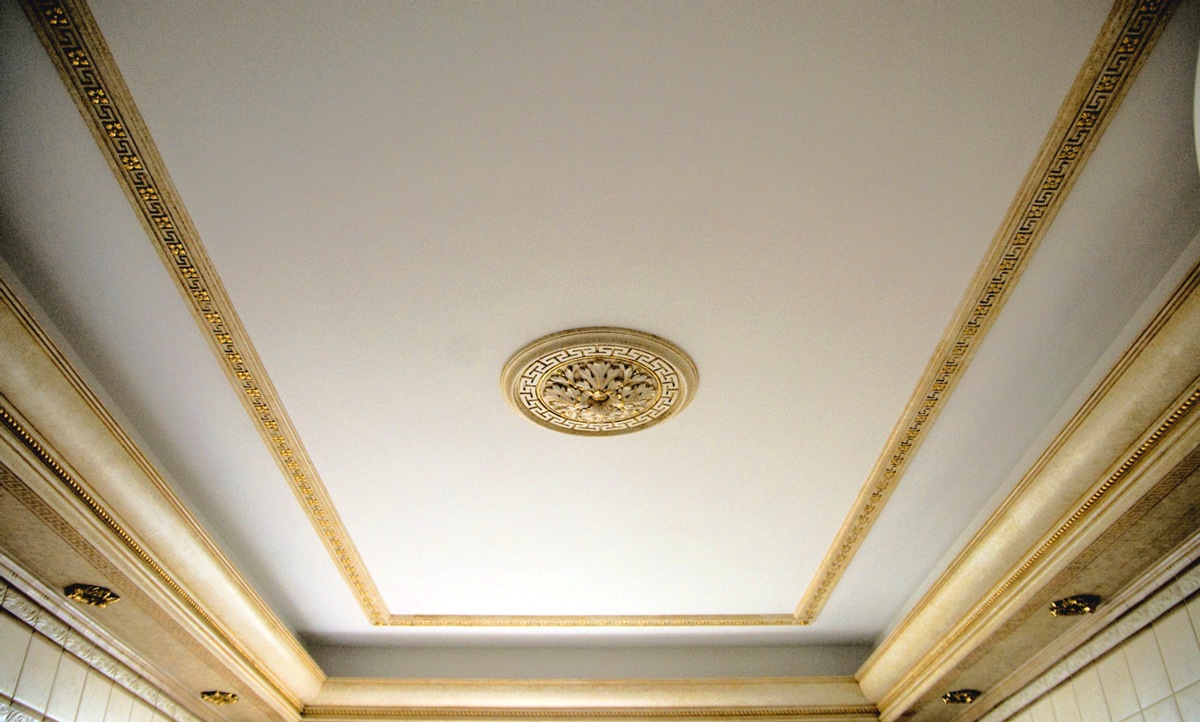
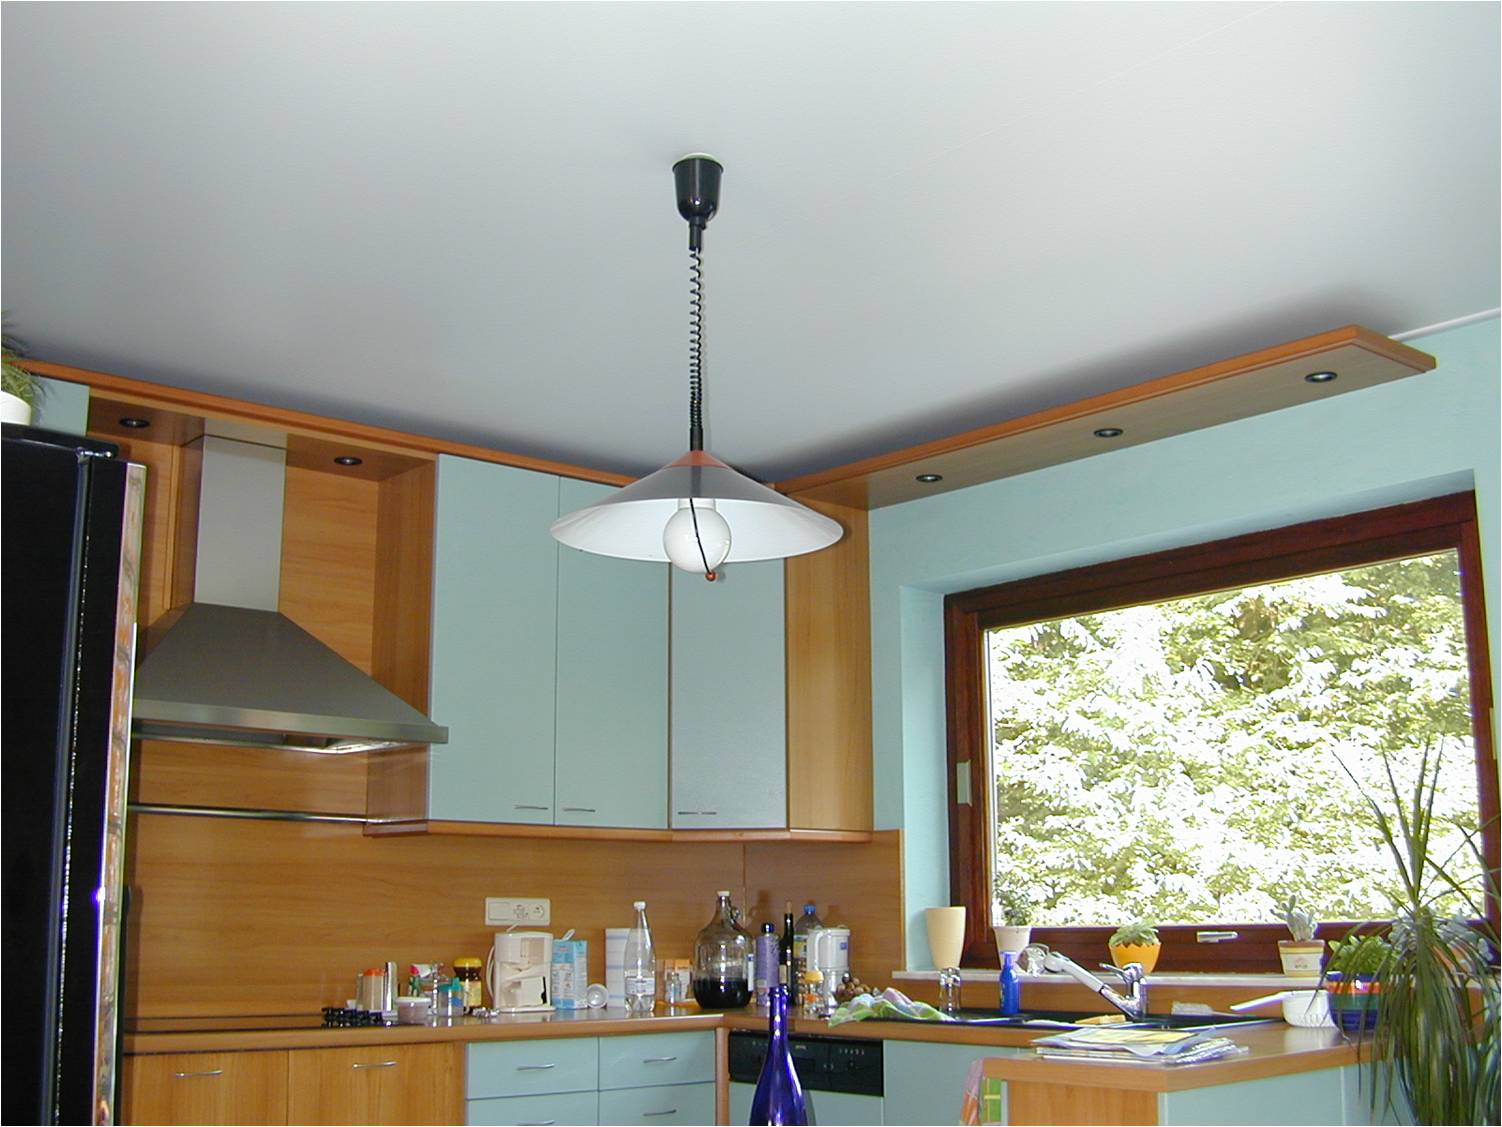
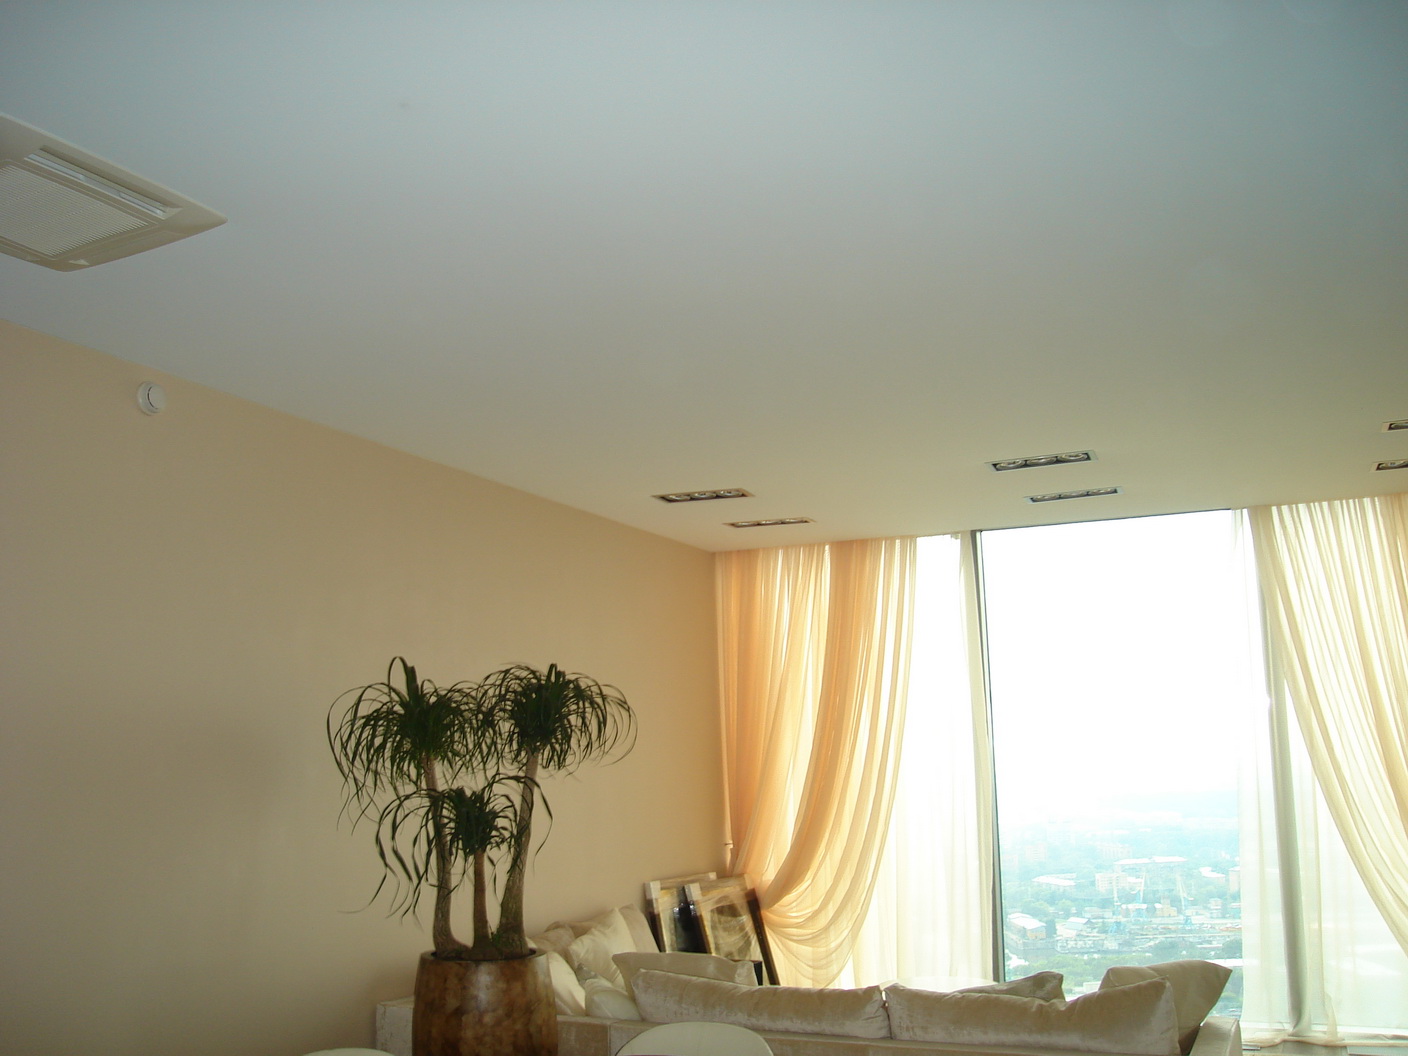
A properly whitewashed ceiling gives the impression of a smooth velvety surface.
Lime whitewash ceiling
First, the lime mixture is prepared, for it you need:
- slaked lime - 3 kg;
- salt of 100 grams;
- aluminum alum;
- blue or coloring pigments;
- 10 liters of water.
Everything is thoroughly mixed until completely homogeneous, you need to ensure that there are no lumps. When choosing lime for whitewashing, it is necessary to take into account that after drying a porous surface forms, which, in aesthetics, loses over the chalky.
But in the bathroom, for the ceiling in the kitchen, in utility rooms, this material is the best suited - lime is much more chalk resistant to moisture and cooking fumes. In addition, it has disinfecting properties and significantly extends the service life of the base layer of putty.
Lime is applied in two layers, however, you do not need to wait until the first one dries. The second layer is applied immediately after the first, and you need to do this quickly enough - the finish layer must be applied until the base layer is completely dry.
Advice
If the ceiling is covered with chalk whitewash, then the problem of how to remove whitewash from the ceiling is solved simply: it is washed off with a brush, the washed surface is wiped with a rag. After this, let the ceiling dry and rinse it with warm water and soap.
If you want to refresh the ceiling, which does not crumble and is well made, then you can simply whiten the ceiling according to the old whitewash. Previously, you can vacuum it to remove dust, or walk on it with a wet brush - after which it should dry.
Whitewash the ceiling with water-based paint
This is a universal option for any room. To understand how to paint the ceiling after whitewashing, it is enough to familiarize yourself with the general rules for carrying out this work (how to clean the ceiling from whitewashing, align, repair seams and irregularities), but the surface will have to be primed first.
If you really want to save time, then there is nothing left but to paint the ceiling with water-based paint on whitewashing. However, such a quick method can only be used on a thin layer of old plaster. If the old coating was applied in several layers, updated, then it will have to be washed away.
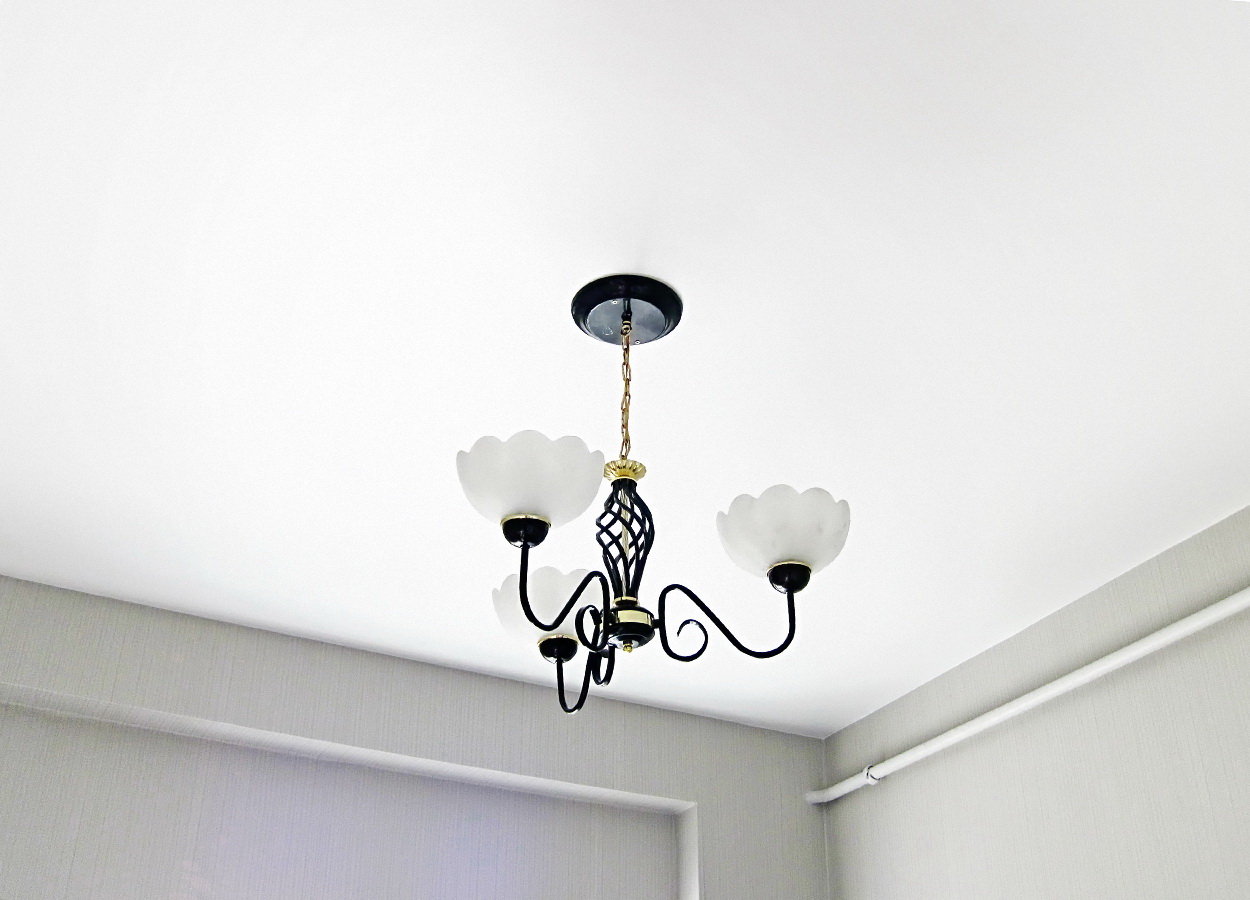
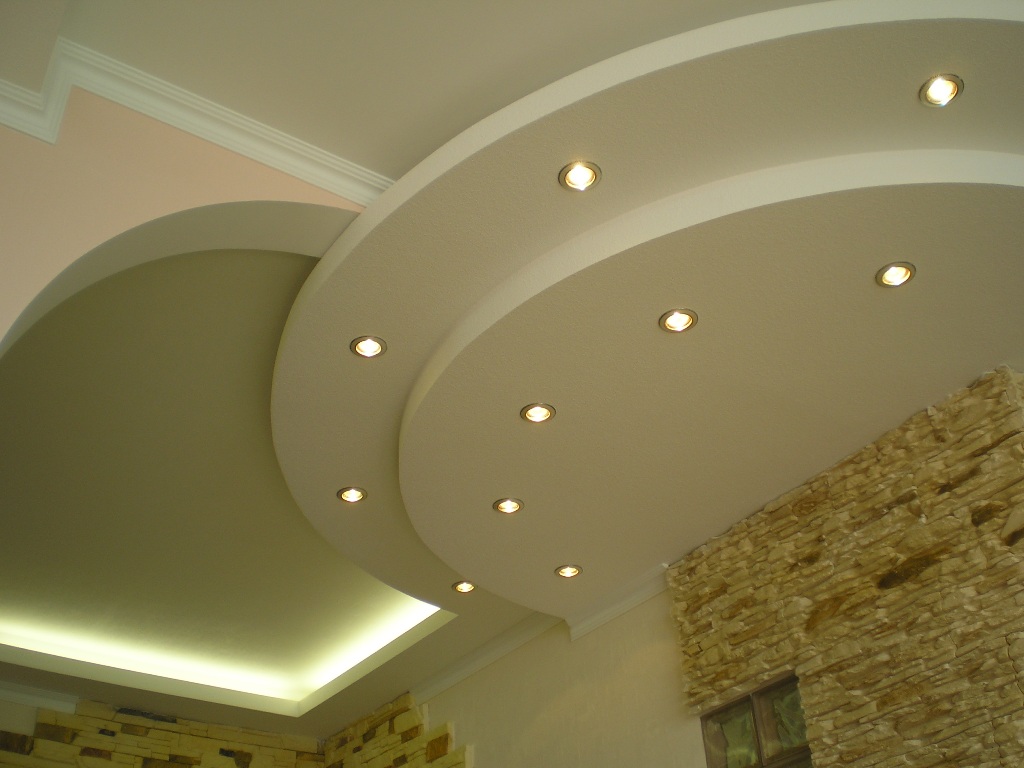
First, the color is tinted, if necessary. You need to paint with a brush: joints with walls, inaccessible places, around ceiling lights, then you can use a roller.
Whitewashing of the ceiling with water-based paint is performed in three layers:
- the first is parallel to the direction of light;
- the second is perpendicular;
- the third is again in parallel.
Long-lasting, beautiful coating, glossy paint can be chosen only for a very smooth, perfectly processed surface. Matte gives the impression of a velvety surface and can mask small irregularities.
Do-it-yourself whitewashing the ceiling is a great way to save money, because the process itself is quite simple. But preparing the base for it will require much more skills: you will have to learn how to remove whitewash from the ceiling, level and polish the surface so that the ceiling is perfect.