Plywood painting: stages, tools, choice of paint and varnish
Plywood - a fairly common material at present, which is used for the manufacture of furniture, partitions, as well as for flooring. The popularity of plywood is easy to explain: it is environmentally friendly, durable, has an attractive price. Plywood during processing does not require much effort. In addition, plywood products have an attractive appearance, especially if painted. That's about how to properly paint plywood, we will talk in this article.
In addition to aesthetic appearance, painting plywood helps to protect the surface. Staining increases the life of the furniture. There is no strict procedure for painting plywood - it all depends on the working conditions and what result you want to get. The most difficult question in this matter is which paint to use? The fact is, for example, it is desirable to paint plywood furniture and plywood floors with different colors.
Training
Before painting plywood, it is necessary to prepare its surface well. If you just purchased sheets of plywood, you need to give them a certain time to dry, because it is not known in what conditions the plywood was stored. In order for the sheets to dry well, it is enough for them to stay in a room with a dry, warm climate.
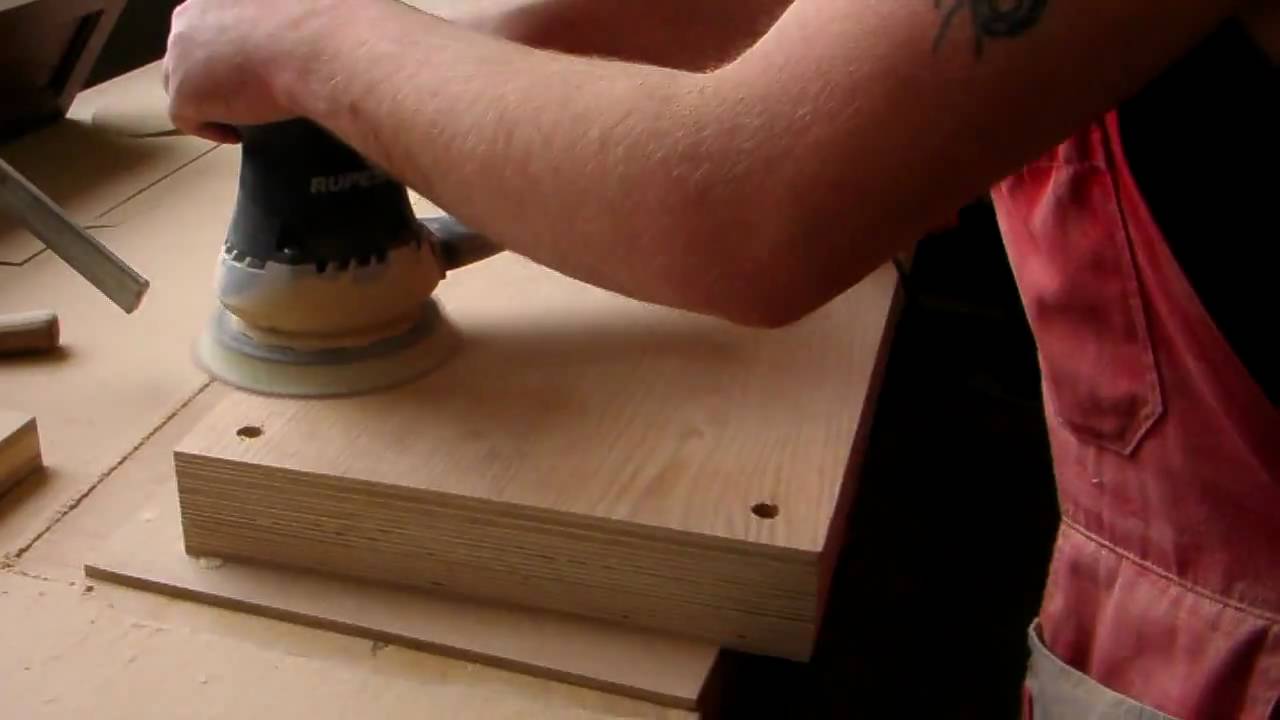
So, the plywood sheets have dried. Now they need to be well sanded and the surface cleaned of chips and dust. For best results, grinding is recommended in two stages. First, the surface is treated with large abrasive sandpaper (grain size No. 80). Then carefully clean with sandpaper with an average grain size (No. 100-120).
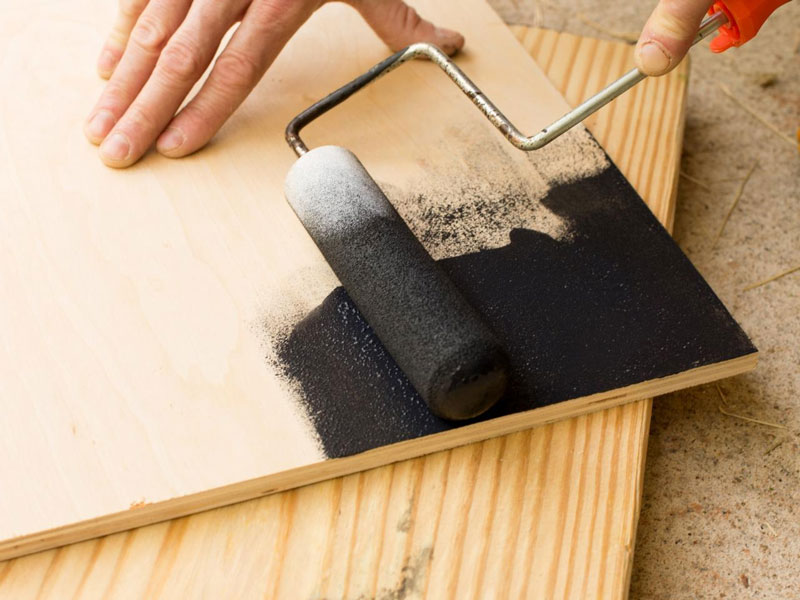
After this, the cleaned surface should be primed. This is to prevent deformation of the plywood sheets. The fact is that the temperature in the room in which the sheets are located can vary, which can lead to expansion or contraction of the product, and this, in turn, can lead to the formation of cracks. In addition, due to the primer, the adhesion of the paint to the surface will be better.

Having treated the surface with a primer, you need to wait a certain time for it to dry. After this, you need to treat the sheets with flame retardants and antiseptics. Due to this, the possibility of mold and blue tint is excluded. This is true if the plywood is painted with transparent paint. Such paint is unstable to various biological irritants. Also, processing with these products helps protect plywood from fire.
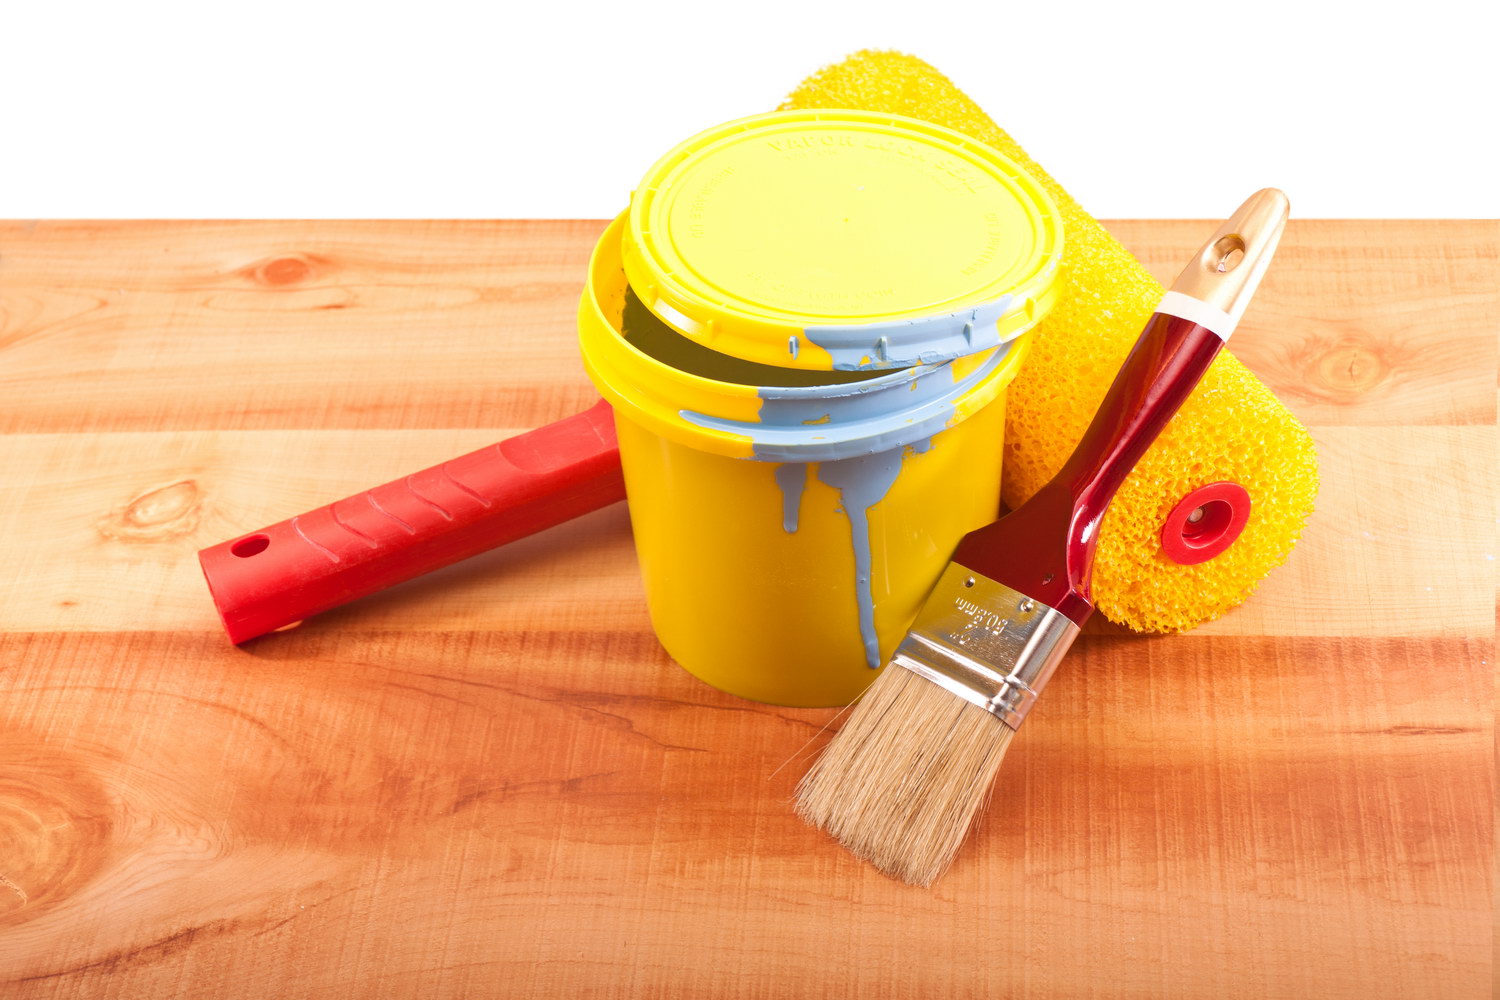
Tool and paint
To paint plywood, you need one of the following tools:
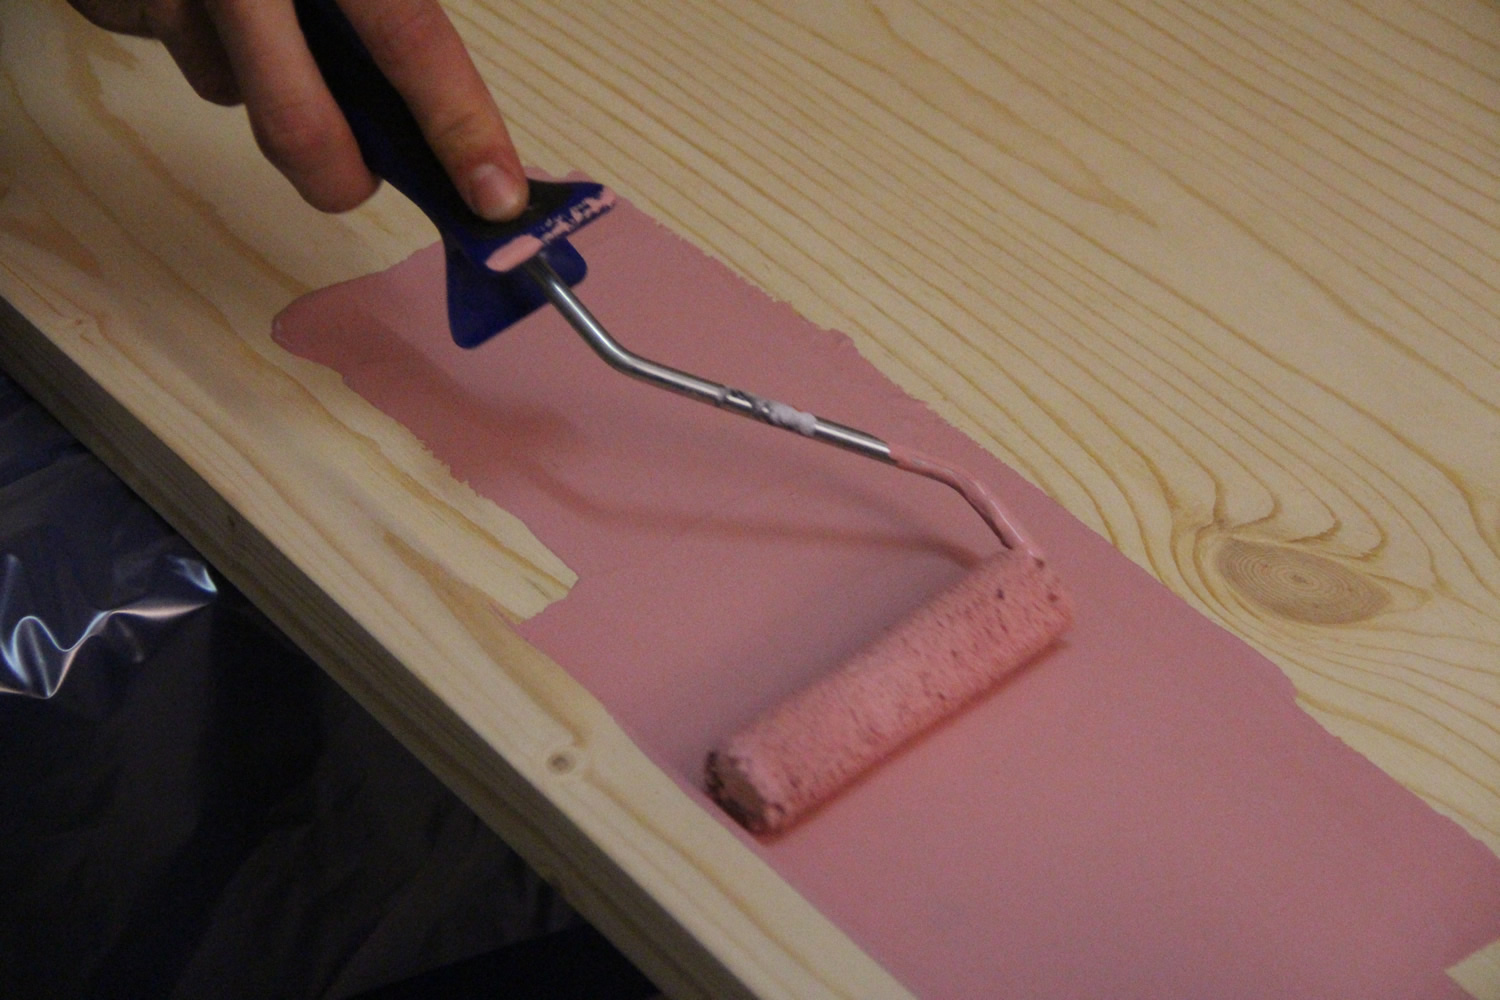
- roller;
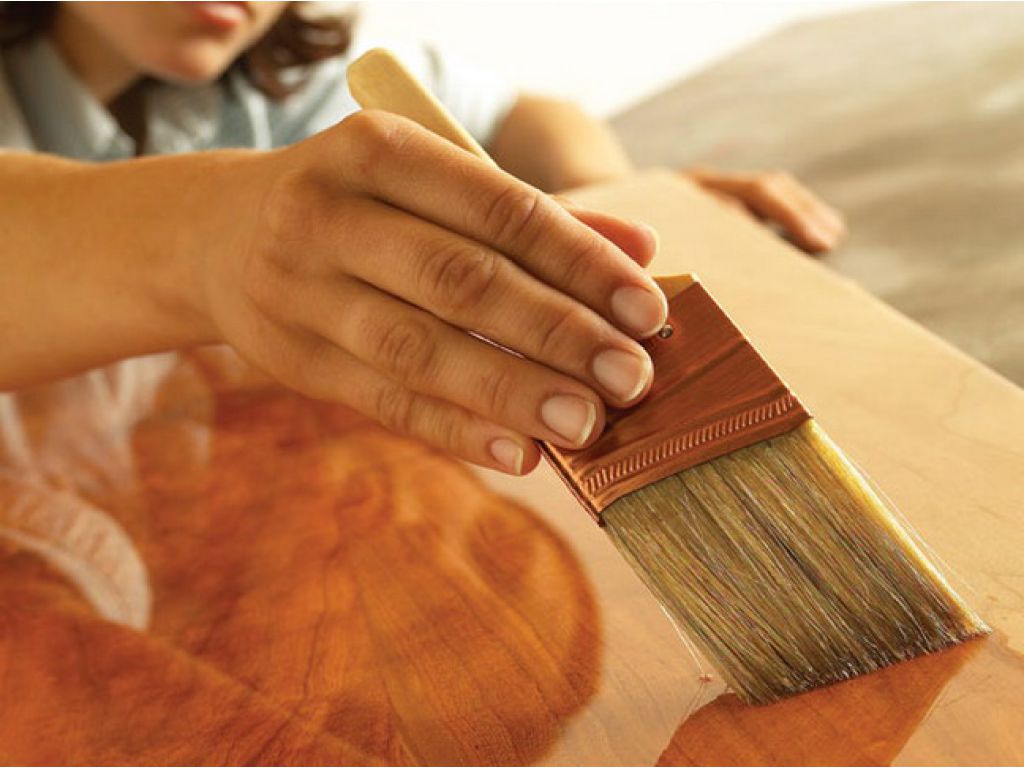
- paint brush;
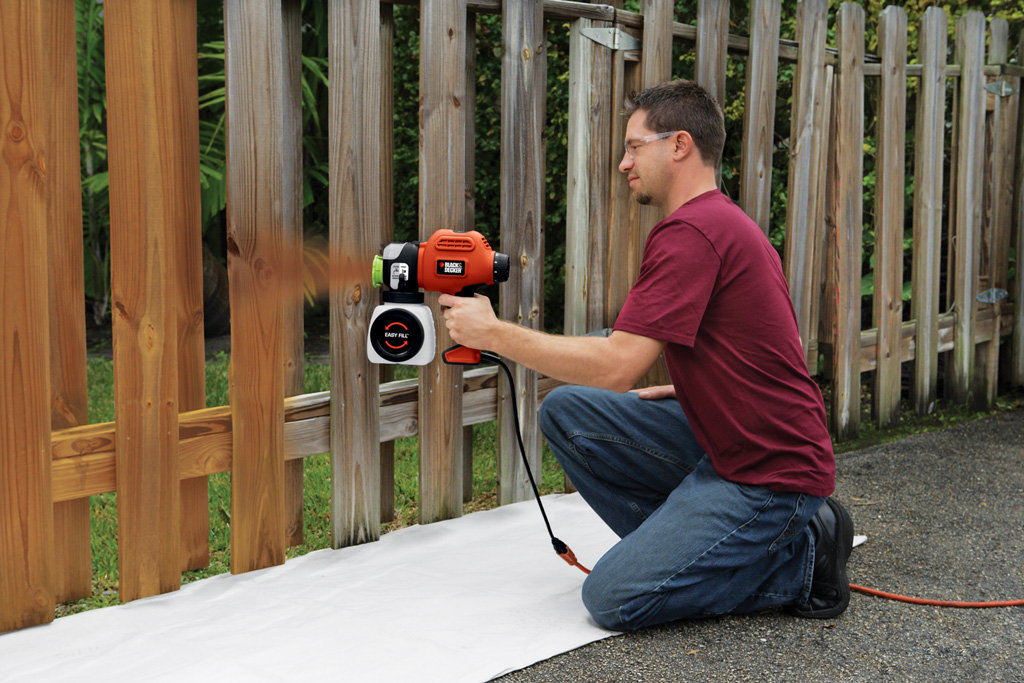
- spray.
Which of the listed tools to use depends on the type and area of the surface to be painted. It is better to use the roller for painting even, medium-sized surfaces (cabinet, wardrobe). It is desirable that the roller is foam. In this case, it is inconvenient to use a fur roller for painting - after it a pile remains on the surface. A brush is an indispensable tool for painting ends, corners, and various curly elements. Well, the sprayer will save time well when painting large flat areas, for example, the floor.
As for the type of paint, here you need to pay attention to the following factors:
- conditions in which the product will be made of plywood;
- class of material to be painted;
- purpose of painting.
If the painted plywood will be located outdoors or in a room with high humidity, it is recommended to use acrylic paint. The painting layer is applied in two layers. In this case, both sides of the sheet are processed, as well as the ends.
If phenol-formaldehyde glue was used in the manufacture of plywood, then facade paint is required here. Such paint is also used for coloring wood. Plywood, which is used to make furniture, is treated with water-based paint. Such paint has several advantages:
- dries quickly;
- lack of an unpleasant smell;
- high-quality adhesion to the surface.
By the purpose of painting is meant the appearance of the surface. That is, whether it is necessary to emphasize the beauty of the painted surface or whether such a task is not posed.

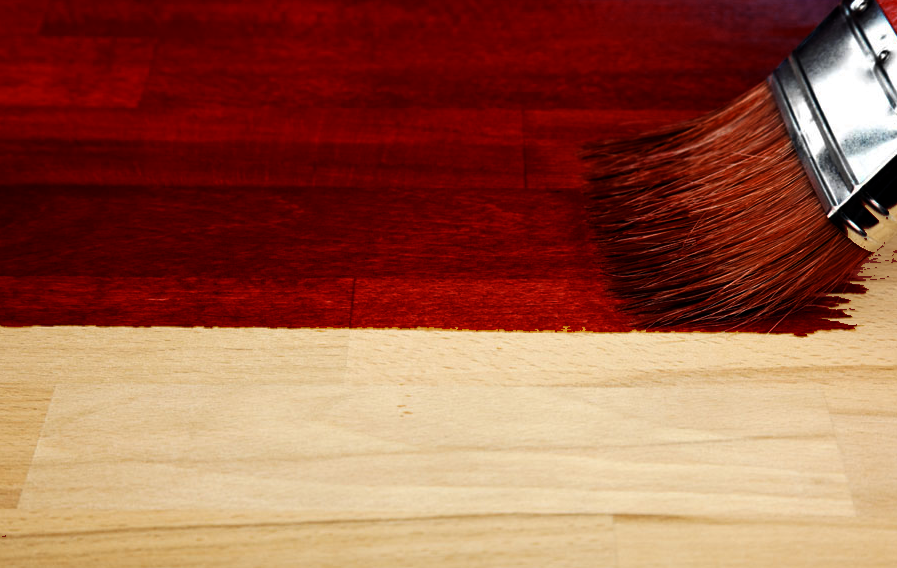
Painting
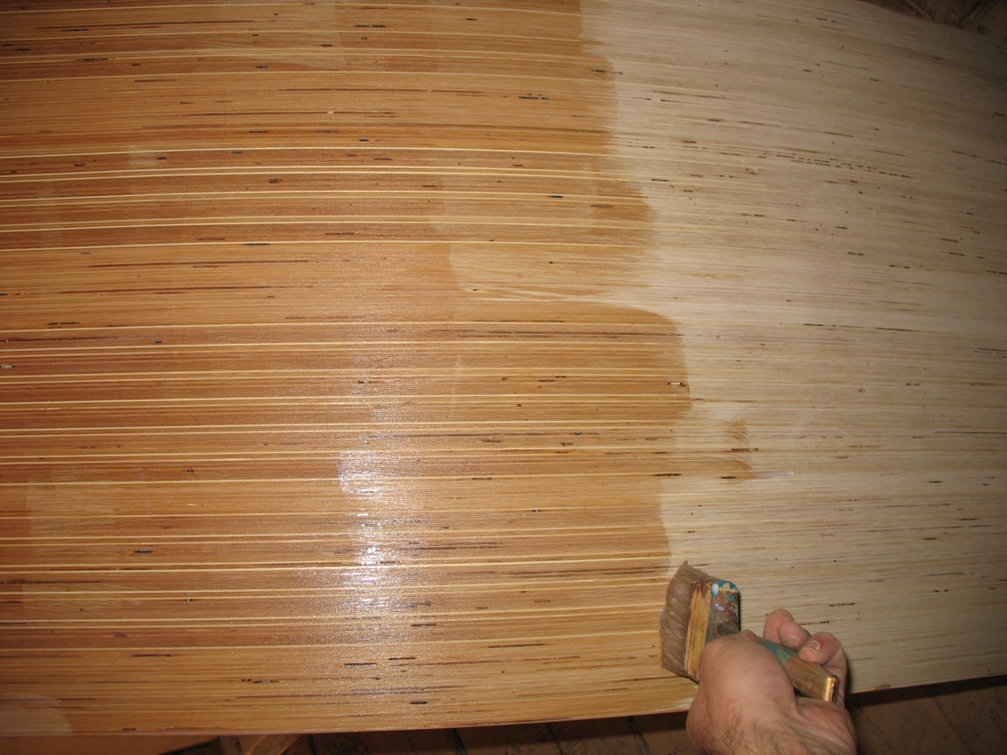
Now you can start the main work - painting. It is desirable to paint plywood sheets in the longitudinal direction, along wooden fibers. The painting layer must be applied evenly. The layer should be thin. If the paint is applied in a thick layer, then this is fraught with the formation of smudges, which will lead to a deterioration in the appearance of the surface. In addition, applying a thin layer promotes better saturation of the color of the paint. It is recommended to apply a second one on the painted layer. Before applying the second layer, you need to wait a certain time for the first layer to completely dry.
Instead of paint, the surface of the plywood can be varnished. In this case, the plywood also needs to be carefully cleaned with fine-grained sandpaper. After that, the entire treated area should be degreased and cleaned of fine dust and dirt, otherwise all this will be visible under a layer of varnish.
Then apply the first coat of varnish and allow it to dry. A small hairiness that appears after this should be removed by grinding. Then apply another coat of varnish. As a result, the surface will become dull. If you want the surface to be glossy, you need to apply another layer. The last coat of varnish is recommended to be applied using a spray. This will provide a more uniform layer. Alternatively, a lint-free paint roller can be used in this case. The varnish can also be used after applying paint to plywood. If a layer of varnish is applied on top of the paint, the surface will become glossy, shiny. However, glossy enamel is easier to use for this purpose.
Before painting, it is advisable to cover all nearby furniture and the floor with plastic wrap. If this is not done, then after painting will have to do cleaning the floor and furniture. After painting, you must definitely check the room well.