Self-painting the ceiling without streaks: simple technology
Content
It is not easy to achieve the desired result yourself when painting the ceiling, but if you know how to properly paint the ceilings, comfort and freshness are guaranteed for your home. The ceiling is painted in several stages. Before painting the whitewashed ceiling, remove the chalk or lime layer: moisten the ceiling liberally, scrape off the damp whitewash with a spatula or chisel, and rinse the surface.
It is more difficult to remove water-based emulsion paint: moisten the old coating twice with water, create a draft - the paint will swell and give way to a spatula, level the ceiling with putty, sanded with fine sandpaper, prime the surface. Let the ceiling dry so that the putty does not lag behind.
Painting the ceiling with water-based paint
Most recently, many preferred to whitewash ceilings, but whitewashing quickly lost its aesthetic appearance and created a lot of problems during application. Leadership in the issue of painting the ceiling passed to water-based paint.
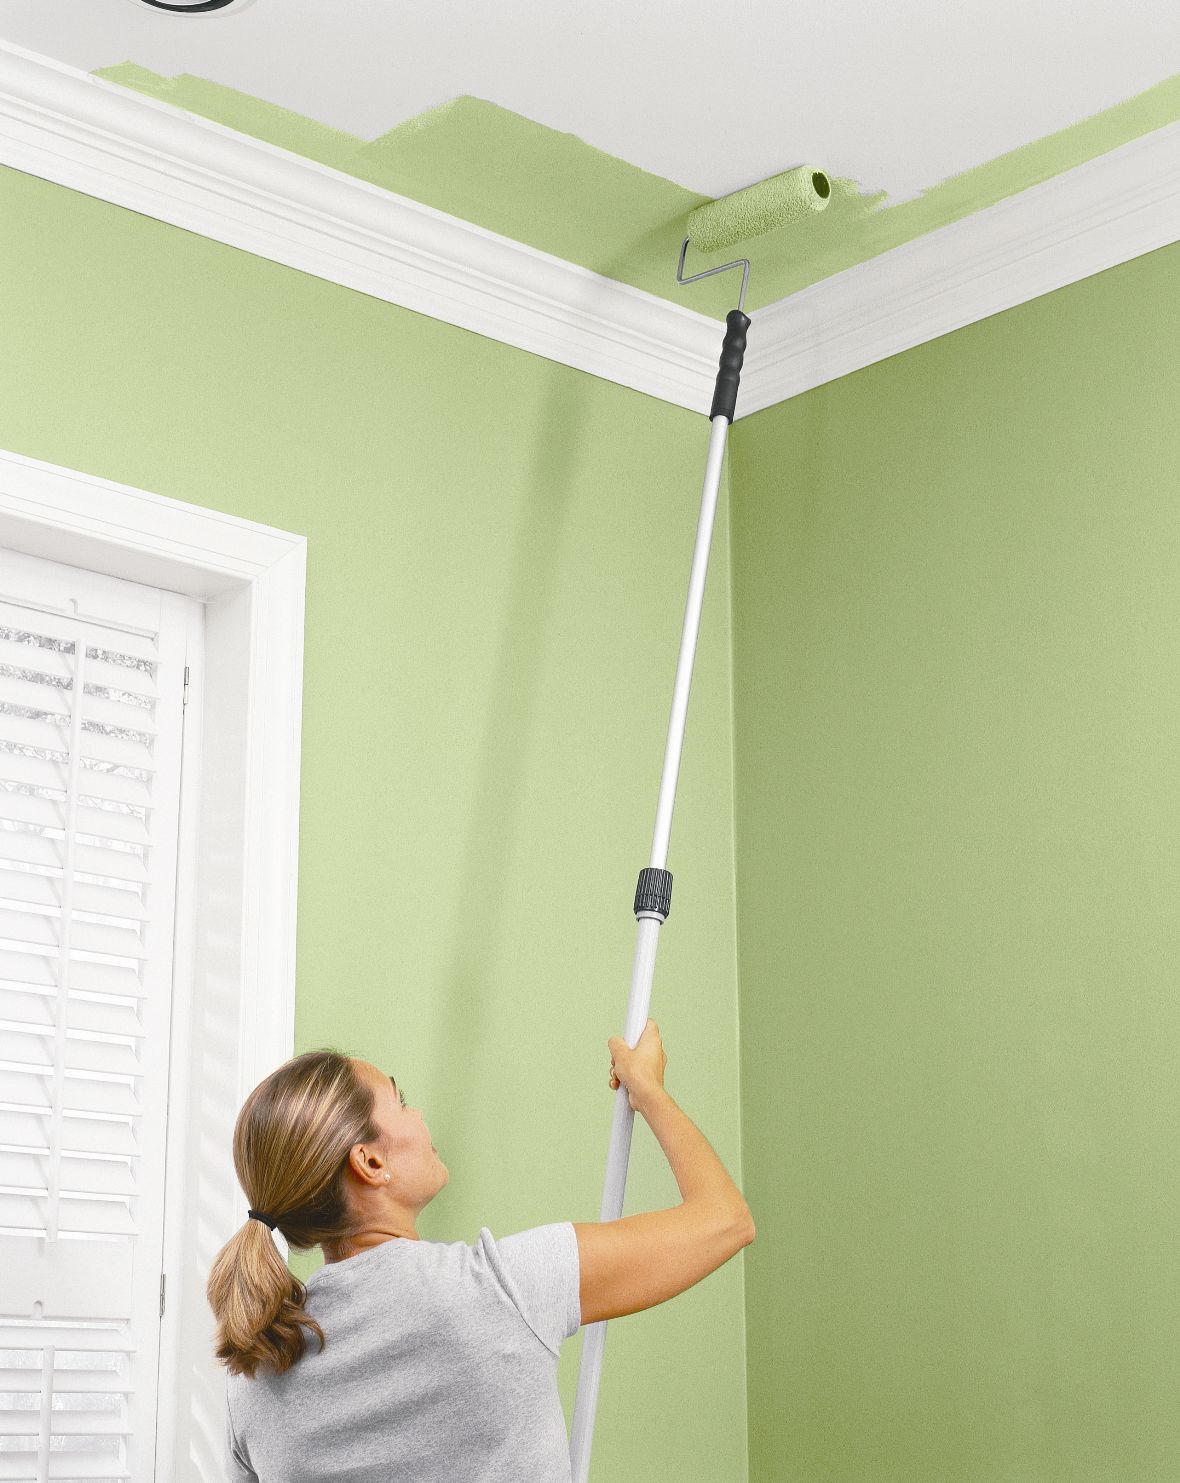
Have you decided that this type of coating is to your liking and you can do the painting of the ceiling with your own hands? Choose a water-based paint. Prepare a paint brush for butt joints and a narrow “corrective” brush. Wondering how to paint the ceiling with a roller? Then you need a roller with a long pile and a cuvette for paint.
Not everyone knows how to properly paint a ceiling with a water-based paint. First paint the corners and the joint between the ceiling and the walls. Start at the farthest corner from the front door. Along the perimeter of the room, make a passage with a wide paint brush, so that the docking place and corners do not suffer in the future.
Apply paint in three passes with a roller. The first is in the direction of the rays of light from the window. The second is perpendicular to the first. Direct the latter towards the window. The roller should be moved from left to right, then in the opposite direction. W-shaped movements are allowed. Make sure that the paint lays evenly. Each coat of paint needs to be given 8-12 hours to dry.
Important! Avoid drafts and do not try to dry the painted surface with electrical appliances.
The logical question is: how to paint the ceiling with a water-based paint without stains? Clearly follow all the rules for painting the surface and be sure to read the instructions posted on the can of paint. If required, dilute it strictly according to the “recipe”. And how to paint the ceiling with water-based paint on whitewashing? You can paint by whitewashing if:
- the whitewash layer is thin,
- there is no shedding, cracks and swelling on the whitewash.
Aqueous emulsion ink in this case will act as an additional primer, binding particles of chalk or lime.
Do not apply a second coat of paint until the first is dry - this will lead to the appearance of bumps and stains. Did you notice errors after drying the first layer? Paint the entire ceiling again with more liquid paint. And do not cover the spots with spotted strokes, this will only permanently ruin the painted surface.
The basic principles of painting ceilings are known to you. They are applicable for painting ceilings made of different materials. You can use a variety of coloring compounds, although there are subtleties in each case.
How to paint the ceiling with acrylic paint
Much depends on the composition prepared for painting. Thick paint will not hide the joints between the paint strips. Dilute the paint with water to the consistency recommended by the manufacturer, mix it with a mixer.
The film covering the surface does not need to be mixed with liquid paint - it is not able to dissolve. Even after prolonged mixing, a lumpy composition will be obtained. The film needs to be removed, the remaining paint filtered and only then mixed.
Moisture resistant ceilings
Each dwelling has rooms with high humidity. We will figure out how to paint the ceiling in the bathroom and how to paint the ceiling in the kitchen.
The best choice in these cases is water-dispersion paint. In the kitchen, paint the ceiling, focusing on the window, and in the bathroom already at the stage of preparation, place the lamp where it will be after the repair is completed. This is necessary to consider all the irregularities, because you strive to get a ceiling that would look perfect in constant light.
Drywall ceiling painting
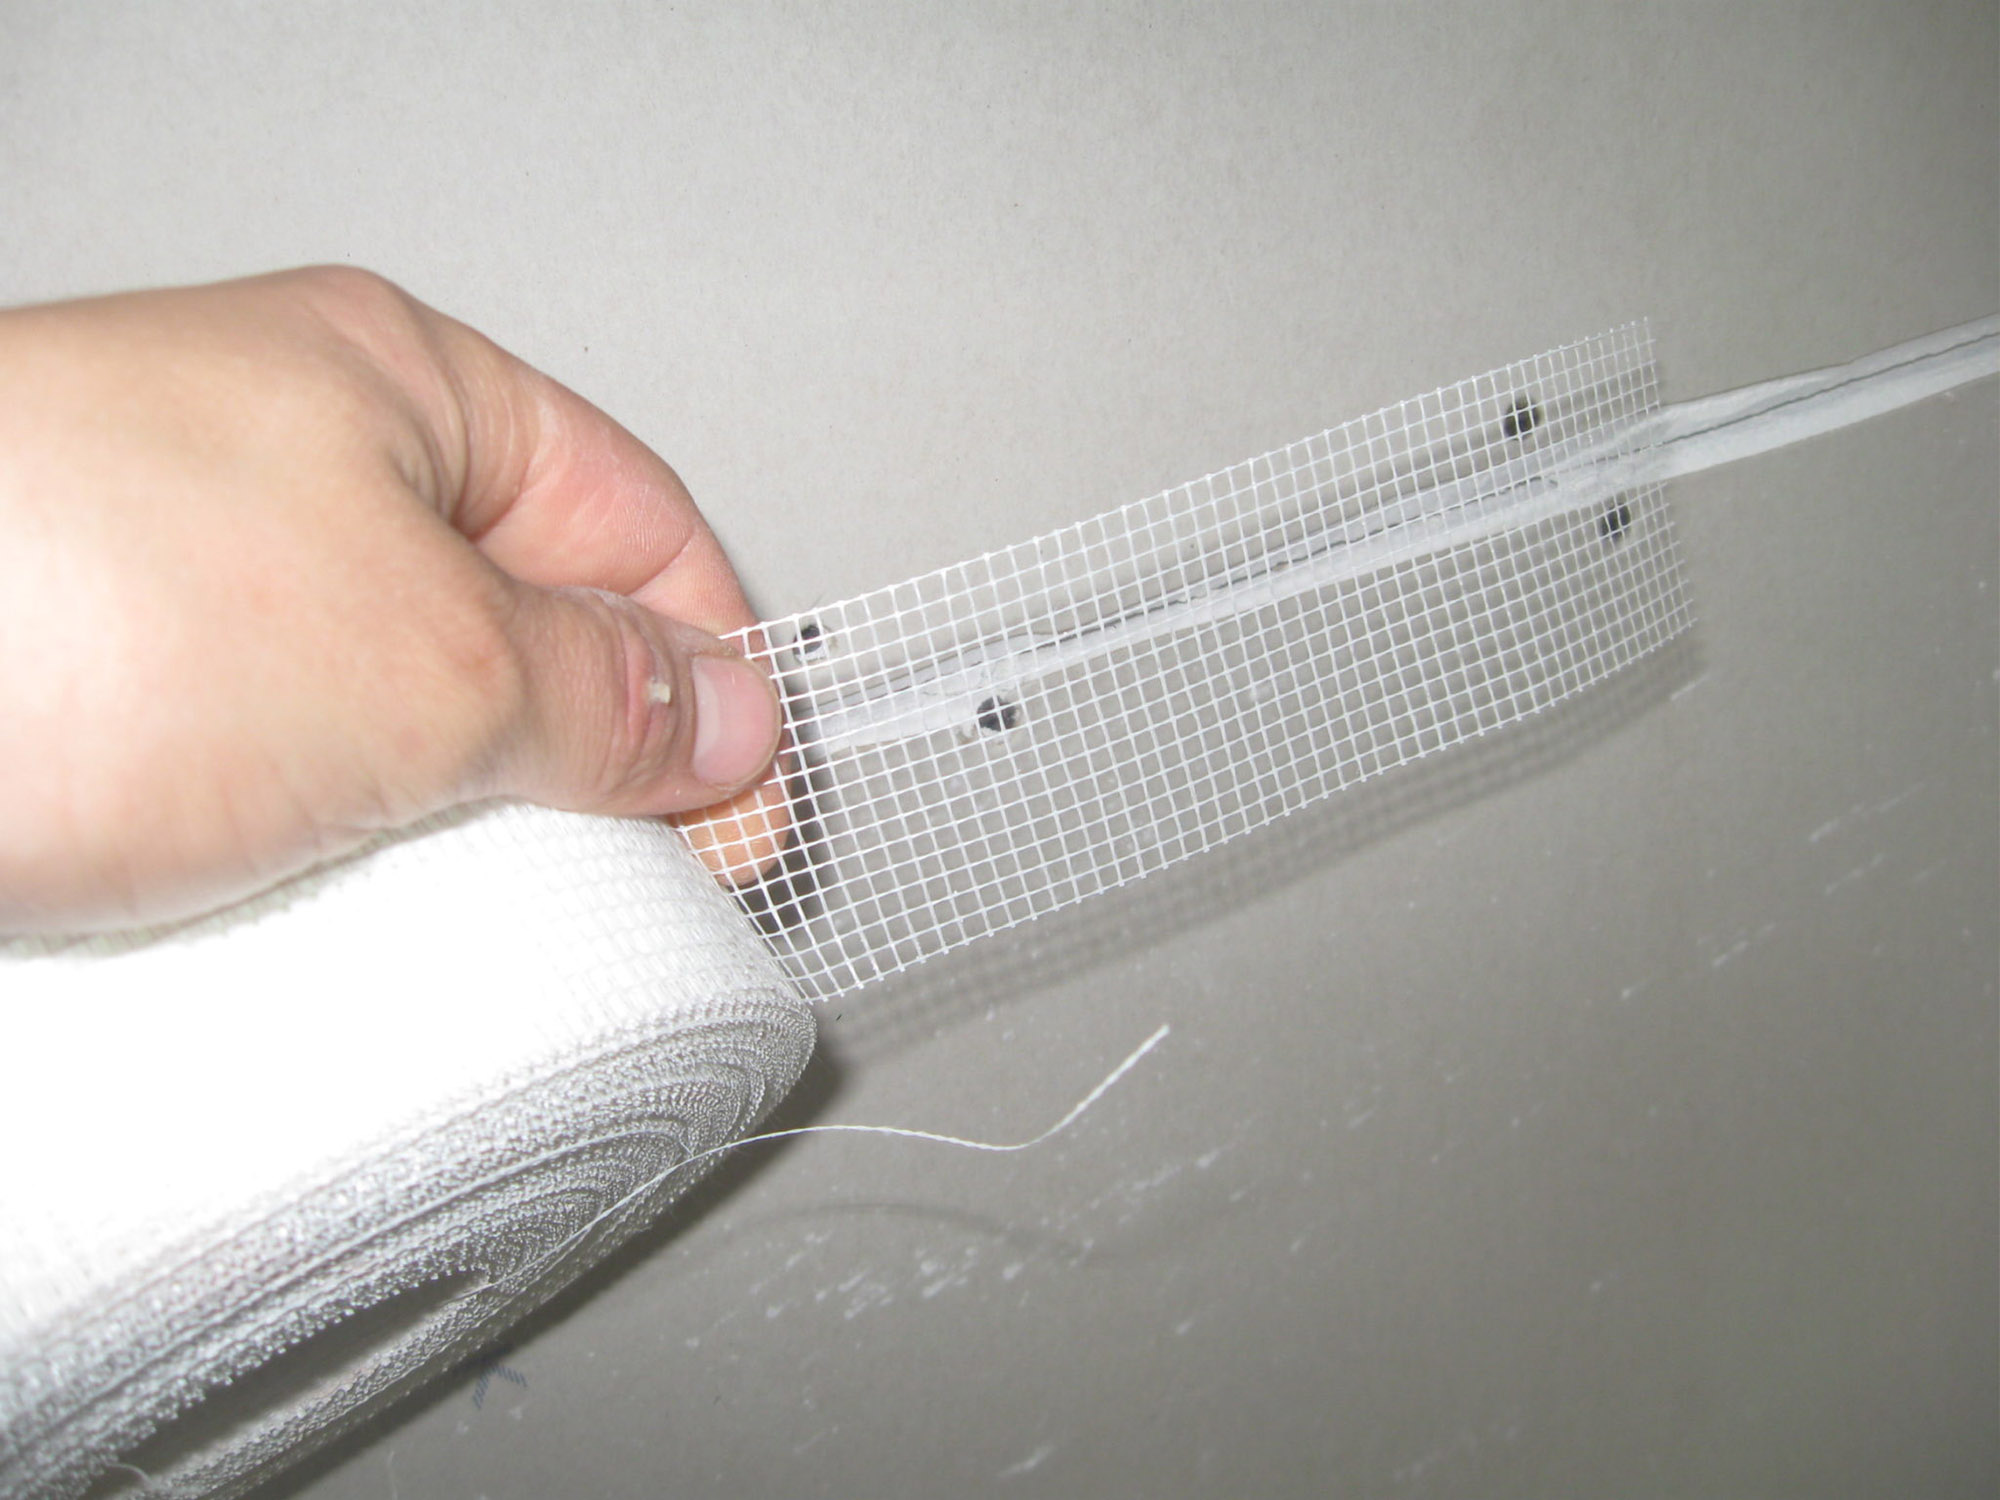
Talk about how to paint a drywall ceiling is special. For this case, according to experts, aqueous emulsion and water dispersion paints are suitable. Close attention must be paid to the primer of the joints of drywall paintings. When puttying surface joints, additional materials will be required, for example, serpyanka - tape for reinforcing joints.
Important! If you use non-integral parts of a sickle, glue them with an overlap.
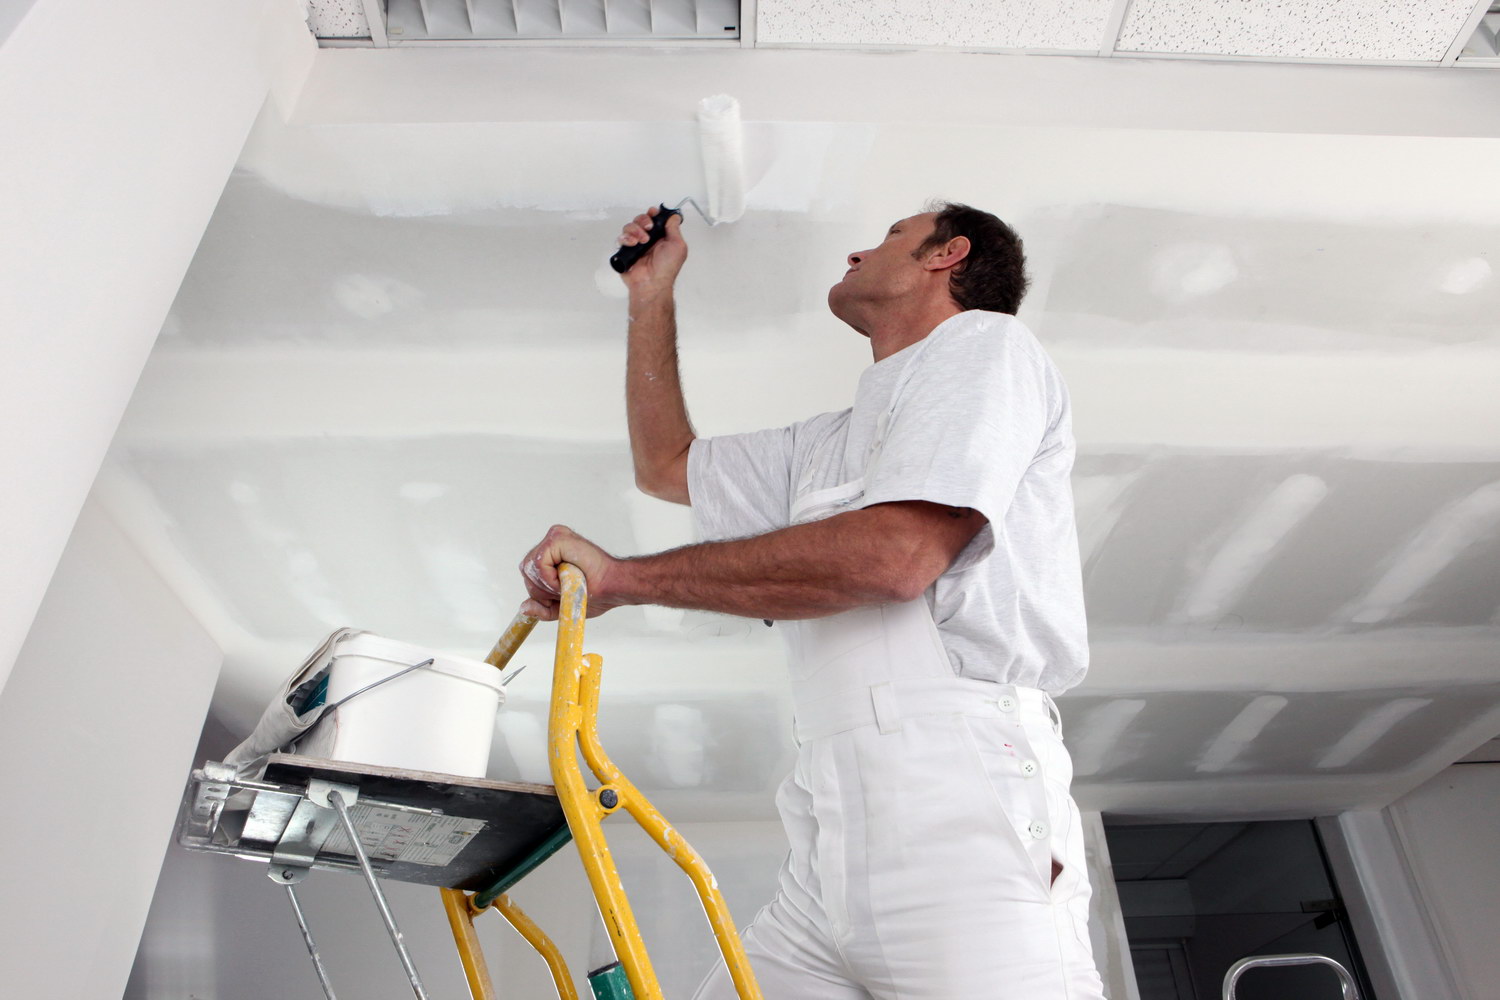
Putty is applied with a large spatula. Then, if necessary, the surface is treated with sandpaper, a primer is applied. Activity field prepared. How to paint a plasterboard ceiling? Start with areas where the suspended ceiling is adjacent to walls and corners. To do this, use a brush. Paint not "back and forth", but with pokes. A similar method will not leave streaks and stains.
Paint wallpaper
Paint for wallpaper is chosen depending on their type. Any color composition is suitable for glass wallpaper, only water-dispersion paint for wallpaper on a non-woven basis. Before you paint the wallpaper on the ceiling, turn off the room.
Paper and fiberglass color in the usual way. Structural non-woven ones can be painted with latex paint on the back side before gluing them to the ceiling. The non-woven base of the wallpaper will be painted, and the front side will remain white and stand out against a colored background.
A similar effect is achieved by painting pasted non-woven wallpaper. In this case, make the paint more liquid. Use a clean cloth to wipe the ink off the surface of the structure. When the wallpaper is dry, the protruding pattern can be tinted with a paint of a different color.
Stretch ceilings: paint - do not paint
It would seem that the technology for the production of suspended ceilings does not provide for their further painting, but you can paint the suspended ceiling. True, only fabric. And no more than 5 times, otherwise the canvas will sag under the weight of the paint.
The painting process itself is simple. It is possible to apply latex paint with a foam roller. It is cheap and quality is not up to par. When using a spray, costs increase, but the result is excellent.
The ceiling of PVC film is not suitable for applying paint. Over time, it drains from the canvas, the ceiling sags and loses elasticity.

Technique to the rescue
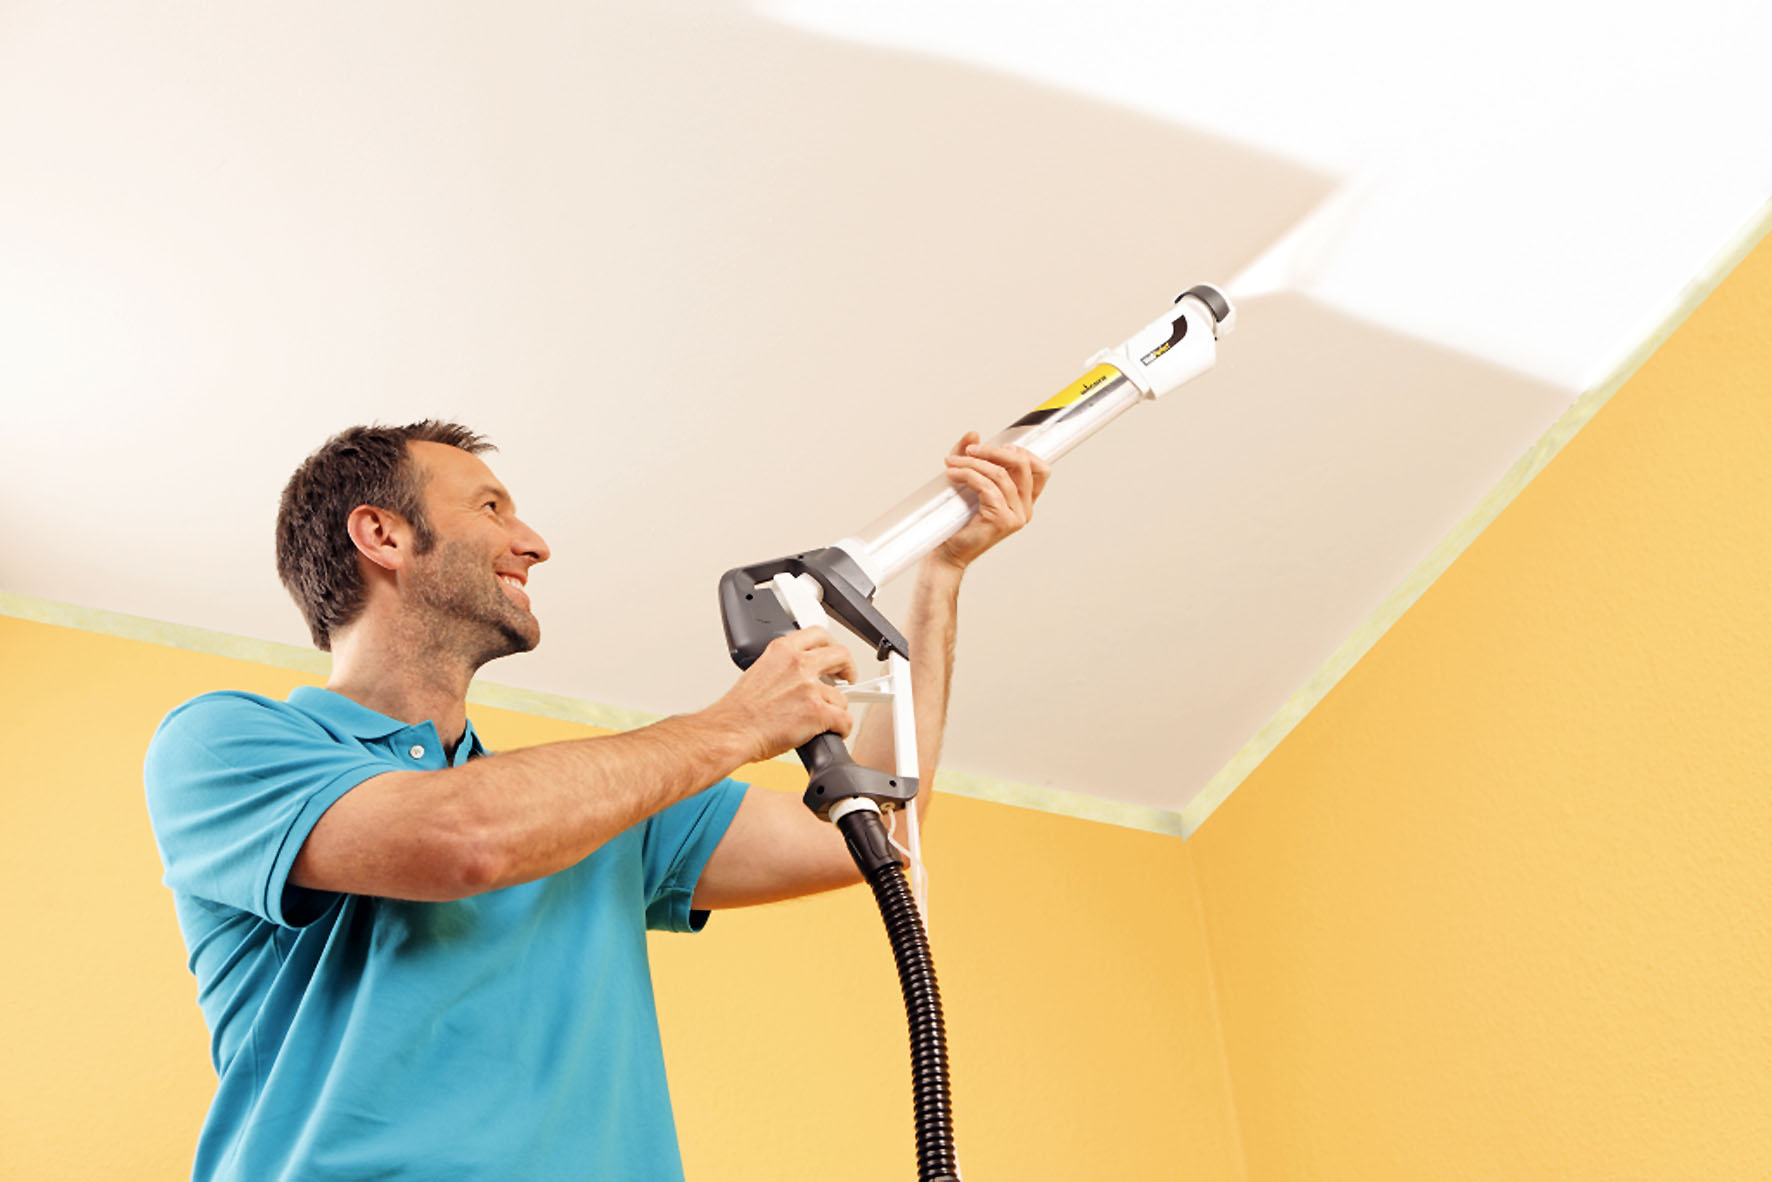
The maximum effect when painting the ceiling can be achieved using a spray gun. They are of three types - manual, electric and pneumatic. Using these units is easy. The main thing is to know how to paint the ceiling with a spray gun.
When adding additional color, the paint must be thoroughly mixed and filtered. It is recommended to use a respirator, because during the work in the air there will be particles of the coloring mixture. Before painting, spray the nozzle of the spray gun to the side and make a test run to release the accumulated air and dirt from the hose.
Saw a uniform flow of paint, get to work. Point the nozzle at the ceiling surface at a distance of half a meter, press “start”. Direct the stream of paint perpendicular to the ceiling.
Error handling
You learned how to paint the ceiling with your own hands, got acquainted with many of the "ceiling" subtleties. You even painted your ceiling yourself, but ... It didn’t turn out exactly as we would like. How to fix the defects of the painted ceiling? How to eliminate dark spots?
You can apply another thin layer of paint or walk along the ceiling with sandpaper, clean from dust and paint the “fixed” surface. It helped - so you're in luck. Stains and stains are not eliminated - you have to start work from the very beginning. Once again, in practice, learn how to paint the ceiling without stains.