How to repair a laminate on your own?
Content
Laminate is a floor covering, which is characterized by high resistance to wear, but even despite this characteristic, in case of violation of the operating rules or improper installation, defects appear on the surface. We will tell you how to prevent the occurrence of imperfections or restore the original appearance to an already damaged laminate.
How to remove scratches?
Scratches or chips on the surface of the flooring appear if you move furniture without special "rugs" under the legs. Defects also occur when heavy objects fall on the floor. In addition, even tiny grains of sand adhering to the sole of the shoe can leave unsightly marks on the floor. So that with careful handling, sooner or later, the laminated coating will need restoration.
There are several ways to get rid of scratches on the laminate. Minor damage is repaired with wax crayons, deep scratches and chips are removed with a special putty. Carefully inspect the damaged area. Perhaps the laminate flooring cannot be repaired, then the damaged board will have to be replaced with a new one.
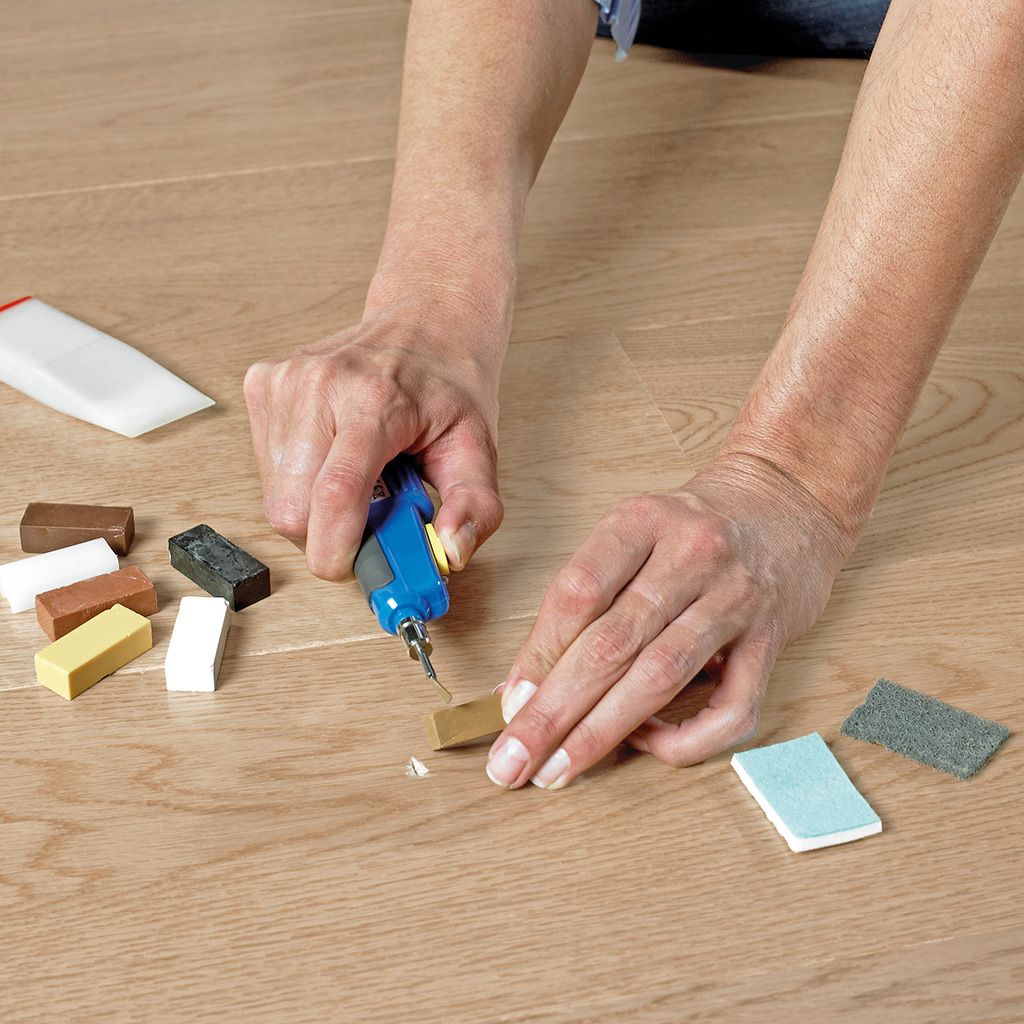
Wax crayons
Wax crayons resemble small-sized pencils. Thanks to the wide color spectrum, you can quickly choose the right shade.
Repairing a laminate floor with wax crayons is as follows:
- The area that you plan to repair must first be thoroughly cleaned of dust or debris. If this is not done, then the wax will fall on the particles of dirt. So, to withdraw during operation.
- A layer of wax pencil is applied to the cleaned area. If necessary, repeat this procedure.
- After the scratch has disappeared, a shiny mark remains in its place. This is due to excess wax. It should be removed with a piece of dry soft tissue.
We repeat that this method is suitable only for shallow scratches.
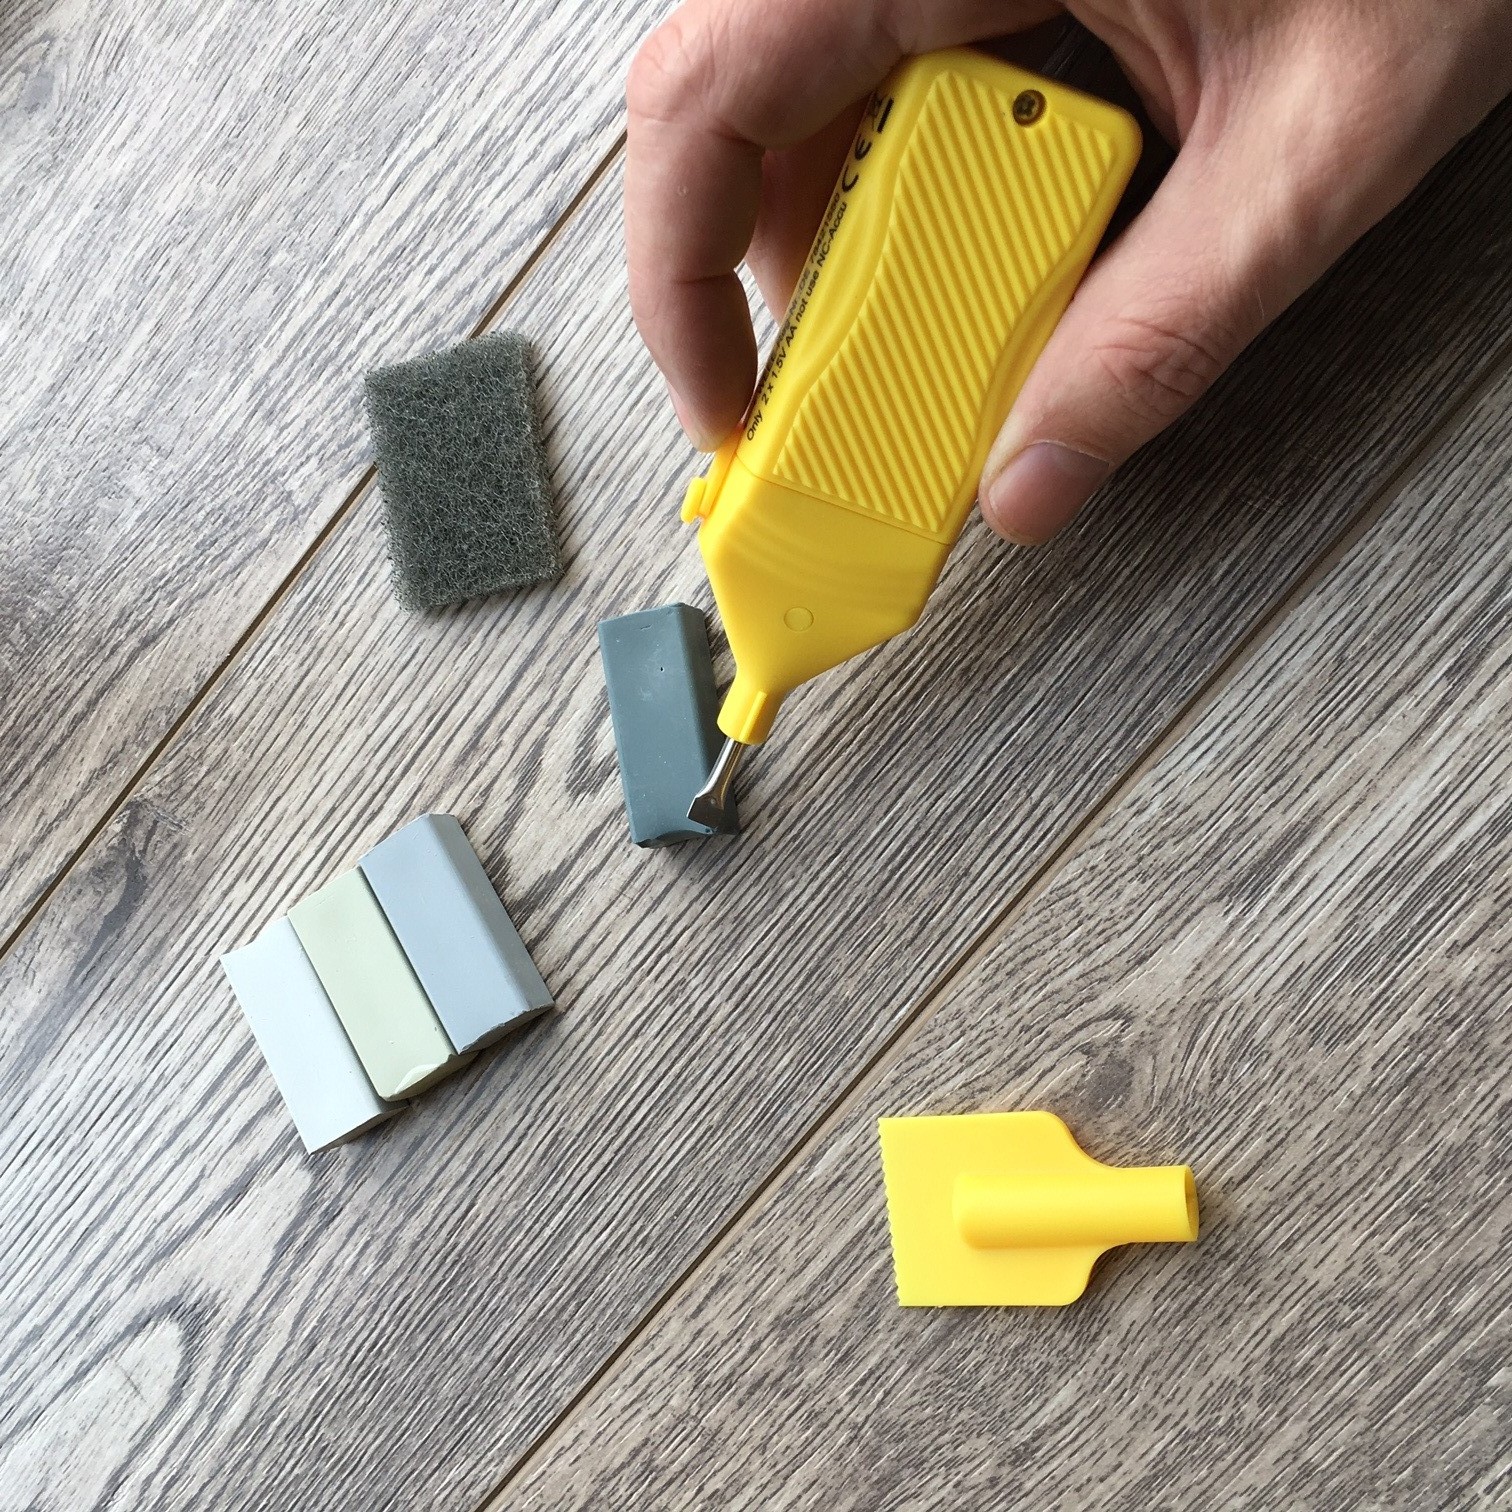
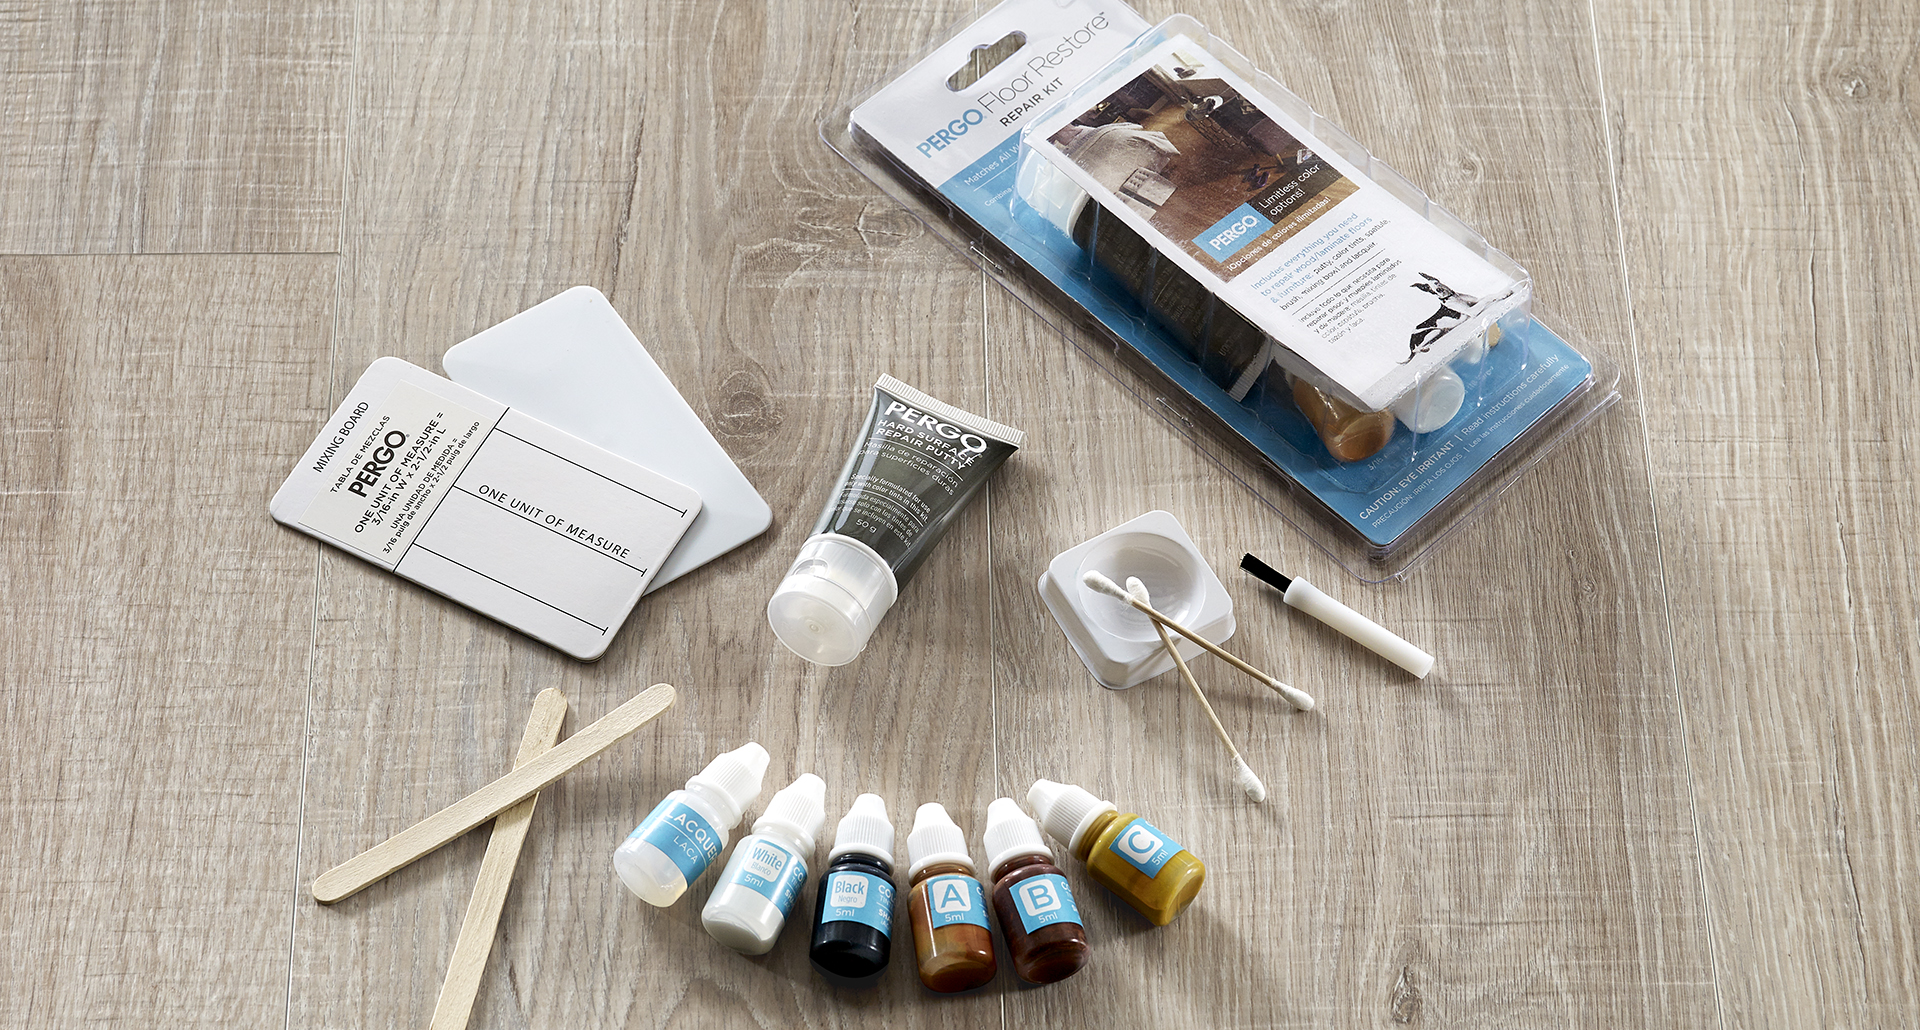
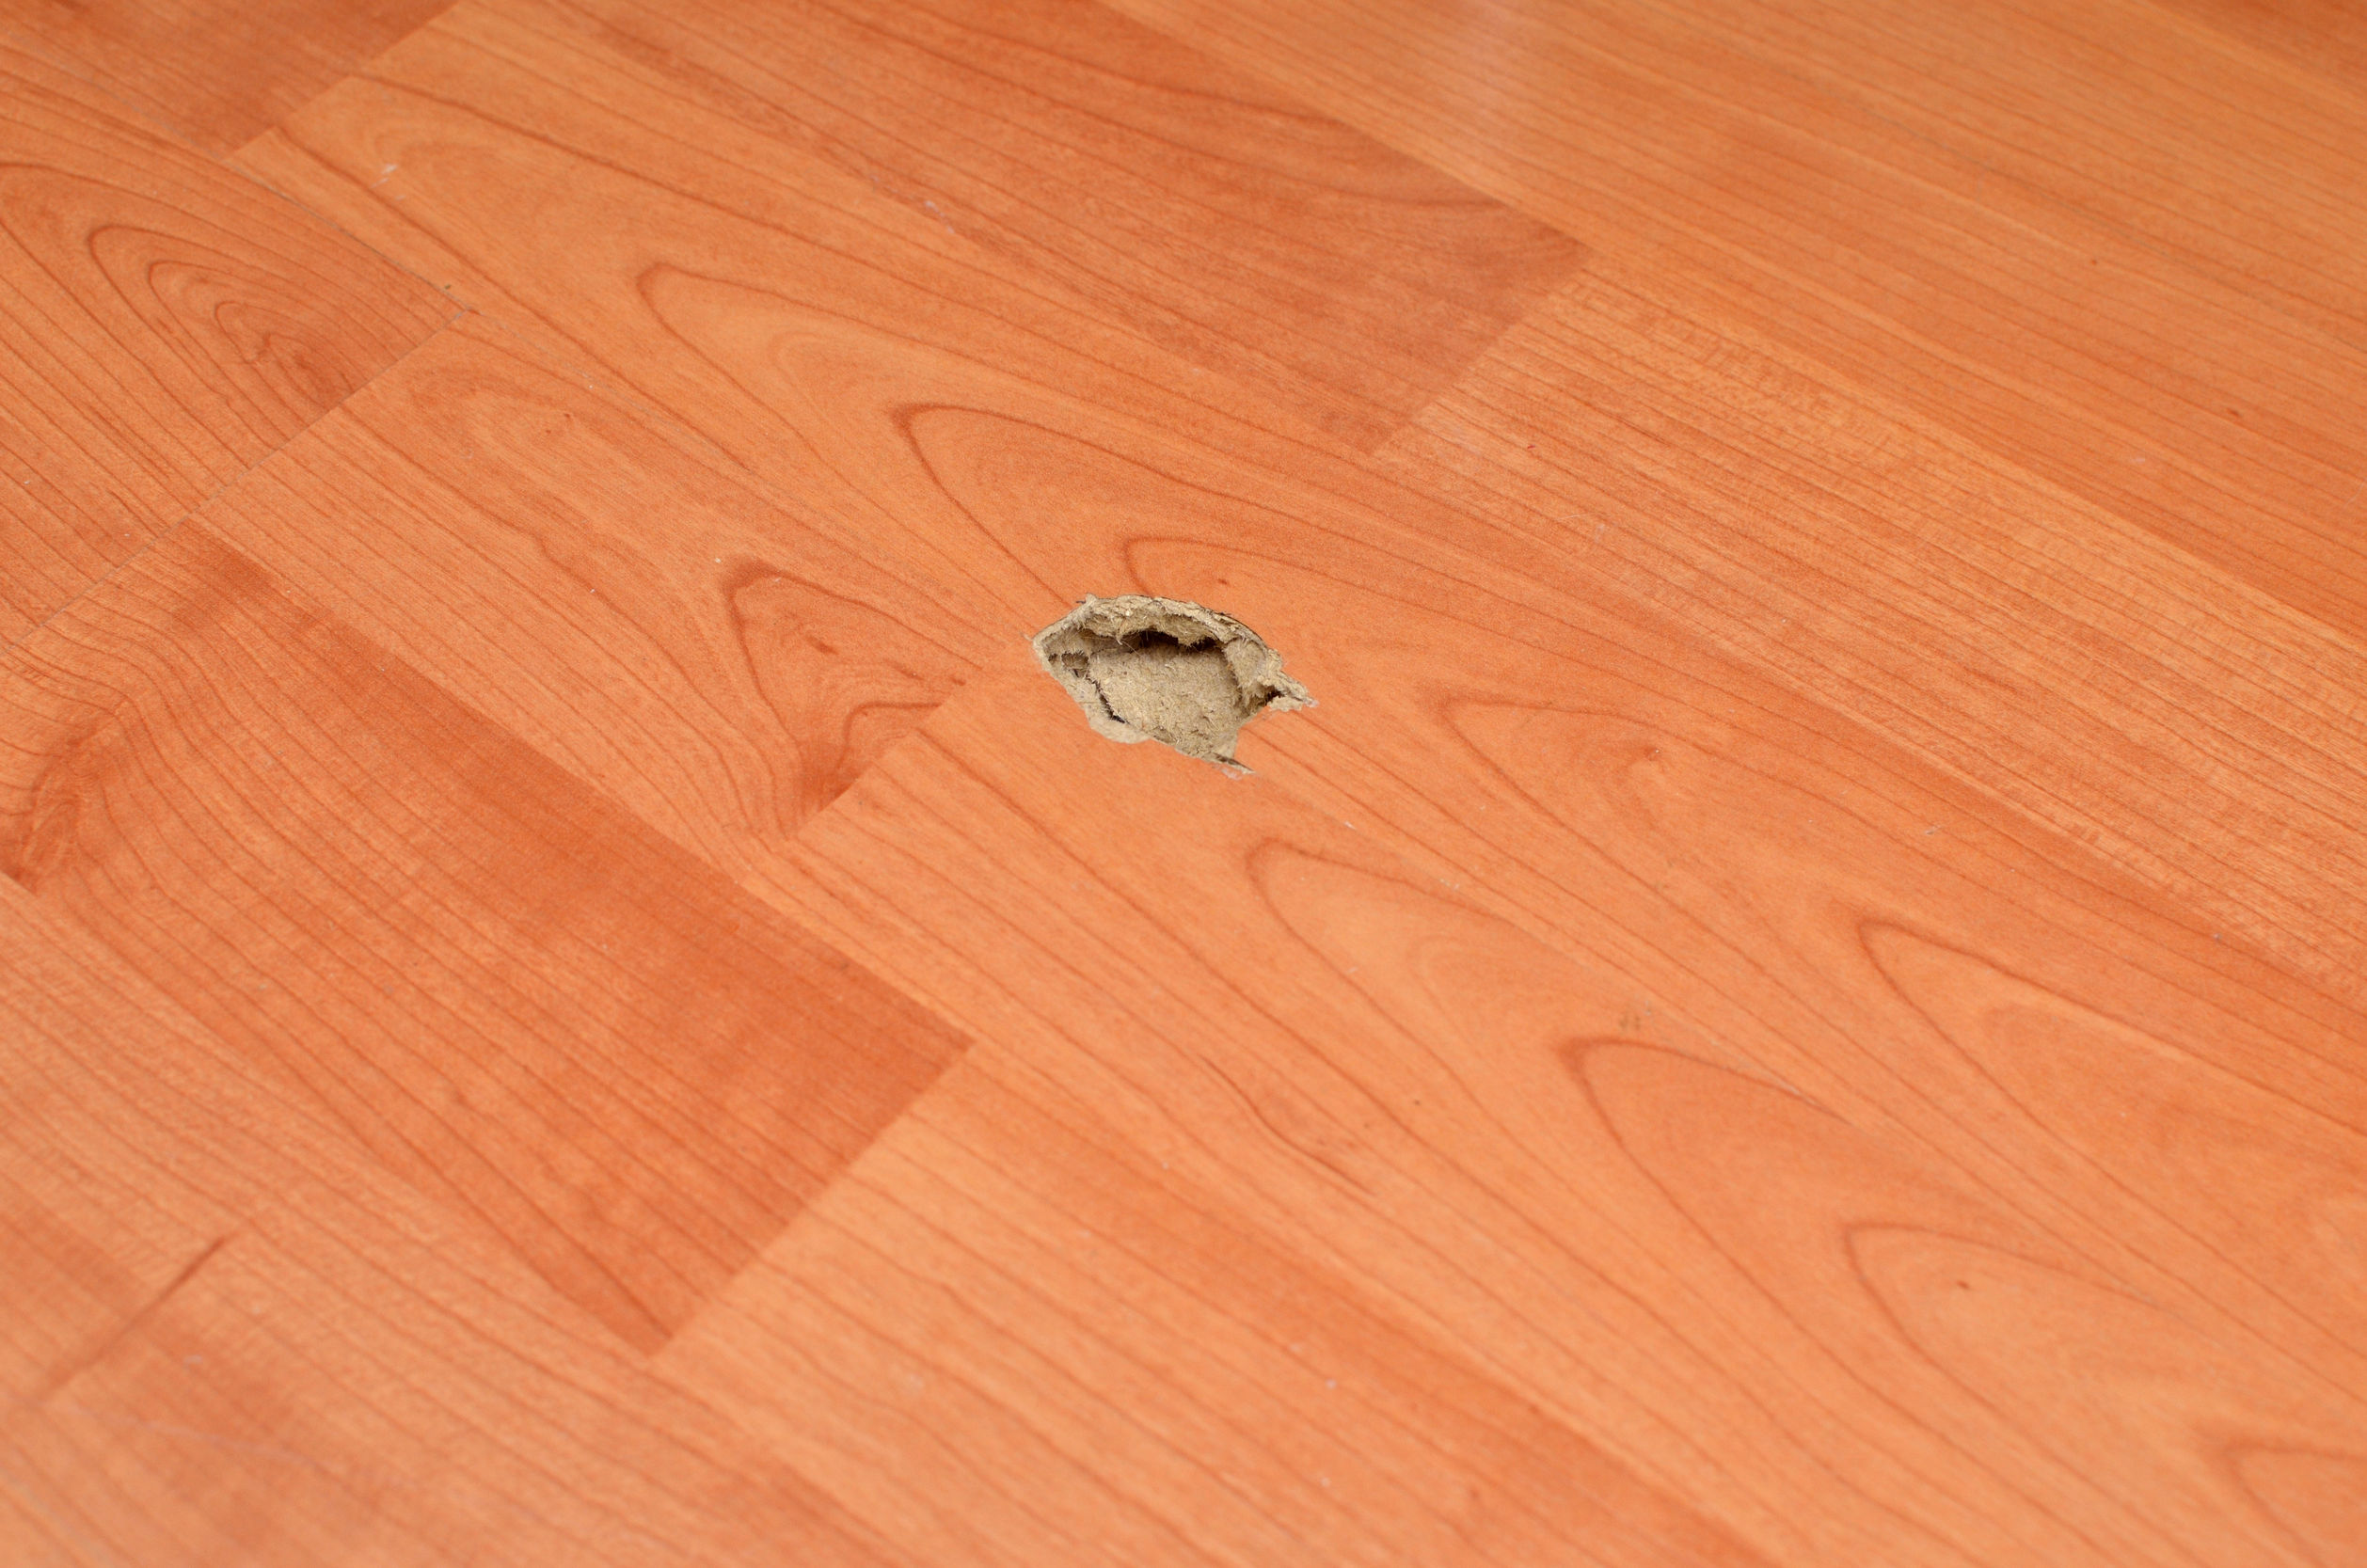
Special Putties
You can hide very noticeable scuffs on the laminate floor with your own hands, it is not necessary to resort to the help of specialists. To do this, you need to purchase a special paste. The repair kit must be selected carefully so as not to make a mistake with the color. It doesn't matter if your laminate is dark or light, you can get the desired shade even by mixing several colors. Take a piece of the cover to the store to use as a sample. Special composition can be replaced with acrylic sealant. Usually they buy it in white, and achieve the desired shade using dye.
Working with putty requires accuracy. There is a risk that not everything will turn out well on the first try. We recommend that you practice on a replacement board before attempting to repair the defect in a conspicuous place. This will let you know if you have chosen the right color. And learn how to mask scratches and repair chips.
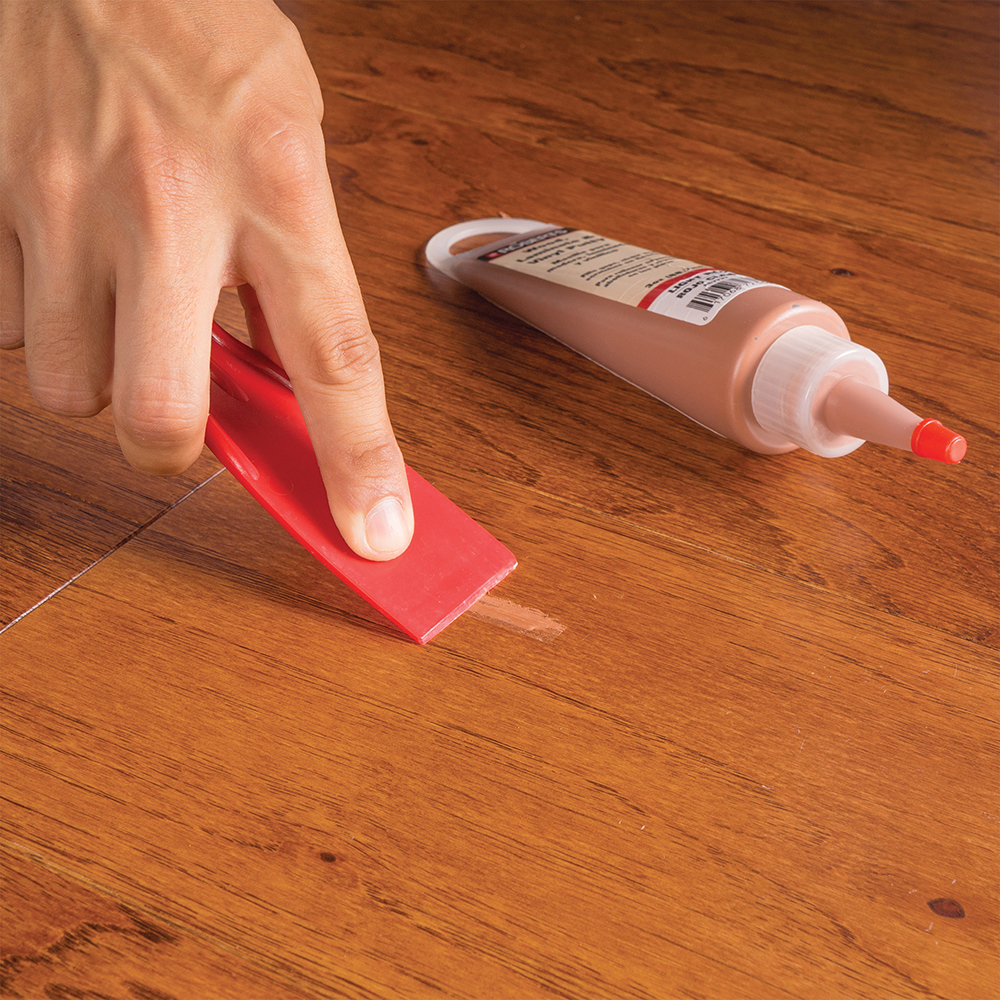
The process for fixing defects looks like this:
- The coating is cleaned from dust and any other contaminants.
- A small amount of viscous mass is squeezed out of the tube onto the patch site. Part of the paste is also applied to the spatula (it can be wooden, plastic, rubber or metal).
- When leveling, putty should be slightly pressed into the chip.
- After application, the area is wiped with a damp soft sponge, removing excess material.
- The restored place is left for a couple of hours until completely dry.
If you see that the damage to the coating is too strong, it is better not to waste time repairing it. Immediately proceed to replace damaged boards.
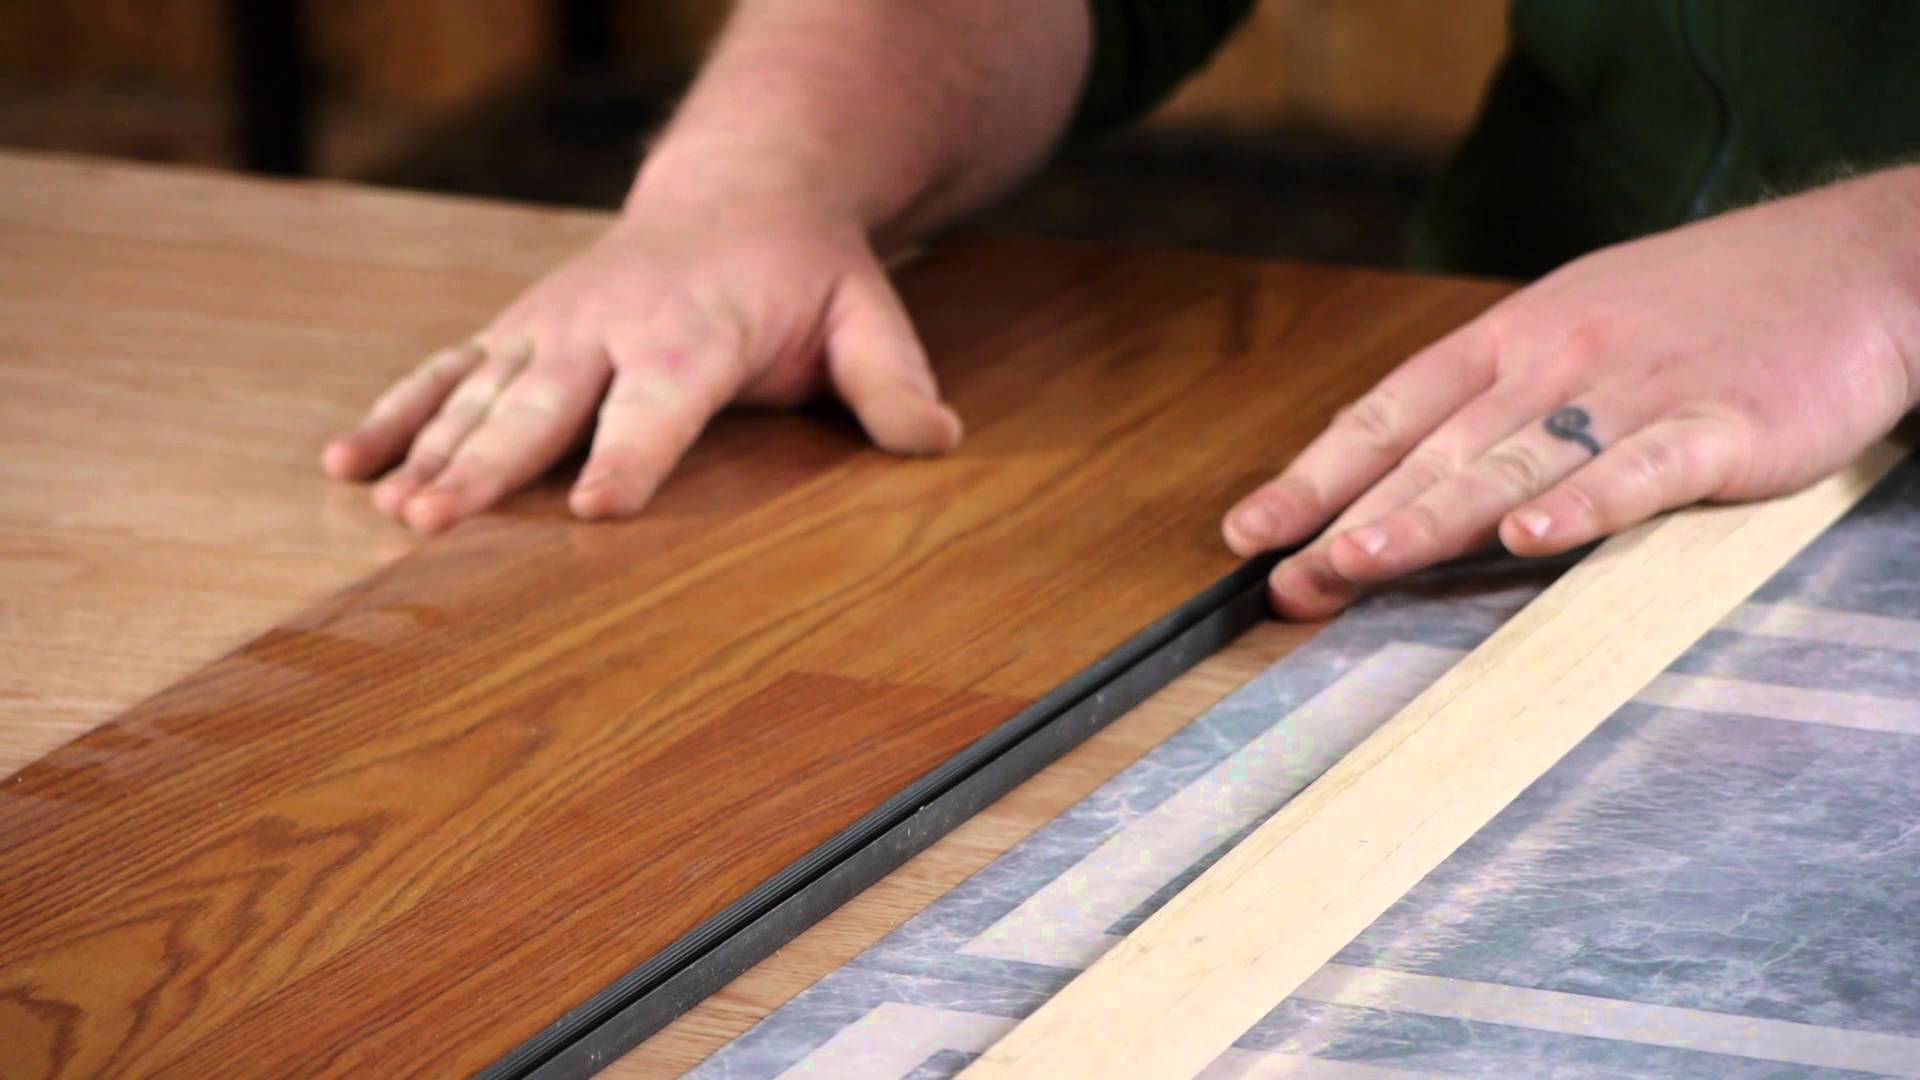
How to replace a laminate board?
There are two main types of laminate board joints:
- Collapsible, which include rotary, combination and click and t-locks.
- Non-separable, these include locks and glue.
In this regard, there are two methods for replacing laminated boards: the first involves disassembling the coating, the second is possible using a circular saw.
Disassembly replacement
This method is simpler, but will take longer, especially if the worn board is far from the wall, so it is advisable to use it if the damage is near the baseboard. If the mutilated laminate is located in the center of the room, then it will take a very long time to disassemble the entire coating. In this case, we recommend repairing the laminate without disassembling it. You can read about this method below.
Step-by-step instructions for replacing laminated boards:
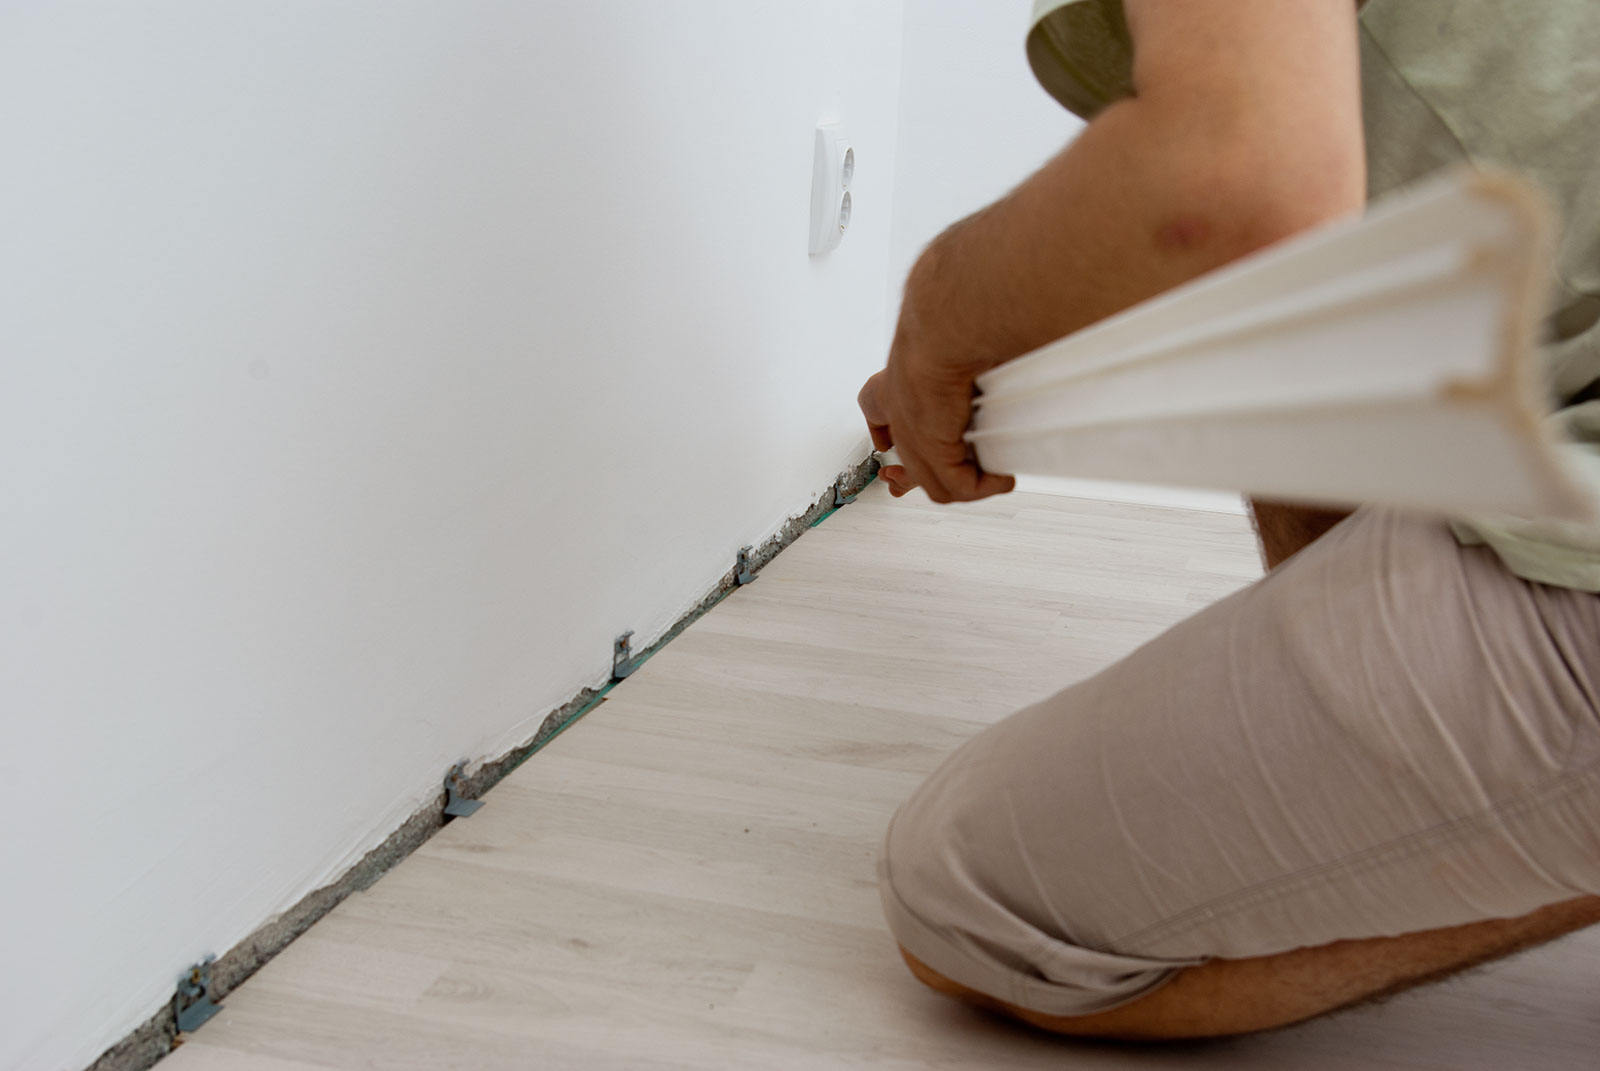
- First you must provide access to the coverage. To do this, dismantle the skirting boards located near the wall closest to the damaged board. Remove the skirting board carefully so as not to damage it, otherwise it cannot be reused.
- Then, with the help of a chisel, the corner board is opened (first on the long side, and then on the short).
- Then you have to disassemble the coating to the damaged area. To easily disconnect the boards, they need to be raised by 45 °. So the ends will be released from the grooves without spoiling the locks.
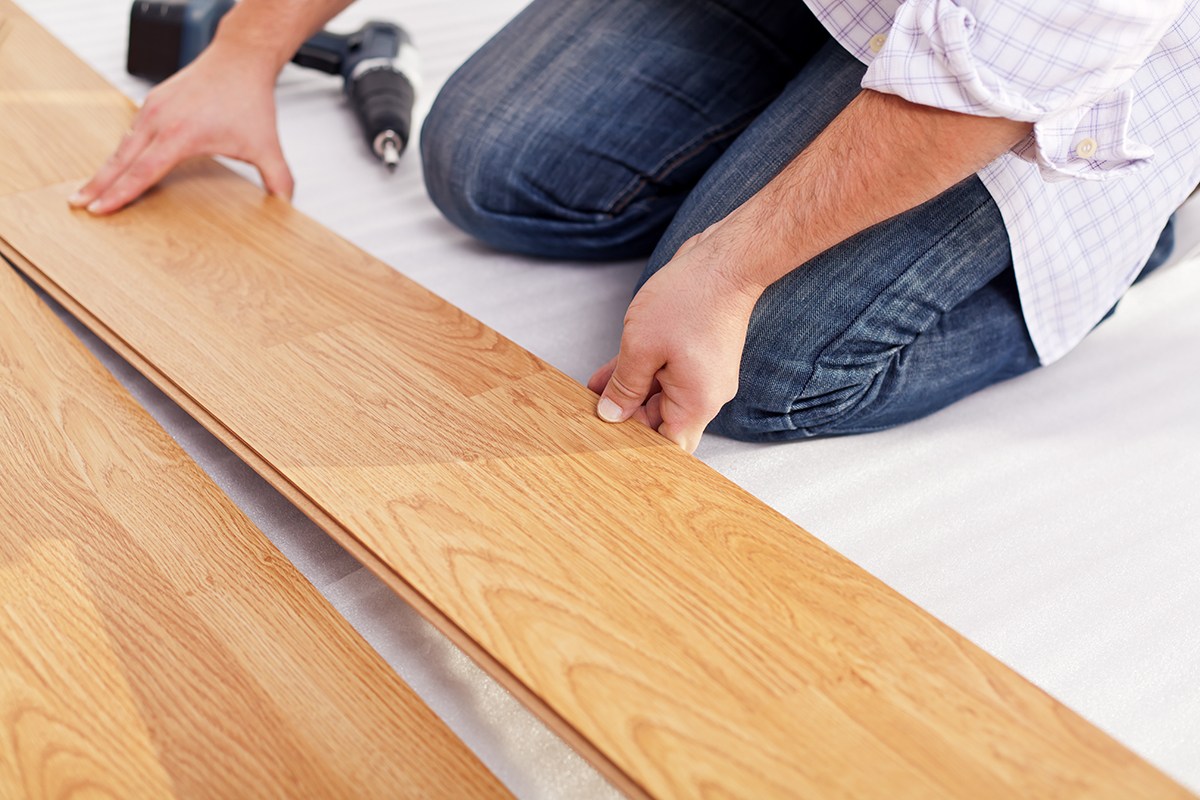
- Board replacement is done carefully and slowly. When laying a new board, avoid gaps.
- After replacement, the disassembled coating is assembled in the reverse order. The skirting board is returning to its original place.
The new board should be the same brand as the existing ones. This way you avoid problems with locks or color mismatch.

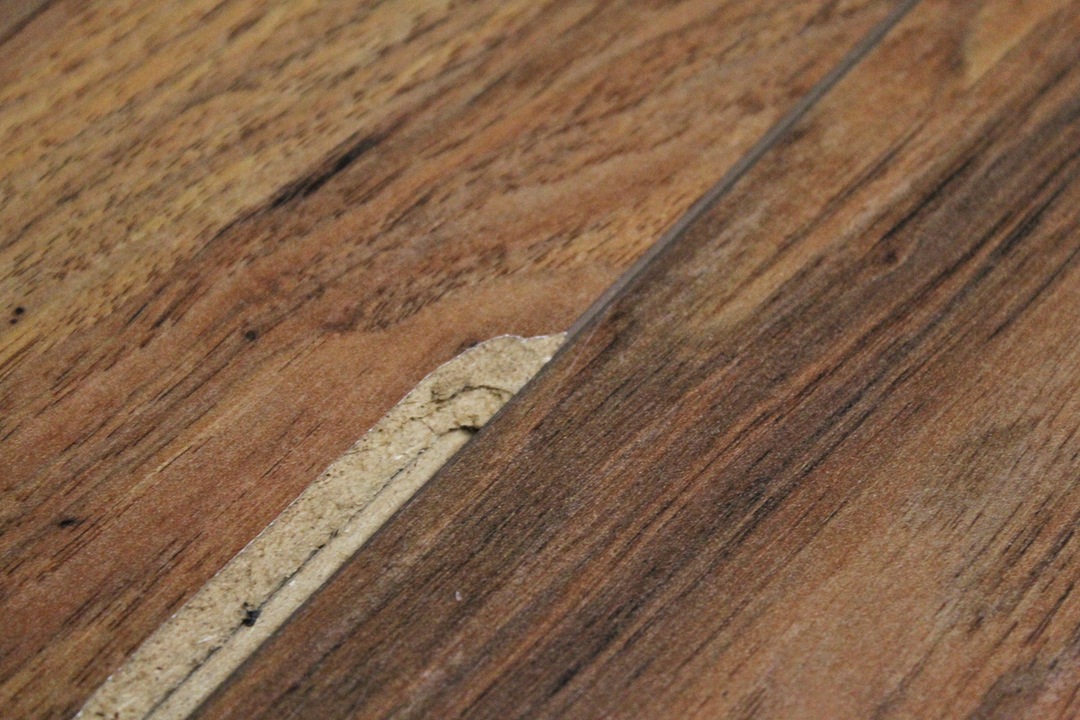
Replacement by sawing
DIY laminate repair indiscriminately is done as follows:
- Before you cut a shabby board, you need to make markup. To do this, put dots in the corners of the board. From the tops of the corners inwards, small segments (3-5 cm) are drawn at an angle of 45 °. Combining the internal marks, we get a rectangle, the size of a little smaller than the laminated board.
- A saw for a parquet is cut out an internal rectangle. Cut it from all sides, trying not to touch the edges. This must be done carefully so that the cut line is even. After that, the sawn part is taken out.
- The main part is removed, it remains to extract the remaining laminate. Butt parts are broken with a chisel, a hammer or pliers. The remaining pieces from the board must be filed.
- Before installing a new board, it is necessary to carry out a preparatory action. To do this, the connecting spike should be filed, giving a wedge-shaped shape.
- Prepare the surface before installation. The remaining glue is cleaned with a chisel. Vacuuming away sawdust and other small debris. Carefully inspect neighboring boards. If their condition leaves much to be desired, then they will have to be replaced too.
- A new board is inserted, checking whether it is suitable in size. After that, the sides of the board and the surfaces that will be in contact with it are treated with glue. Then they put it in its place.
- Use a dry cloth to remove excess glue.
- The place of repair is definitely worth fixing. To do this, place something heavy on top.
It is allowed to remove the load and use the coating after 12 hours.
How to eliminate or mask the gaps between the joints?
There are several reasons why there are unattractive gaps between the laminate boards:
- Purchasing substandard material.In order to save money, you can make a mistake with the choice of laminate. Too cheap coverage is often problematic. In this case, even after proper installation, cracks appear at the joints. Do not use boards with cracks or curvatures, even if their defects seem to be minimal. During operation, the situation will worsen.
- Even for one manufacturer, batches can vary in size of the boards or types of locks, so the joints loosen over time and small gaps occur.
- Laying on an uneven surface. Manufacturers guarantee a long life for the floor only when it is placed on a flat floor base. Even the substrate becomes denser over time, loses its cushioning ability and stops compensating for uneven floors. So before laying the boards, check the degree of evenness of the base in the room and, if necessary, use a self-leveling screed.
- Large fluctuations in temperature and humidity. Boards change their volume, gaps are formed between them. Before installing the packaging with the laminate should lie in the room a couple of days to get used to the climatic conditions. After installation, you need to maintain approximately the same level of humidity and temperature in the room.
If cracks still appeared, then in this case, the repair of the laminate with your own hands is done as follows:
- The easiest way is to mechanically “close” the gap. Try to get rid of the gap by hitting it several times with a hammer in the direction of the gap.
- Slots can be filled with special wood filler. This option is suitable if the holes are small.
- The final solution is to partially or completely dismantle the laminate. How to do this, you already know. No need to throw away good boards, only problem ones need to be replaced (pay attention to the grooves and ridges).
Damaged boards can be mechanically repositioned and reused, but in the long run a problem with gaps will still arise.
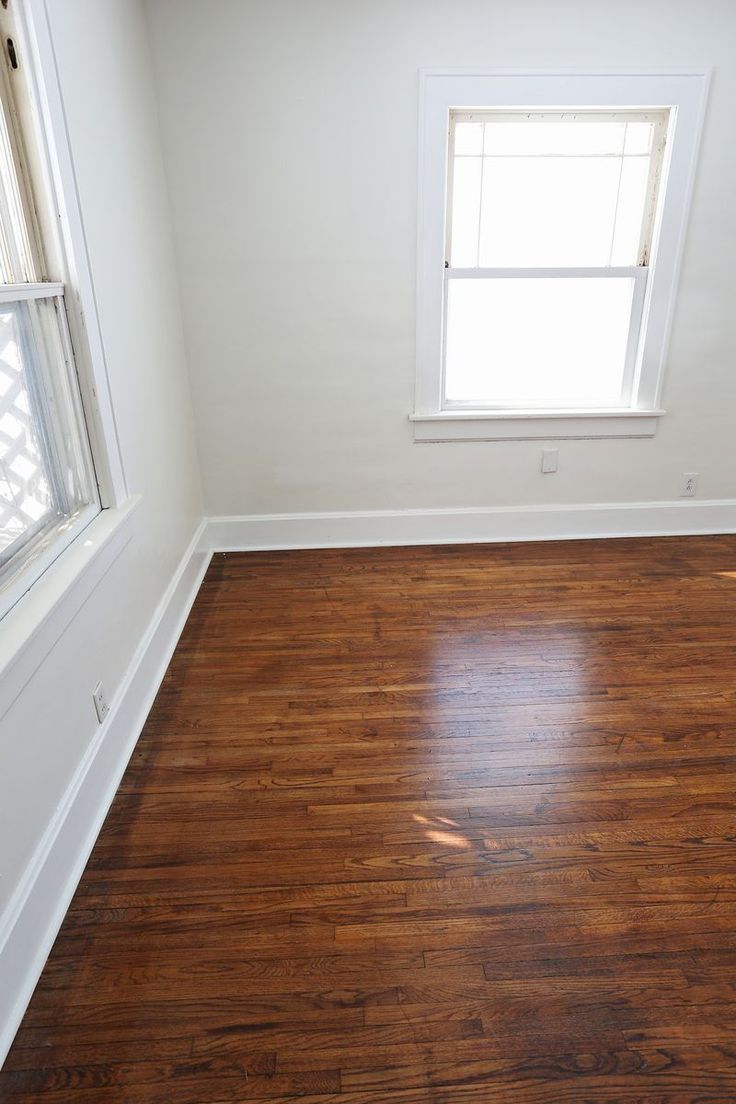
Now you know how to deal with scratches or chips and how to eliminate the gaps between the boards. Using our recommendations, you can return the attractive appearance to the floor yourself, but remember that the best way to get rid of defects is to prevent their appearance.