Plasterboard putty: secrets of professionals
Content
More recently, the decoration of the room consisted of pasting the walls with simple wallpaper made of paper, at the present time many people have the question of how to properly putty plasterboard for painting, as the surface should be perfectly even and smooth. This work can be done independently, adhering to a certain algorithm of actions.
Why putty drywall?
Some home craftsmen believe that puttying drywall under wallpaper is a waste of time and effort. This work is very painstaking and requires special perseverance. In some situations, when decorative panels are used for surface coating, it is possible not to putty the surface of drywall. In other situations it is necessary to putty.
Seams and hats of fasteners must always be repaired, despite the method of decoration. Also, during transportation or improper storage, GVL boards can be deformed, which is easily corrected by puttying.
Plastering the walls of gypsum board must be done, for wallpaper, painting, and decorative plaster. If ceramic tiles or PVC panels are used as the facing material, it is enough to simply seal the seams and fasteners.
Drywall putty technology
As soon as the drywall construction is ready, we proceed to puttying. In order to have an idea of how to do the work, we will analyze the complete algorithm for performing drywall finishing with your own hands for painting. So:
- GKL surface primer;
- sealing hats fasteners;
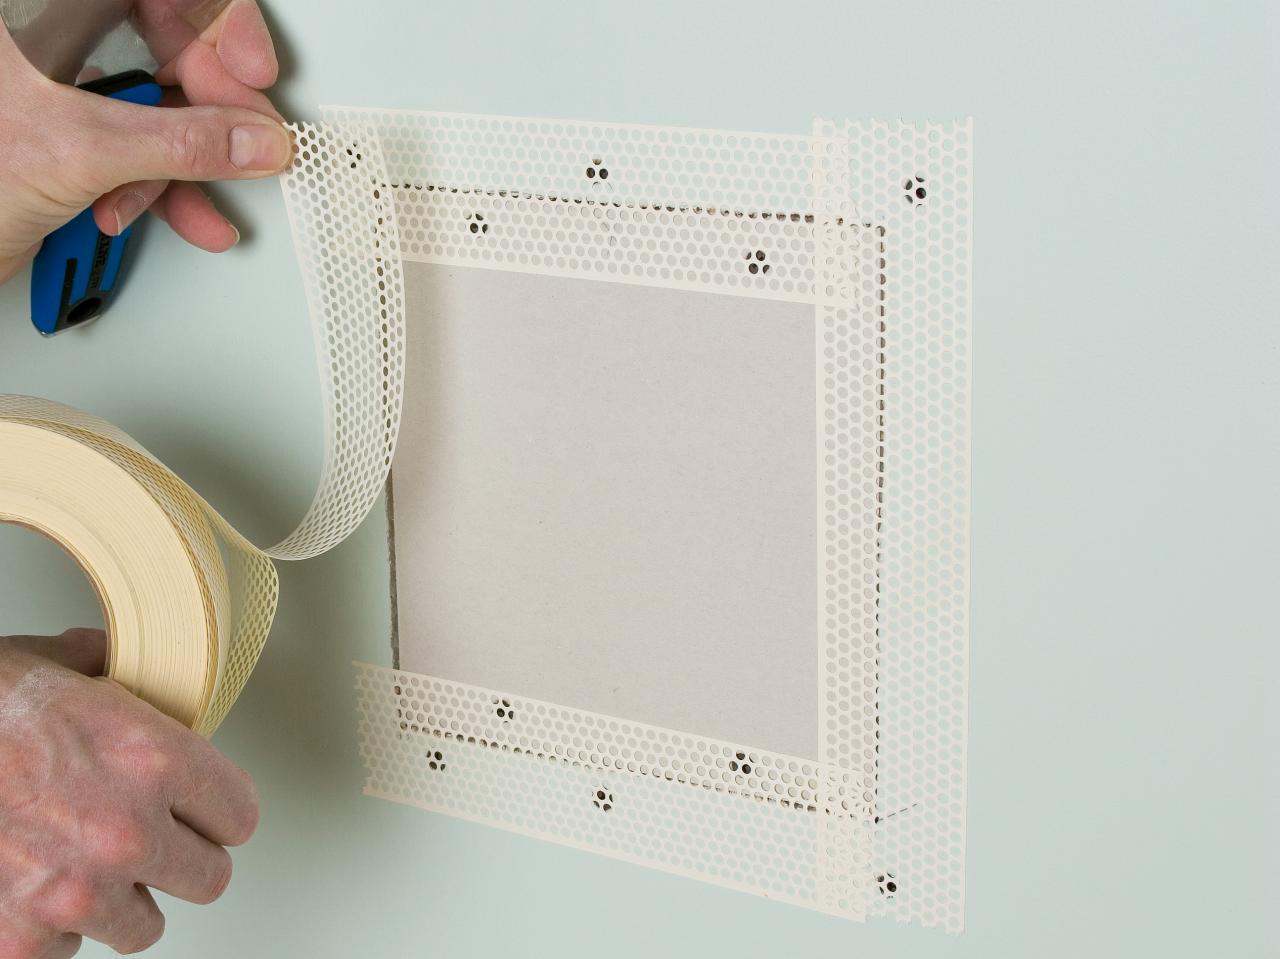
- putty joints with the use of serpianka;
- installation of a perforated corner;
- applying a starting layer of putty;
- padding;
- putty top coat;
- primer for finishing.
Which putty is best for drywall? You can use any - gypsum, polymer, cement (for wet rooms).
Finishing polymer coatings are applied in a thin layer, while the surface is smooth.
Gypsum putties are of two types - starting, applied by the first base layer, and finishing. These compositions are distinguished by their ductility and the size of the particles that are in the composition. These mixtures are used very often, their cost is not high.
Putty for GVL is carried out in two forms - in containers, ready for use, and dry, which must be diluted with water before use.
Sealing joints and fasteners
First of all, before the final plastering of drywall constructions, preparatory work should be carried out: primed drywall and seal up all joints. The work should be done using the following technology:
- dilute the composition according to the instructions from the manufacturer. It is worth remembering that gypsum mixtures do not live long, so you need to breed as much as you can work out in 30 minutes;
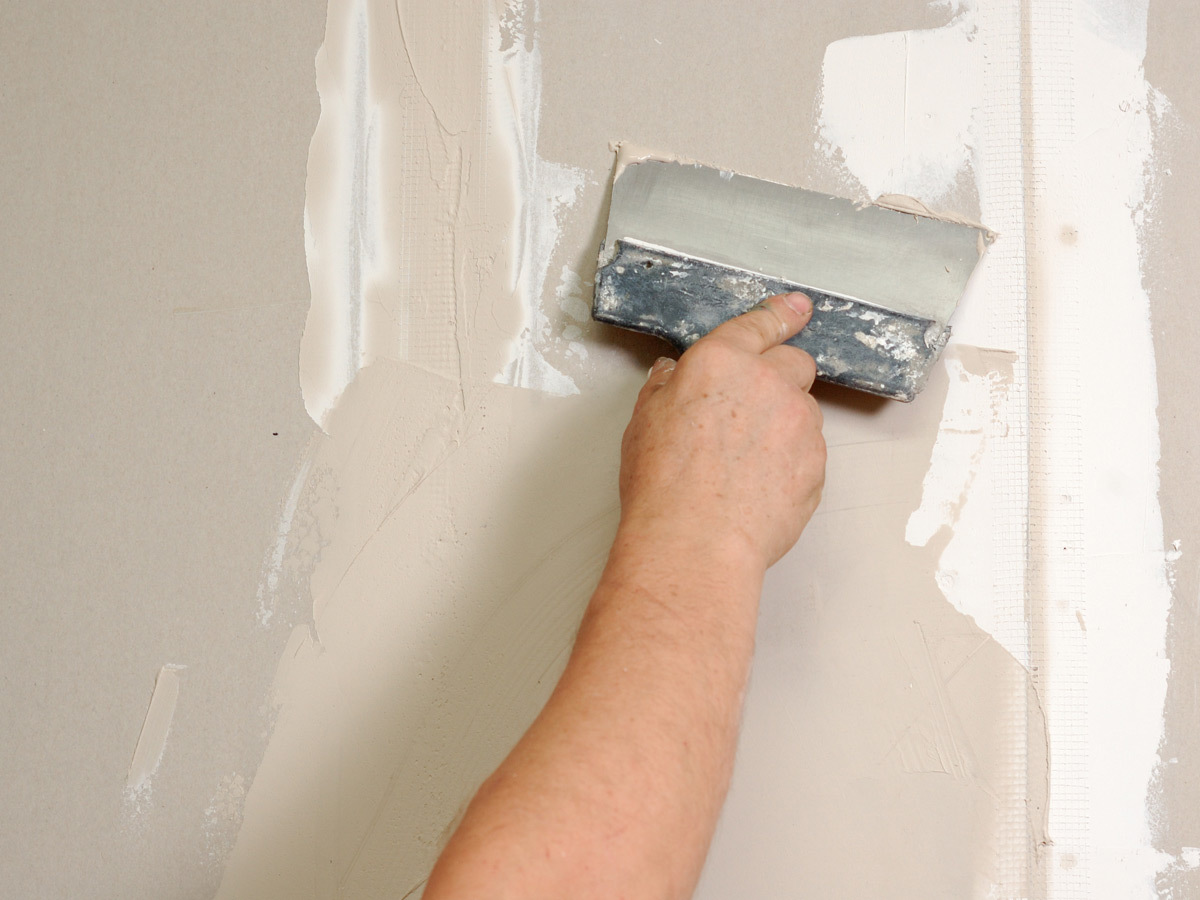
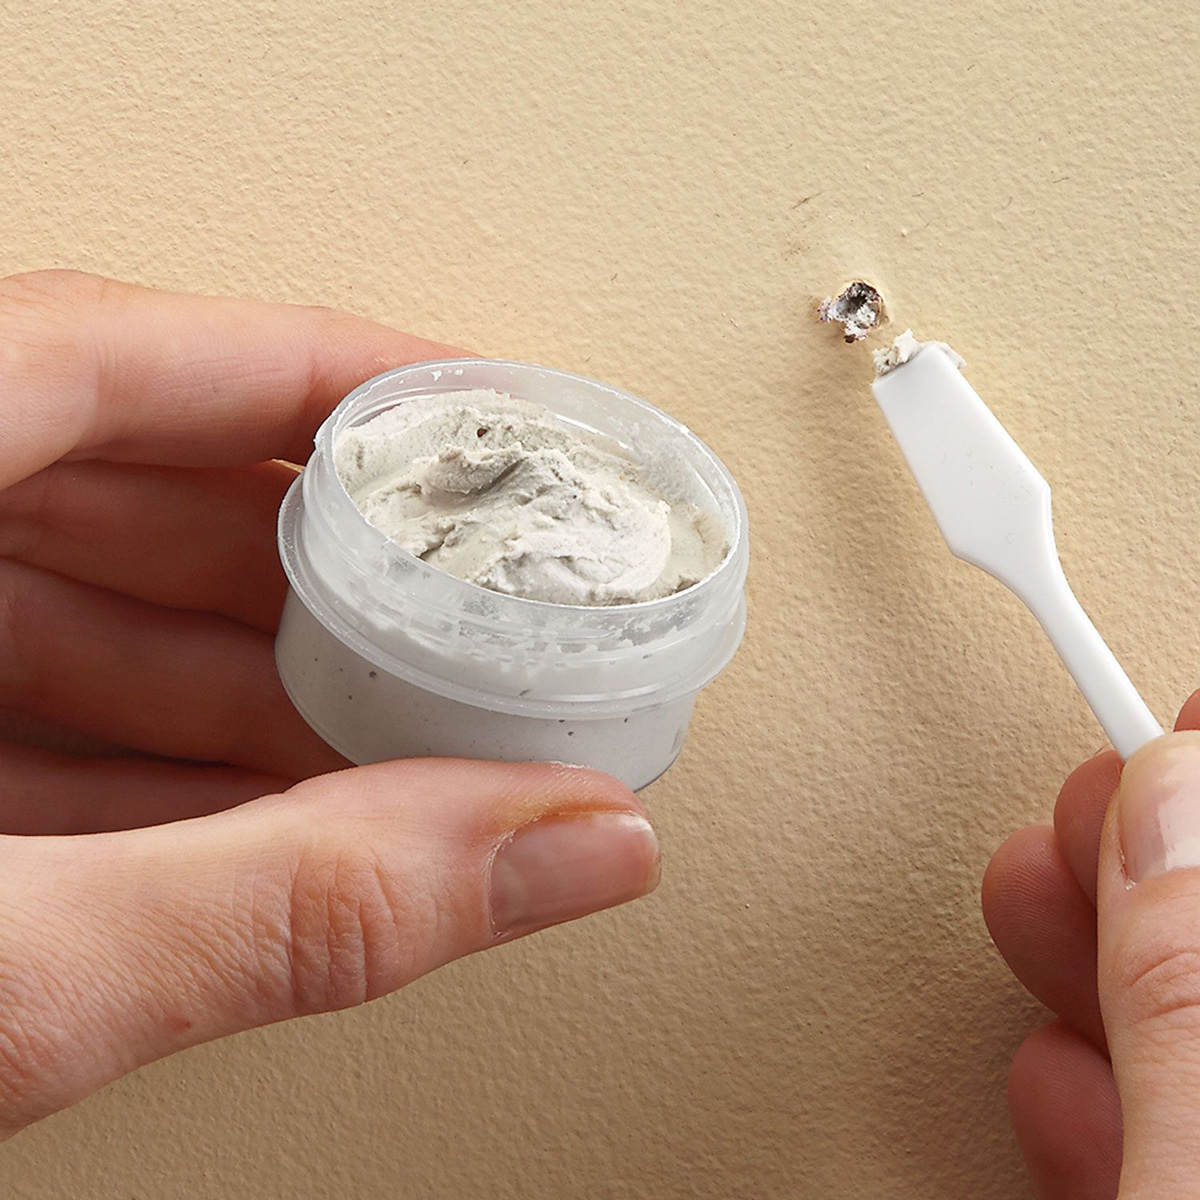
- apply a mixture with a small spatula to each cap of fasteners over the entire surface of the GVL. Carefully remove the excess, do not leave too much material on the hats, forming bumps. As soon as all the self-tapping screws are masked, you can proceed to the graying stage;
- close up the seams in the material.It is worth noting that there are two types of joints in the construction of large drywall structures - vertical and horizontal, and the puttying technology is different.
For high-quality sealing of the seams, it is worth tearing in detail the technology of each type.
Vertical joints
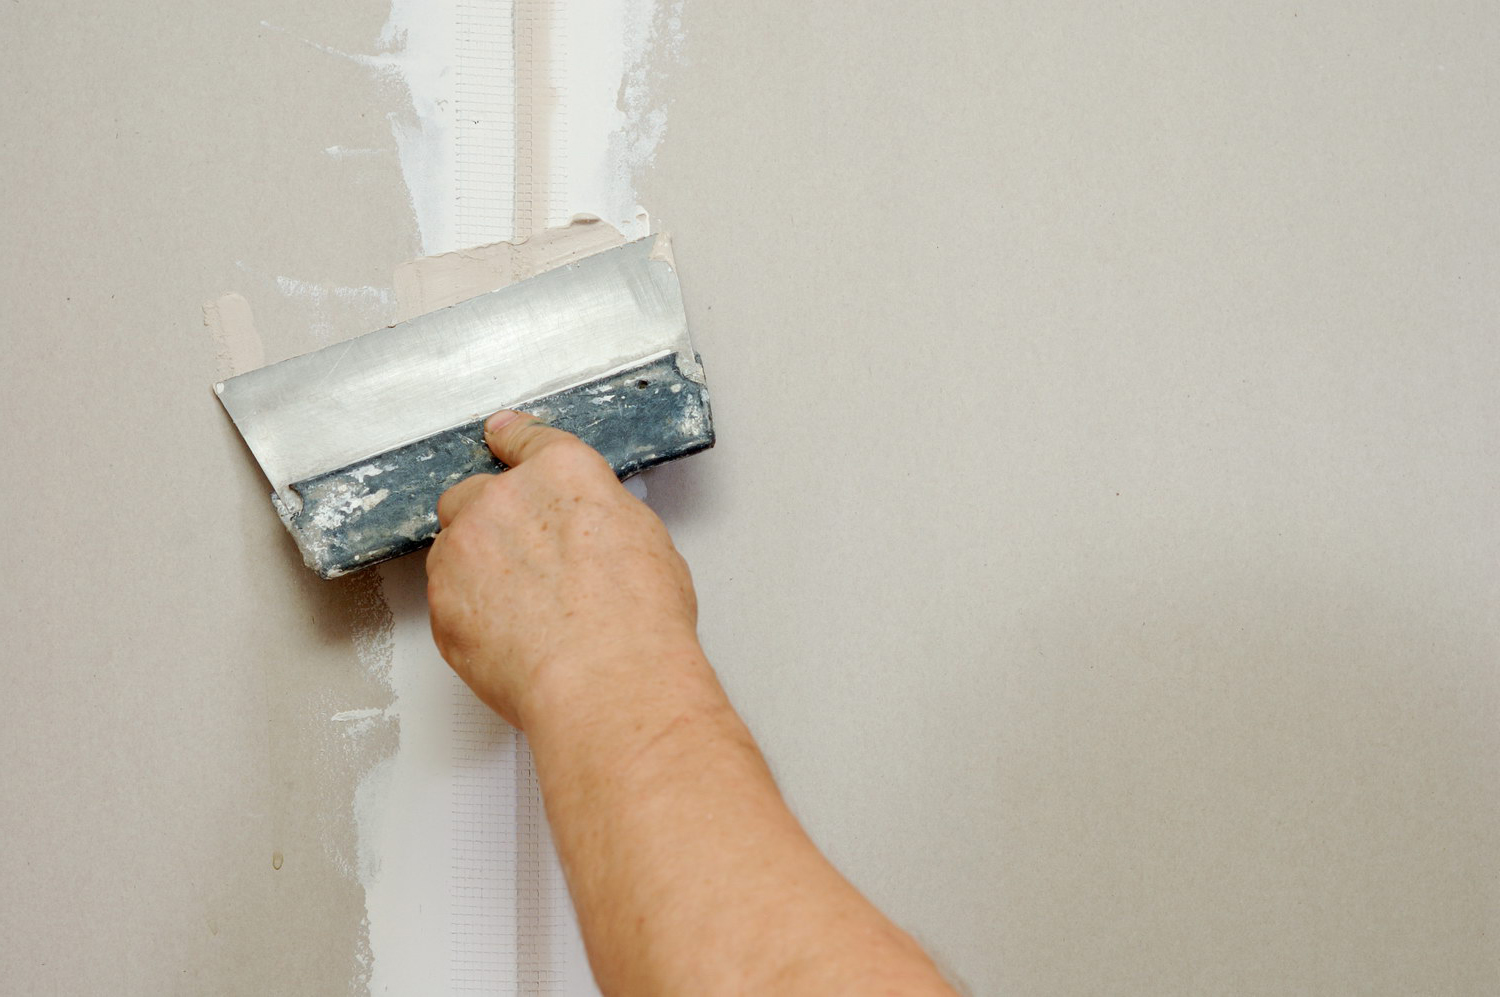
It is worth noting that the drywall sheet on the vertical side has a beveled edge, which should be thoroughly hammered with a starting putty before embedding. Then they should be glued with a serpentine to prevent cracks subsequently. As soon as the seams are glued, a small layer of putty is applied to the sickle with a wide spatula, so that the surface becomes smooth. As soon as all seams are closed, work is stopped until the solution completely dries.
Trim seams
Before you close up the horizontal connections of the GVL, you need to do the following:
- stitch seams - cut the edge at an angle of 45 degrees on each side of the joint;
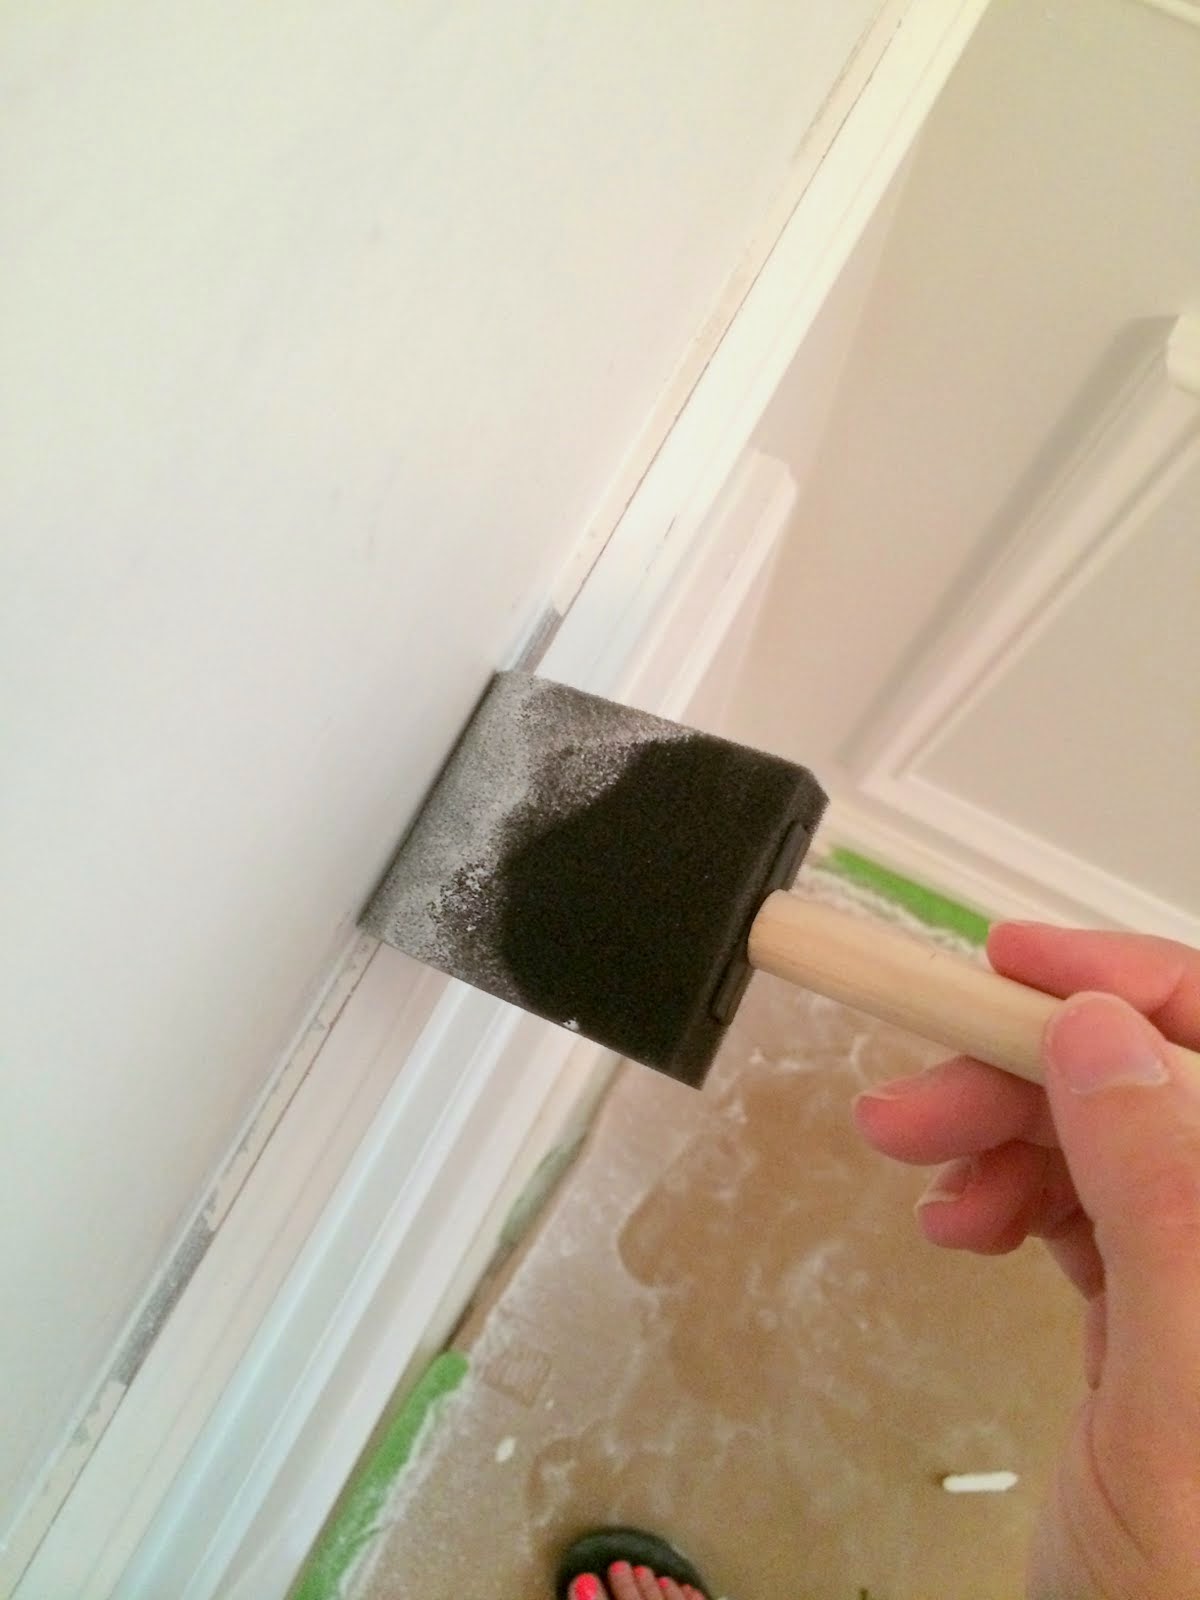
- apply a brush to the primer, and walk along the seam to remove dust and increase adhesion;
- as soon as the soil dries, we hammer the joints with putty, while it is more convenient to work with a small spatula;
- align the surface of the seam and glue the sickle;
- using a large spatula, apply a small layer of putty on the mesh.
On this, the work on sealing seams and masking the hats of self-tapping screws can be considered finished.
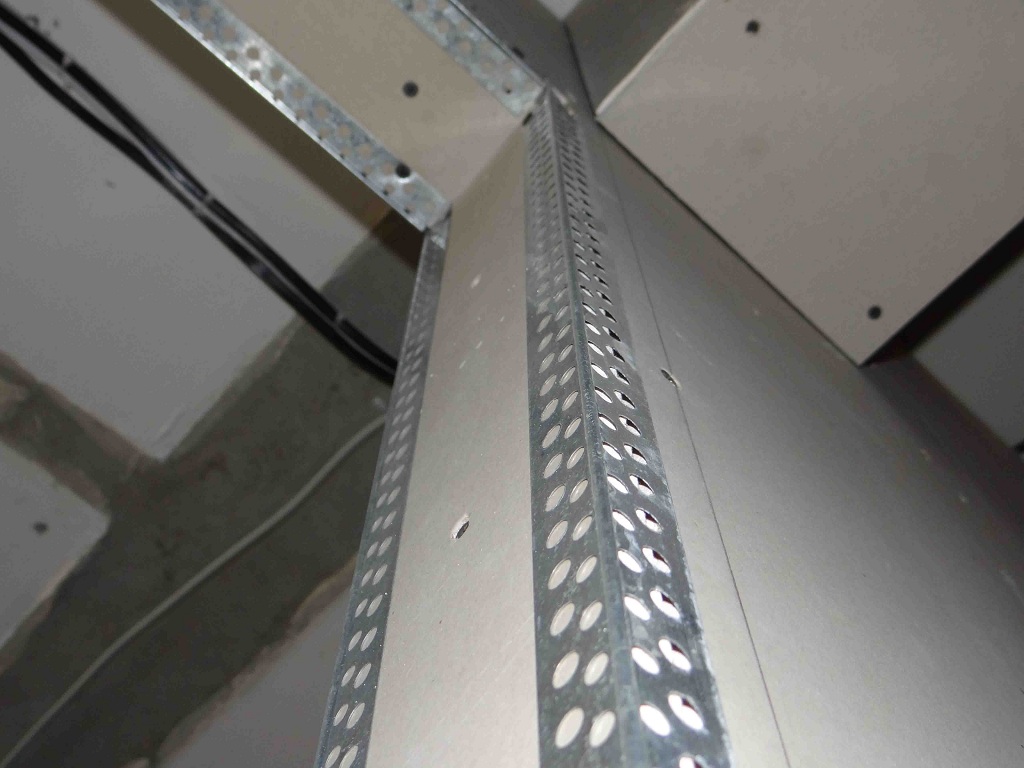
Arrangement of external and internal corners
Before starting this process, you need to prepare:
- perforated angle;
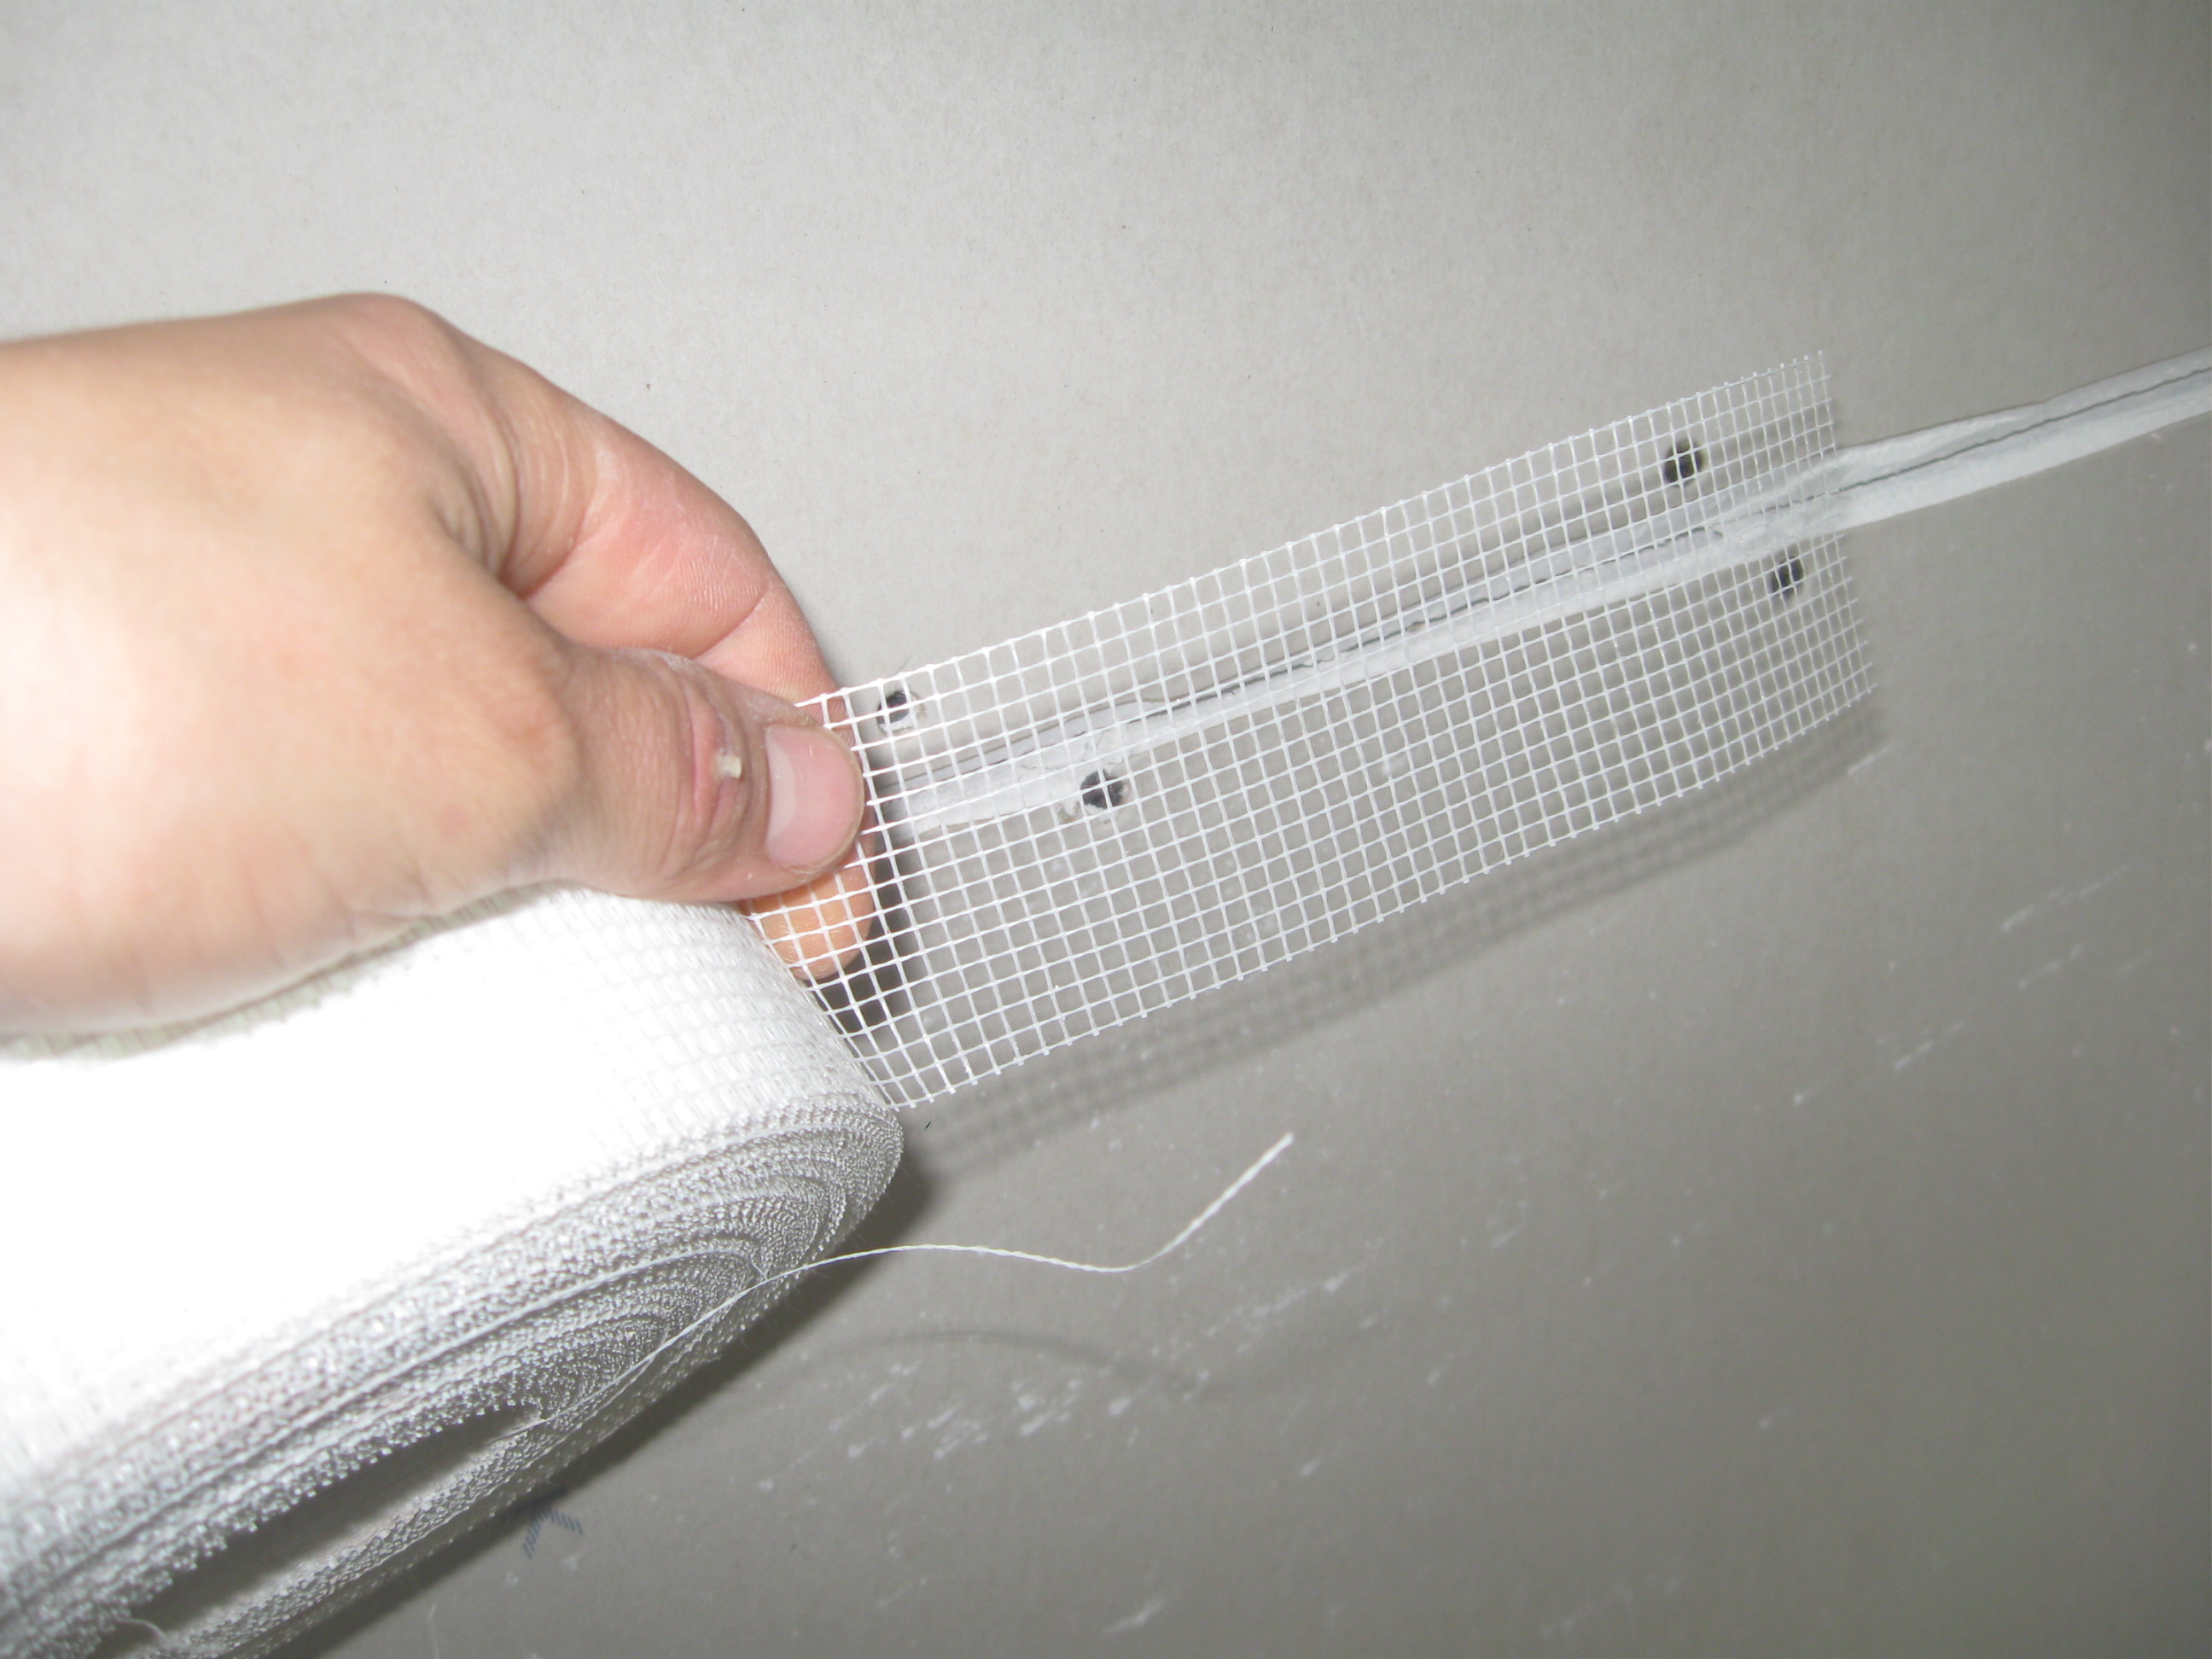
- serpyanka.
Serpyanka is used for arranging internal corners when puttying gypsum plasterboard boxes, wall and ceiling joints. The technology is simple:
- apply a small amount of the composition to the corners;
- glue a seryanka;
- remove material residues with a spatula - while the sickle is pressed into the solution;
- apply a thin layer of putty, masking the mesh.
To equip the external corner, apply a perforated, angular profile, for this:
- cut the element of the right size with scissors for metal;
- cut off the edges by 45 degrees, to prevent the edges from wrapping when puttying;
- apply a thick putty on the corner of the structure, with small sticks on both sides in a checkerboard pattern and press the corner into the material;
- check the level of the installed element, if necessary, immediately carry out the adjustment until the material has grasped;
- remove excess mortar with a spatula so that the surface of the corner is aligned with the plane;
- leave the corner until the solution has set, or until it dries completely;
- then the surface is ground and a small layer of putty is applied over the entire surface of the corner from two sides.
After all the corners are brought in proper form, they should be left for 12 hours, until completely dry.
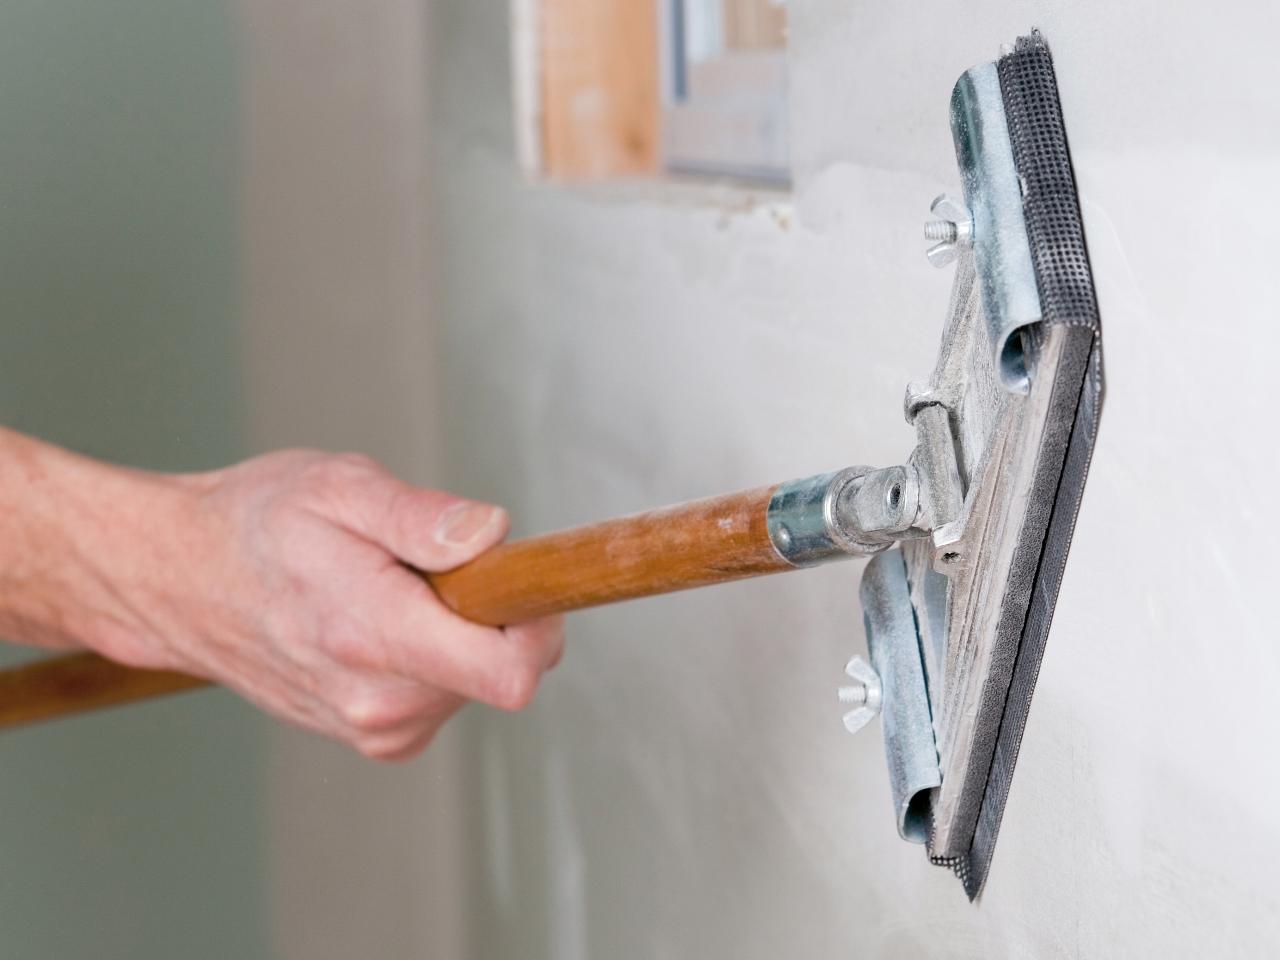
Before proceeding with the work on puttying the surface, you need to carefully grind the corners and joints, so the quality of the finish of the drywall with the finishing compositions will be better. You need to grind with an abrasive mesh with a mesh of 180 microns.
GVL plane leveling with putty
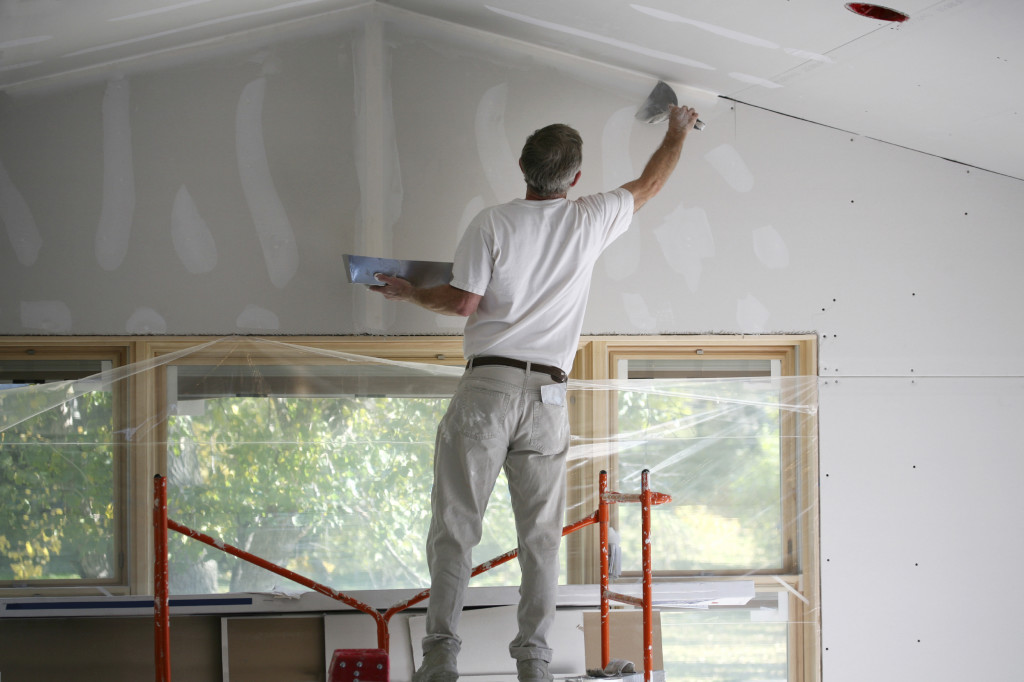
In order for the gypsum plasterboard puttying work to be completed quickly, you need to prepare a large spatula (400 mm), and a help knife (100 mm).
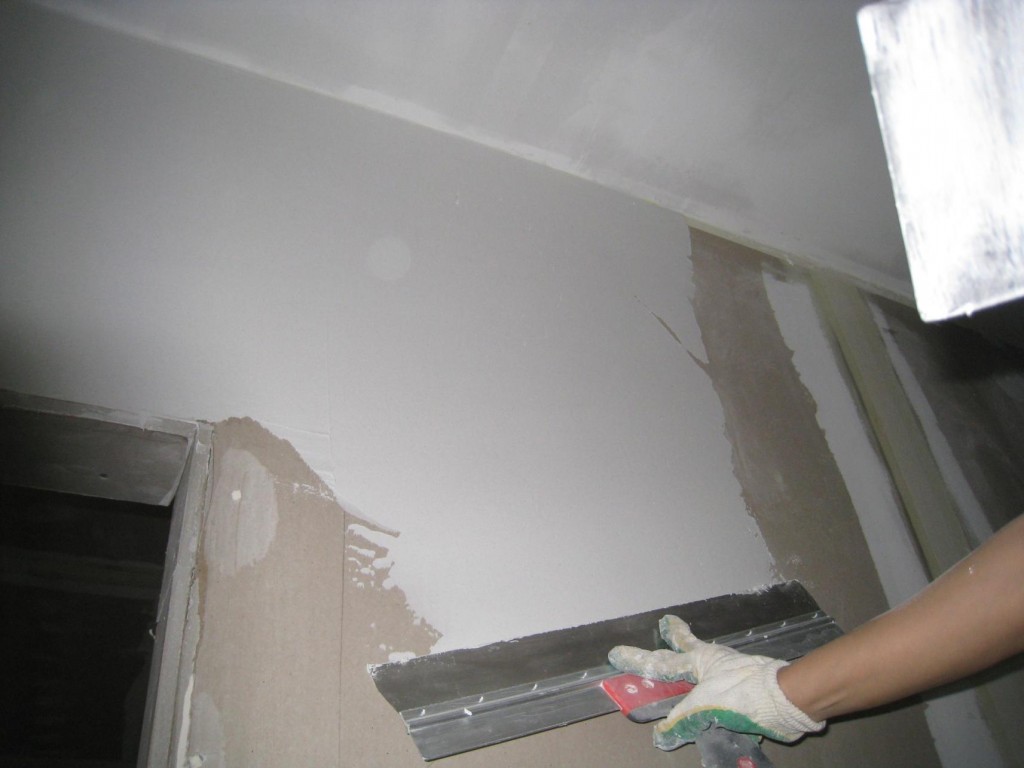
The first layer will be the application of the starting layer of putty - a layer thickness of 5 mm, usually on plasterboard more and not needed. This layer will be enough to mask all the bumps in the material and possible defects.
The mixture is prepared as written on the packaging from the manufacturer.
The solution should turn out to be a consistency of thick sour cream without lumps. This can be achieved using a drill and nozzle "mixer".
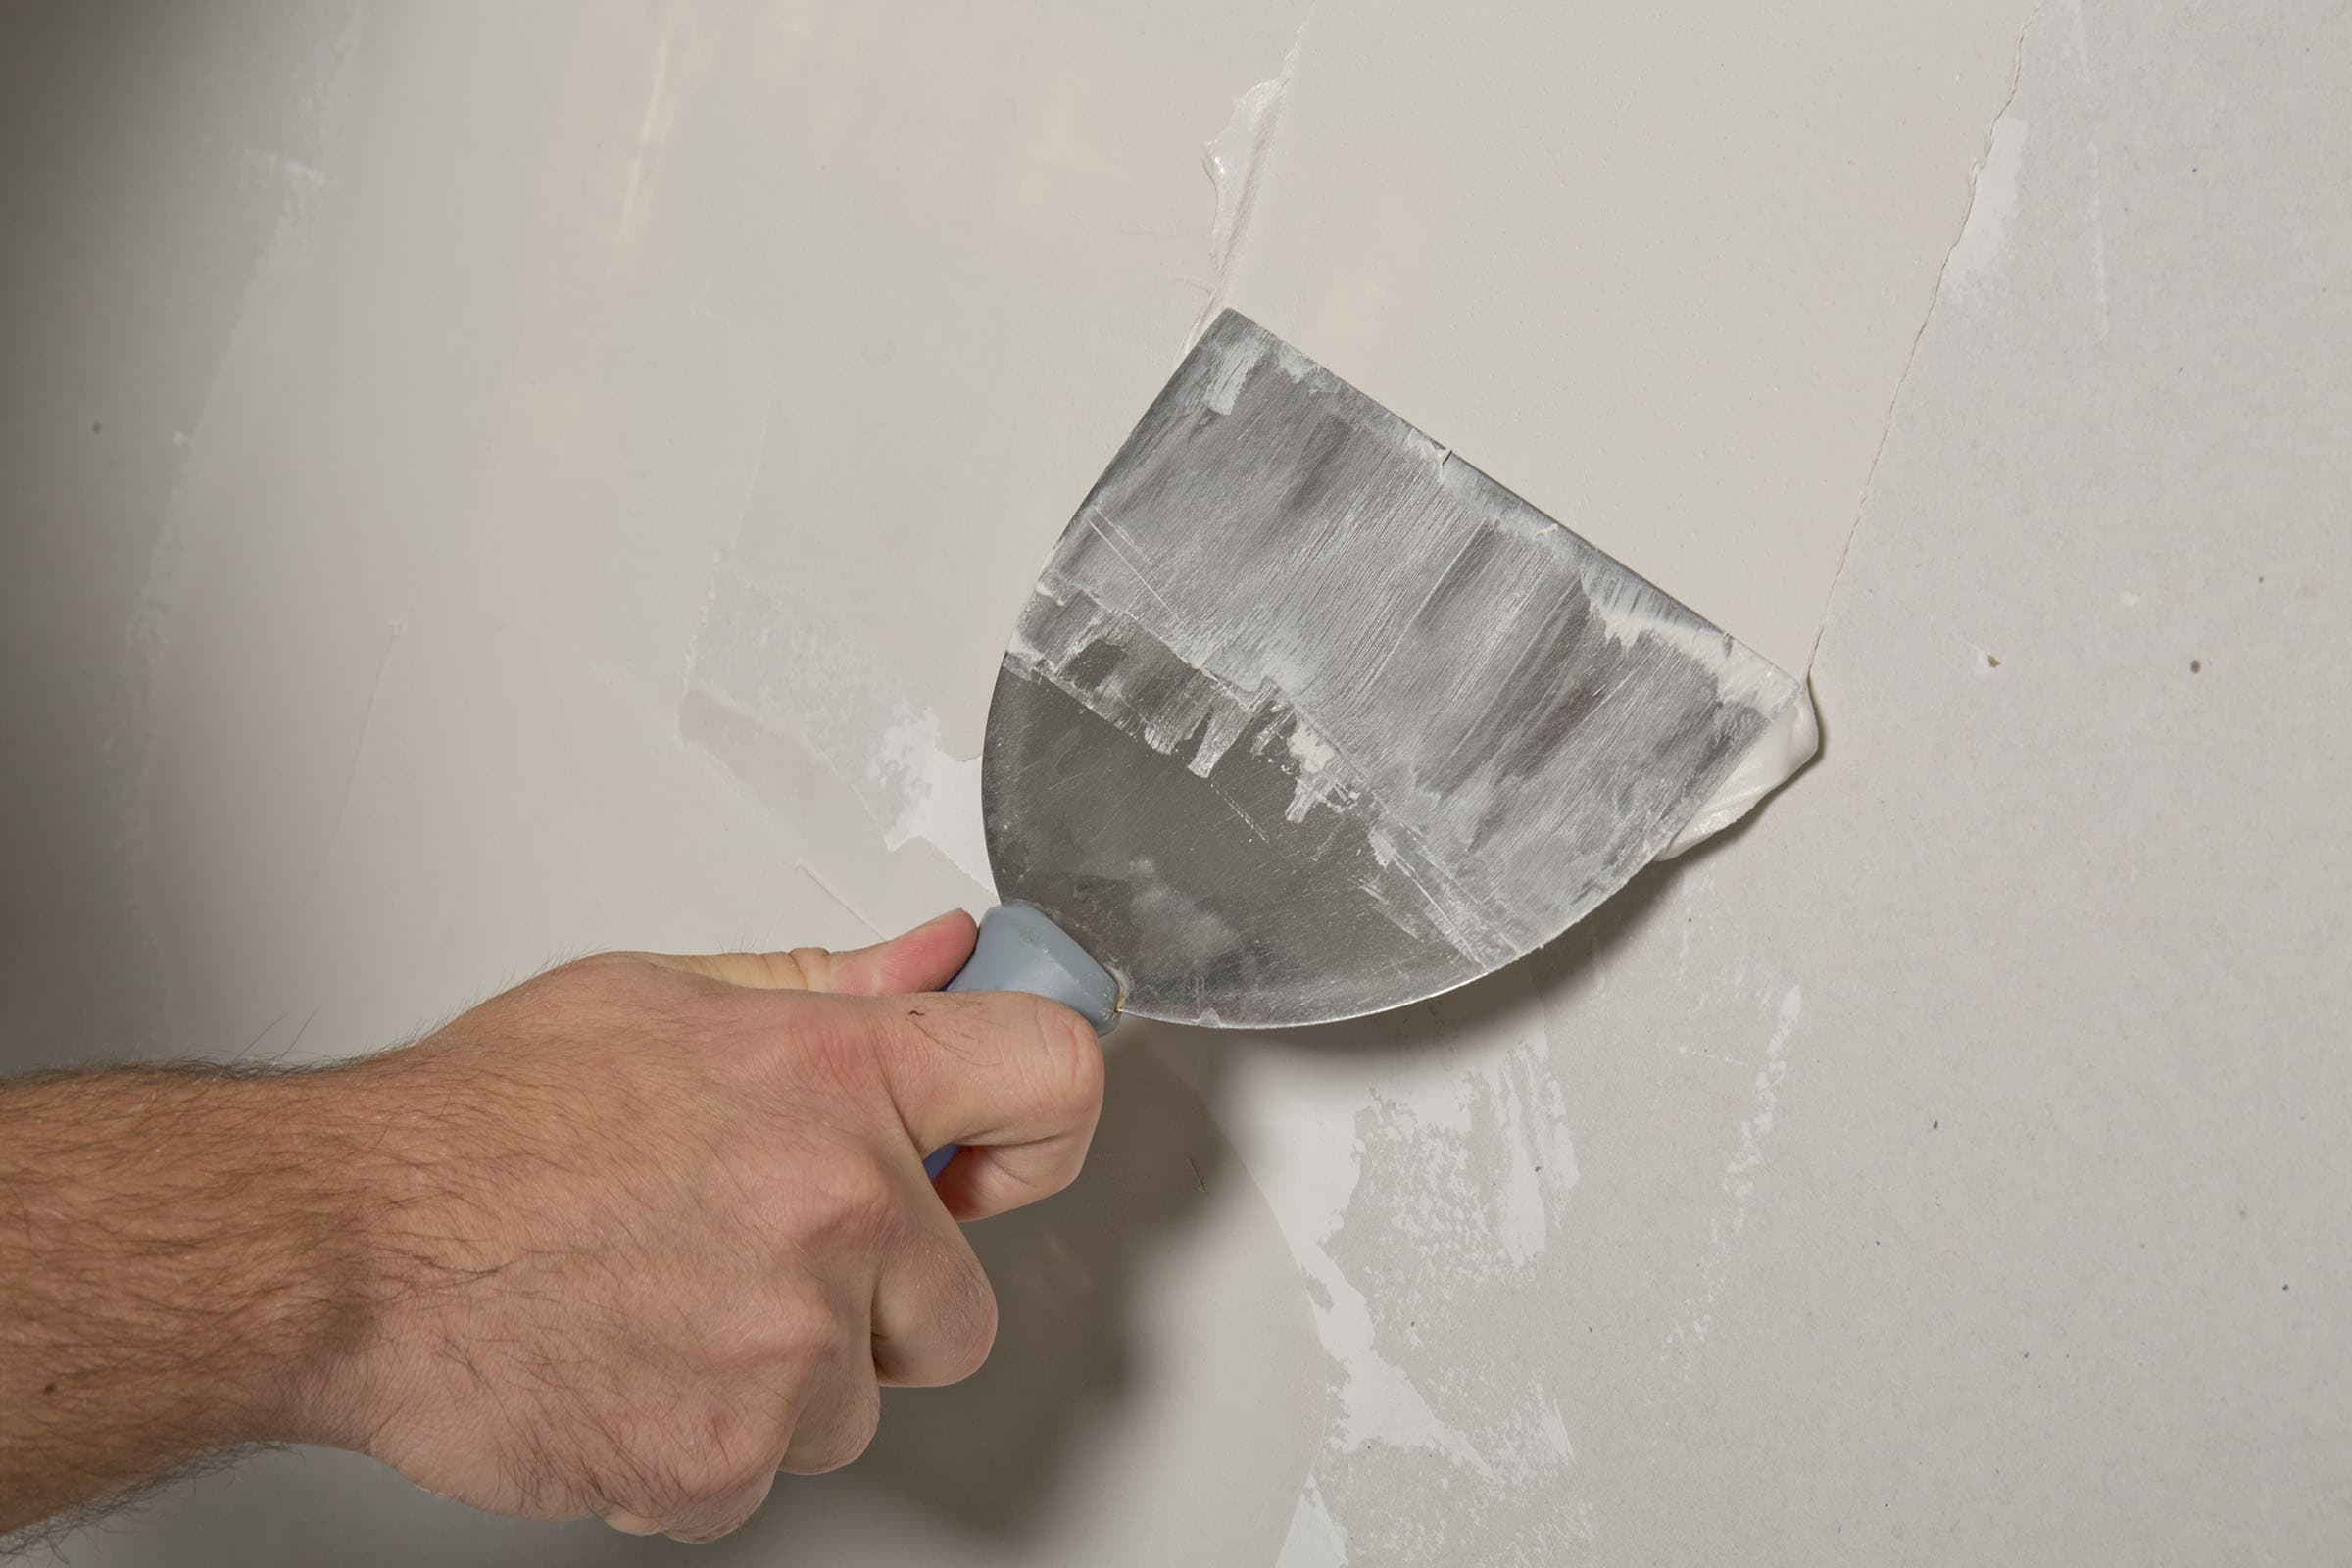
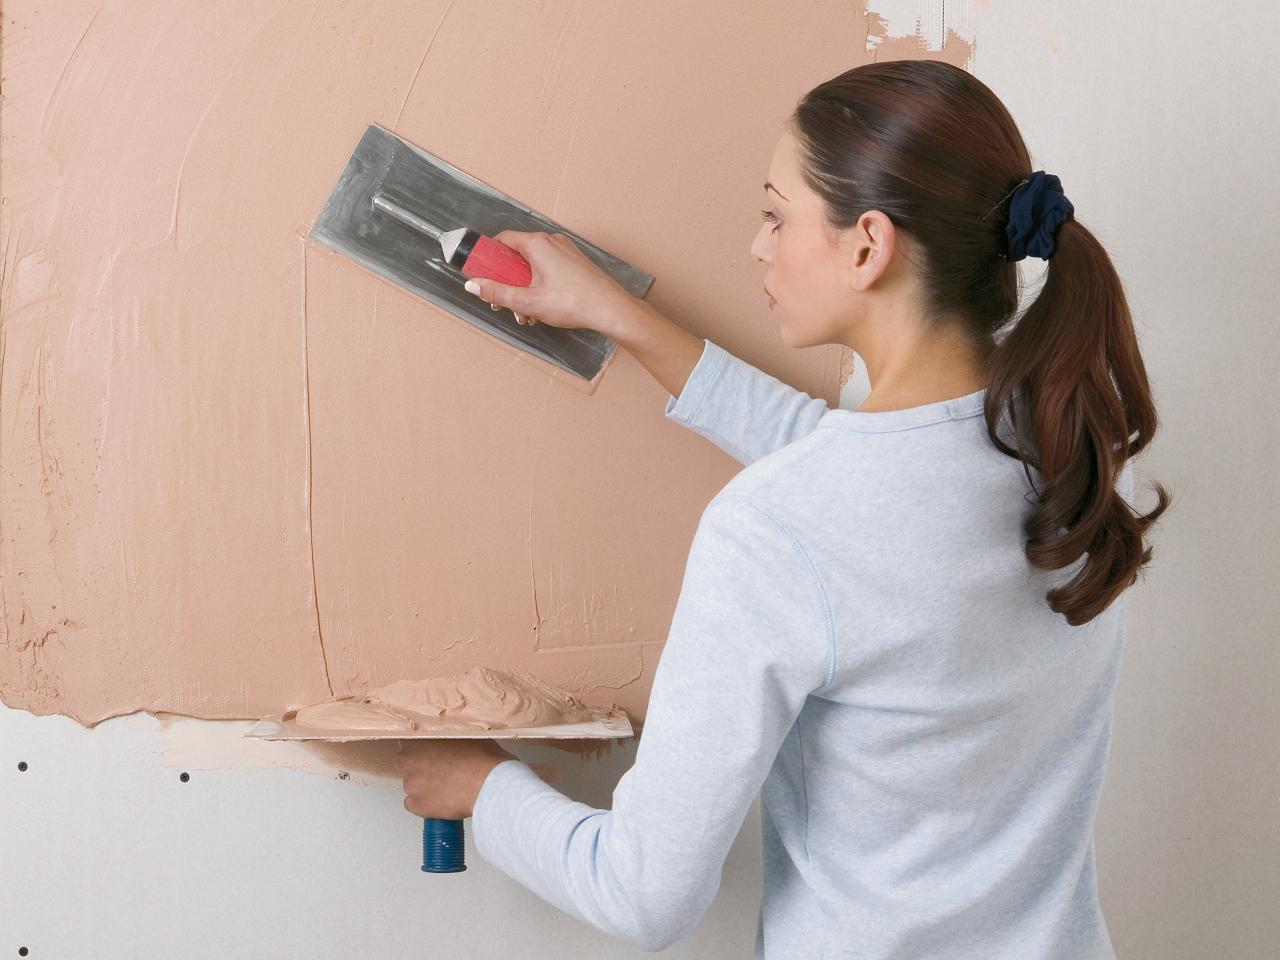
The technique of puttying the surface of the drywall is simple: we take a large spatula, at its end with a small spatula, put the roller out of the putty. Press the blade to the surface and stretch the composition. Repeat several times, filling a piece of the wall or ceiling.Then we clean the blade, and draw along the just putty surface, leveling it. It is necessary to level as carefully as possible - less time will be required for grinding.
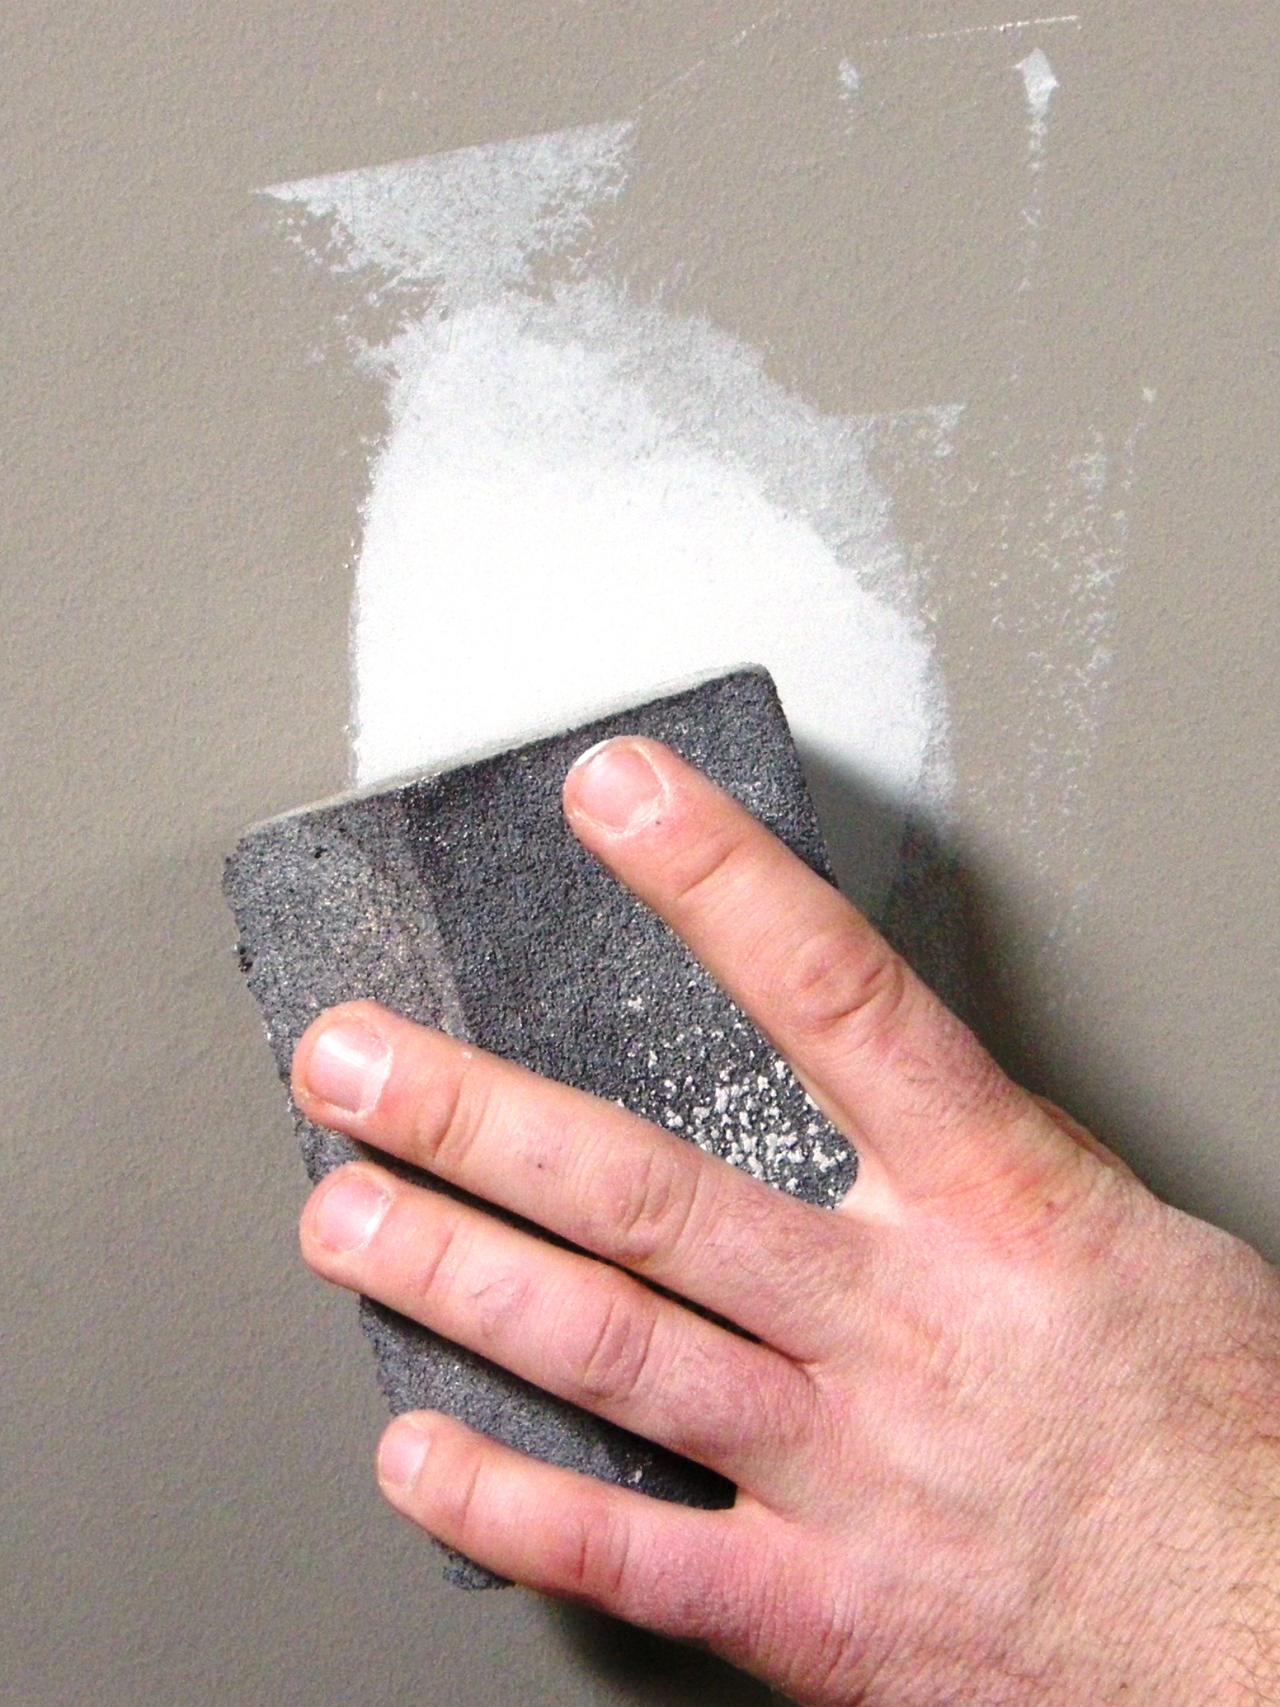
When the plasterboard is finished putty, wait until it dries. Then you take an already familiar tool - a bar with a grid and align all the flaws. Grinding is finished, remove dust, surface pass again with a deep penetration primer. After drying, start applying the second layer.
Next, plasterboard must be putty with a finishing composition. As they wrote, it can also be based on gypsum, like the starting one, and maybe based on polymers. Both are suitable, but it’s more difficult to work with some - they quickly begin to slide and freeze.
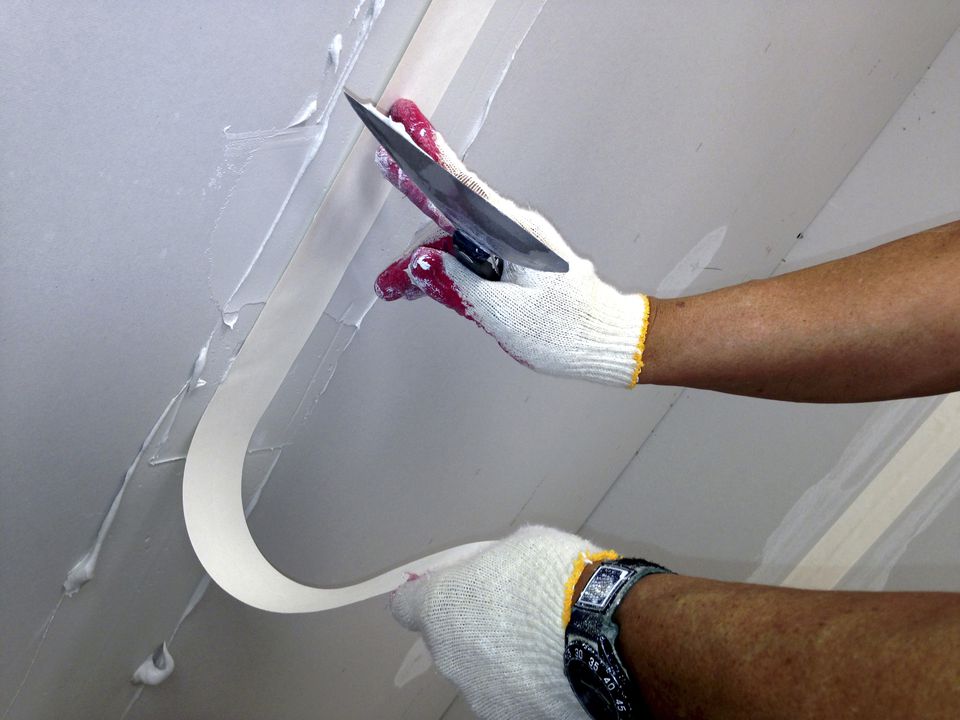
Finishing putty is made more liquid and applied with a thinner layer. The application technique is similar, nothing changes. In addition, it is more difficult to work - it is worse spread, but you need to stretch it with a thin layer and quickly level it. Everything is much better on the primer, and without it, the bottom layer quickly draws moisture from the fresh plaster, and it begins to roll. After applying the putty, they again wait until everything is dry, then they begin to level, but this time they use not a mesh - noticeable grooves remain from it, but sandpaper with fine grain. It is not so convenient to work with it - it quickly clogs, but the surface is smooth. If you prepare the surface for painting, we do the backlighting from below or from the side and you can use not an incandescent lamp, but an LED - all flaws are visible. Even very small ones.
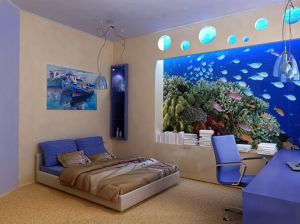
To create a beautiful, flawless interior in the apartment, the walls in the room should be perfectly flat. The finishing putty of the walls can help in this, which is easy to do with your own hands. To do this, it is enough to adhere to the selected algorithm of the work.