The main difficulties of puttying the ceiling: the choice of mixture, tools, compliance with working conditions
Content
One of the most important and crucial stages of repair work is the direct preparation of the ceiling for painting or another type of surface decoration. For this, special construction compounds are used. Putty leveling the ceiling is the best option.
Features of the composition of putty mixtures for the ceiling
Putty - a thick plastic mixture used for leveling ceilings, improving the relief of walls, as well as for elevating building facades. It is necessary to distinguish between the concepts of "mortar" and "compositions for puttying." The main distinguishing feature is various dispersion indicators.
Ceiling putty mixes consist of the following components:
- Fillers providing the necessary viscosity to the mass (cement, gypsum, lime fractions, sand components);
- Regulators of hardening and setting of mass (important for a good "coupling" of the building material with the ceiling fabric);
- Special plasticizers for putties;
- Water-repellent substances (provide the proper performance characteristics of finishes in rooms with a high level of humidity);
- Pigments coloring the composition in the desired shade;
- Polyester cellulose elements (allow the composition to dry faster, the layers when solidified form a durable canvas that is resistant to moisture).
Manufacturers produce putties on the ceiling of two types: starting and finishing. The difference between the two compositions is minimal, and lies in the size of the fractions of the fillers themselves. The starting mixture for concrete and concrete elements consists of particles with diameters of 0.6 mm. Finishing analogues consist of less widow particles than starting ones.
The smaller the fraction, the thinner the layer. If radical ceiling decoration is required, it is necessary to hide significant defects on the canvas, use a coarser starting mixture. Then the decorative putty of the ceiling is made, the surface is leveled and prepared for the next stage.
Finishing putty on the ceiling with your own hands or with the help of specialists can be carried out separately from the starting mixtures. For example, if the old ceiling itself is quite solid and even, and only minor defects need to be removed for painting.

Where can I use putties?
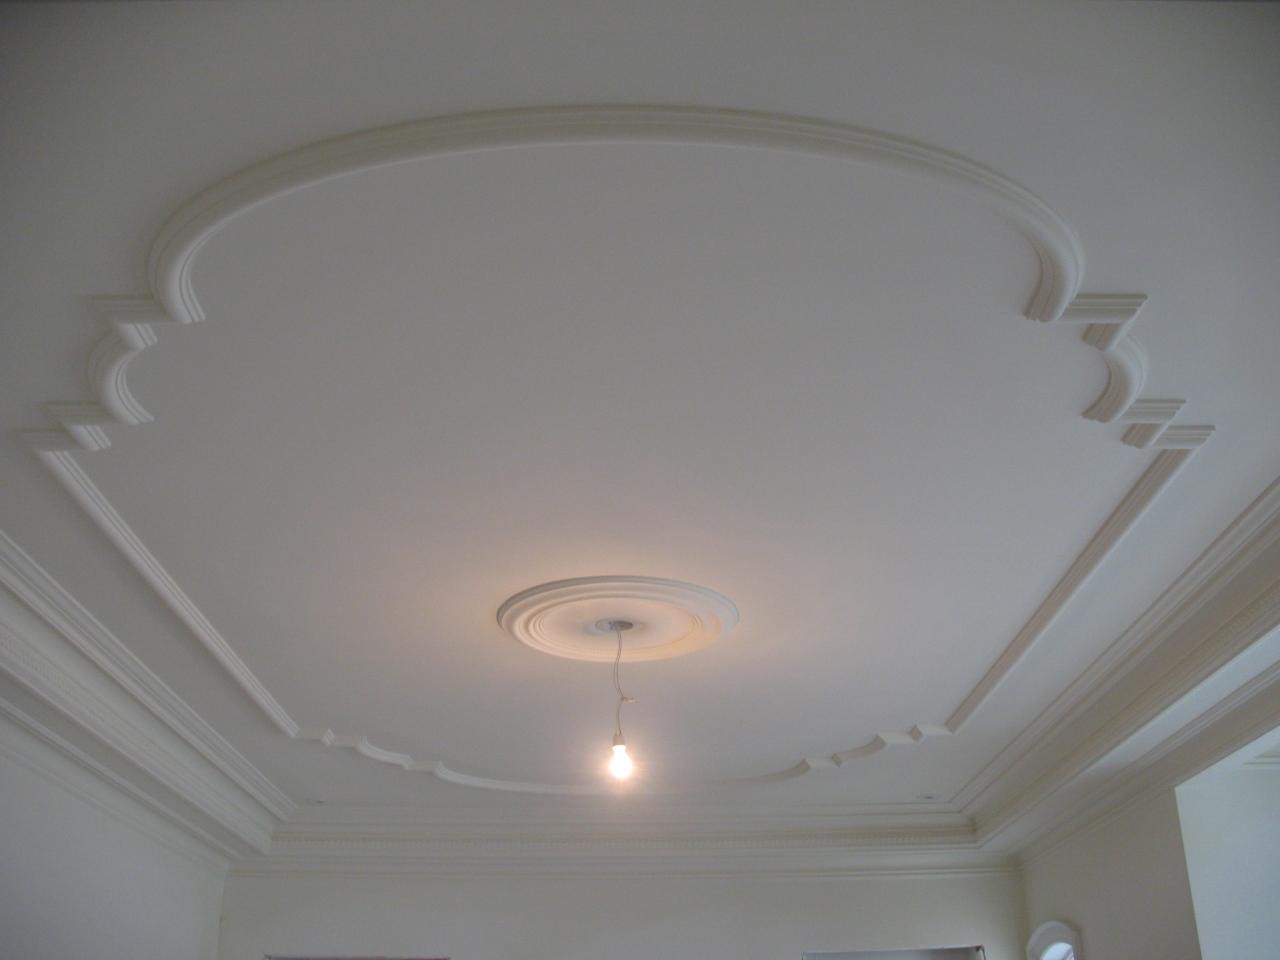
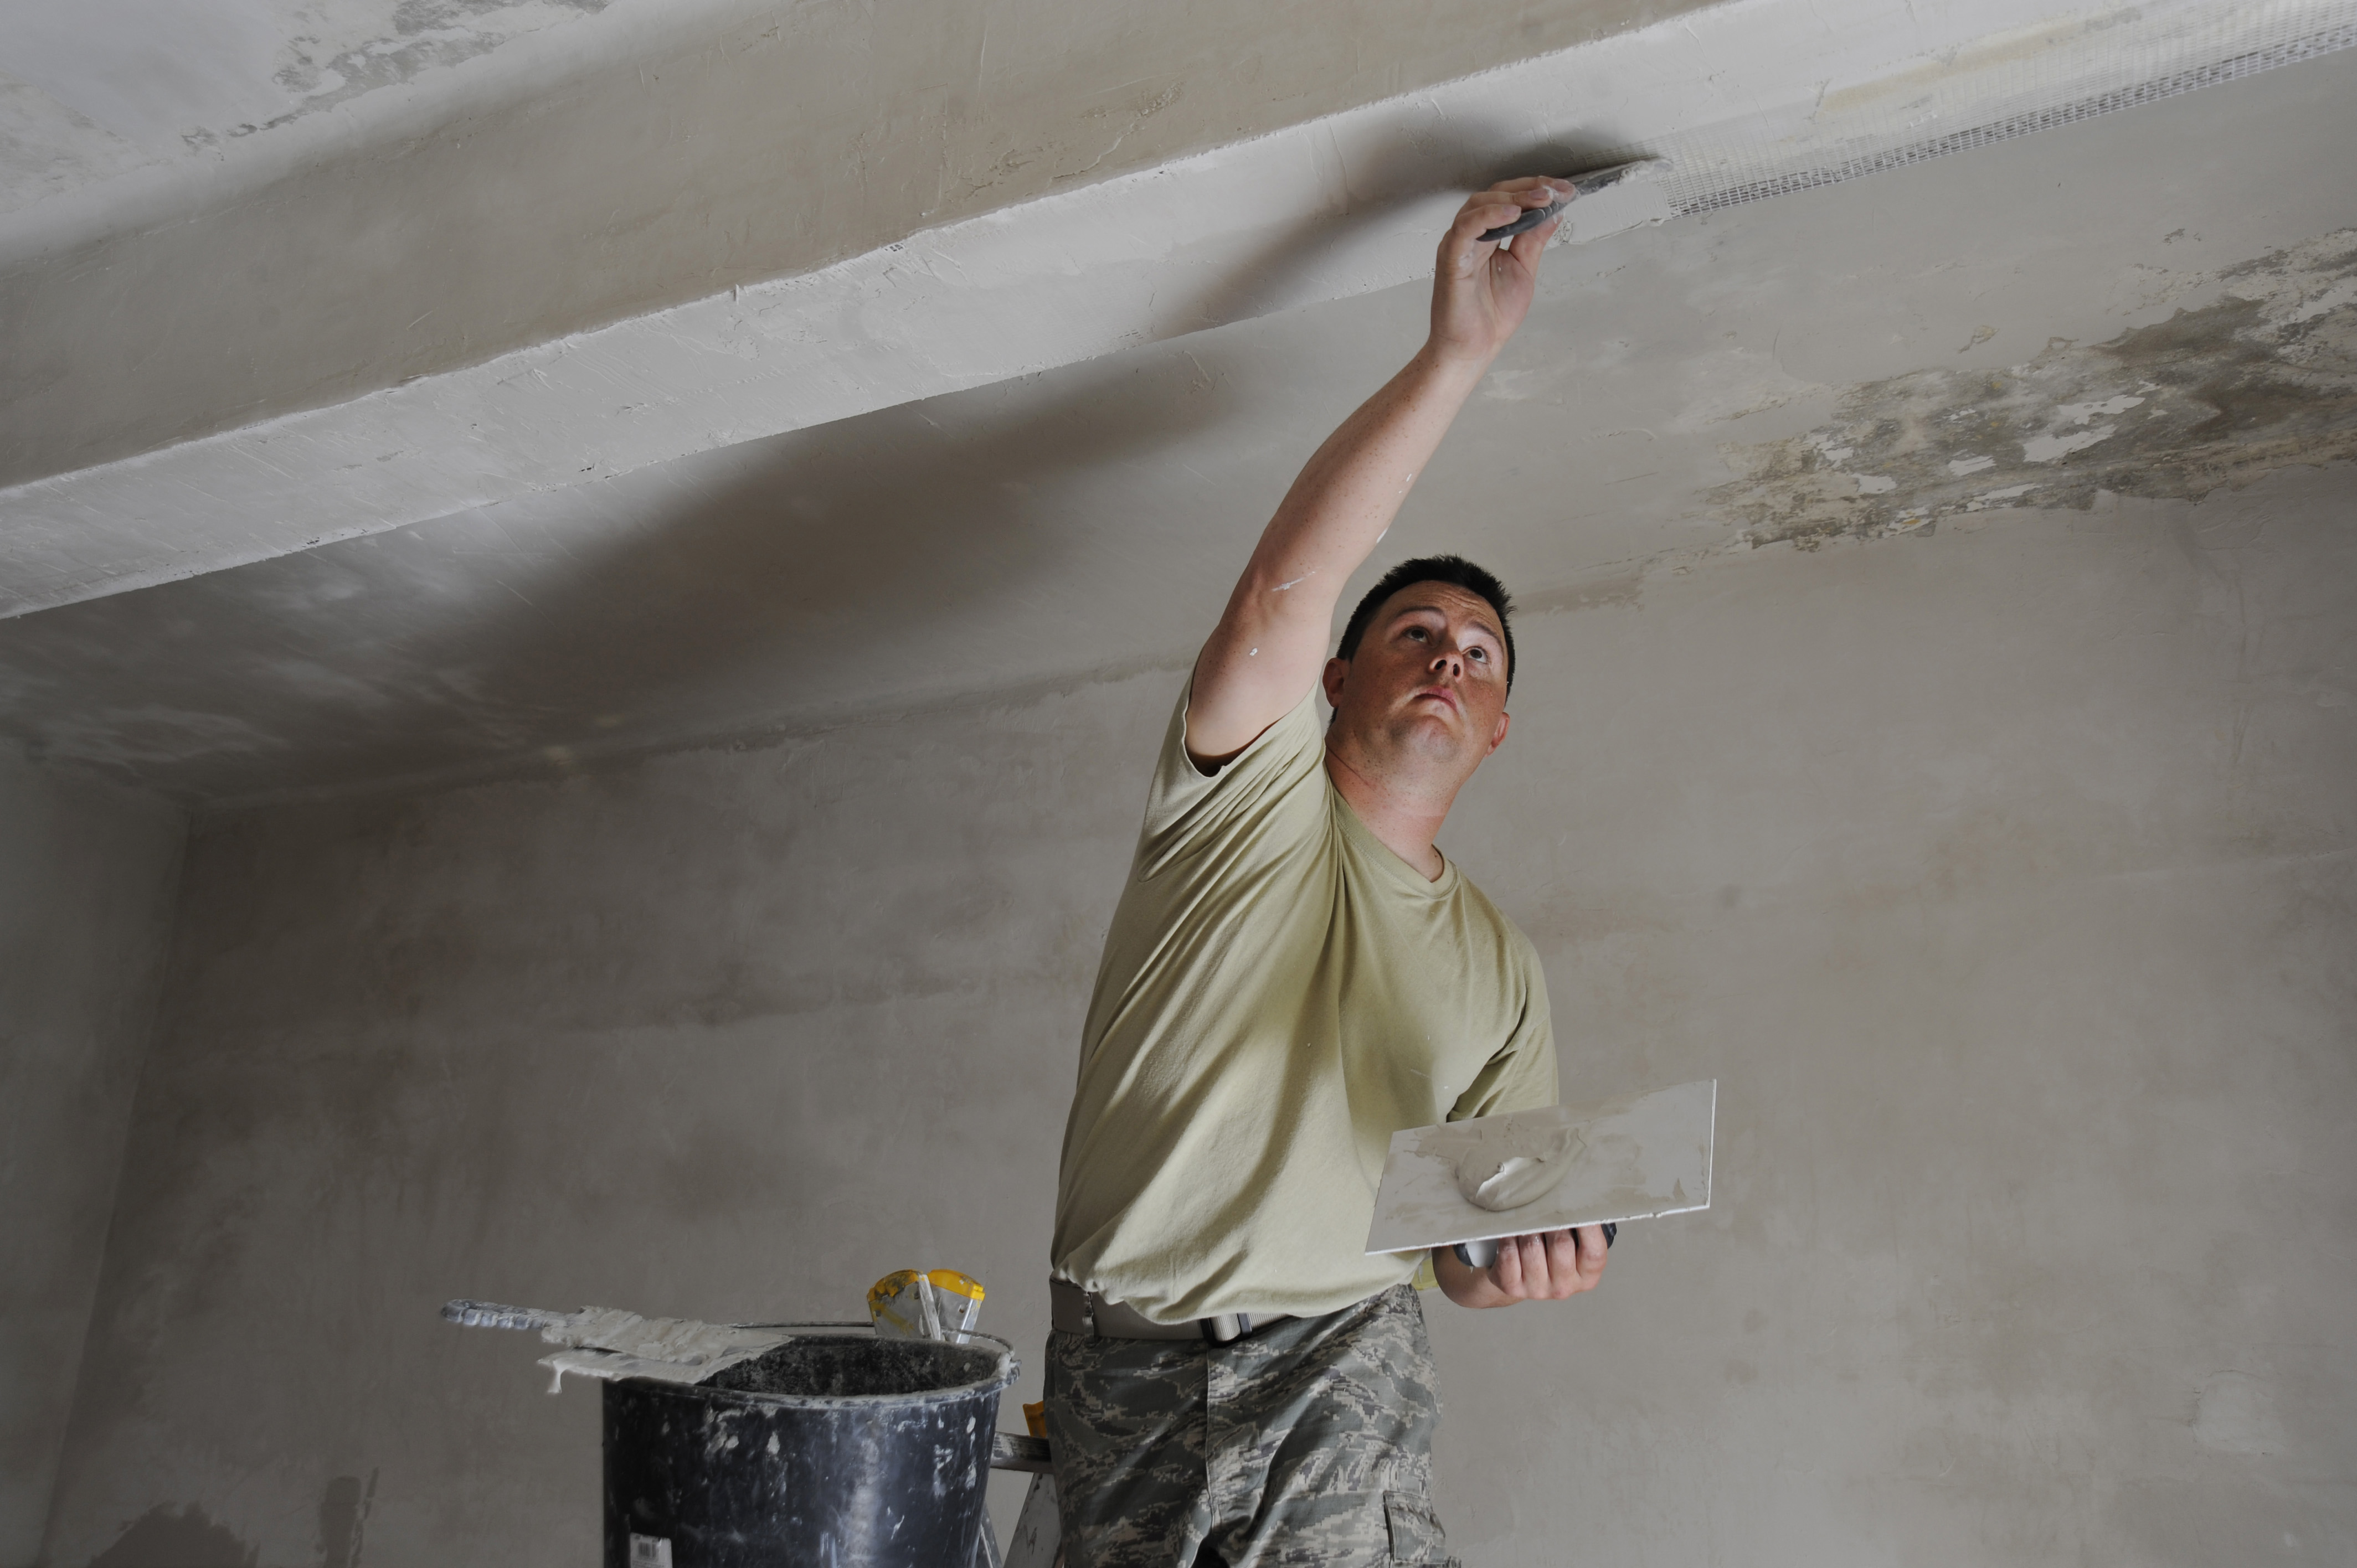
Puttying the ceiling with your own hands is done in order to align all the planes, to give them smoothness and strength. Modern compositions are particularly versatile.
Regardless of which putty the ceiling is putty on, the result is usually one. In addition, with the same composition, you can arrange brickwork, gypsum concrete structures, building and insulation boards, gypsum plasterboard elements, work on concrete or even wood.
However, there are surfaces that interact poorly with putty compounds. These are glass, plastic, metal surfaces (both processed and “clean”), plastic parts. Also, the application of putty is not possible on surfaces that are constantly wet or in any other way exposed to moisture.
Putty for various coatings
Putty plasterboard ceiling, concrete surfaces and any other paintings are always made in order to level the relief. However, an even ceiling in the next stage will undergo new transformations. That is why it is very important which putty to choose for the ceiling, as well as how it is ultimately applied.
There are three options:
- Putty on the ceiling for painting yourself;
- Alignment of surfaces under the wallpaper;
- Elimination of seams and irregularities on the ceiling with the aim of applying a layer of decorative plaster in the future.
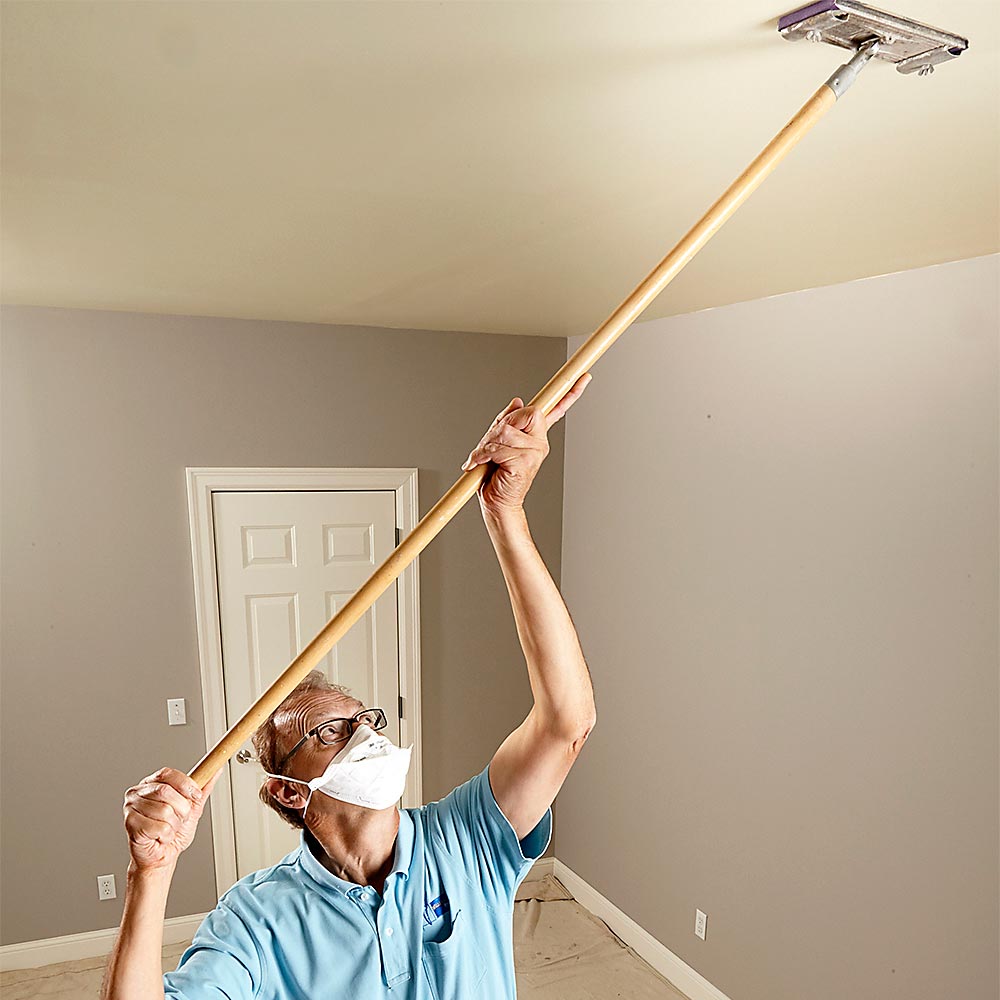
The most time-consuming and difficult is the putty of the concrete ceiling for painting. The fact is that if you do not eliminate all the bumps, do not get rid of the seams and other defects, after painting all the roughness will be very striking. Whitewashing has a similar effect.
If you do not need to paint the ceiling, but have to finish the wallpaper, you can eliminate only significant defects. The decorative canvas will hide small irregularities. If there is decorative plaster on the ceiling, the process of applying putty is further simplified. Of course, the surface should be smooth, and the aesthetic perception of space depends on it. However, how to putty on the ceiling and how to remove the joints can be done without worrying about perfect smoothness. This parameter does not play a role.
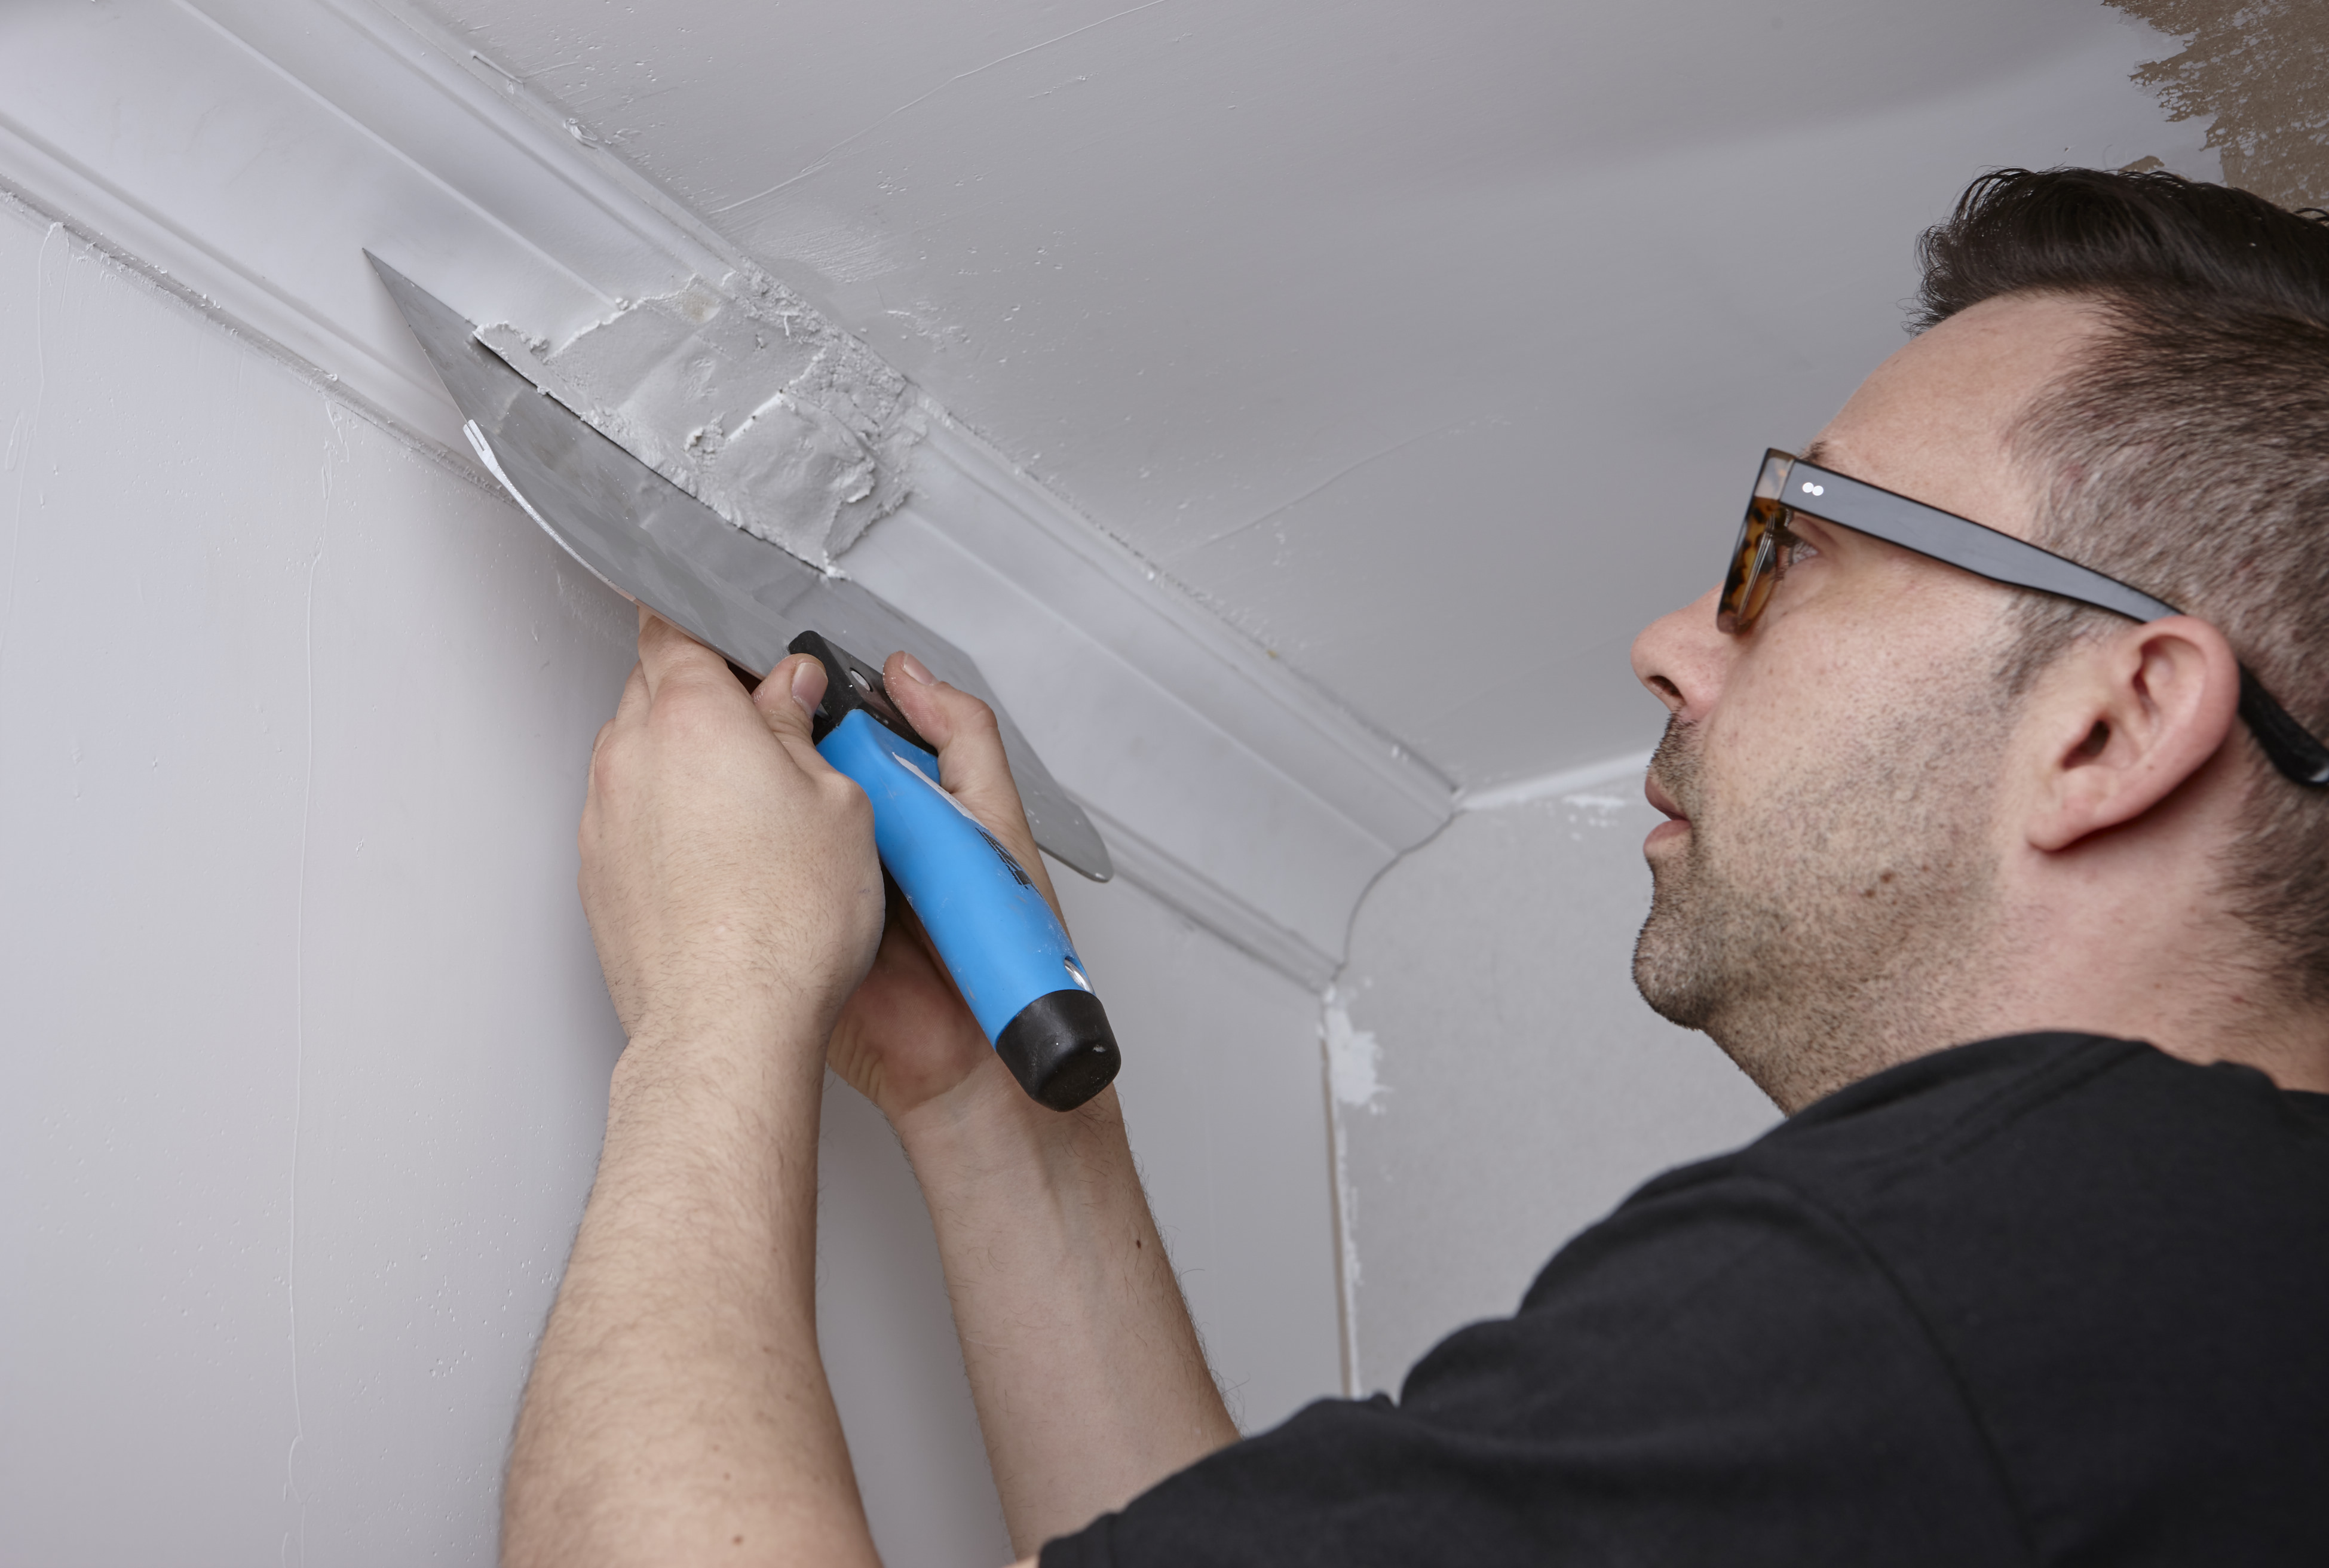
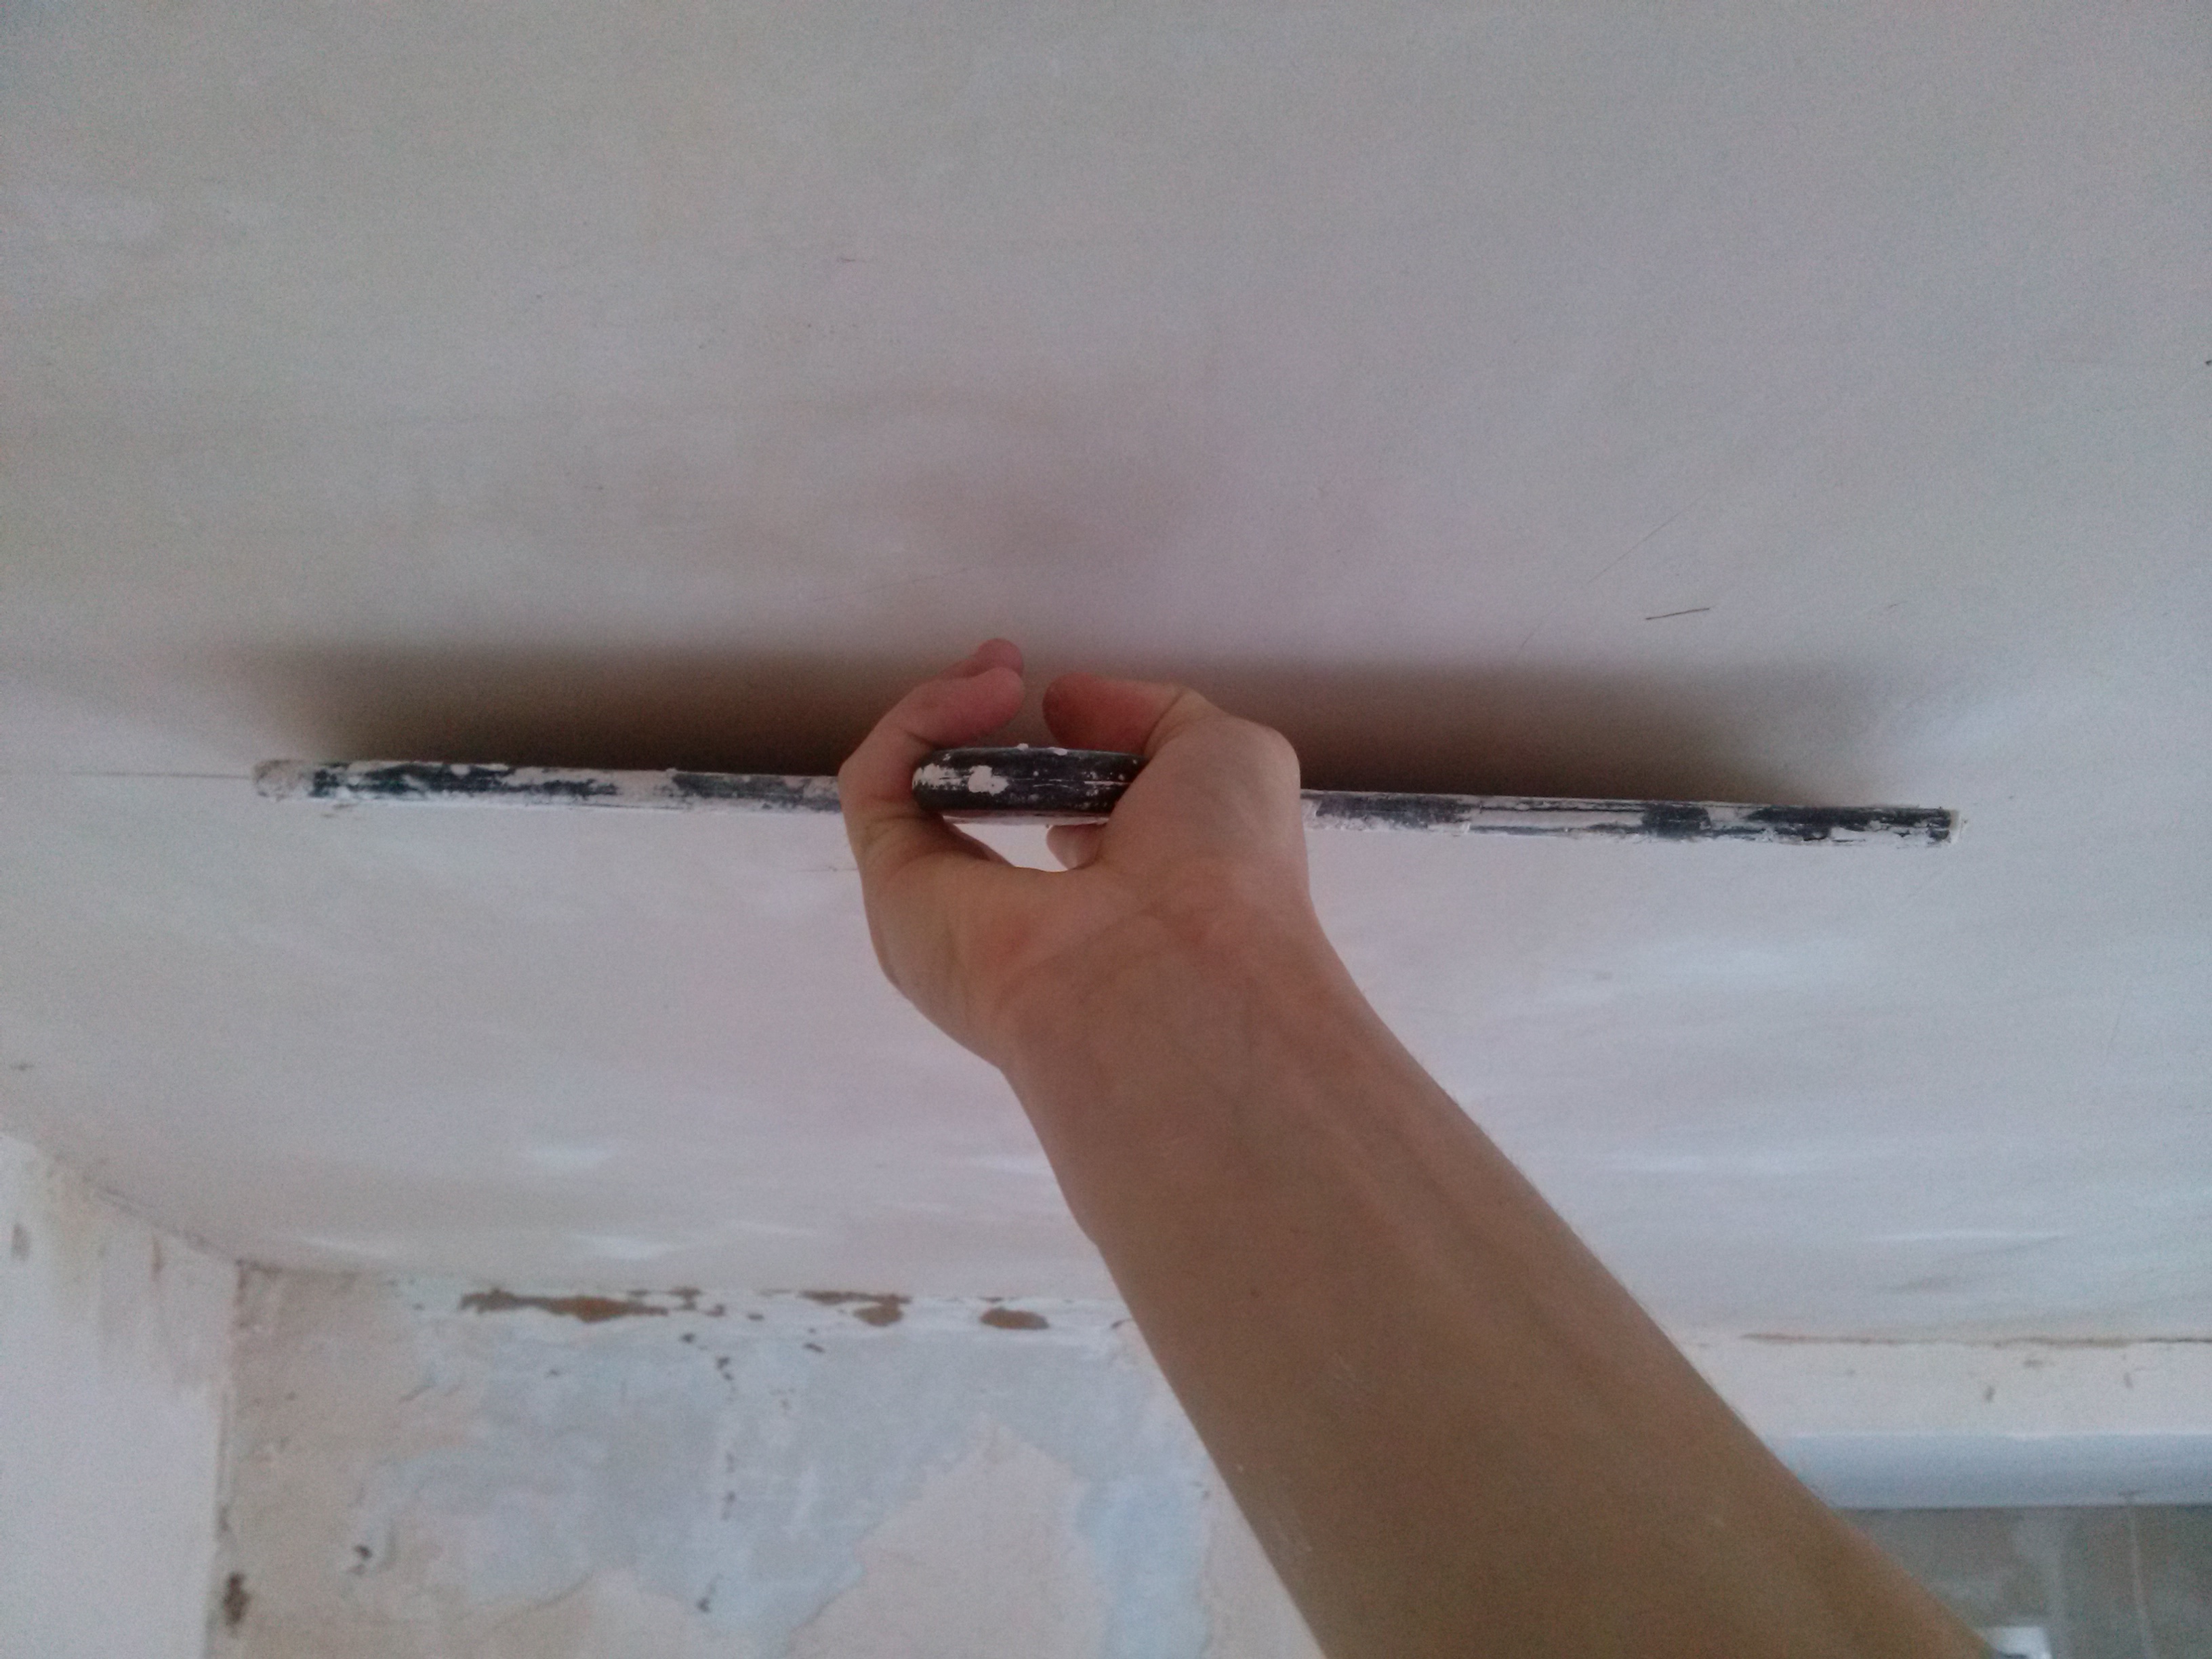
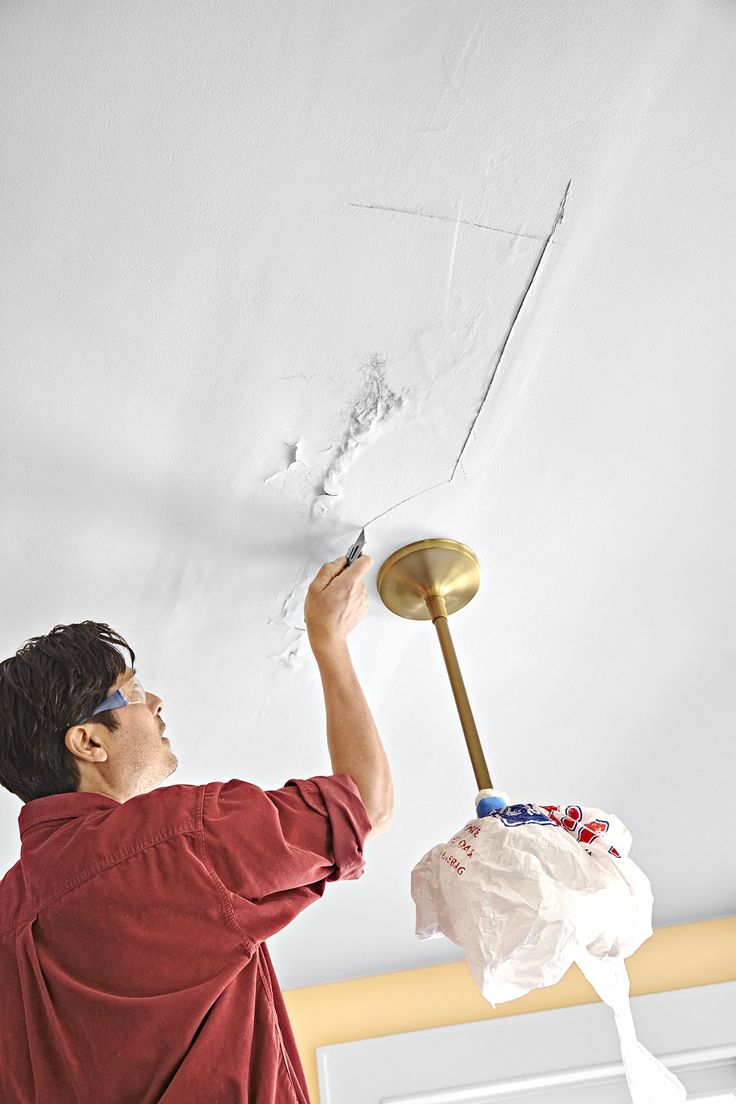
How to work with putty?
It is not enough to choose a good mixture and to know in theory all the subtleties of how to level the ceiling with putty. It is also important to correctly use in practice all your knowledge, as well as to use building materials wisely.
When working with any type of putty mixtures, it is important to remember that almost always putty quickly sets. If the solution hardens, it will not be possible to apply it to the ceiling. The selected mixture should be kneaded right before the process of sealing joints and leveling gypsum, concrete, other surfaces.
Each type of putty mixtures hardens after a certain time. The cement mixture dries the longest - more than 2.5 hours. The gypsum mass will become hard in 40-70 minutes. Acrylic putty retains its elasticity for a very long time (up to a day). Some polymer compositions are suitable for work for 2 to 4 days (provided that the lid of the container where the composition is stored is tightly closed).
Working conditions
Each manufacturer tries to write in detail about the conditions in which it is necessary to apply putty, as well as how to properly use surfaces (especially in specific locations - in the bathroom, in the kitchen). When thinking about which putty is better for the ceiling, it is worth considering the fact that the mixture will show all its qualities only if certain rules are observed.
The role is played by indoor air temperature and relative humidity. On the packaging of each product information on these parameters should be present. If the conditions are violated, even the thinnest layer will dry much longer. It is also possible that the quality of the coating itself may deteriorate due to this.
It is better not to use gypsum mixtures for the ceiling in the kitchen, in the bathroom and in other rooms where it is always humid (steam rooms, baths, saunas). For such purposes, acrylic blends or textured polymer putty are more relevant. On a poorly cleaned or non-primed ceiling, even the highest quality mixture will fall unevenly, and over time, the coating may break.
About bugs
If cracks and other deformations appear on the gypsum board, concrete sheet or other working surfaces after some time, the cause of the defects may not be covered by the quality of the building materials themselves. There is a high probability that mistakes were made directly in the course of the work itself:
- The room temperature was below 5 degrees;
- The room was too hot (more than 25 degrees);
- Humidity exceeded the mark of 80%;
- From the old sheets of drywall or any other type of work surfaces, dirt, dust were not previously removed;
- They forgot about applying a primer or they treated the areas poorly, unevenly;
- The canvas was treated in direct sunlight, which unnecessarily aggressively affected the mixture;
- To grind deep joints and large deformations, we took a mixture with dispersed particles that are not suitable for this type of work.
Experts also advise to pay special attention to the presence of sand in the composition of putty materials, it is better to use such materials for finishing facades or, if you plan to use textured decorative plaster or liquid wallpaper. Compositions where there are no sand fractions are better applied, do not look gray and “dirty”.

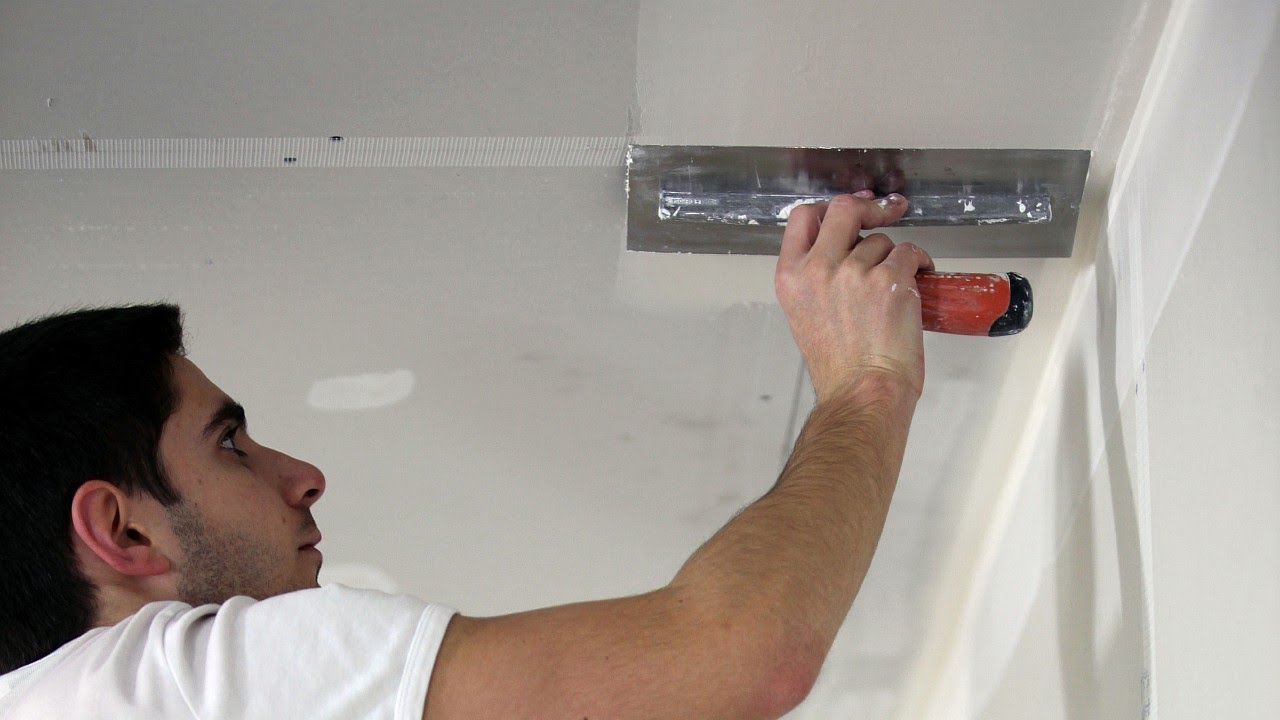
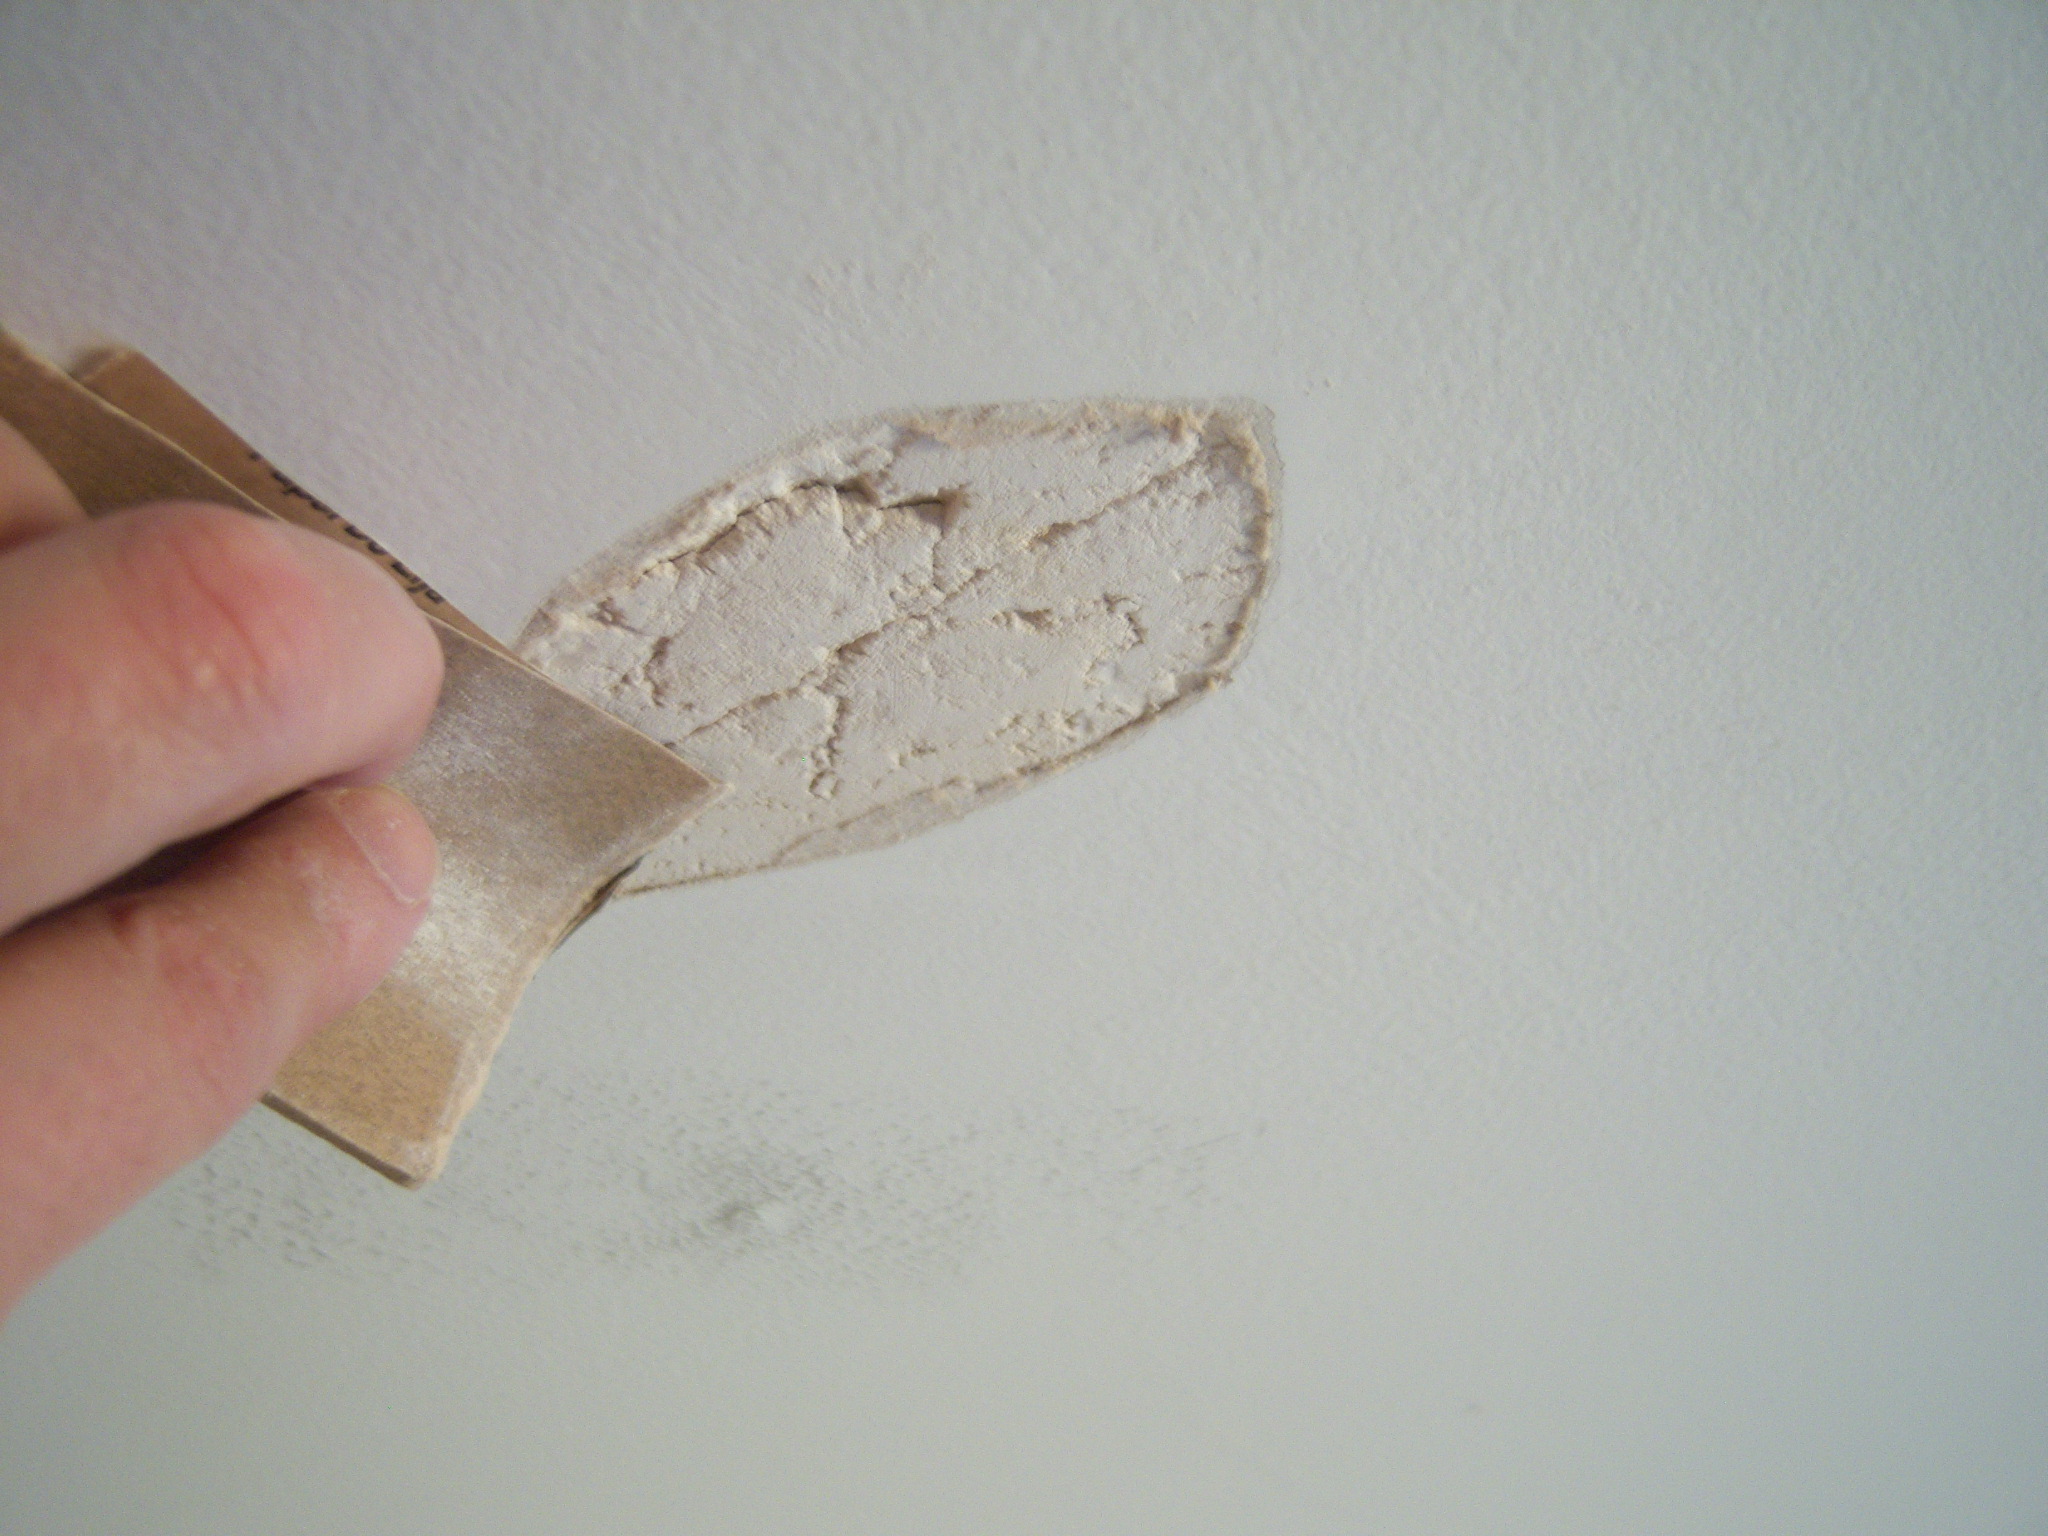
Preparation of putty mixture
Most putties are available in the form of ready-made mixtures. It is enough to open the container and get to work. In the case of acquiring a dry mixture, you need to know how to properly knead the acquired composition.
When sealing joints and puttying to give smoothness to the canvas, it is unacceptable to use a mass with lumps. It should not be too fluid or too viscous. Proper putty lays evenly, it is convenient and pleasant to work with the material.
On the packaging, the manufacturer always indicates the exact parameters: how much mixture is needed, how much water, how to mix, for how long the mass will be suitable for work. Do not neglect these simple recommendations, relying solely on your experience (and also not always successful).
The container where the building material will be kneaded should be spacious enough. The container is filled with water by a third, and then the dry mixture is poured. This technique will prevent the formation of lumps.

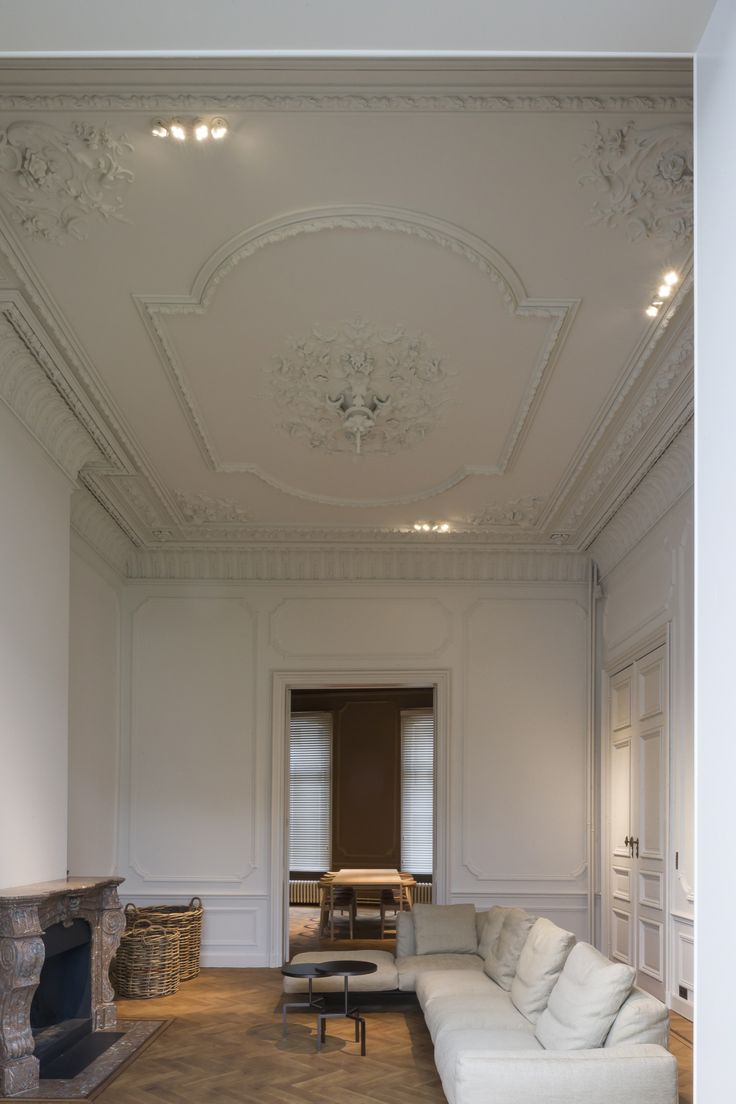
Color selection
Coating with putty mixture is just one of the stages of repair work. After alignment, the ceiling is ennobled by various decorative techniques and techniques.
If the surface will be pasted over with fairly dense wallpaper, you can not worry about the color of the putty. A dense texture will not “shine through”. Also, do not worry about the color of the ceiling in the event that it will be decorated in the end with decorative plaster or liquid wallpaper. These finishing materials (even applied with a very thin layer) form a fairly holistic canvas, dense and not translucent.
However, if the final finishing material is rather delicate and delicate, and also has a particularly light, sophisticated color, it is important to take this into account when purchasing putty. It is better to choose light compositions without sand.
In general, the choice of putty, and the process of its application should not bring any problems or inconveniences. Compliance with elementary rules and the use of quality building materials guarantee a good end result.