Types of waterproofing for tiles, general rules and recommendations
Content
Wall and floor tiles are one of the most sought after materials. Most often, it is used to decorate the kitchen, street, bathroom, toilet, loggia and even in the bath. The advantages of tiles include strength, durability, wear resistance, moisture resistance, as well as external attractiveness. Despite the significant advantages of the material, its installation requires waterproofing under the tile. The tile does not allow moisture to pass through, but at the joints of the tile there are problem areas through which moisture can penetrate into the floor or into the room under it during flooding. There are several ways to waterproof a tile, each of which has a number of advantages and disadvantages.

The choice of materials for work
Waterproofing a tile floor requires the use of the most durable and waterproof materials. Conventionally, they can be divided into two types - roll films and bitumen-based materials.

Roll waterproofing is the easiest and most affordable way to seal joints. However, roll materials increase the floor height by at least 50 mm. Bituminous material is easy to use, but its use is not recommended if a system of underfloor heating is connected.
To carry out the work, the following tools will be required:
- metal brush or grinder;
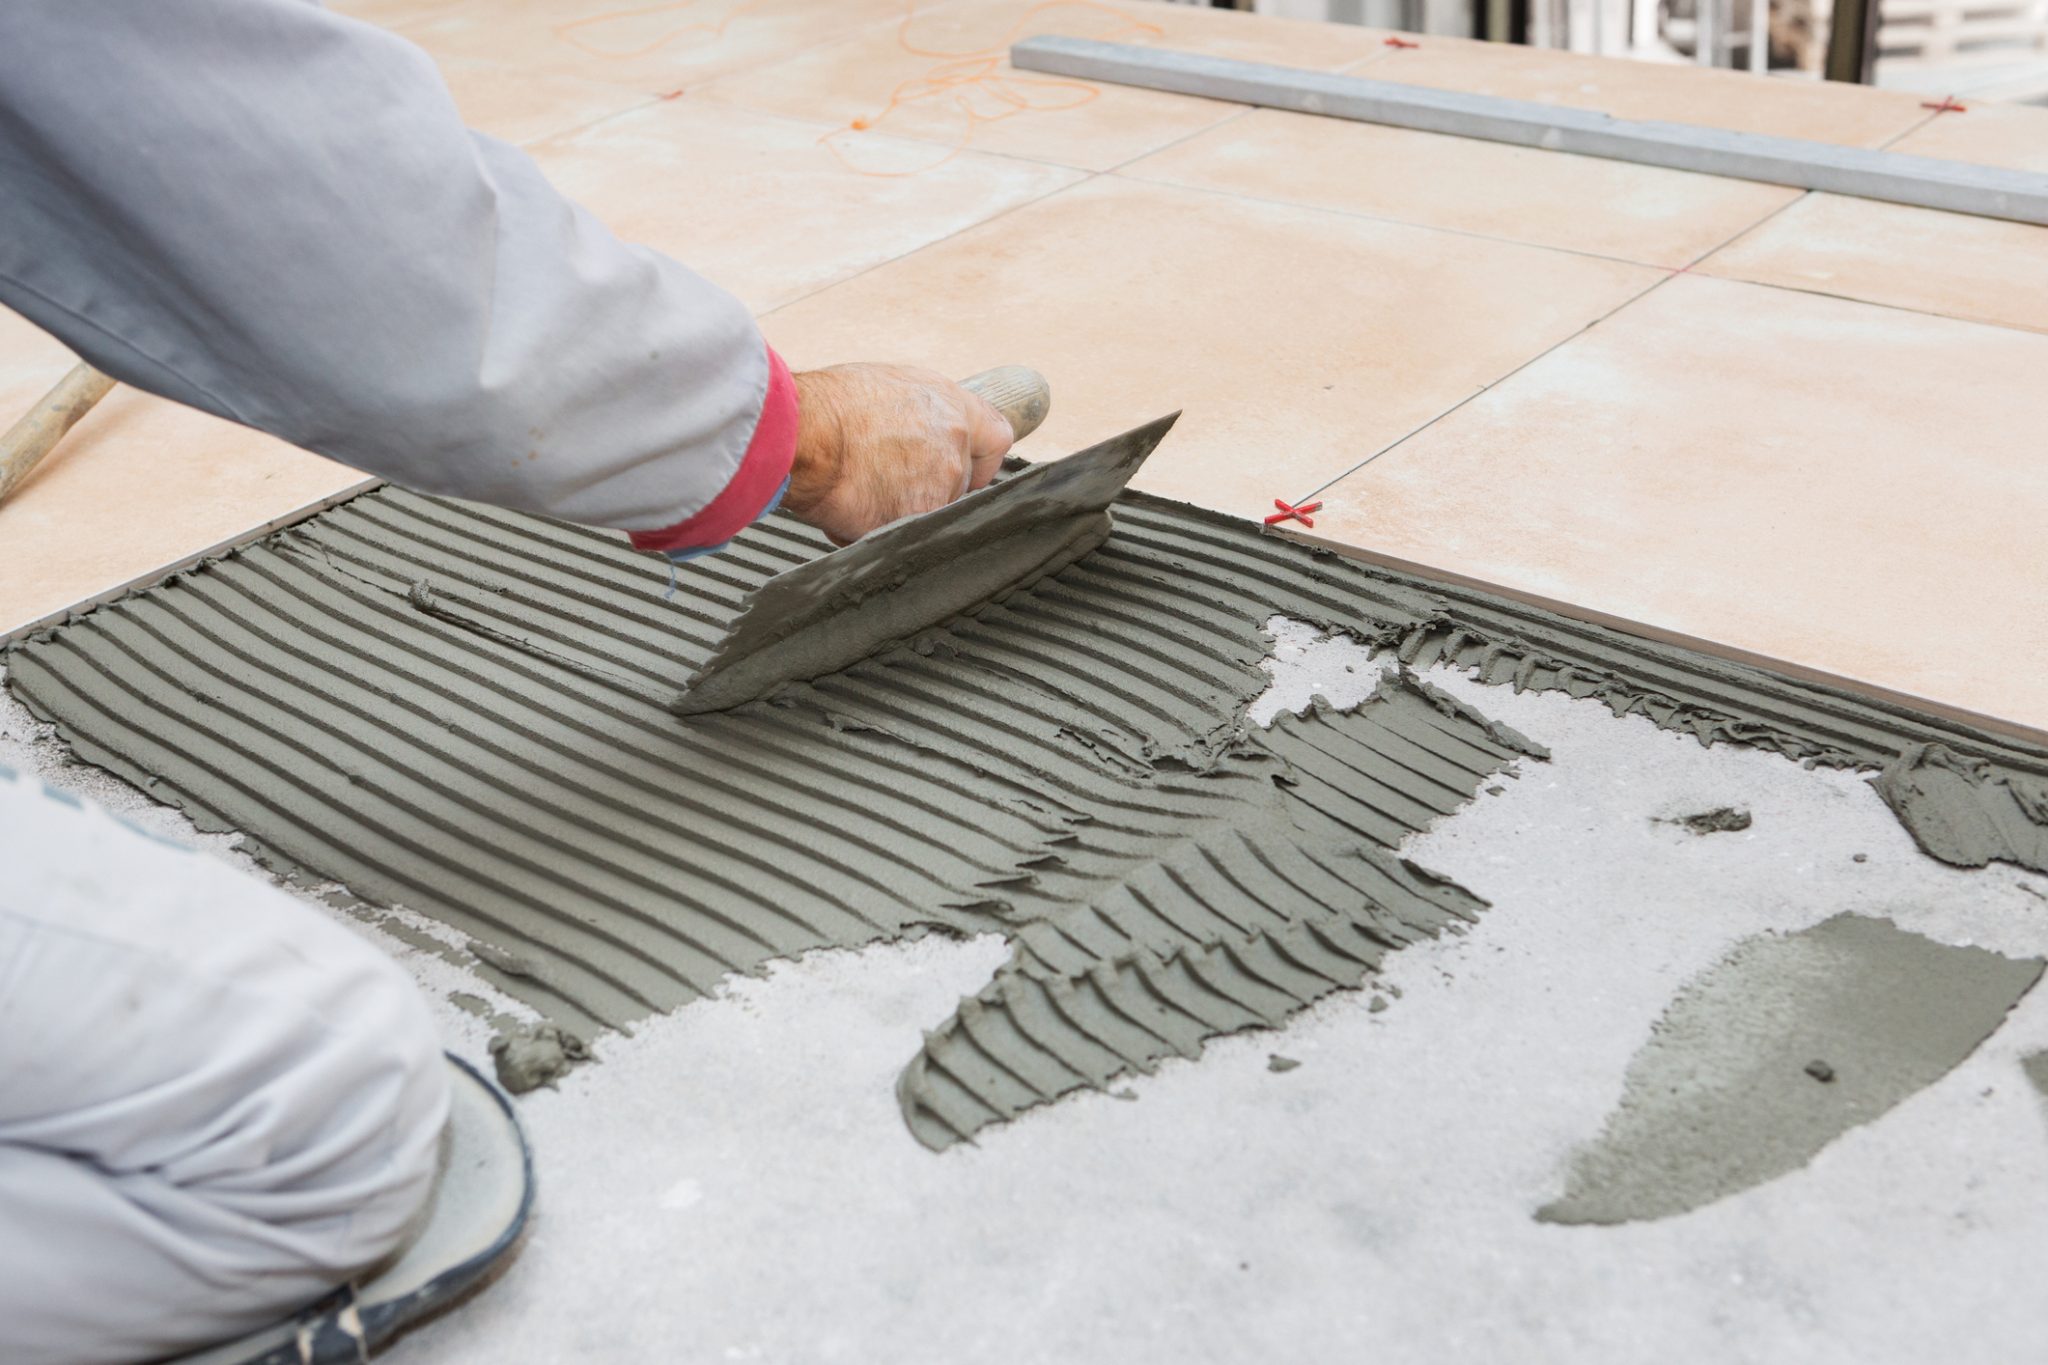
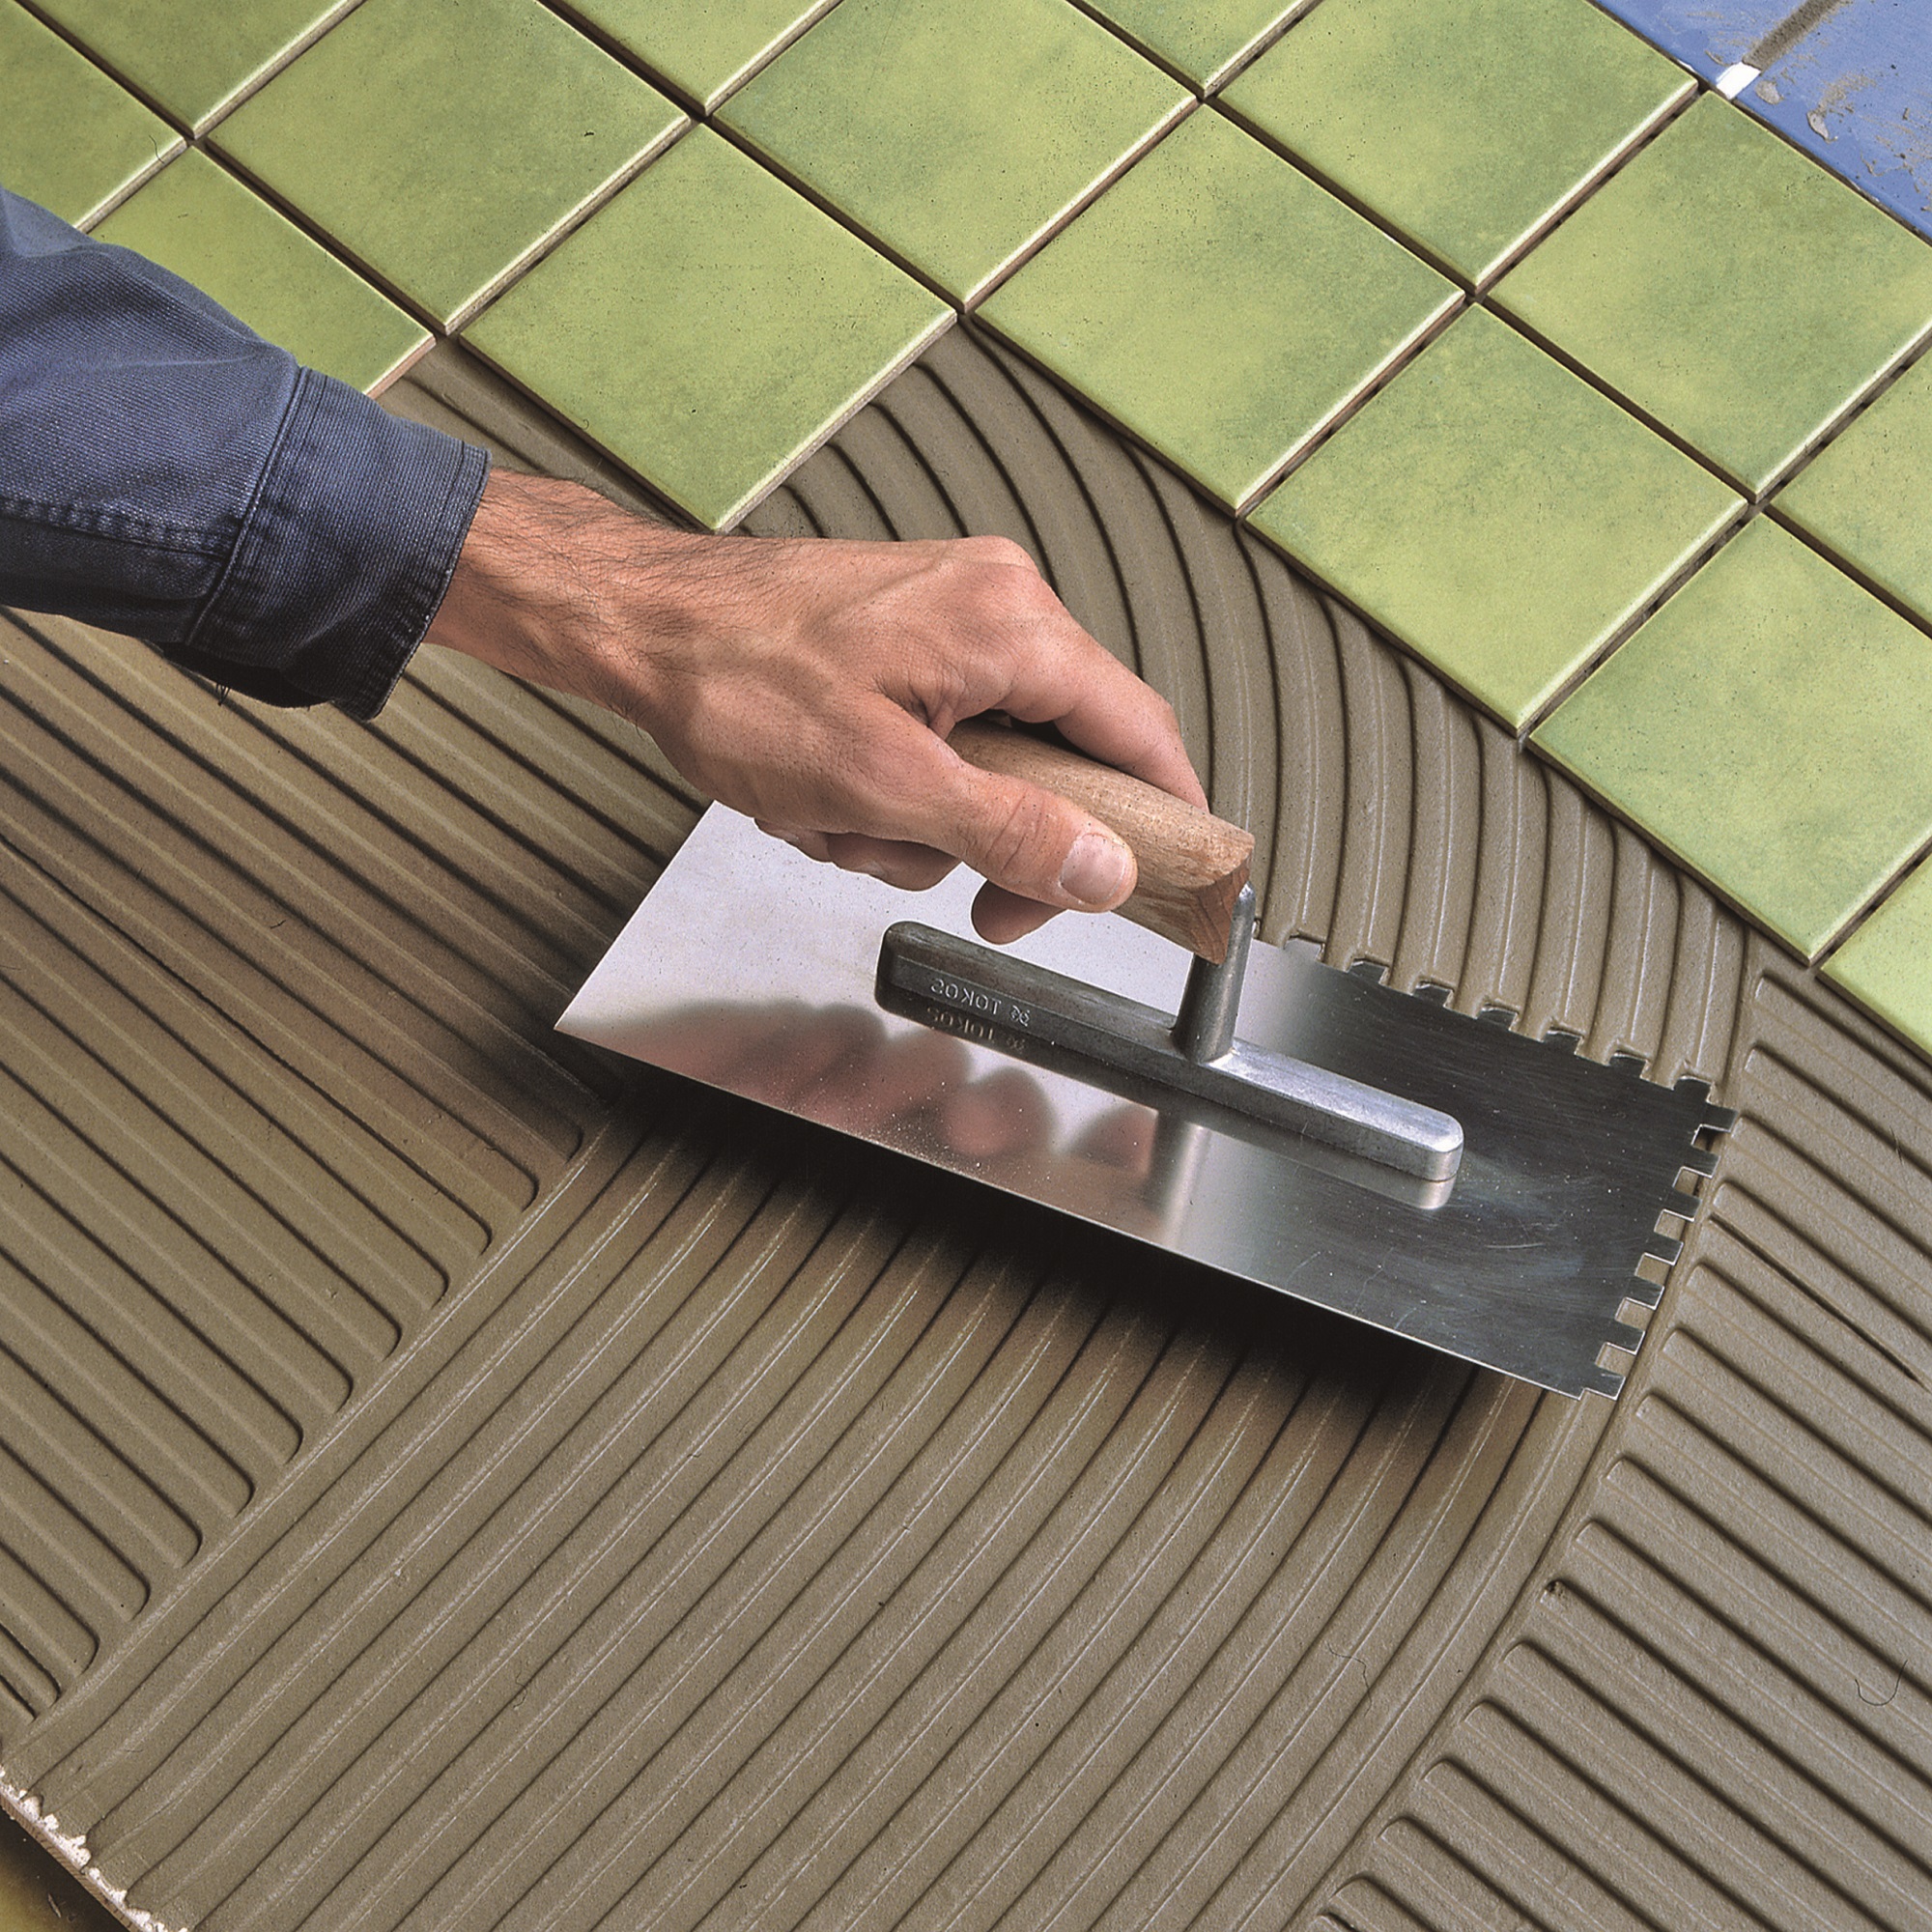
- notched trowel;
- vacuum cleaner;
- cloth roller;
- gas-burner;
- roller;
- for roll waterproofing you will also need a sharp knife.
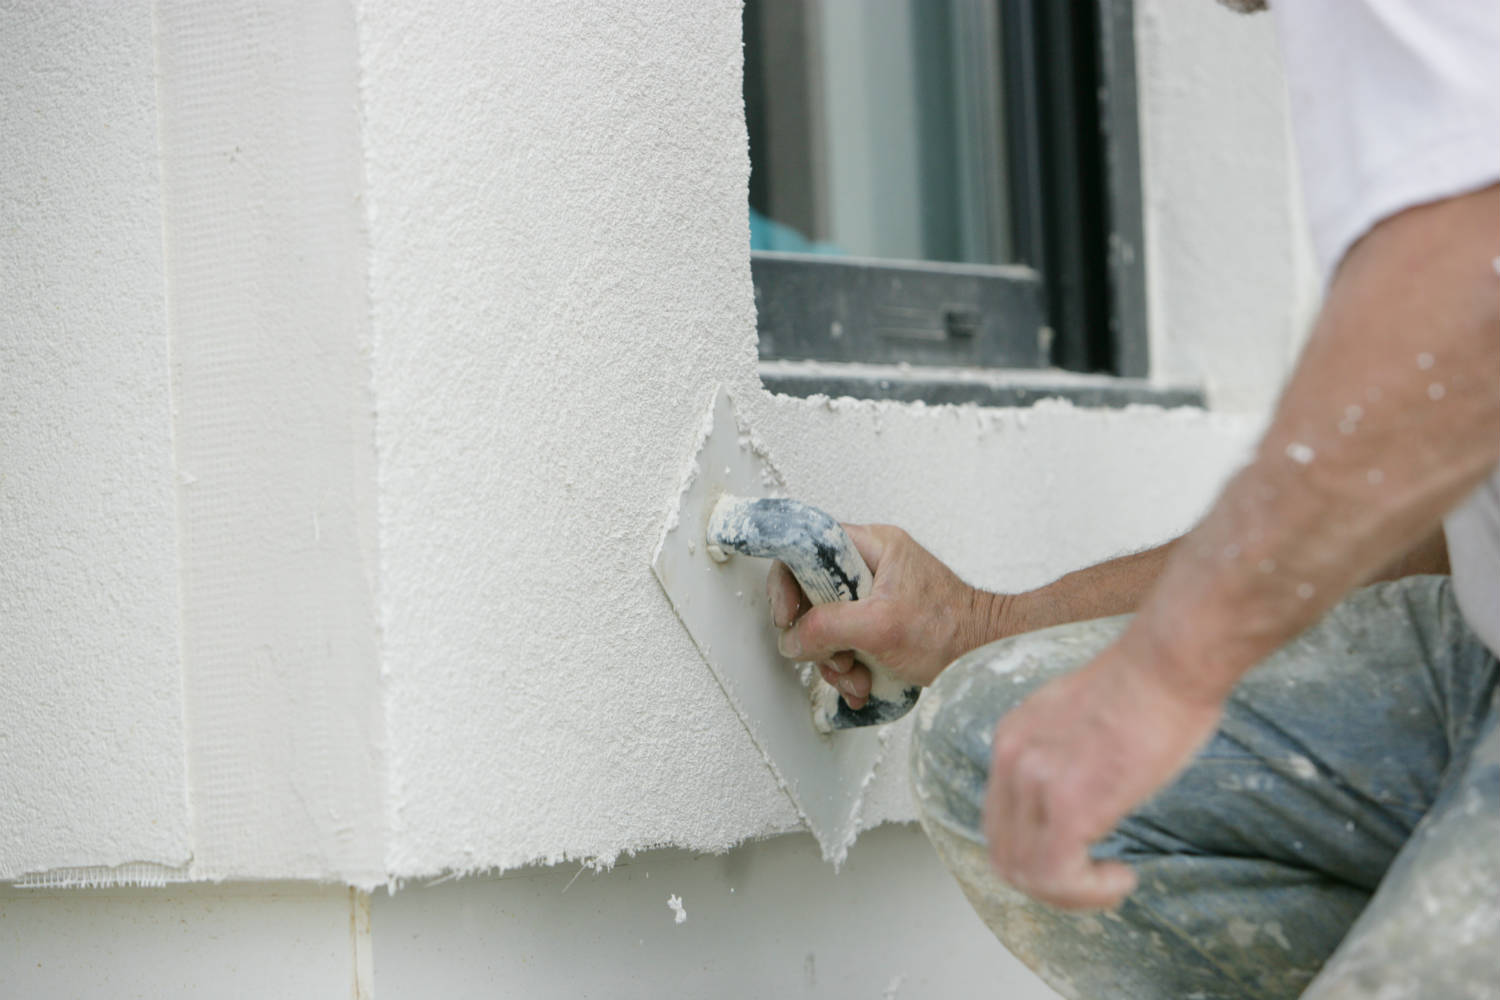
Before carrying out tile work, high-quality waterproofing of walls and floors is required, before which thorough surface preparation should be carried out.
Surface preparation before waterproofing
It would be a mistake to consider that waterproofing a bathroom under a tile does not require high-quality and thorough surface preparation. If the foundation is not properly prepared, waterproofing will quickly lose its strength and basic functions.
The main stage of surface preparation is the alignment of the floor and walls in the bathroom or other rooms. The base must also be clean, therefore it is necessary to remove dust, residual paint or glue from the surface. Use mild detergents to clean the surface. After that, the surface must be sanded. To get rid of traces of surface grinding, you need to remove dust with a vacuum cleaner. If deep bumps remain on the surface of the walls or floor, they must be wiped.
The last stage of the preparatory work is the primer surface. To do this, you need to use any kind of deep penetration primer, but the moisture resistant primer used in high humidity conditions will be the best option. The layer of such a primer will not only provide better adhesion of the waterproofing to the surface, but also fill small cracks and provide additional protection against moisture.

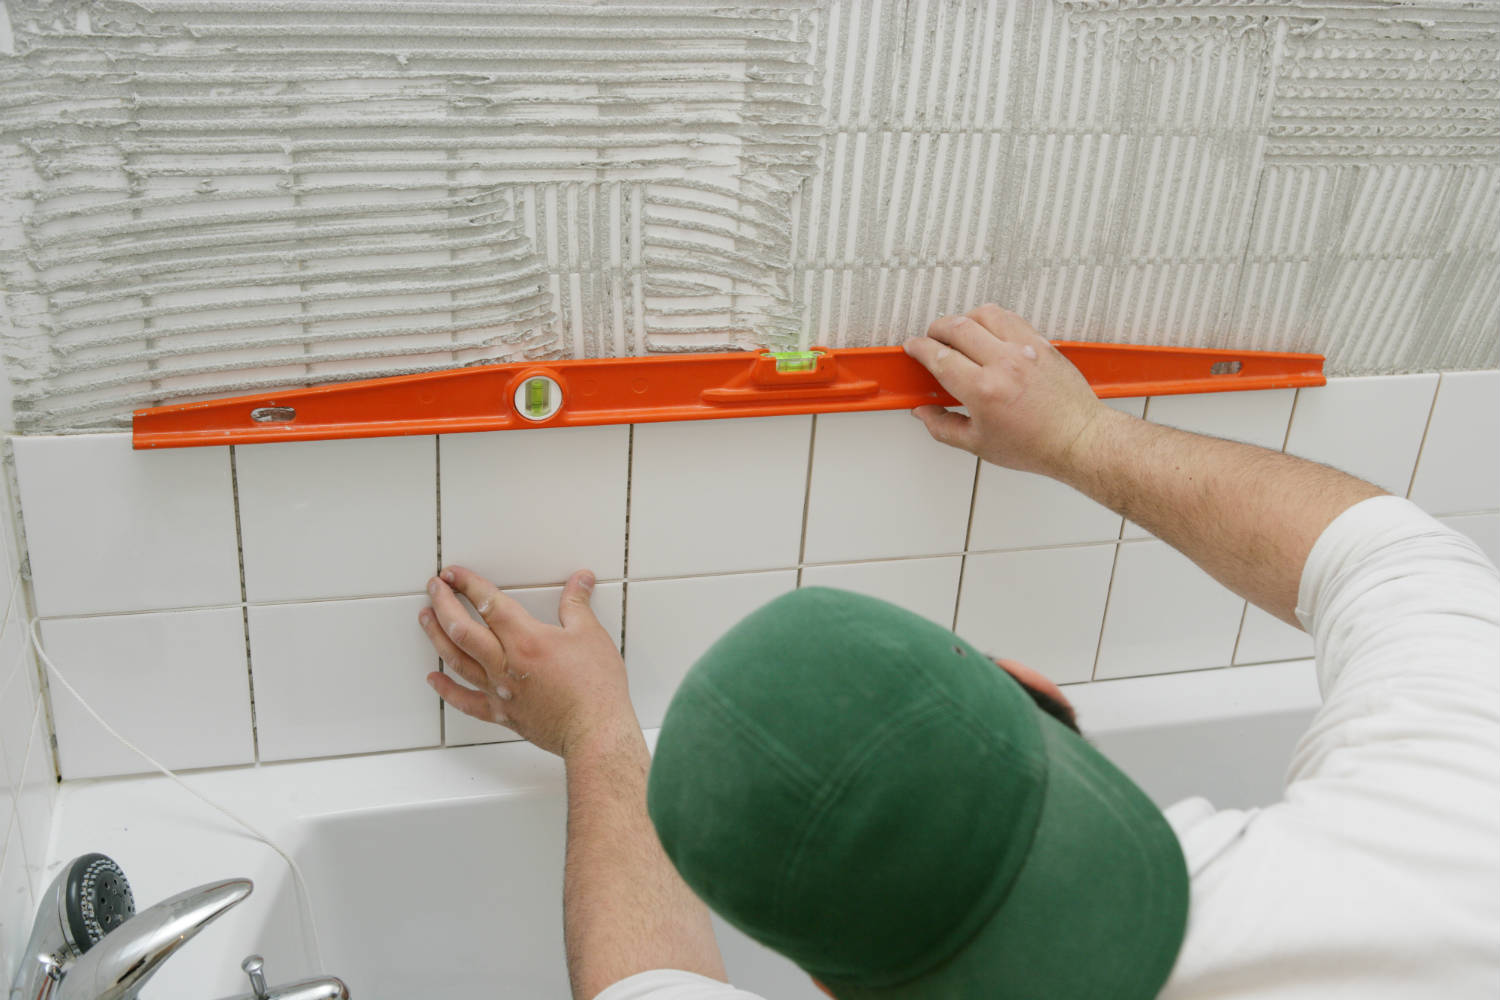
General rules for waterproofing tiles
Waterproofing the floor in the bathroom under the tile is a fairly simple procedure. However, for its high-quality implementation, compliance with certain rules is required:
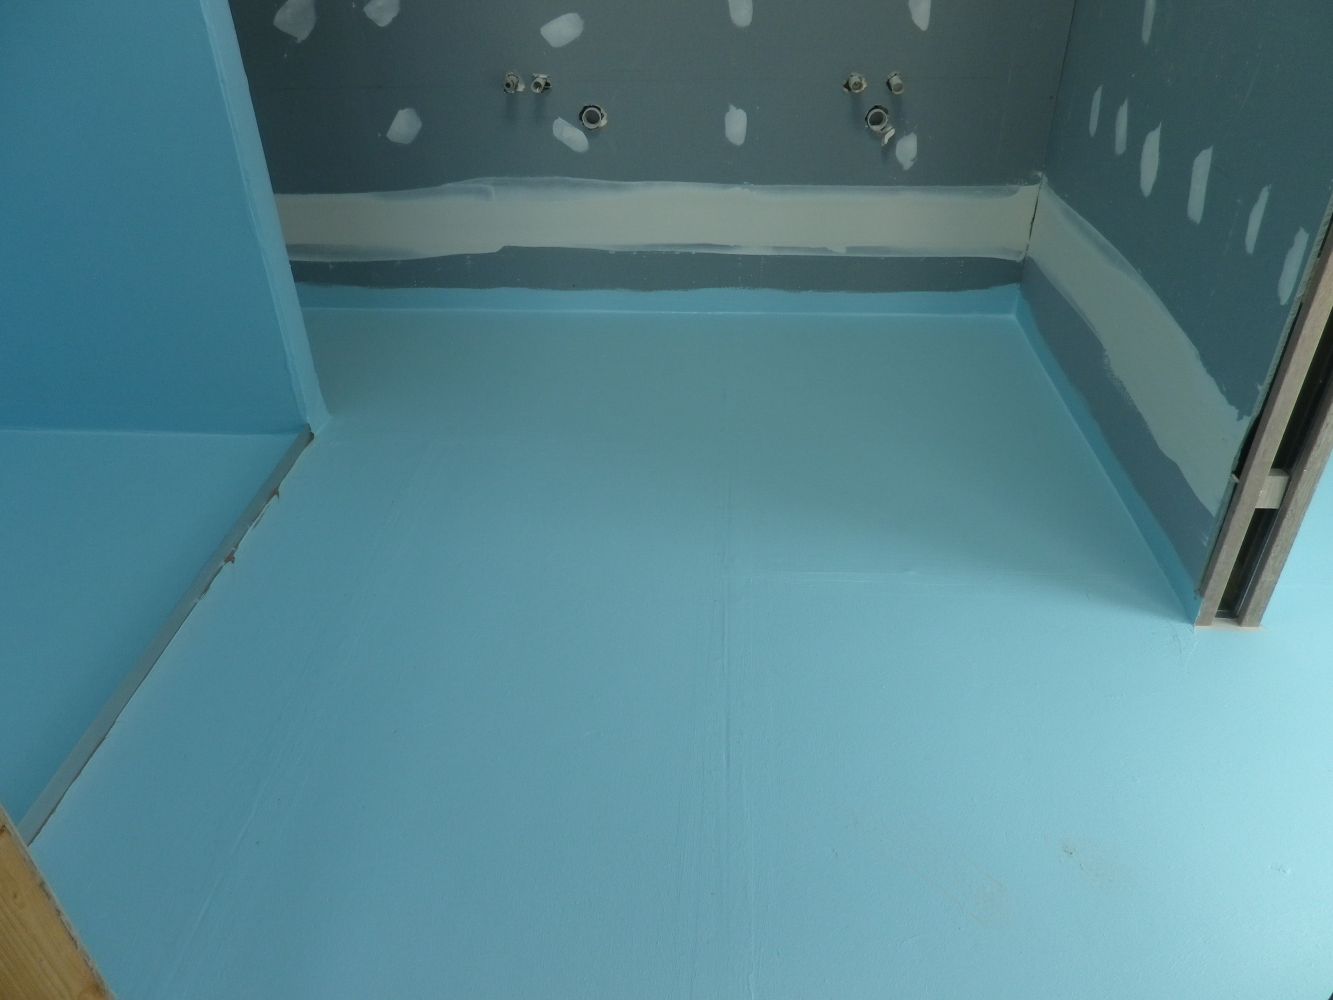
- When performing waterproofing work, not only the floor, but also the walls should be covered with protective material to a height of about 20 cm. This will ensure the maximum level of waterproofing, creating a kind of trough in the room through which moisture can not pass.
- In addition to the floor and walls, it is necessary to carry out high-quality waterproofing of other important areas. These include a shower cabin in the bathroom, areas around the washstand, as well as areas where pipes pass. This applies to laying tiles in the bathroom. If you need waterproofing the balcony, on the street or in the bathhouse, then the areas that need the highest quality processing, others. In this case, it is recommended to use special sealants and hydraulic cord.
- It is recommended to waterproof the tiles using one material, but in some cases several types of sealant can be used.
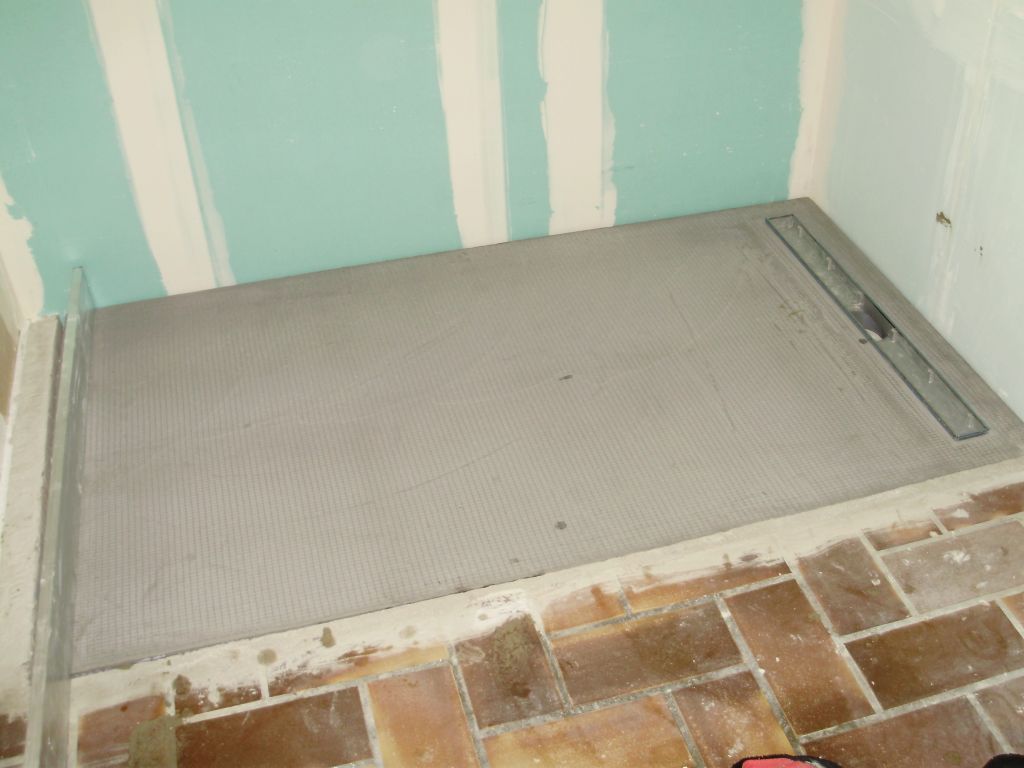
After arranging the waterproofing, it is necessary to make a concrete screed. And only after that it is possible to finish the floor with waterproofing. If you choose glued waterproofing, screed is required, and in other cases it is desirable.
When choosing what is best used as a waterproofing under a tile, you should consider all options for materials. This will help to make an informed decision, depending on the type of room and surface features.
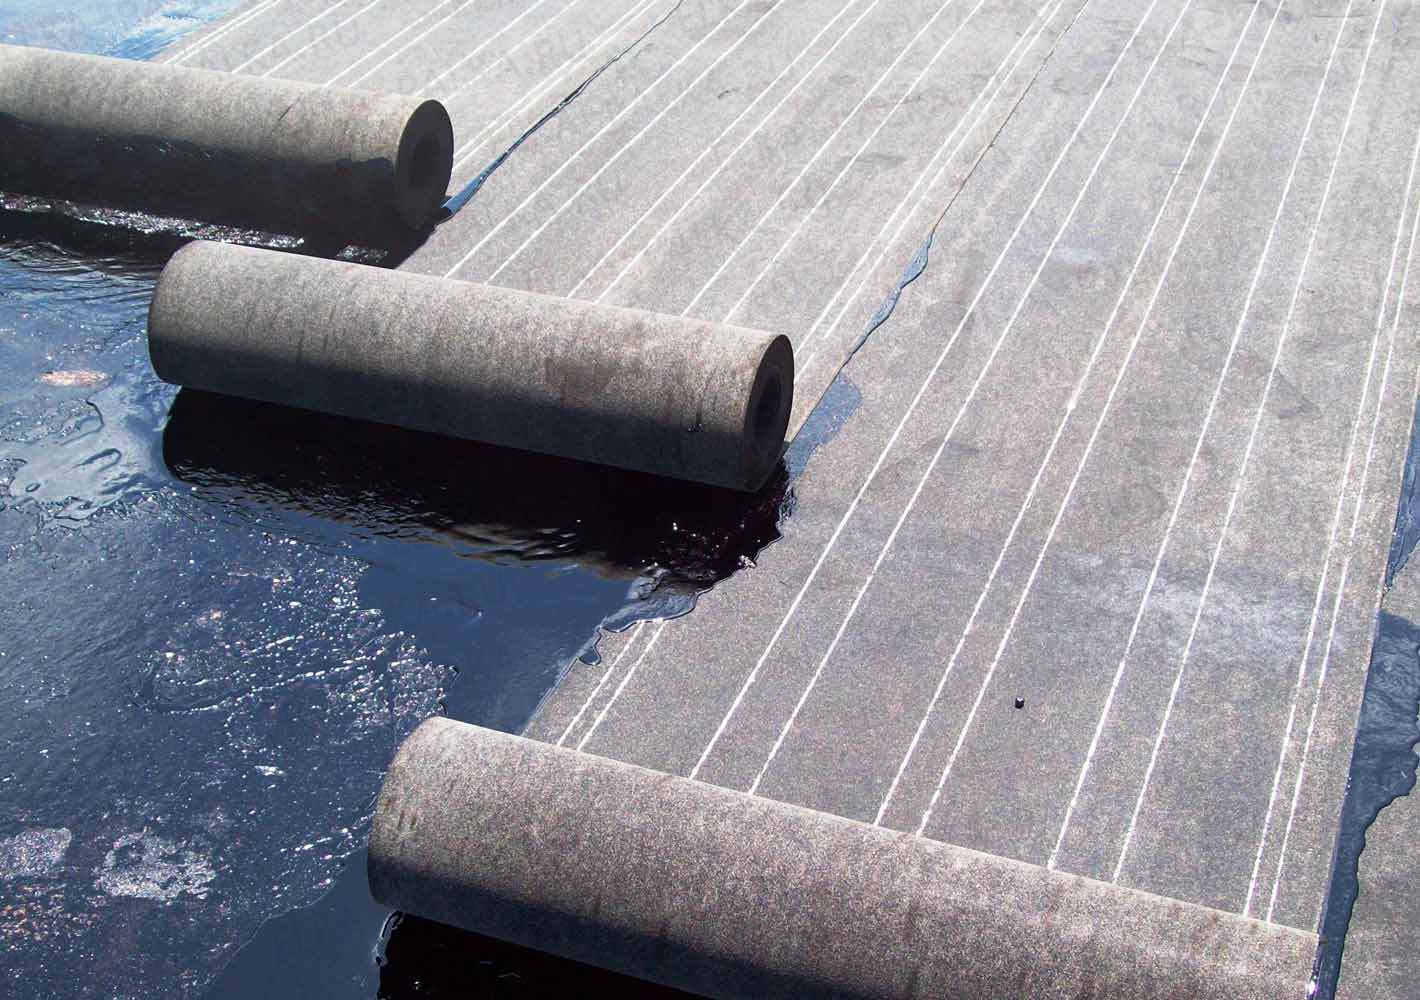
Waterproofing waterproofing
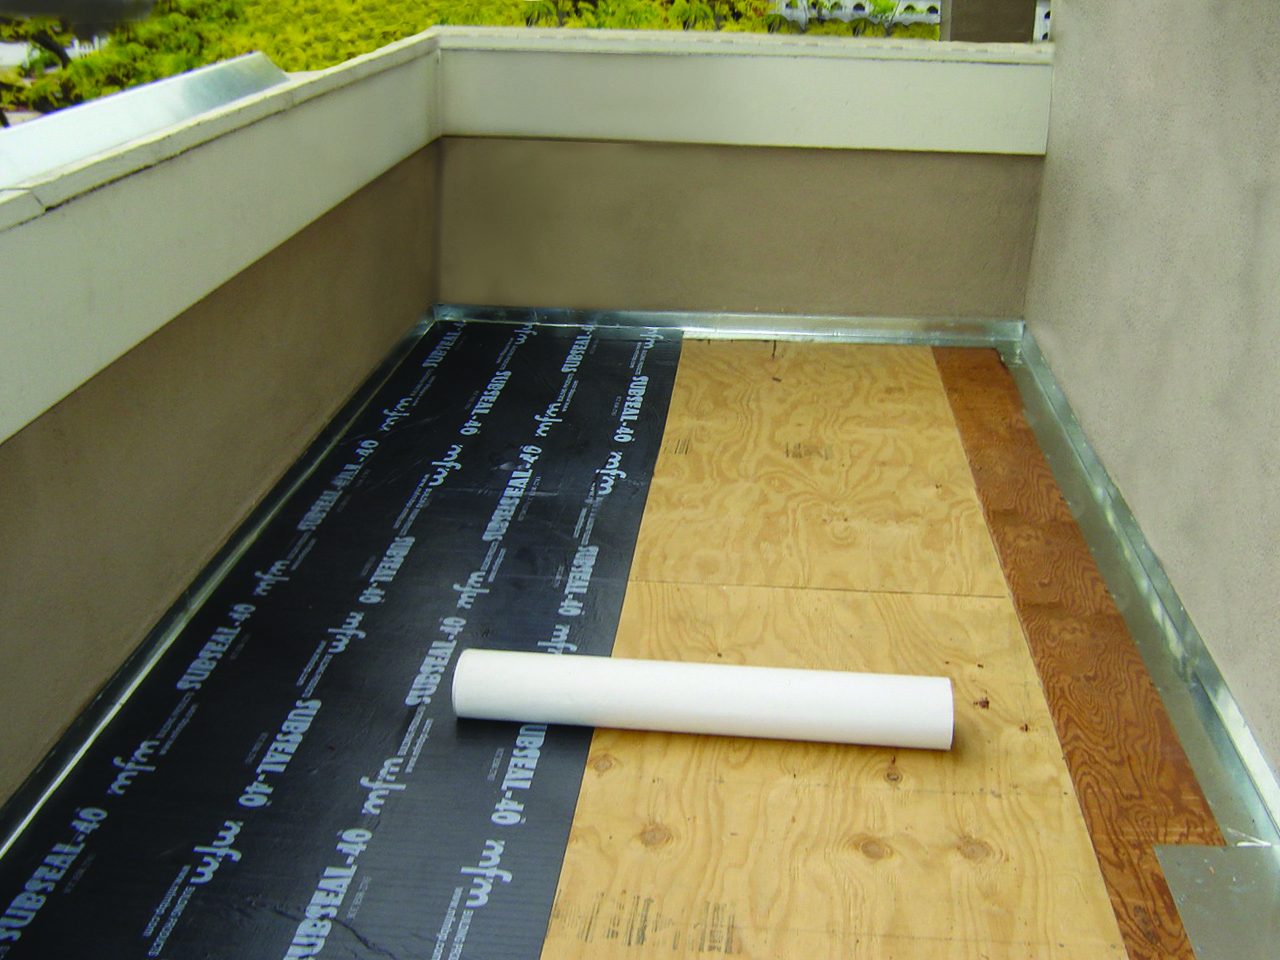
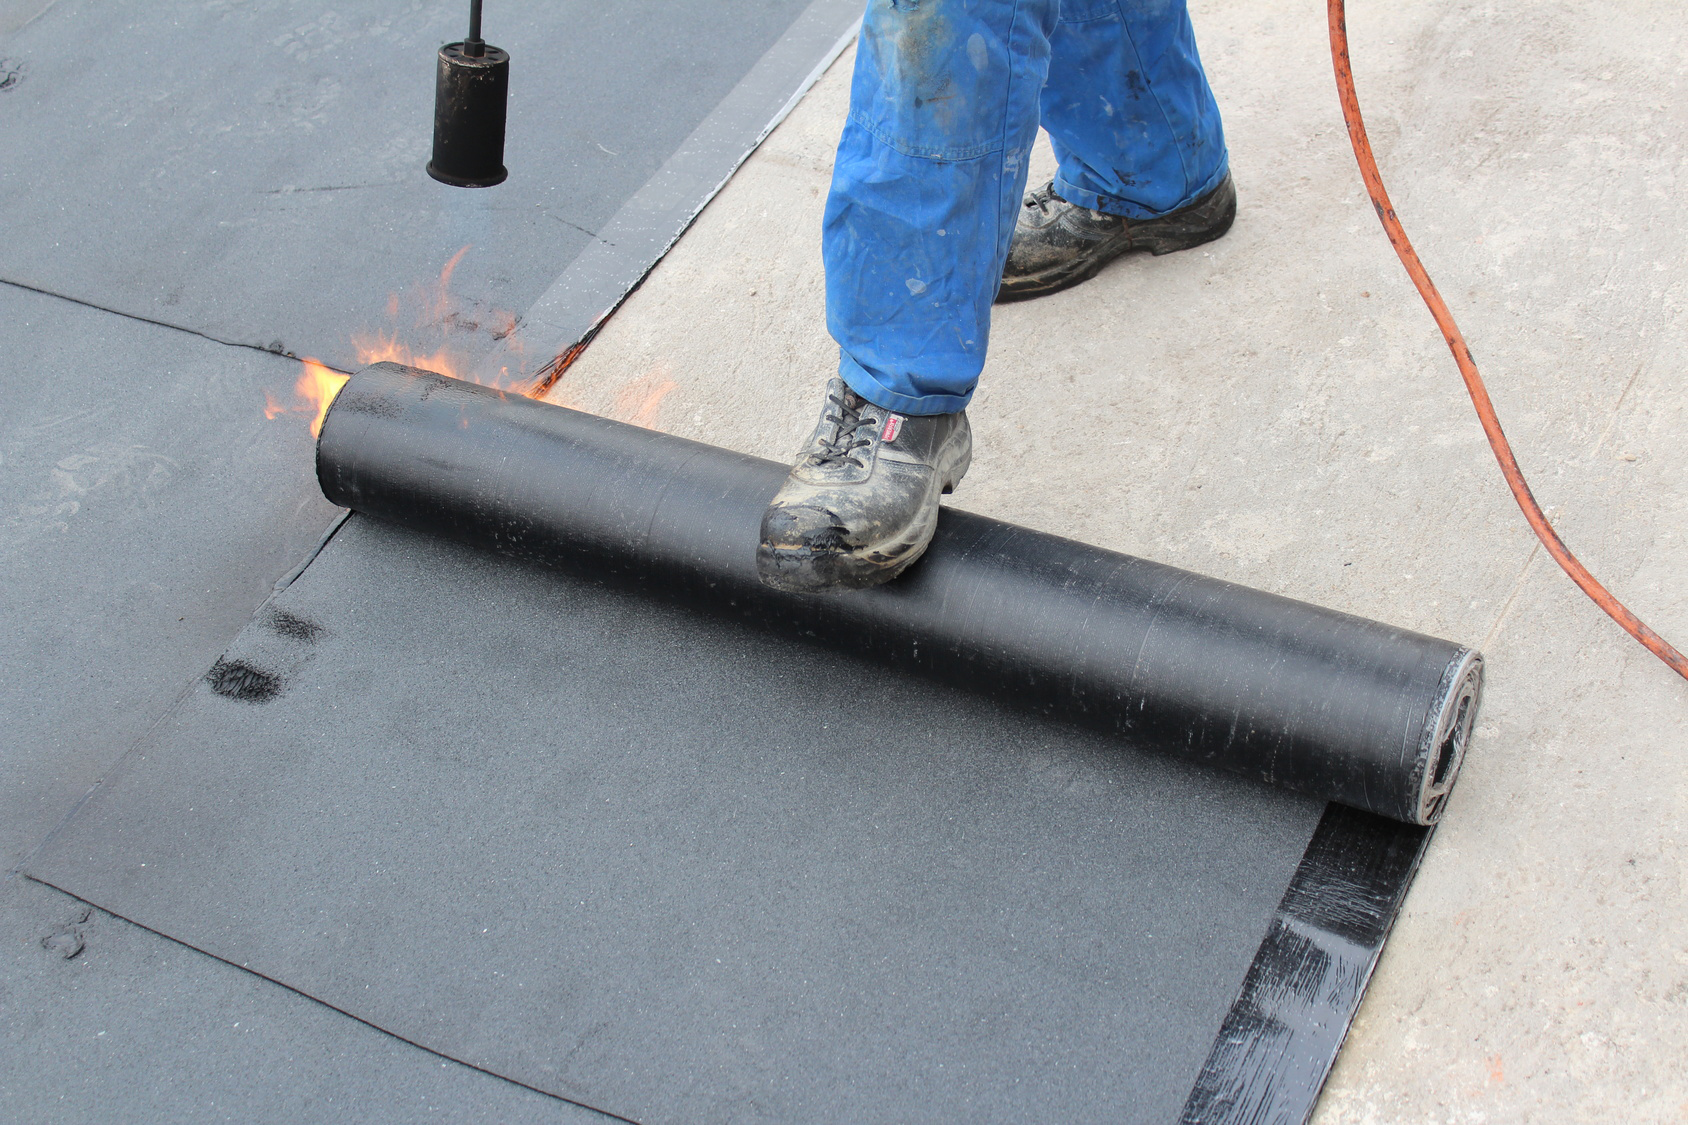
The okleeknaya waterproofing is carried out using sheets of special material that are overlapped on each other, and then fixed with a gas burner or adhesive mastic.
The most popular gluing materials for waterproofing are bitumen, roofing and roofing felt. However, in modern construction, bridgeplast, isol, brizol or ecoflex is more often used.
Using this method, waterproofing of a wooden house, porch, open balcony, bathroom and almost any room is carried out. To make good waterproofing, work should be carried out carefully, following certain rules:
- The base must be cleaned and primed with bitumen mastic.
- Lay the waterproofing sheets overlapping, after applying mastic to the edges of the sheet. The best option is to lay the material in two layers. This is especially important if you are waterproofing the pool for tiles or laying tiles on the street or in the bathhouse.
- After the waterproofing works, a concrete screed is recommended.
If waterproofing of a wooden floor under a tile is required, do not forget about the thorough processing of the threshold and parts of the adjacent room.
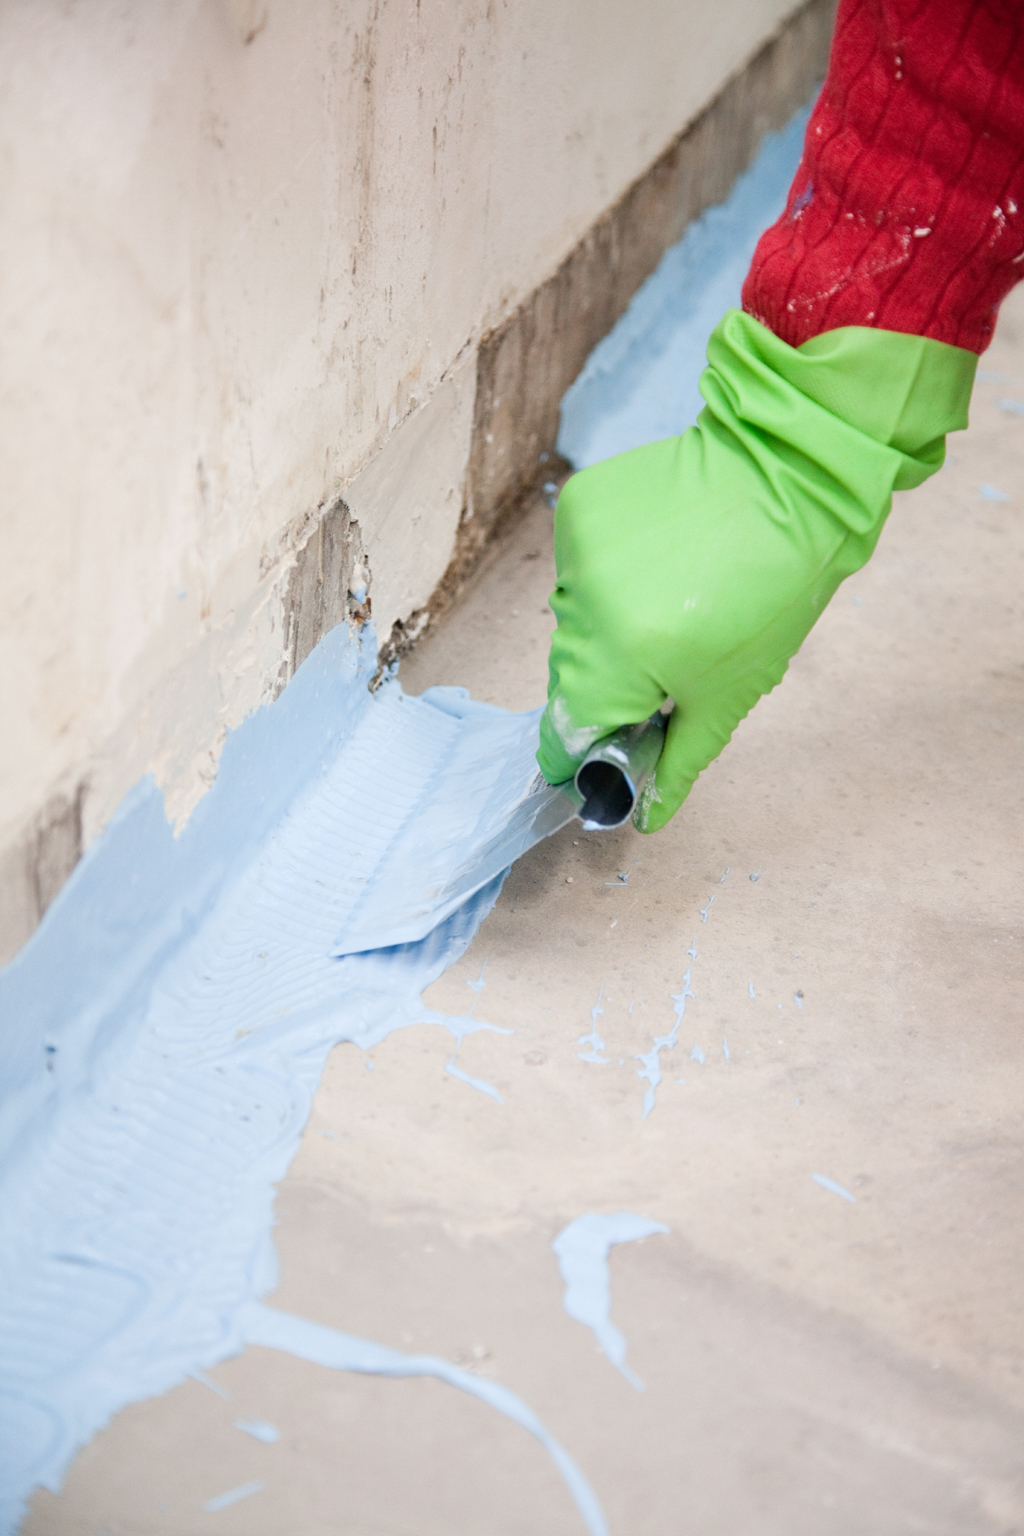
Coating waterproofing
Coating waterproofing consists in coating the floor and walls with waterproof material. It is applied in several layers. The advantage of this method is the ability to work on an uneven or wet floor. In addition, even a master can perform work without special training and work experience.
Liquid waterproofing is performed by bitumen or bitumen-rubber compounds, as well as polyurethane, cement-polymer and bitumen-polymer mixtures. Bituminous mixtures have an unpleasant odor, so it is not recommended to use them for waterproofing the floor in the shower. In this case, it is better to use cement-polymer mixtures and other synthetic materials.
Work execution order:
- Clean and damp the floor. Apply mastic so as to capture not only the floor, but also the walls. After the material has dried, it is necessary to glue the corners with a self-adhesive waterproof tape. If the tape does not have an adhesive base, you can attach it to wet mastic.
- Using a spatula or paint roller, apply two to three layers of mastic, paying particular attention to the corners. In this case, each subsequent layer must be applied perpendicular to the previous one. The interval between application of layers depends on the type of material. For some mastic, a day should pass.But most often, the material should be applied at the moment when the previous layer hardened, but did not completely dry.
- If bituminous mastic is used, a screed is required after its application. When using polymer compositions, it is optional.
If it is necessary to waterproof a wooden floor in a bathroom, outdoors, in a bathhouse or other places with a very high humidity level, several materials can be used. Hybrid waterproofing provides a high level of protection against moisture, strength and durability of the coating. This option is most often chosen under the bulk floor.

Penetrating waterproofing
Concrete structures, despite their powerful and durable appearance, have microcracks through which moisture seeps. To improve the properties of concrete, special liquid compositions are used that penetrate the material and harden. Such compositions include a rubber-concrete emulsion or a special dry composition, which must first be diluted.
Stages of the work:
- The surface must first be cleaned of dirt, glue and dust. Then apply a moisture resistant primer to it. In the bathhouse or in the bathroom, the floor may be damaged by the fungus. In this case, you should additionally treat these areas with a special antifungal composition.
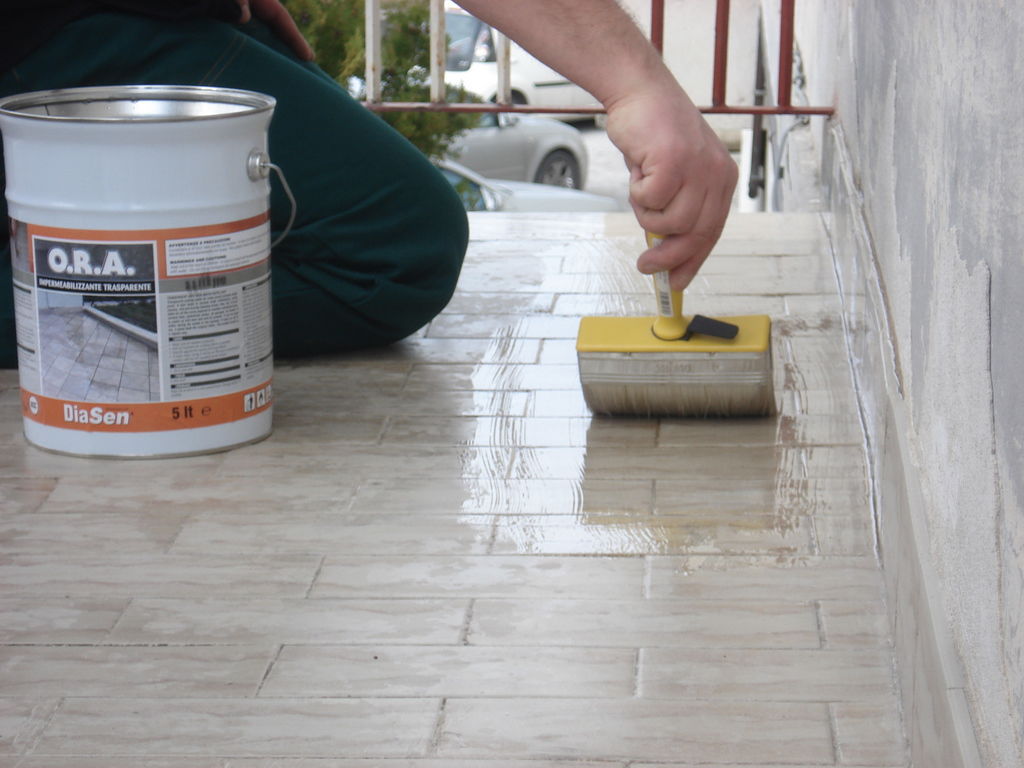
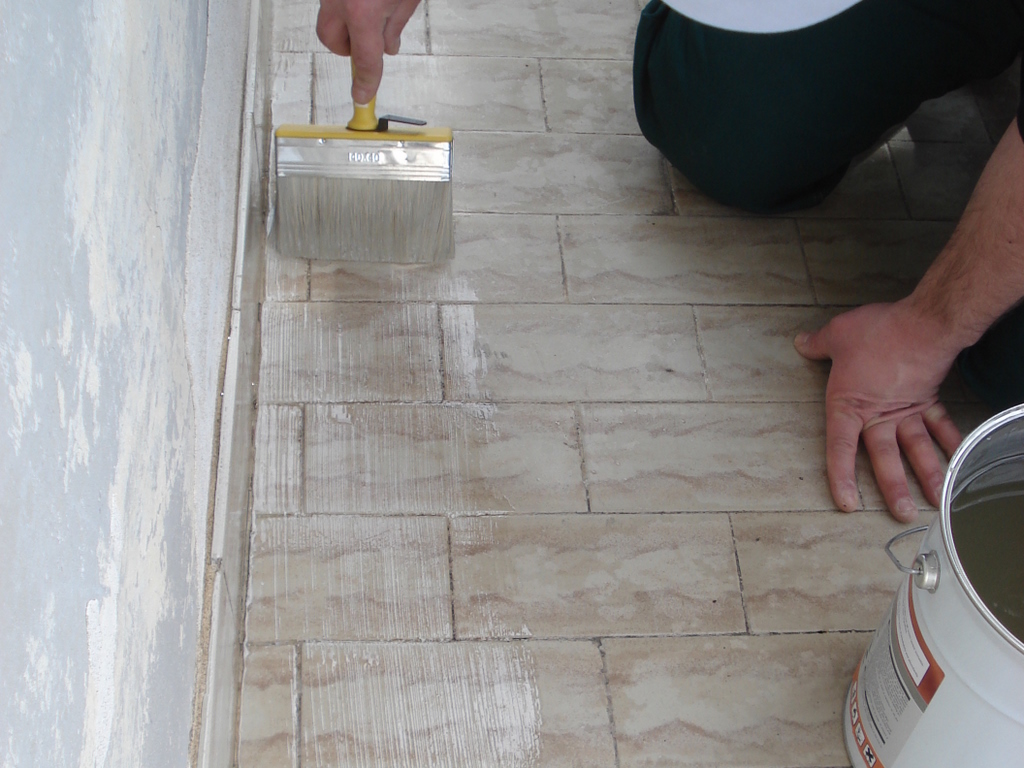
- Apply the waterproofing mixture to the floor and part of the wall using a roller or a wide brush. The emulsion must be applied with a layer of 5-10 mm. Some formulations can be applied using a spray.
If waterproofing of the porch, balcony or bathroom with penetrating waterproofing is required, the procedure for the work is slightly different:
- A small recess must be made around the perimeter of the room, which must be cleaned and moistened.
- Prime the strobes with liquid material, then fill them with the suture component.
- Prime the entire floor as well as the wall section. After a few hours, another layer of material should be applied.
Within three days, such a base should be moistened, and tile laying on it can be carried out only after three weeks.
Optimal waterproofing for tiles
When preparing the base for tiles for the bathroom, on the balcony, in the kitchen or other rooms with high humidity, you can use various waterproofing materials, but which ones are better to choose:
- For a bathroom or kitchen, where the humidity level is not very high, you can use an adhesive waterproofing.
- If the house is built of concrete blocks, it is better to use penetrating insulation in the rooms. It not only guarantees a high level of protection against moisture, but also creates a more solid and reliable foundation.
- For the “underfloor heating” system, gluing-based bitumen-polymer or coating cement-polymer waterproofing should be used.
Regardless of the base of the floor - wood, concrete or cement, a layer of waterproofing material should be put before laying the tiles. This will reliably protect against moisture penetration.